How to Build a Fire Pit Patio for Under $300 (Complete Step-by-Step)
You want a cozy fire pit patio without blowing your budget or your weekend. Imagine stepping outside to a warm, intentional gathering spot you built yourself — solid, safe, and stylish — for under $300.
You’ll learn a clear, step-by-step plan that covers site safety, a stable base, the ring and insert, simple drainage, and a neat paver seating patio so the whole space looks finished. This guide points out common mistakes, like placing the pit too close to structures or skipping a compacted gravel base, and shows practical choices that save time and money while keeping the project durable and safe.
1) Choose site ≥10 ft from structures and clear overhead branches
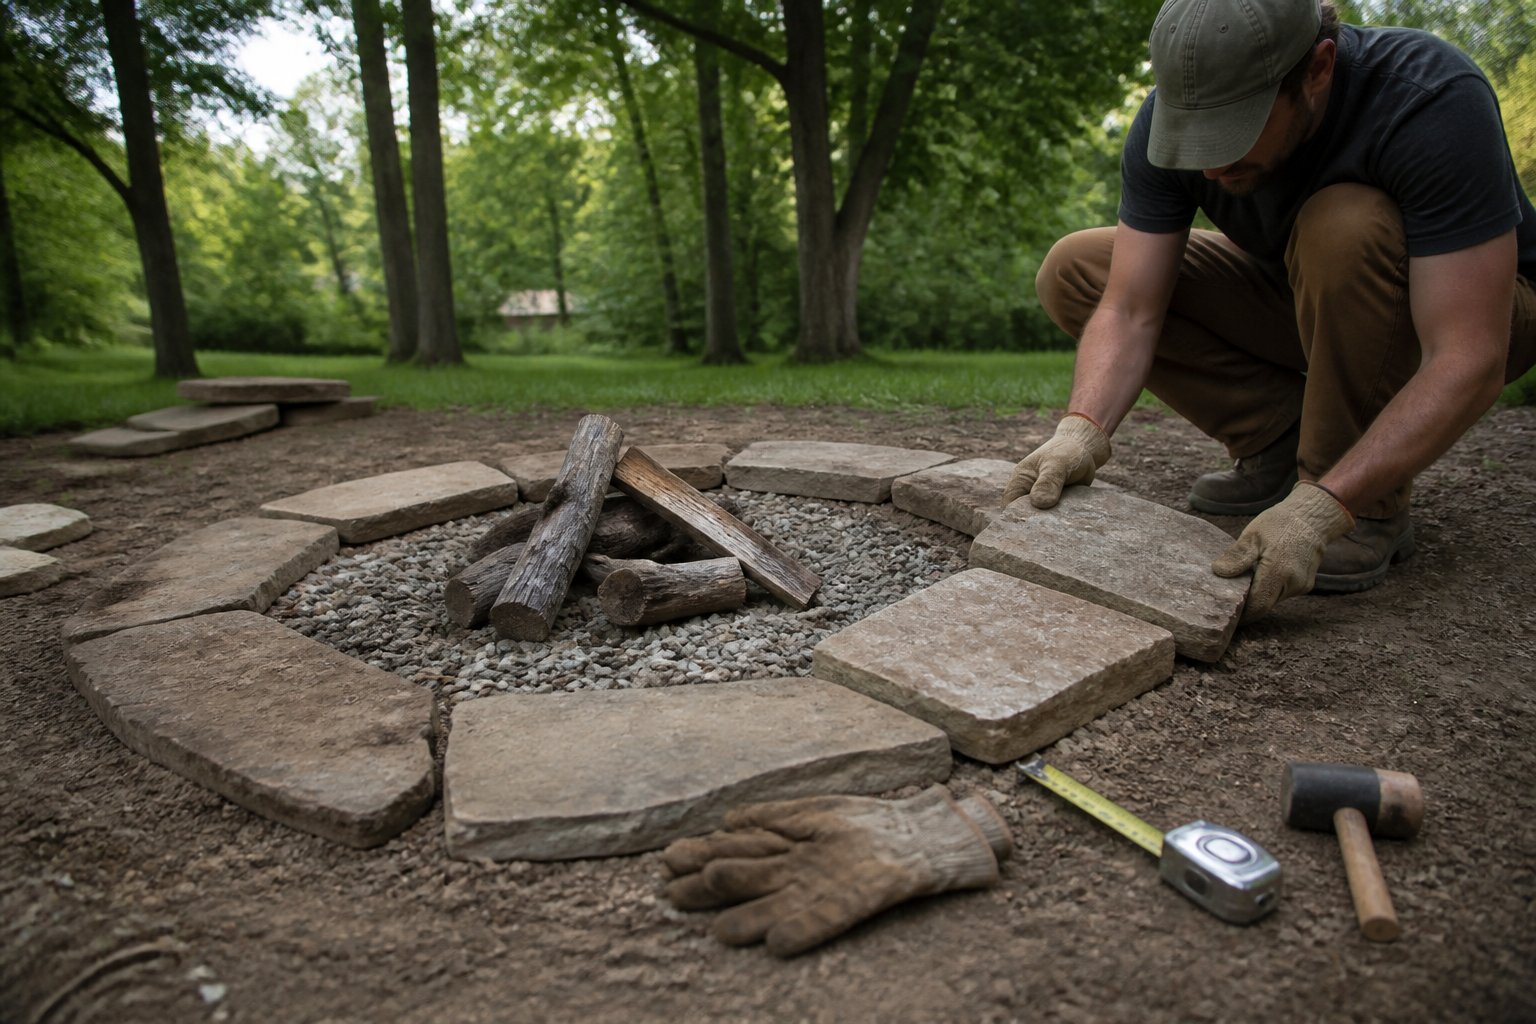
Pick a flat spot at least 10 feet from your house, garage, or wooden fence to reduce fire risk. Measure with a tape or pace it out; err on the side of extra distance if wind is common where you live.
Look up and check for low branches or nearby power lines. Trim limbs back so you have at least 21 feet of vertical clearance above the pit; falling sparks cause most backyard fires.
Avoid placing the pit on a slope or over buried utilities. Call your utility locator if you dig, and choose a noncombustible base like gravel or pavers to protect decking and turf.
A common mistake is setting the pit too close for convenience. Move it a few more feet and you’ll sleep easier—plan the layout now and save time and money later.
2) Measure and mark a 6-ft diameter circle using stake-and-string
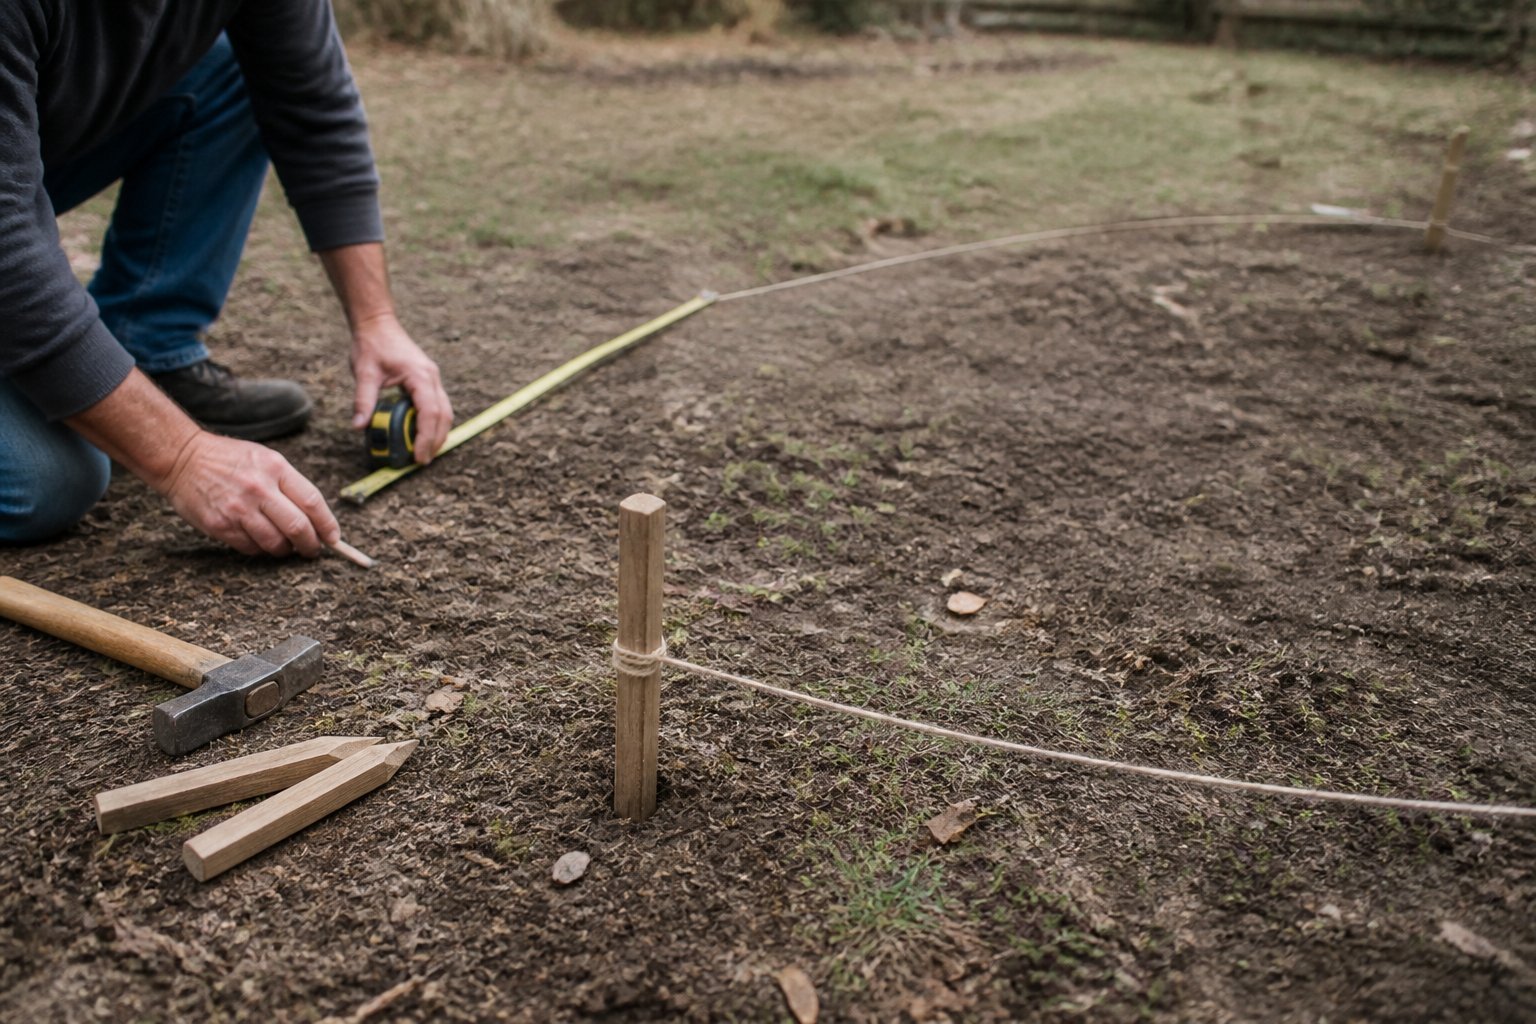
This is a practical how-to. Drive a stake at the center where the pit will sit, firm and vertical so the string won’t wobble.
Tie a string to the stake at a 3-foot length (half the diameter). Attach spray paint or a marker to the loose end, then walk slowly in a full circle with the string taut to paint the outline. Test the circle by dry-laying pavers on the line to check fit and clearance.
Common mistake: loose string or a tilted stake makes an oval, not a circle. If the ground is uneven, use a second person to hold the marker level. Adjust the radius if you want a slightly larger safety gap, then re-mark and start digging.
3) Dig 6 inches deep and compact soil for stable base
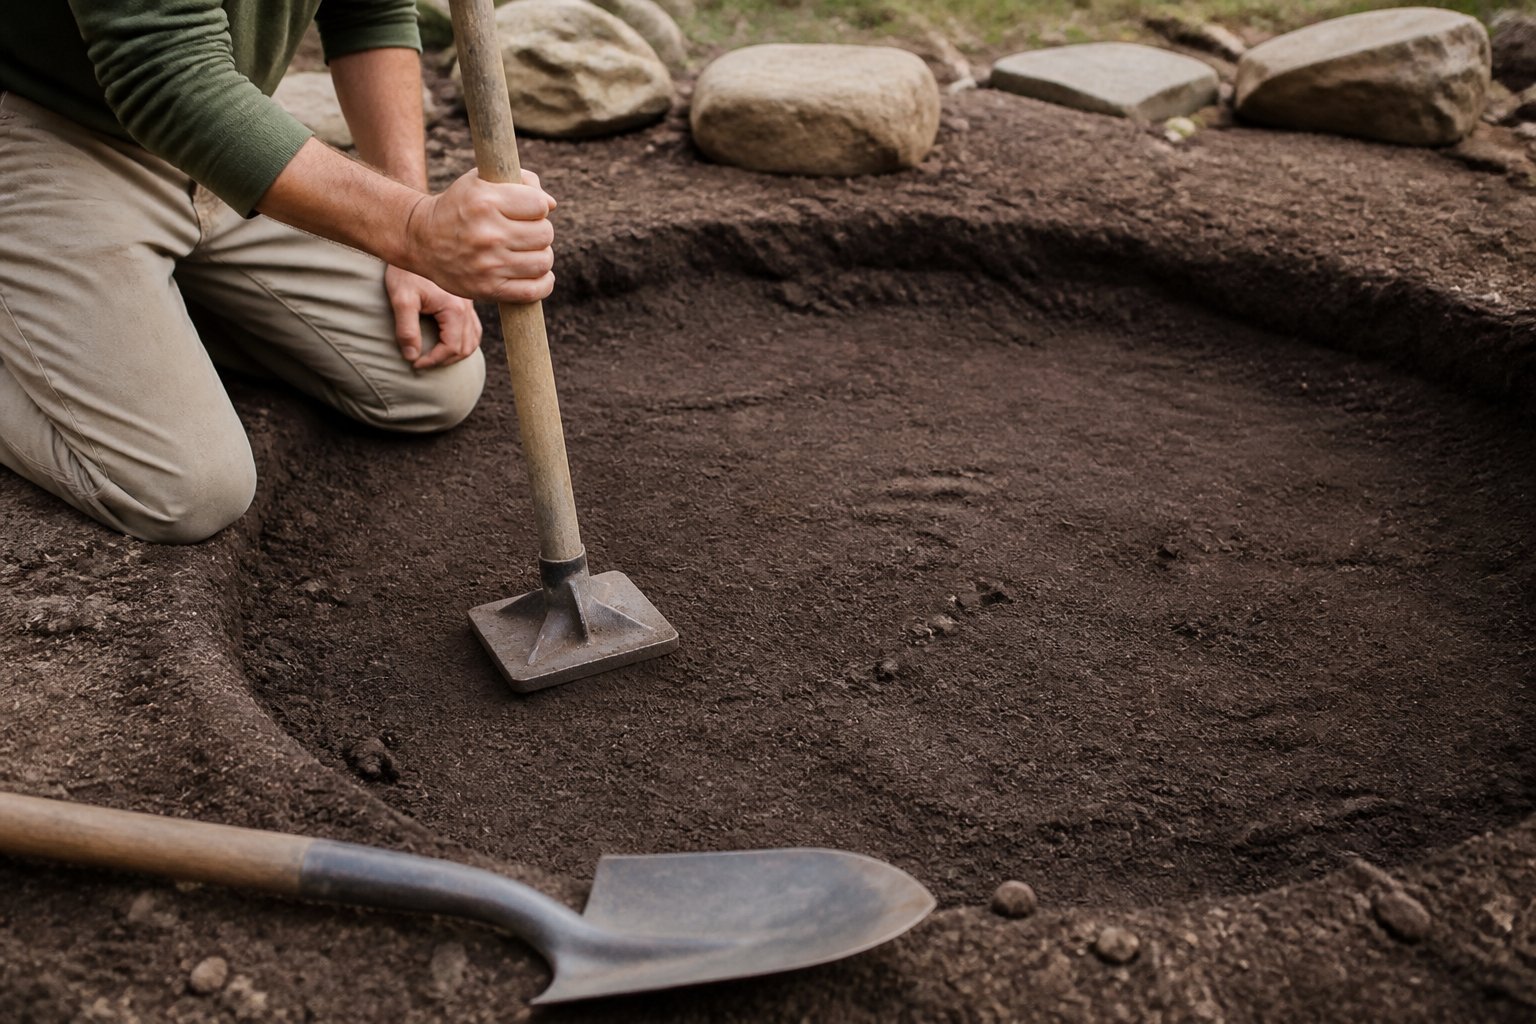
Guide: You’ll dig a 6-inch-deep hole and compact the soil to make the fire pit patio last.
Mark the circle, then remove grass and topsoil. A trench this deep gives room for gravel and a solid surface. If you hit roots or clay, dig a bit deeper and remove them.
Lay 3 inches of angular gravel for drainage, then compact it with a hand tamper. Compact in short, even passes until the surface feels firm underfoot. Avoid leaving loose spots that settle later.
Common mistake: skipping compaction. That causes pavers to wobble and stones to sink. If you have a level, check the base as you go. Finish by sweeping the stone surface smooth and ready for the next step.
4) Pour 2–3 inches of crushed gravel and level
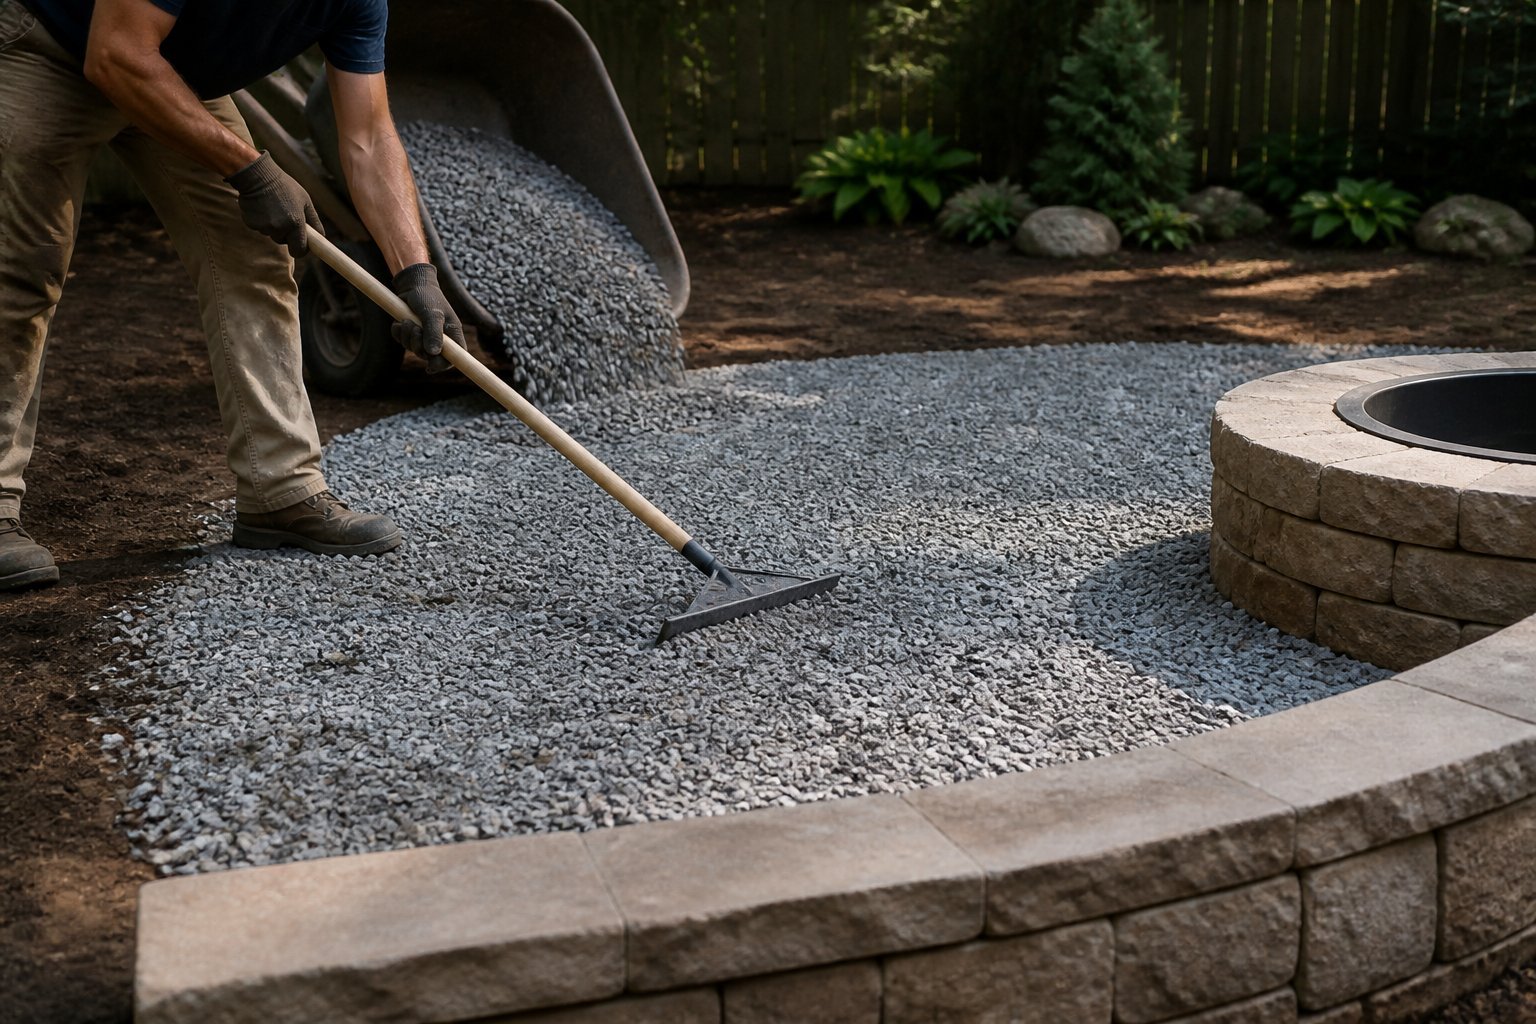
Guide: lay a stable gravel base that sheds water and holds pavers steady. Pour 2–3 inches of angular crushed stone or quarry mix across the pit area.
Spread gravel evenly with a rake, then use a tamper or board to compact it. Walk the area and press down; you want firm, not crunchy. For example, after a summer rain I re-tamped and found low spots that needed another handful of gravel.
Common mistake: dumping gravel without compacting. That leads to shifting and sinking later. Check depth with a straightedge and a tape measure, and replenish thin spots before you set stones or pea gravel on top.
If you want extra drainage, slope the base slightly away from your house—about 1/8 inch per foot. Once level and compacted, you’re ready to lay edging or finish the surface; go ahead and test a stone to confirm stability.
5) Lay landscape fabric over gravel to prevent weed growth
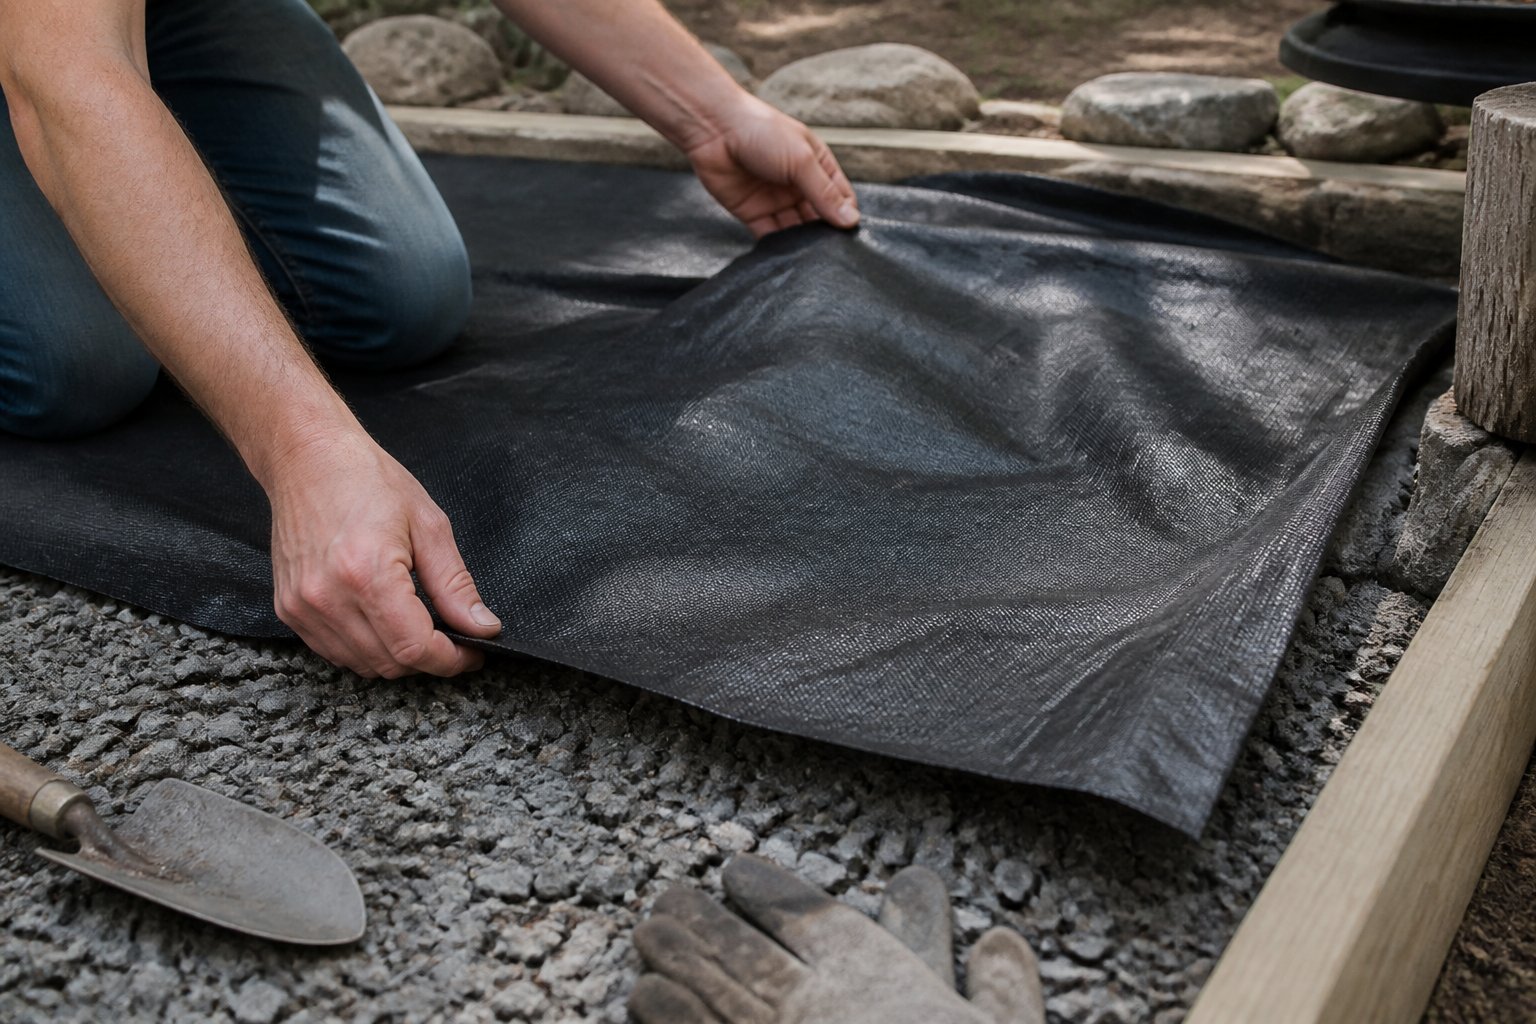
Guide: lay fabric to stop weeds and keep gravel stable under your fire pit patio.
Roll the fabric over clean, compacted gravel and smooth out wrinkles. Overlap edges by 6–8 inches and secure with landscape staples every 2–3 feet so wind or foot traffic won’t pull it up.
Cut X-shaped slits where you need to set stones or the fire ring, then tuck edges down to hide raw seams. A common mistake is leaving soil on the gravel—weed seeds will find it. Use fine gravel on top so it won’t fall through the fabric.
Pick a UV-resistant, permeable fabric so water drains and the fabric lasts. If a patch rips later, staple a new piece over the damaged area. Try this and you’ll save time on weeding all season.
6) Set concrete pavers (Anderson/Boral style) in a circle for the pit ring
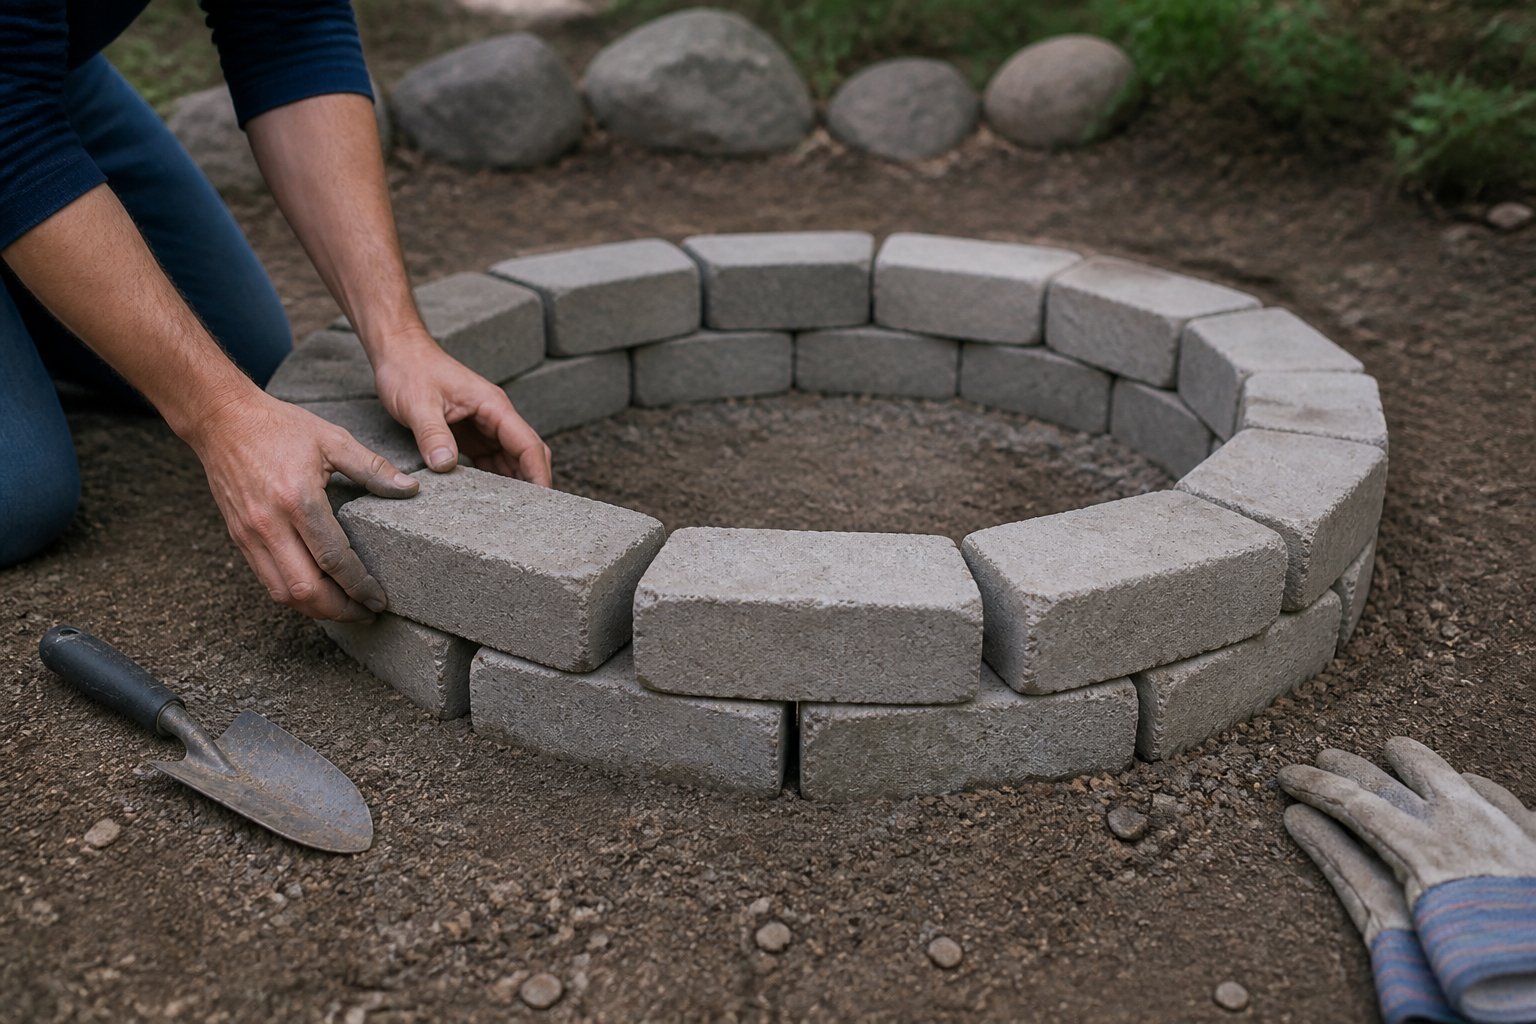
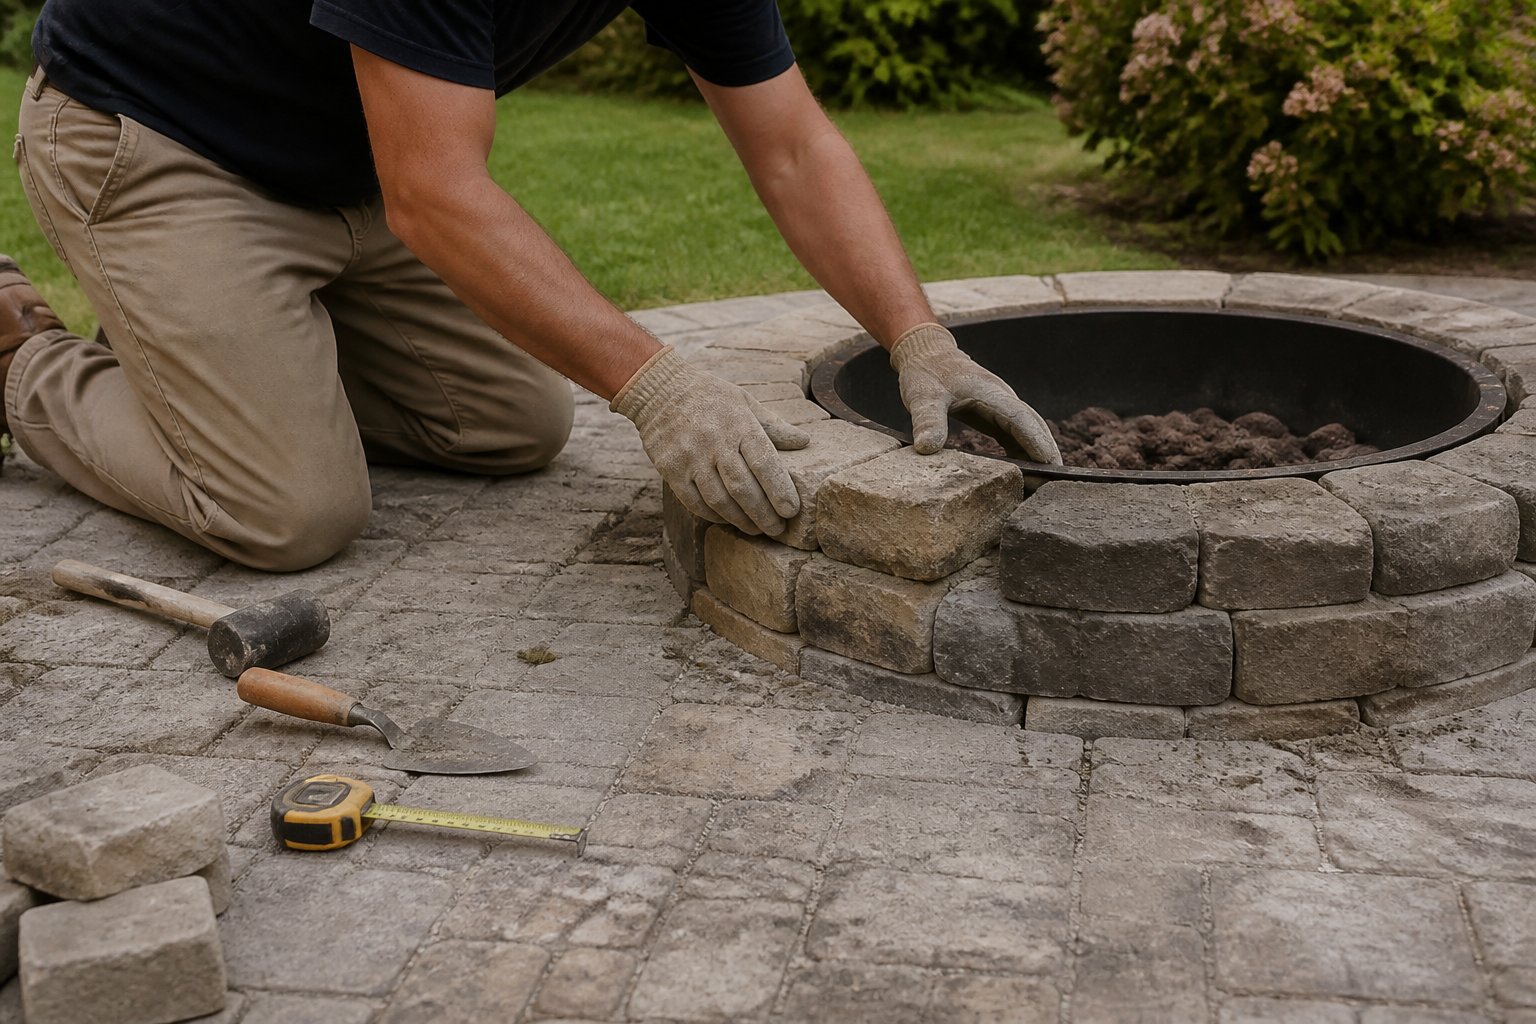
Guide: tutorial — Lay the pavers in a clean, steady ring to form the fire pit’s structural wall. Start by finding the center with a stake and string; this keeps your circle true as you work.
Place the first course dry to test fit. Rotate and shim pieces so joints stay tight; small gaps show when mortar goes on. A common mistake is rushing placement — take time now to avoid cutting later.
Mix a thin mortar bed and butter each paver lightly as you set it. Stagger seams every course and use a level often; one tilted block ruins the look and seating comfort.
If a paver needs cutting, score then tap out small bits; avoid big chips by cutting slowly. When mortar sets, line the pit interior with high-heat cement and let cure 48 hours before lighting.
7) Use a 24-inch steel fire pit ring insert (e.g., Outland Living)
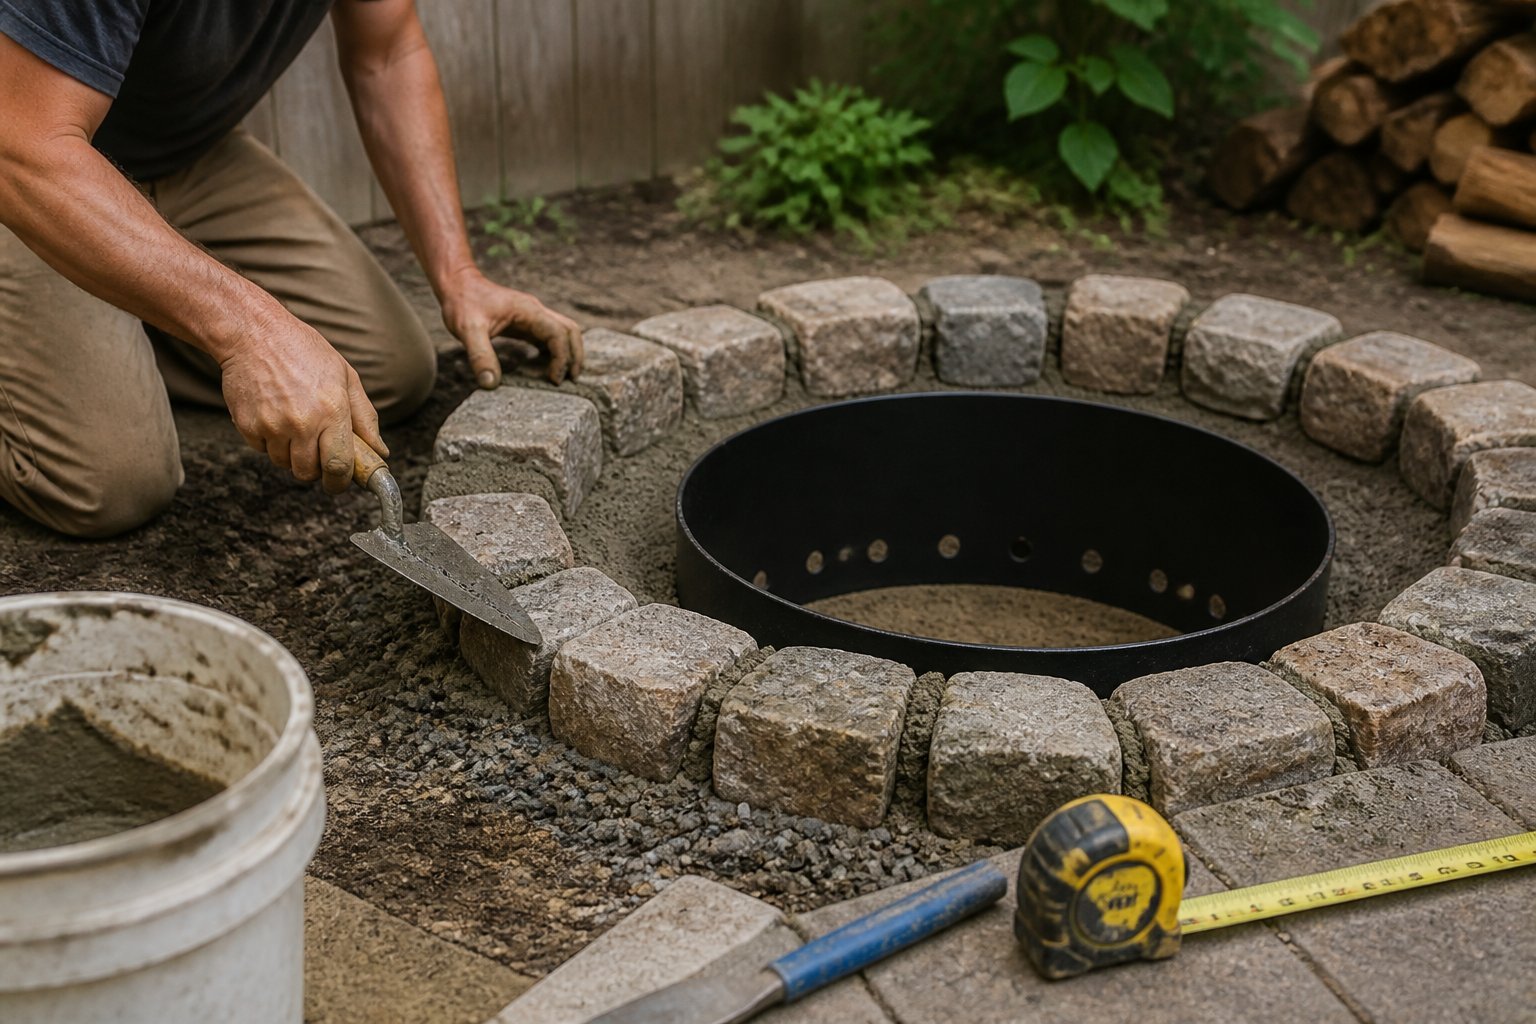
Pick a 24-inch steel insert to protect your paver ring and focus heat where you want it. This size fits most DIY stone rings and keeps flames from touching bricks, which prevents cracking.
Set the insert on level gravel so the lip sits flush with your capstones. Many pros use a thin sand bed first; avoid setting metal directly on soft soil to stop sinking.
Choose stainless or heavy-gauge steel for longer life and less rust. If you want less smoke, look for smokeless inserts or models with airflow holes.
Common mistake: forcing a too-large insert into a tight ring. Measure twice, test-fit once, and adjust stones before you light the first fire.
8) Fill pit with 2–3 inches of sand and add lava rock for drainage

This step prevents water pooling and protects the base from heat damage. Give the pit a 2–3 inch layer of coarse sand, then tamp it flat with a board or tamper.
Next, add a 1–2 inch layer of lava rock on top of the sand to help drain water and withstand high temperatures. Lava rock is light, heat-resistant, and limits soil splash into the fire area.
Common mistake: skipping compaction. If the sand settles unevenly, your fire burns poorly and stones can shift. Tip: test drainage with a garden hose—water should soak through in a minute or two.
If you use gas, keep lava rock away from direct burner ports per manufacturer instructions. Finish by checking level and adding a final thin sand sweep to lock the lava rock in place.
9) Build a 10×10 ft paver seating patio with compacted stone base
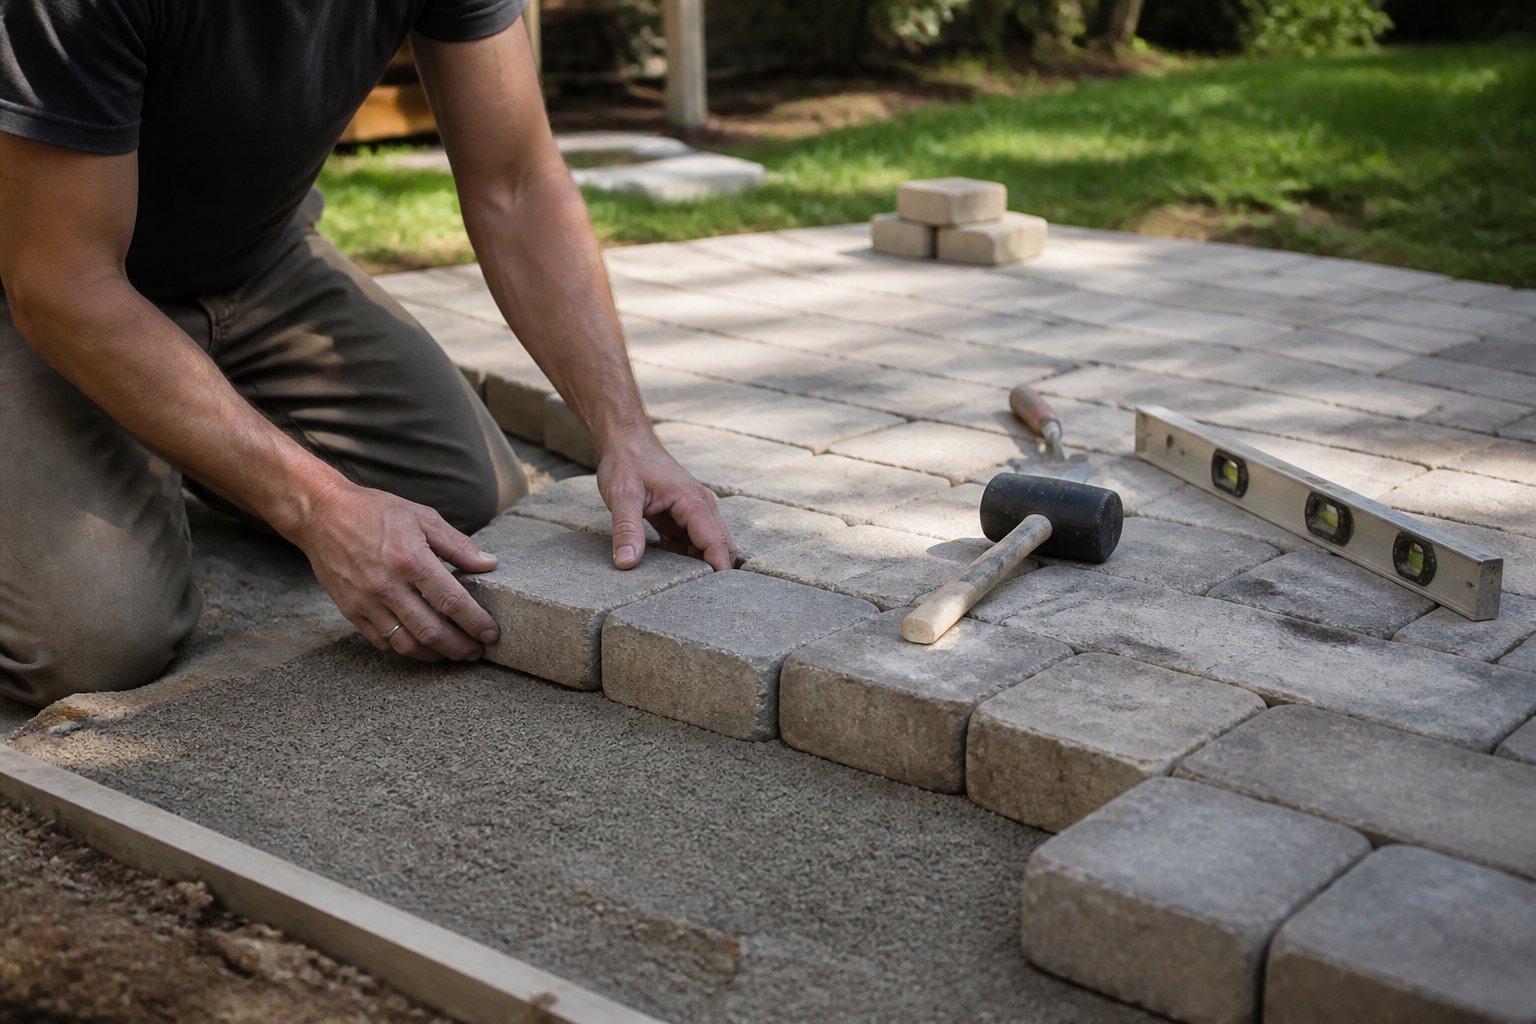
Guide: build a solid 10×10 patio to sit around your fire pit. Start by laying out a square and removing sod to 6–8 inches deep so you can add a compacted stone base.
Spread 4–6 inches of crushed stone, then compact in 2-inch lifts. Use a plate compactor and a level; poor compaction is the most common mistake and leads to sinking pavers.
Add a 1-inch screeded layer of bedding sand, lay pavers in a pattern you like, and cut edge pieces with a wet saw for a tight fit. Install an edge restraint and sweep polymeric sand into the joints, then mist and let it set.
If your yard slopes, step the base or add a slight slope away from structures for drainage. Take your time; a well-built base saves hours of repair later. For a step-by-step DIY patio guide, see this complete paver patio guide.
10) Edge patio with concrete retaining blocks (Besser or Keystone)
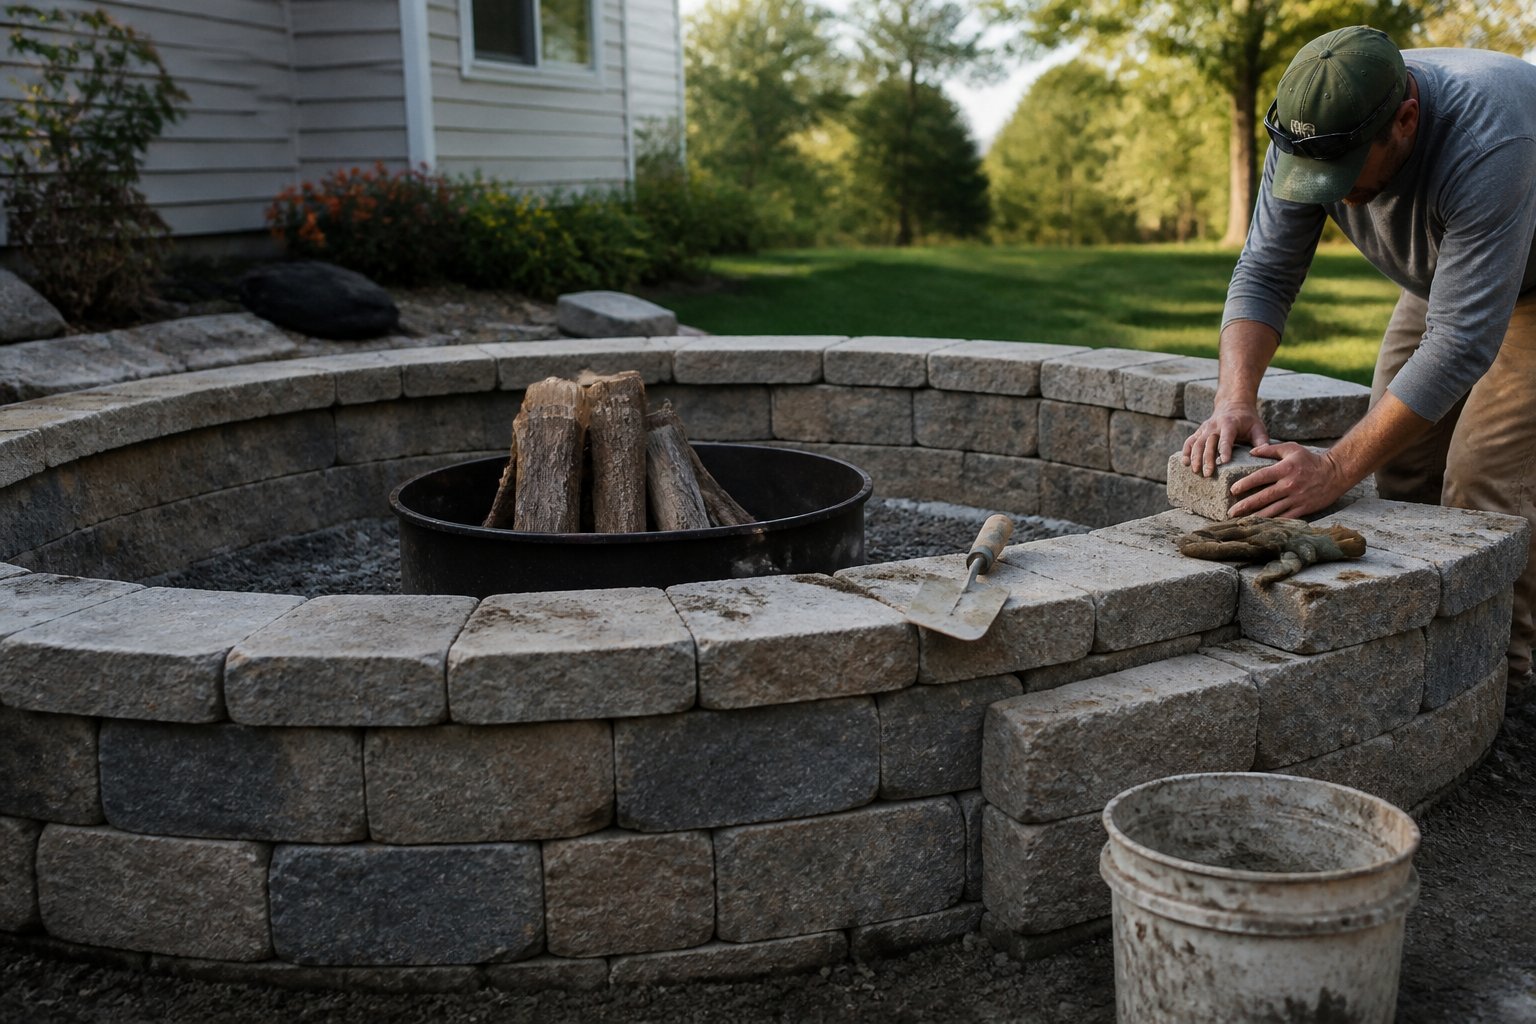
Guide: use concrete retaining blocks to form a clean, durable edge that keeps pavers and gravel in place. Choose Besser or Keystone-style blocks for weight and uniformity; they snap together easily and resist frost heave.
Start by laying a compacted base of crushed stone where the blocks will sit. Set the first course level, tapping with a rubber mallet; a single uneven block throws off the whole ring.
Common mistake: skipping adhesive on the second course. Use masonry adhesive between courses for a tight fit and longer life. Cap the top with matching capstones to create a smooth seating ledge.
If your yard slopes, stagger block joints and step the wall down rather than sloping blocks. Try a dry run first—dry-stack the blocks to check fit before gluing.
Site Preparation and Safety
Prepare the ground, pick a safe spot, and know the rules before you touch a shovel. Focus on flat ground, at least 10 feet from structures, and have tools and an extinguisher ready.
Selecting a Suitable Location
You want a level area with good drainage that keeps embers away from anything that can burn. Measure a minimum of 10 feet from your house, shed, fences, and low tree branches. Avoid placing the pit under eaves, near dry brush, or on a steep slope where sparks can roll downhill.
Check the surface: compacted gravel or a simple paver base works well under a ring or steel insert. If your yard is clay or poorly drained, add 2–3 inches of coarse gravel to prevent water pooling. Mark the circle with string or spray paint and stand in several positions to confirm sightlines and seating space.
Common mistakes include placing the pit too close to flammable decking or under overhanging branches. Keep a metal lid, long-handled tools, and a 5–10 lb ABC fire extinguisher nearby for quick response.
Local Regulations and Fire Safety Guidelines
Before you build, call your city or county fire department or check their website for rules on outdoor fires. Many areas require permits, set burn hours, or ban open fires during dry seasons. Fines for ignoring simple rules can exceed your entire project budget.
Follow these safety steps: register your fire pit if required, install a spark arrestor if local code demands it, and never use flammable liquids to start the fire. Always have a water source — a garden hose on a charged line is best — and keep a metal bucket of sand or dirt nearby.
Keep a written checklist of regulations and inspections you completed. That protects you and makes future sales or neighborhood disputes easier to resolve. Take a photo of the cleared site and the distance measurements for your records.
Finishing Touches for Lasting Results
These final steps lock in durability and safety. Choose materials that resist freeze-thaw, plan for easy maintenance, and add small details that make the space comfortable and safe year after year.
Choosing Durable Materials
Guide: pick materials that hold up to heat, moisture, and foot traffic.
Use concrete pavers rated for exterior use or bluestone for long life. Choose polymeric sand or jointing compound to reduce weed growth and shifting. For the fire ring, use a steel insert rated for high heat or stack fire-rated concrete blocks; don’t use soft landscaping stone that cracks under heat.
Fasteners and edging matter. Stainless-steel screws and galvanized edge restraint prevent rust and movement. Lay a 4–6 inch compacted gravel base under pavers to curb settling. Common mistake: skipping base compaction—pavers will settle and cause trip hazards.
Pick outdoor furniture made for wet climates, like powder-coated steel or resin wicker, and use flame-resistant cushions. If you want color, choose UV-resistant finishes that won’t fade.
Weatherproofing and Maintenance Tips
Guide: protect your work now so repairs stay small and cheap.
Seal pavers with a breathable sealer after 30–60 days to reduce stains and salt damage. Clean joints yearly by sweeping and top-up polymeric sand after heavy rain or freeze-thaw cycles. Inspect the gravel base and edging each spring; refill low spots and recompact where water pools.
For the fire pit itself, remove ash within 48 hours of cool-down to prevent moisture corrosion. Cover the pit with a fitted steel lid or weatherproof cover when not in use to keep water out. Watch for hairline cracks in block—repair with high-temp mortar before they widen.
Keep a small tool kit (steel brush, jointing sand, high-temp mortar) near the patio. A little seasonal upkeep saves you from costly rebuilds later; schedule it with your spring yard work.