The Concrete Patio Trick That Saves $3,000 — DIY Steps Before Hiring Anyone
You’re about to spend serious money on a patio, but one simple step can cut thousands from the bill and keep your project on schedule. You’ll learn a fast, homeowner-friendly check you can do yourself that prevents unnecessary demolition, reduces labor charges, and helps you hire the right contractor.
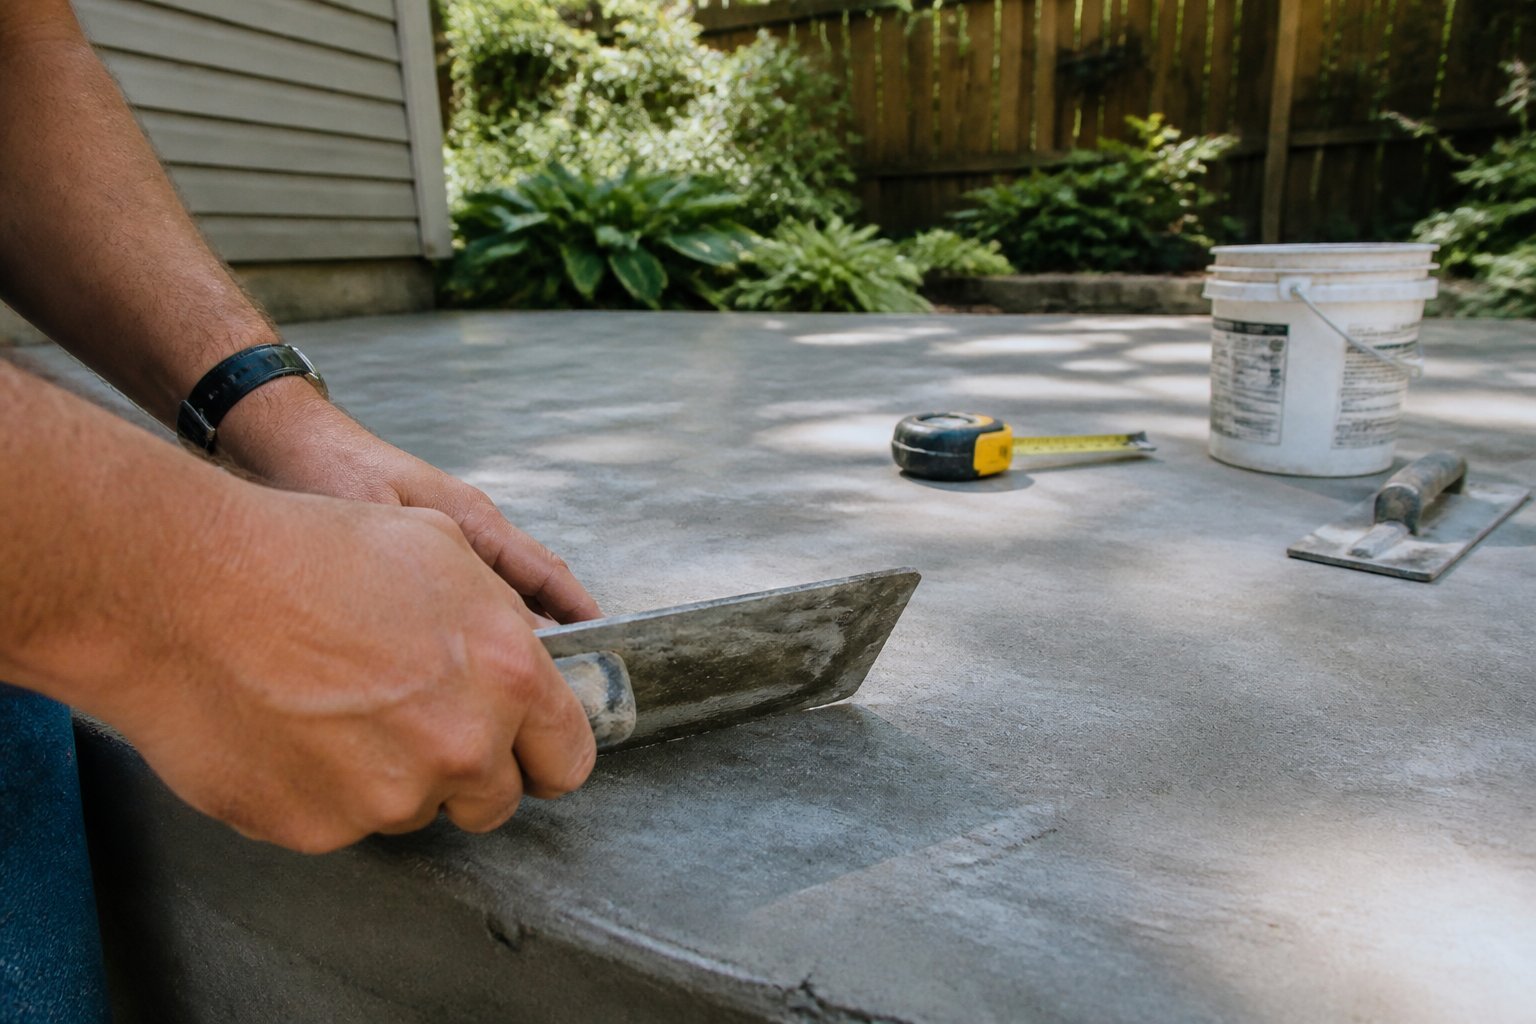
This article walks you through practical site checks, easy tests for drainage and slope, and prep moves that change the whole cost equation. Expect clear how-to steps, common mistakes to avoid, and the exact items to confirm before anyone brings a jackhammer or a truck.
1) Measure and mark existing patio footprint with spray paint and stakes
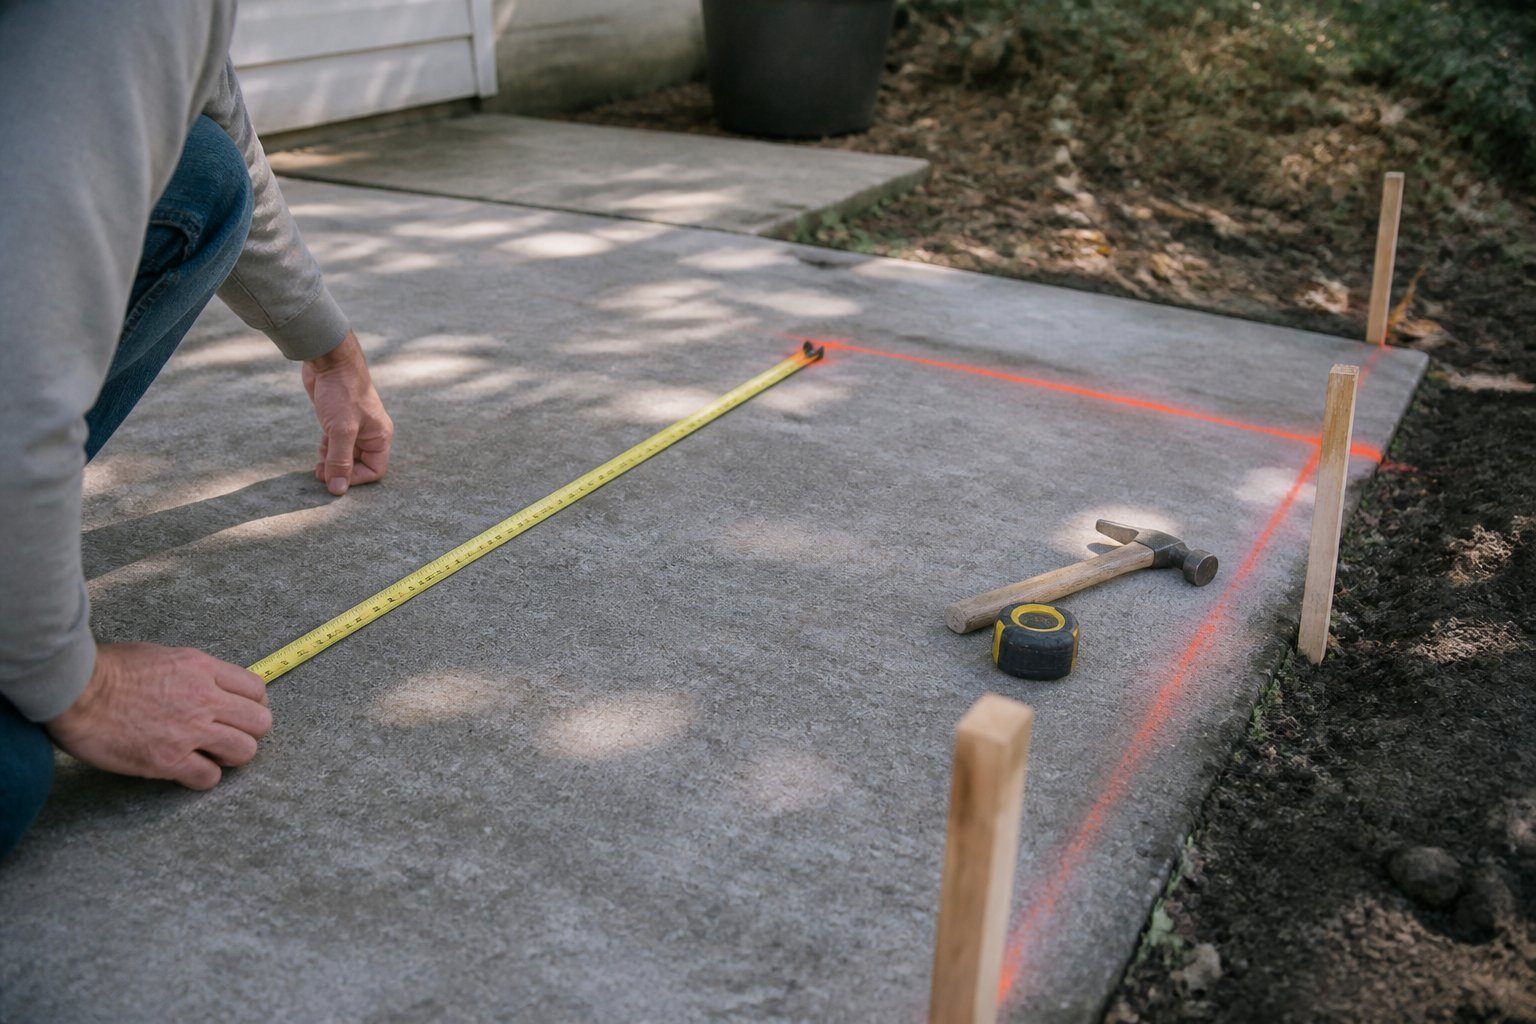
Guide: mark the exact area so you order the right amount of concrete and avoid costly changes.
Walk the patio and imagine the edges. Drive grade stakes at each corner and along long runs, then tie a mason’s string to check straight lines and level sightlines. Use spray paint to trace the final edge; bright colors help you see curves and cutouts from the street.
Measure diagonals to confirm squareness. If numbers don’t match, adjust stakes until they do—this fixes layout headaches before excavation. A common mistake is trusting old edges that are cracked or sunken; repainting those lines can mask problems.
Example: one homeowner saved time and $300 by catching a misplaced 6-inch offset before concrete was ordered. Mark clearly, photograph the layout, and show it to any contractor you hire.
2) Check subgrade slope with a 4-foot level and string line
Guide: learn a quick, reliable test before anyone pours concrete.
Set two stakes at the patio ends and run a mason’s string tight between them. Hold a 4-foot level on the string or across a straight board on the ground to spot high and low spots.
If water should drain away from your house, aim for about 1/8″ to 1/4″ drop per foot. For a 16-foot run, that’s 2–4 inches of total fall; mark any shortfall or reverse pitch.
Common mistake: trusting a single reading. Move the level and string every few feet and note dips that repeat. I once found a buried root causing a low band—easy to fix now, costly later.
If you see standing water after a hose test, record where it pools and measure the shortfall. Take photos and measurements to show a contractor before work starts.
3) Perform a percolation test for drainage using a 1-ft deep hole
Intent: guide — show you how to test drainage before pouring concrete.
Dig a 1-foot deep, 12-inch wide hole where your patio will sit. Keep the sides vertical and clear loose soil so water soaks into the native ground, not the disturbed spoil.
Fill the hole with water and let it sit for one hour to saturate the soil, then refill to the same level. Measure how many minutes it takes to drop one inch; clay will take long, sandy soil will drop fast.
Common mistake: testing right after heavy rain. Wait at least 24–48 hours for realistic results. If your percolation is slow, plan for a gravel layer or a drain pipe to avoid pooling under the slab.
Try this simple test yourself before hiring anyone; it can save thousands by avoiding costly fixes. For a practical step-by-step, see this percolation guide.
4) Rent a plate compactor and compact base material before any pour
Guide: rent the correct plate compactor and learn how to compact like a pro.
Renting a plate compactor saves time and prevents future cracking. You want a light plate for sand and small patios, and a heavier, reversible plate for thick gravel or clay soils.
Start by spreading your base in 2–3 inch lifts. Compact each layer until it no longer settles under your foot; this usually takes a few passes per lift. A common mistake is compacting only the top layer — that leaves voids below that cause settlement later.
If you’ve never used one, ask the rental shop for a quick demo and wear ear and eye protection. For guidance on models and rental options, see a practical plate compactor rental guide.
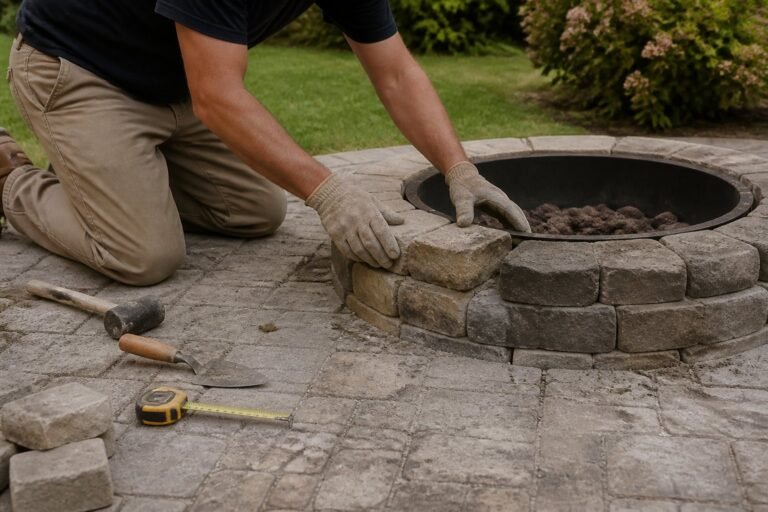
5) Remove only loose or damaged pavers instead of full demo
Guide: save time and money by targeting problem stones, not the whole patio. Start by tapping pavers with a screwdriver handle to find hollow or moving ones. Lift a single “key” paver first to avoid cracking neighbors.
You’ll often find settled sand, weeds, or a shifted edge causing wobble. Clean the base, add compacted sand or gravel, then set the paver back level. Use a rubber mallet to seat it so nearby joints stay tight.
Common mistake: prying too hard and chipping edges. Use a flat pry bar under a loosened joint and work slowly. If multiple pavers sit low, replace only that patch rather than demoing the entire slab.
If you want a quick how-to video, watch techniques for removing and replacing pavers like a pro. Try this on one area first, then expand if needed.
6) Install 4–6in crushed stone base with geotextile fabric
Guide: this is a how-to step you can do before hiring pros. Start by digging to depth so finished patio sits slightly above grade. Lay a heavy-duty geotextile fabric to stop soil mixing with stone; overlap seams by 6–12 inches.
Spread 4–6 inches of angular crushed stone in 2-inch lifts and compact each layer with a plate compactor. Compacting twice avoids future sinking and keeps the slab flat.
Common mistake: skipping the fabric or using rounded gravel. That leads to washout and shifting. I once saw a patio settle three inches after a wet winter because the installer used mason sand instead of angular base.
Check for level with a 2×4 and linelevel. If you want more detail, read a step-by-step DIY Gravel Driveway Installation: The 3-Layer Guide (2026).
7) Add 3–4in of compactable gravel under new concrete overlay
Guide: prepare a stable base so your overlay lasts longer.
You should spread 3–4 inches of crushed gravel (not loose river rock) and compact it firmly. Compacting with a plate compactor removes air pockets and keeps the slab from settling later.
If you skip this, expect cracks or dips within a season. I’ve seen overlays fail where someone poured directly over soft, wet soil. A quick test: walk the area—if it squishes, you need gravel.
Use 3/4-inch crushed stone for best compaction. Lay in 1–2 inch lifts and compact each layer. Avoid overbuilding—too much gravel raises the slab and costs more.
Before pouring, check drainage slope away from structures. If you want, rent a compactor for a day; it’s cheap insurance that often saves hundreds.
8) Use rebar or wire mesh tied 2in from bottom for reinforcement
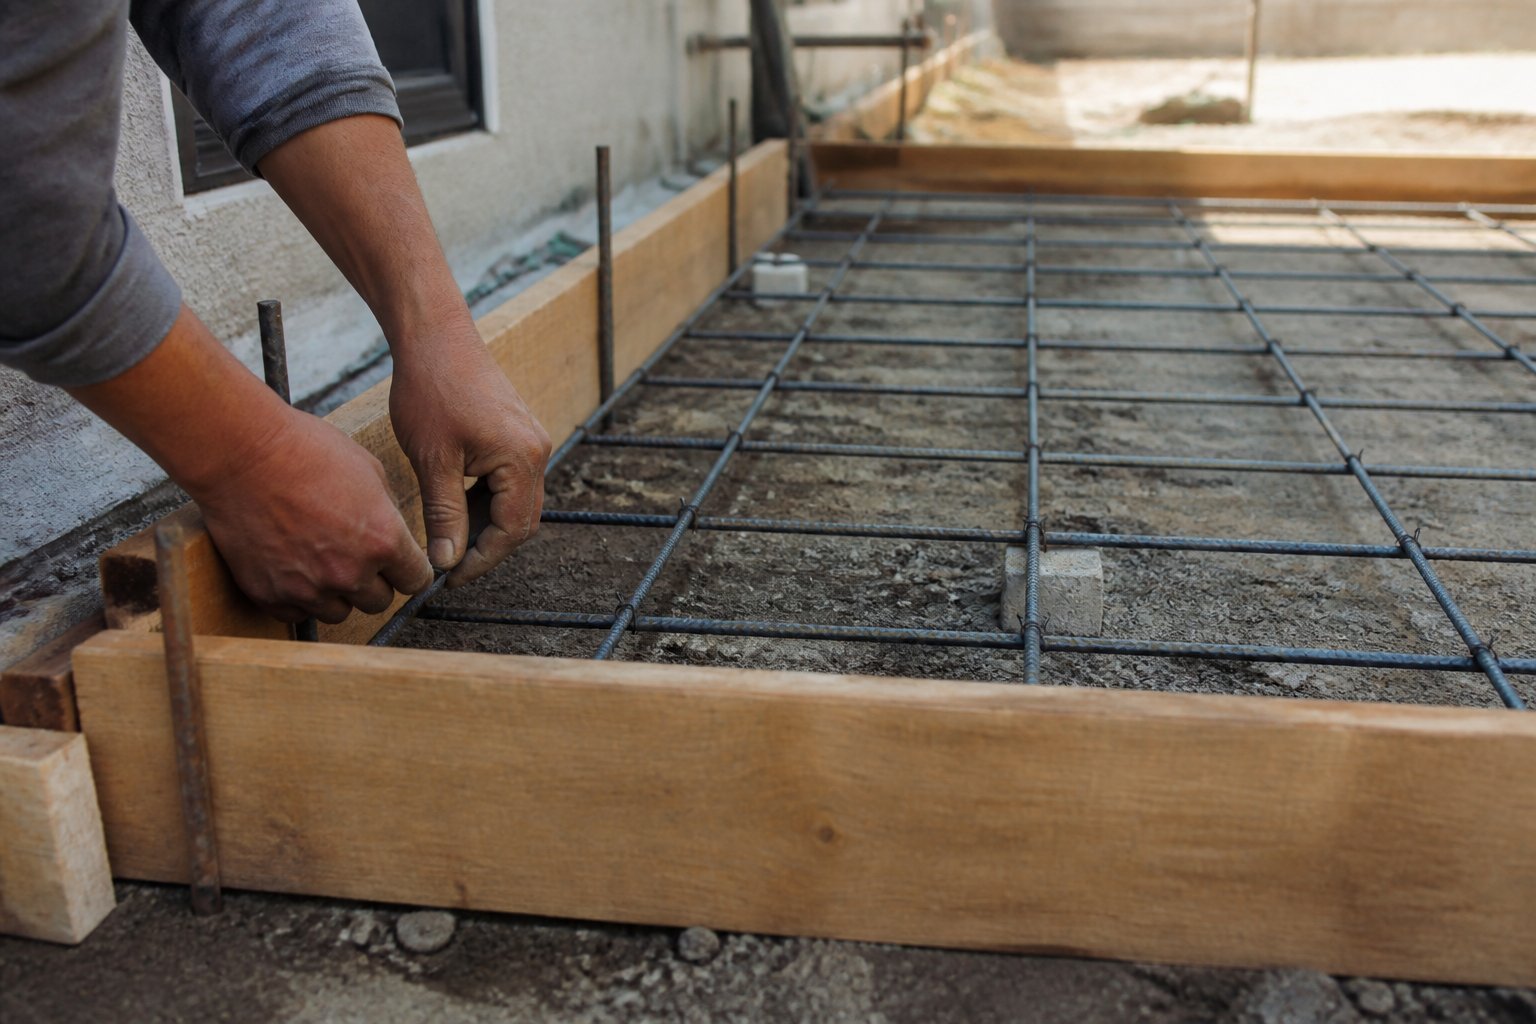
Guide: how to place steel so your slab lasts without costly repairs.
Tie rebar or welded wire mesh so the steel sits about 2 inches above the slab bottom. This keeps the reinforcement in the lower third where tensile cracks form, which helps control crack width and keeps moisture off the steel.
Use chairs, concrete blocks, or wire ties to hold the grid at the right height while you pour. A common mistake is letting the mesh sag to the subgrade — that leaves the steel useless and can cause rusting later.
For driveways or heavy loads, use rebar with tied intersections; for patios or sidewalks, wire mesh often works and installs faster. Check local code for spacing rules and ask your contractor to show you the placement before finishing.
9) Order a ready-mix truck for exact yardage to avoid overbuying
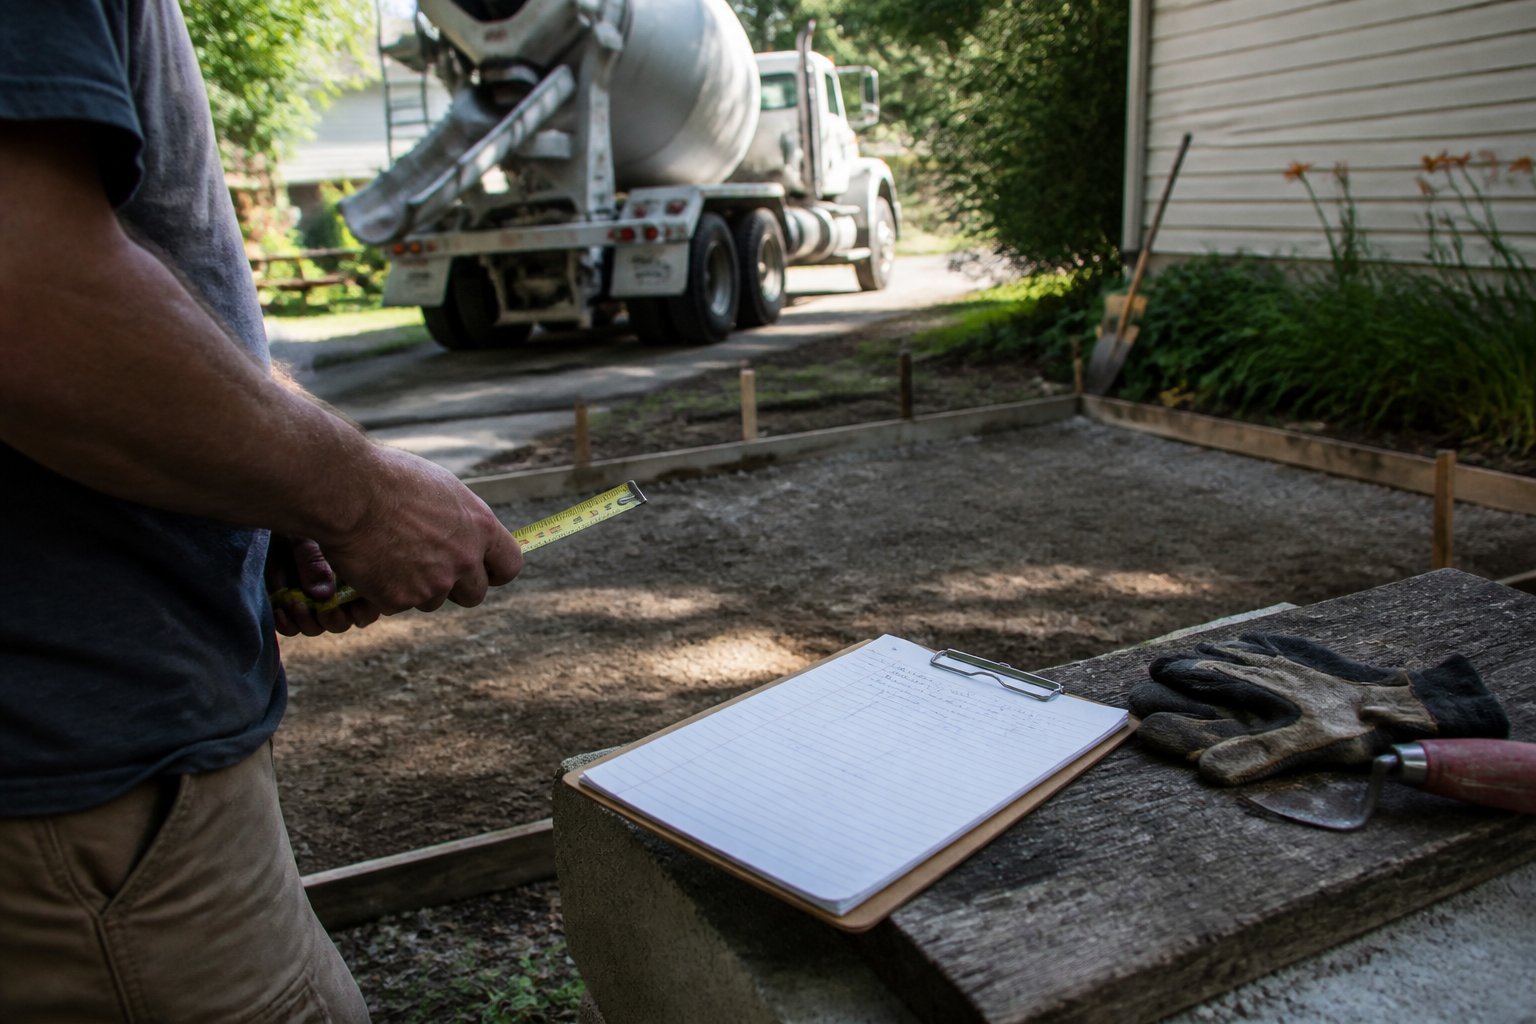
Guide: order the exact cubic yards you need to cut waste and cost. Measure slab dimensions, calculate volume, and add a small 5–10% buffer for waste and spillage.
Call the plant with your cubic yards and mix PSI. Tell them slab thickness and any pump or slump needs so they deliver the right mix. Ask about minimum loads and short-load fees to avoid surprises.
A common mistake is rounding up to whole trucks; that often adds $500–$3,000 in wasted concrete for small patios. For help, use a trusted online yardage calculator to confirm your number before you call the dispatcher.
Plan truck access and pour timing so the driver can empty the load without waiting. If you want more detail on calculating volumes and fees, check a ready-mix ordering guide like this one: Ready-Mix Concrete Ordering Tips.
10) Request contractor-proof of insurance and a written scope of work
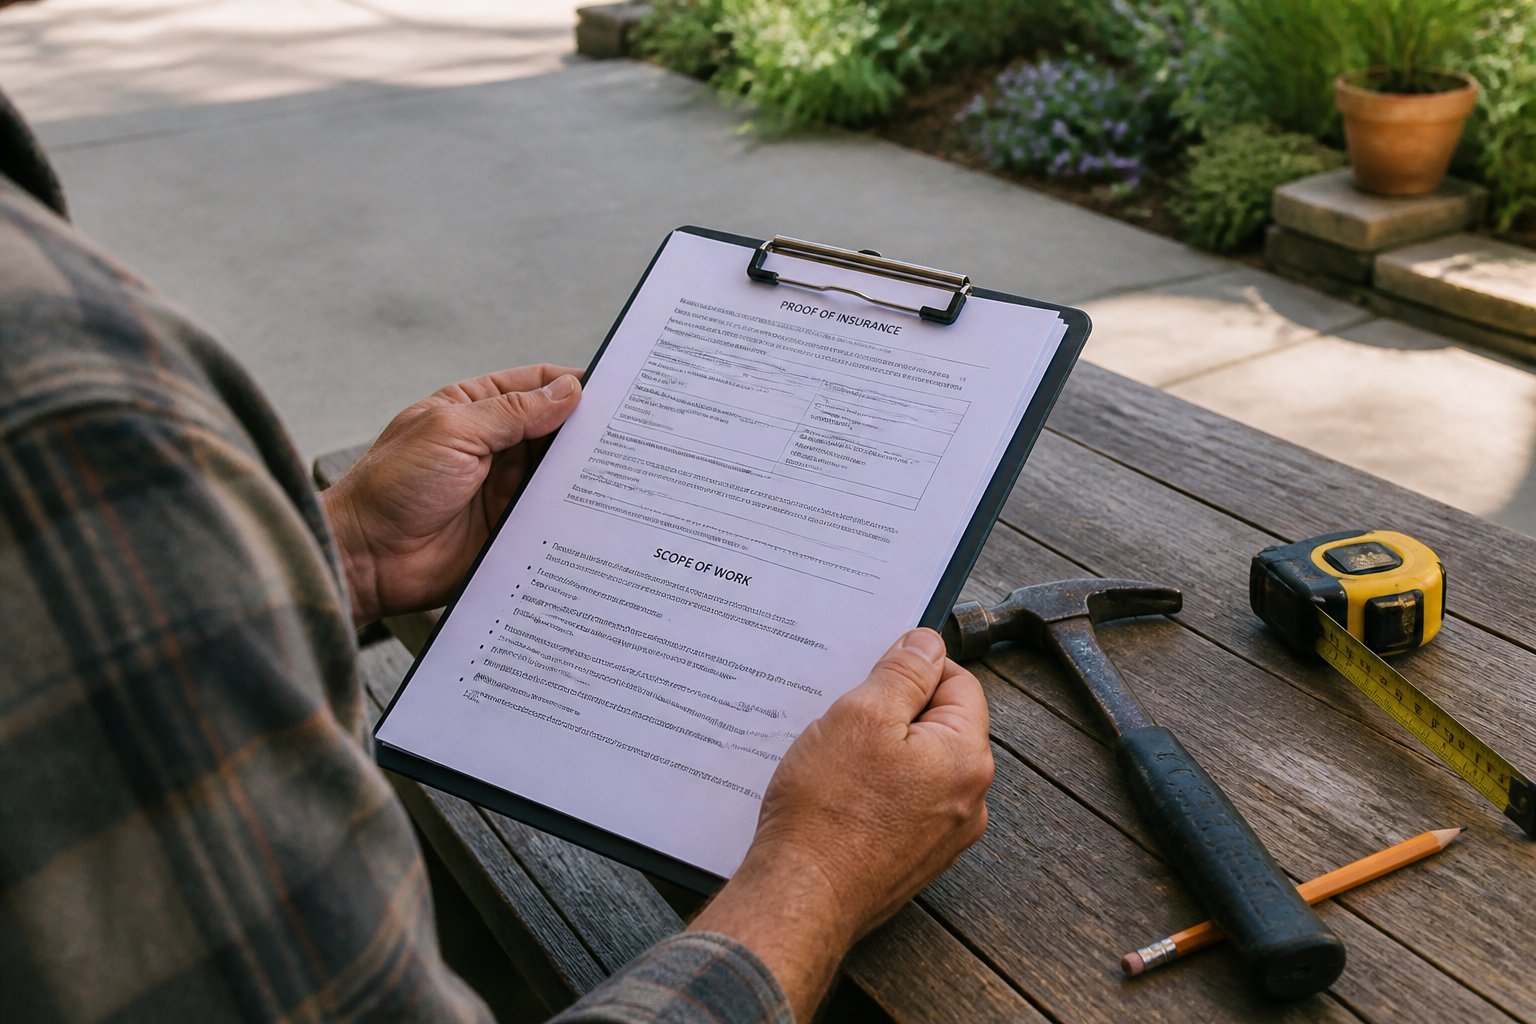
Intent: guide. Ask for a Certificate of Insurance (COI) and call the carrier to confirm limits and effective dates. If a worker gets hurt on your property, an uninsured crew can make you pay medical or legal bills.
Get a clear, written scope that lists materials, start and end dates, payment schedule, and cleanup. One homeowner I know avoided a $2,500 change-order by insisting on itemized line items before work began.
Watch for vague wording like “work as needed.” That’s a red flag—insist on specific tasks and quantities. If the contractor resists sharing insurance or a detailed scope, walk away and hire someone who proves both.
Understanding Concrete Patio Costs
You’ll want to know which parts of the project eat the budget and which choices give the biggest savings. Focus on slab size, site prep, finish type, and labor — those four items will shape most of your price.
Price Factors That Drive Up Your Budget
Concrete volume is the first cost driver: more square feet and thicker slabs mean more mix and higher haul fees. A 12×16 slab at 4 inches uses far less material than a 16×20 slab at 6 inches.
Site preparation adds big costs when soil is unstable, slopes need grading, or tree roots must be removed. Expect heavy equipment or extra labor charges in those cases.
Finish and styling matter. Plain broom-finish concrete stays cheapest; stamped, colored, or exposed-aggregate surfaces raise material and labor costs sharply. Control joints, edge treatments, and sealed surfaces add time and expense too.
Labor rates vary by region and contractor skill. Hiring a pro for a clean, flat slab often avoids costly callbacks, but doing basic prep yourself can cut the final invoice by hundreds to thousands.
Common Missteps Homeowners Make
Skipping a soil check or ignoring drainage will cause cracking or pooling later. One homeowner I worked with saved upfront by skipping a basic slope fix; within two seasons they paid for slab patching. Don’t rush compaction or sub-base work — it’s cheap insurance against future repair bills.
Underestimating permit needs, local code thickness, or utility marking can stop work mid-project and add days of delay plus fines. Another common mistake is picking a decorative finish before confirming the budget; decorative options can more than double per-square-foot costs.
Get clear written quotes, ask for itemized line items, and consider doing demolition or simple site prep yourself to lower labor charges.
Site Preparation Essentials
You need a solid base and correct slope before pouring concrete. Testing the soil and setting precise drainage prevent cracks, settlement, and costly fixes later.
Soil Testing for Longevity
Intent: guide — test what’s under your patio so the slab lasts.
Start with a simple hand-auger test: dig 12–18 inches in three spots — near the house, mid-patio, and the edge. Note soil layers, moisture, and any organic material. Clay holds water and expands; sand drains well. If you find soft, spongy soil or more than 4 inches of topsoil, plan to remove and replace with compactable fill (clean gravel or crushed rock).
Get a pro compaction test (Proctor or plate) if the patio is over 200 sq ft or supports heavy loads. Compaction failures show up as uneven slabs or cracks. A common homeowner mistake is skipping the compaction step to save time — it costs more to fix later. Record bearing values and moisture content for your contractor or permit.
Proper Grading and Drainage Solutions
Intent: tutorial — make water flow away from structures and the slab.
Grade the site to slope away from the house at 1/8″–1/4″ per foot (minimum 1/4″ per foot is safer). Use string lines and a level to set consistent slope. Install a shallow trench with 3/4″ crushed rock under the slab edge for capillary break if soil stays wet.
Add an edge drain or perforated pipe wrapped in fabric where water pools. Tie drains to a safe outlet: dry well, storm line, or lower yard area. Avoid directing runoff toward neighbors’ properties. Watch for downspouts — extend them at least 5 feet away or connect to the same drain system. Small mistakes like leaving a low spot or a blocked outlet lead to standing water and early concrete failure.
Helpful checklist:
- Dig test holes in 3 spots
- Remove topsoil >4″ or organic material
- Compact base to spec
- Set slope 1/8″–1/4″ per foot away from structures
- Install rock layer and edge drain if needed
Take photos and notes during prep so you or your contractor can prove the job was done right.