10 Jaw-Dropping Backyard Ideas That Instantly Upgrade Your Outdoor Space
You want an outdoor space that finally feels useful, beautiful, and cozy — not a patch of grass you avoid. This article shows simple, powerful ideas that upgrade your backyard so it works for relaxing, entertaining, and everyday life.
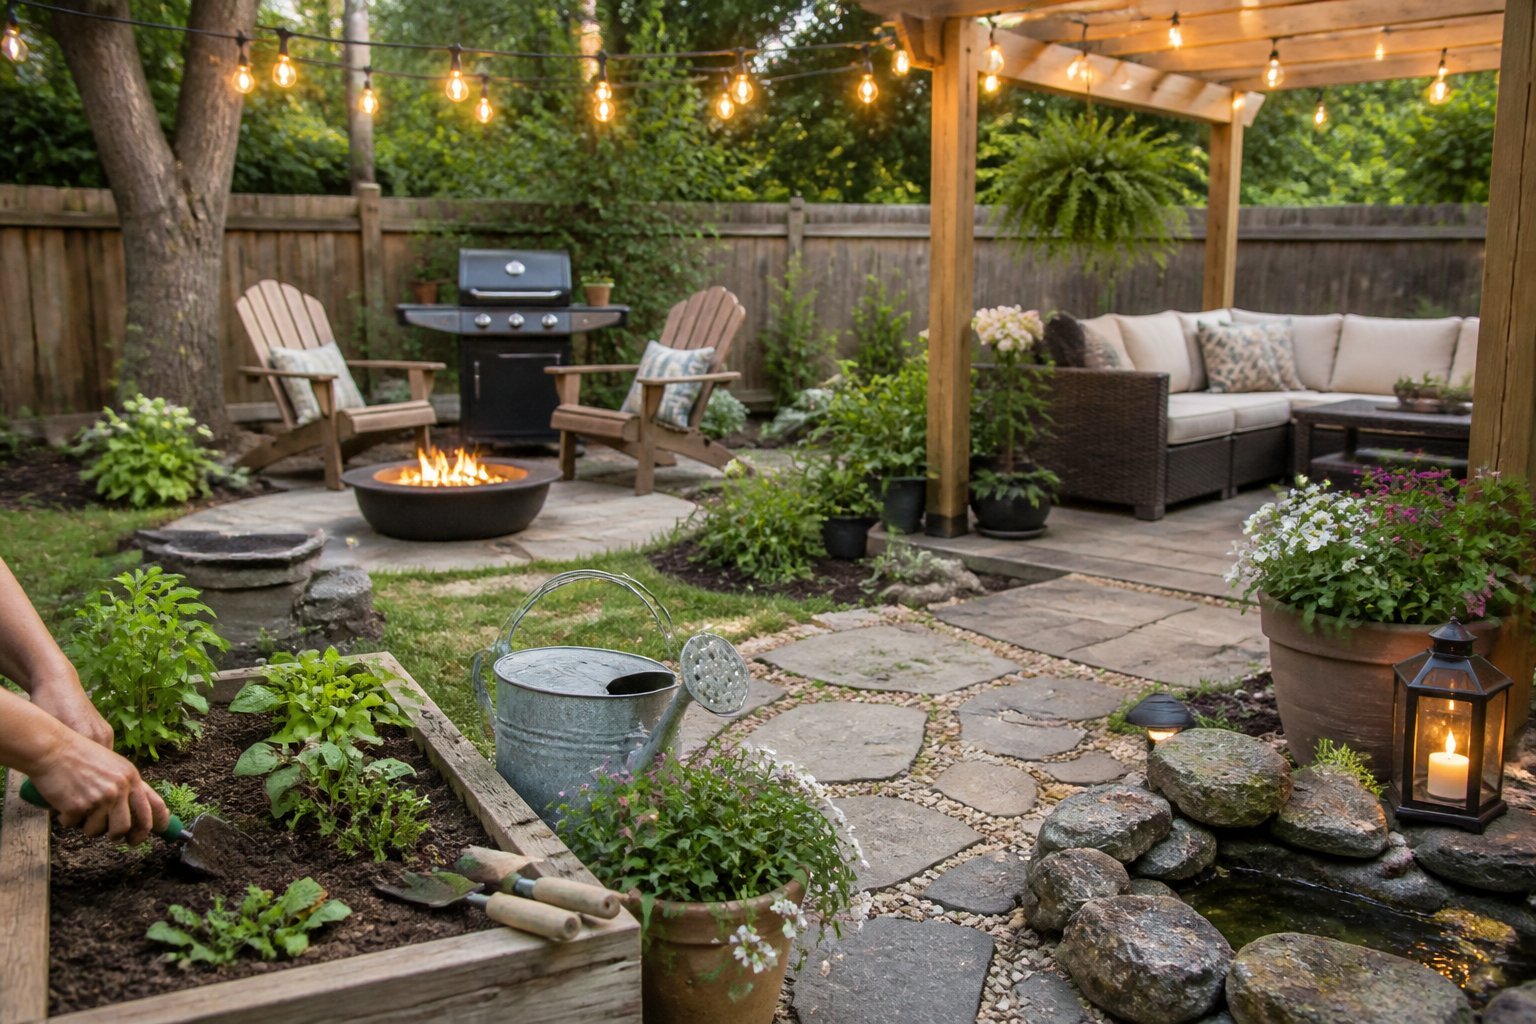
Picture evenings by a fire pit, dinners from a pizza oven, or a quiet corner planted with pollinator-friendly blooms; you’ll learn practical ways to make those scenes real without wasting time or money. Expect clear guidance, common mistakes to avoid, and small design choices that create the biggest impact on comfort and ambiance.
1) Fire pit with built-in seating and hidden storage
Intent: idea and small tutorial to build and use this feature.
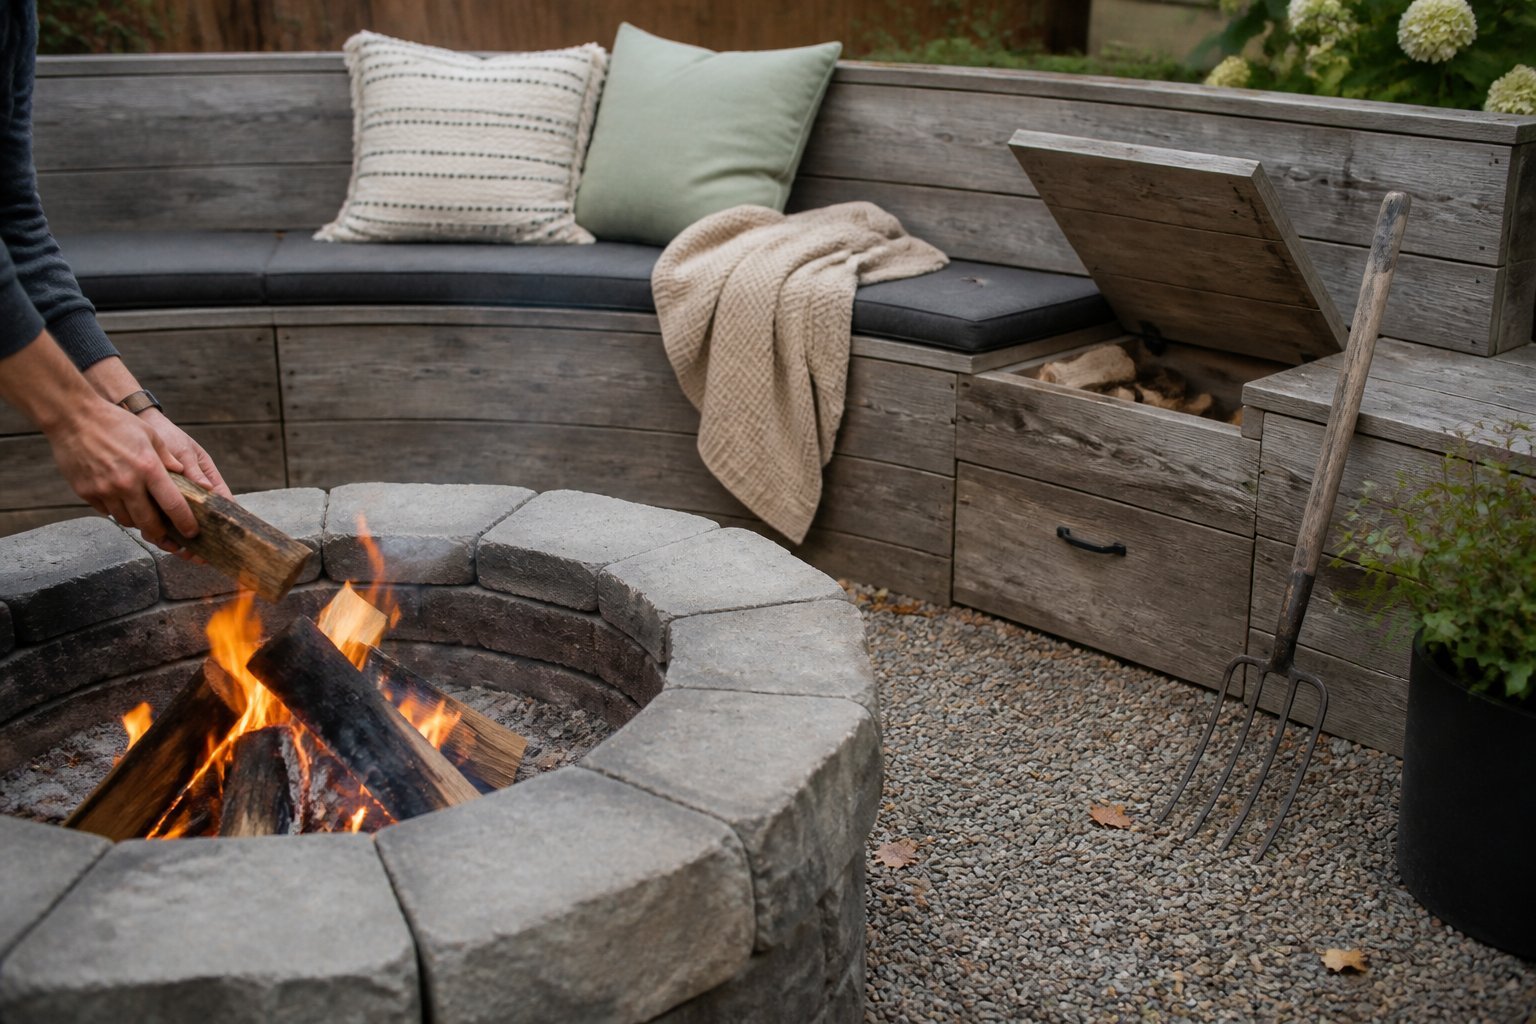
A fire pit with built-in seating creates a clear gathering zone and saves space. Sit close enough to feel the warmth but keep at least three feet clear for safety, especially if you use cushions or rugs.
Build a low circular bench that doubles as storage. Lift-up bench tops hide blankets, tools, and firewood; line the cavity with a moisture barrier to avoid rot. Use heat-resistant materials near the flame and choose smooth edges so kids and guests don’t snag clothing.
Common mistake: making seating too high. Aim for 16–18 inch seat height so people can easily stand up. Try mixing bench cushions and removable chairs for flexibility.
If you want examples and design tips, check this gallery of outdoor fire pit ideas with built-in seating.
2) Pergola with retractable canopy and integrated lighting
This idea is a guide to make your patio usable day and night. Choose a pergola with a retractable canopy so you control sun and shade on demand.
Pick integrated LED lighting for even, low-heat light that extends evenings without fuss. Wire lights into the frame or choose solar LED strips for easier install; avoid cheap fixtures that fail after one season.
Think about motorized operation if you want one-touch control. You’ll love how a motor and remote make quick weather changes simple, but check wind ratings first to prevent damage.
A common mistake is undersizing the structure; measure your seating and traffic flow before buying. Add dimmable lighting and warm bulbs for a cozy feel that suits dinners and quiet nights.
3) Raised garden beds with drip-irrigation system
Intent: guide — set up efficient beds that save time and water.
Raised beds give you neat planting zones and better soil control. Add a drip-irrigation system and you’ll water roots, not leaves, which cuts disease and waste.
Start by planning rows of 1/4″ tubing and emitters placed 6–12 inches apart for veggies. Use a simple kit or follow a step-by-step tutorial for faucet hookup and layout; this easy raised bed drip irrigation guide shows how to connect to a spigot. Fit a pressure regulator and filter to avoid clogged drippers.
Common mistake: running lines too close to the surface. Bury tubes slightly or cover with mulch to protect roots and reduce evaporation. Test the system for leaks and adjust emitter flow by plant type.
Try a timer so you don’t forget watering during hot weeks. Install once, tweak over a season, and your beds will reward you with healthier plants and less daily work.
4) Stargazing cedar deck with built-in telescope mount
This is a how-to guide so you can build a cedar deck that turns nights into easy stargazing sessions. Choose clear-grain cedar for durability and low movement; it resists rot and keeps the mount stable.
Plan the mount location near a low railing or a removable panel so your telescope gets a wide sky view. Bolt a vibration-damping plate to a concrete pier or heavy post under the deck; a common mistake is anchoring to thin decking boards, which adds wobble.
Add red LED path lights and a small storage locker for eyepieces and charts. Test alignment on a full moon night and tweak balance before long exposures. If you want design ideas, see a list of stargazing deck setups for simple features and seating options.
Start with one solid anchor point and refine from there.
5) Natural swimming pond with planted biofilter
Intent: idea and quick how-to for a bathing pond with a planted biofilter.
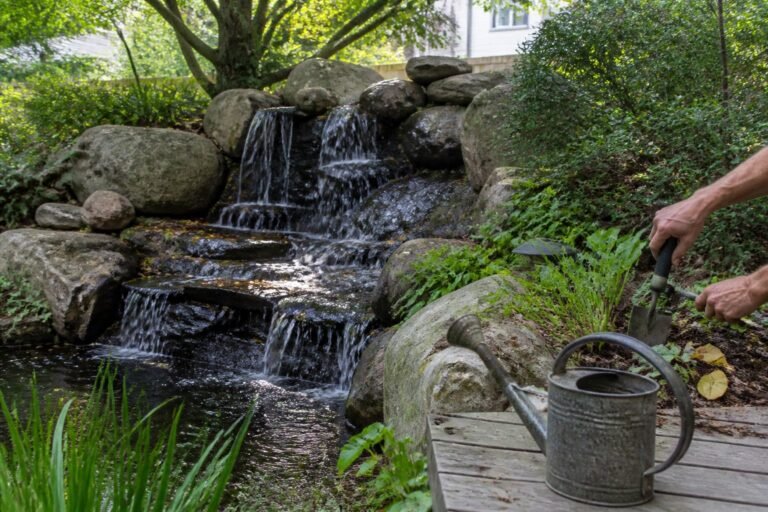
Build a swimming pond that uses a planted biofilter to keep water clear without chemicals. You get a clean swim plus a living edge that blends with your garden.
Place a shallow regeneration zone filled with gravel and water plants to act as the biofilter. Popular plants like iris and cattail help trap nutrients; space them so you can prune easily.
Position the filter where water flows from the swim zone to maximize circulation. A common mistake is undersizing the regeneration area — give it at least 30–40% of total pond area for reliable balance.
Think about decking or steps for easy access and a small pump to move water through the planted bed. Start simple, observe for a season, and adjust plant mix if algae appears; your pond will settle into a healthy rhythm.
6) Outdoor kitchen with pizza oven and stainless-steel grill
This section is a guide to building an outdoor kitchen centered on a wood-fired pizza oven and a stainless-steel grill. Aim for flow: prep space between oven and grill so you can slide pizzas and flip steaks without juggling tools.
Choose a masonry oven for heat retention or a prefab dome for faster install. Place your stainless-steel grill nearby on a weatherproof island with storage for tools, fuel, and a small fridge. A common mistake is skimping on counter space — you’ll want at least 3–4 feet between stations.
Think about materials: concrete, stone, or tile tops resist heat and clean easily. Protect wiring and gas lines, and plan ventilation so smoke won’t drift into seating. For inspiration and layouts, check outdoor pizza oven kitchen ideas (https://bbqhost.com/outdoor-kitchen-with-pizza-oven-ideas/).
7) Privacy living wall of evergreen shrubs and vertical planters
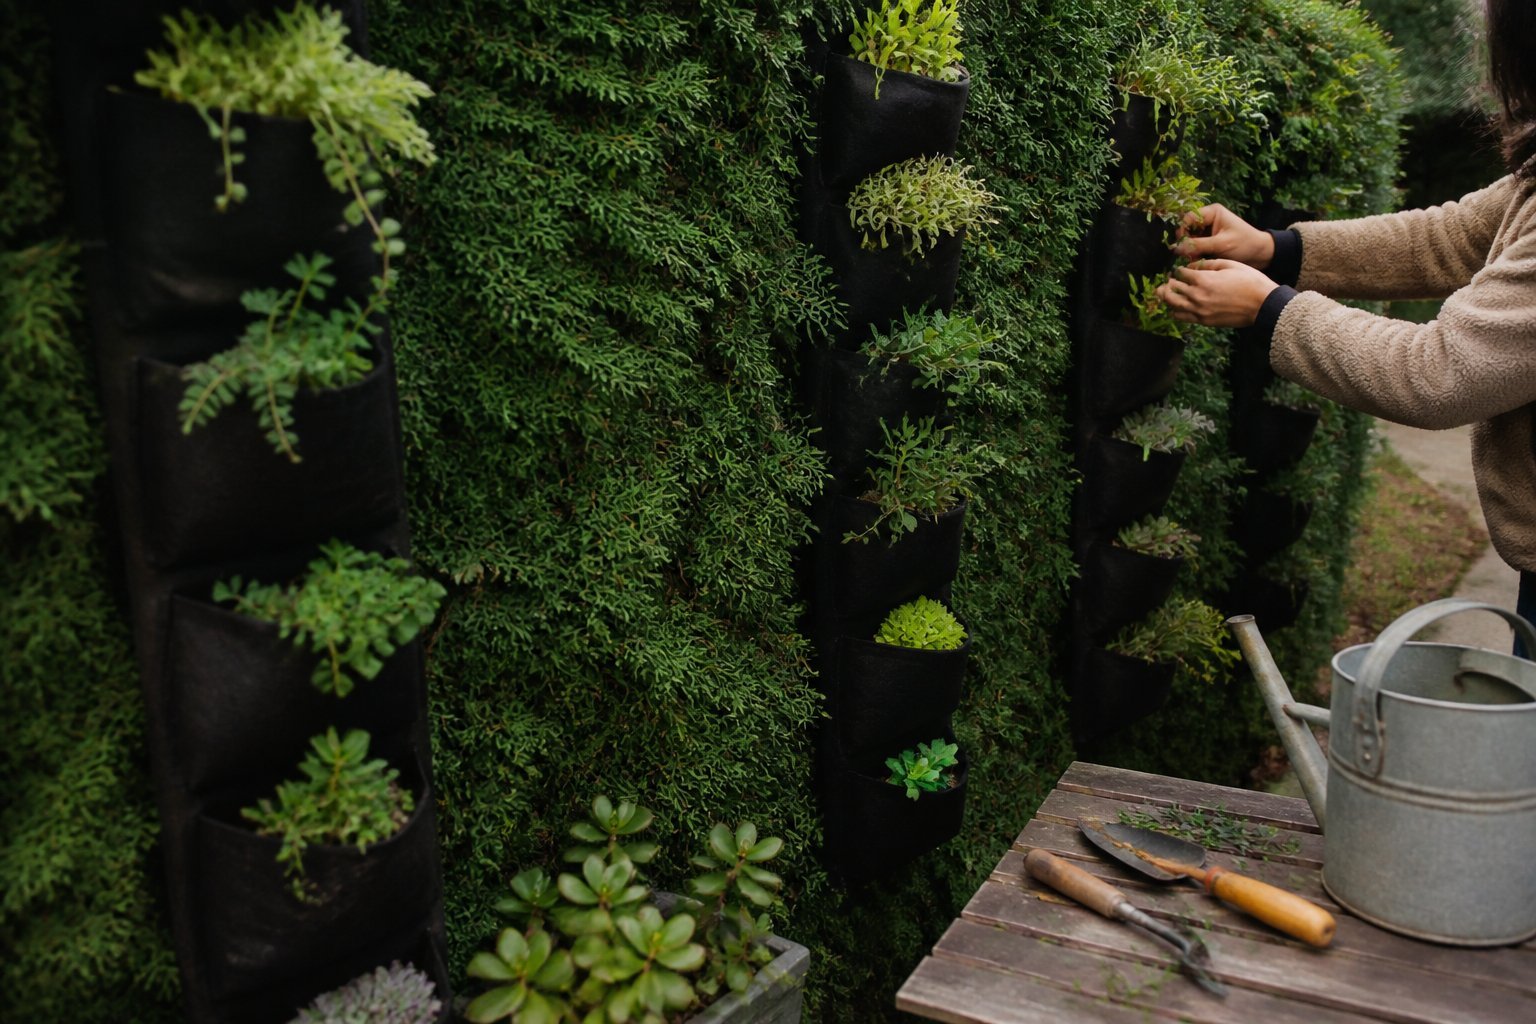
Idea: build a mixed living wall that pairs tall evergreens with stacked vertical planters to block views year-round. You plant fast-growing arborvitae or boxwood in the ground for a solid screen, then add modular planters with trailing vines and herbs for texture.
Guide: set evergreens 3–5 feet apart, school them with good soil and a slow-release fertilizer. Mount vertical planters on a sturdy frame and water with drip lines; a common mistake is skipping irrigation, which leaves planters dry while shrubs thrive.
Example: I helped a narrow-city backyard by replacing a chain-link view with a 7-foot living wall—now neighbors see foliage, not patio furniture. Start small: try two evergreens plus three planters, then expand once roots and routines settle.
8) Multi-level native wildflower meadow for pollinators
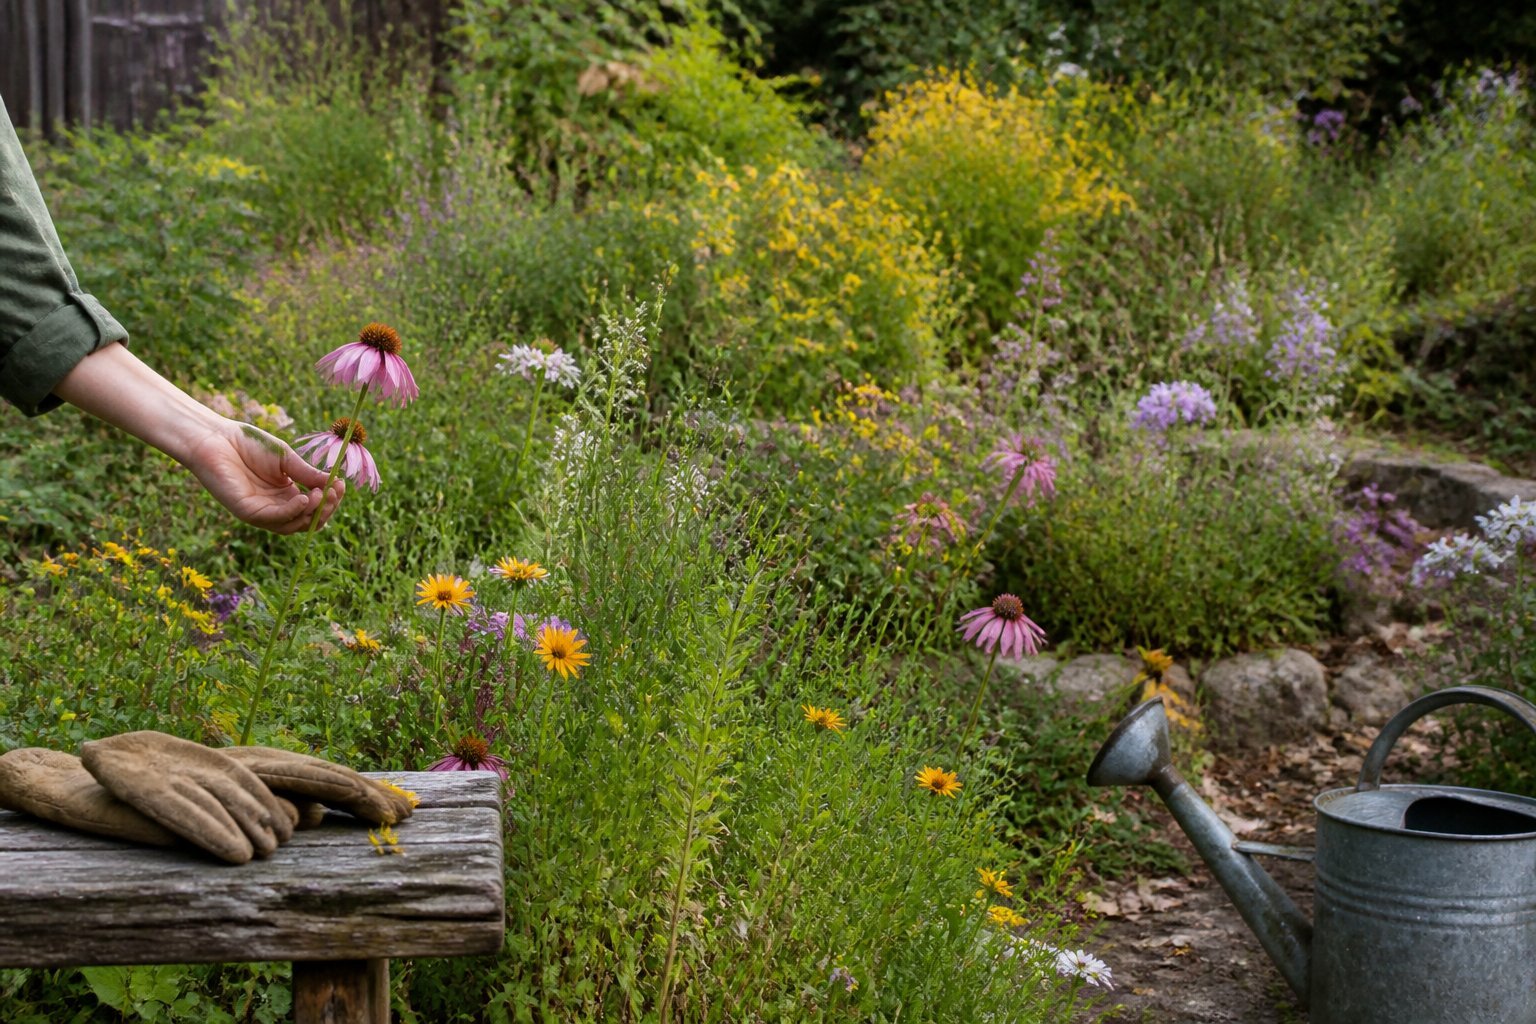
Intent: practical guide to design and plant a layered meadow that helps bees and butterflies.
Layer terraces or gentle berms to create microclimates and show depth. Plant native grasses on upper slopes and mix shorter wildflowers below for staged bloom and color.
Start small—one tier 10–20 feet wide—to test soil and sun. Use region-specific seed mixes and check the Xerces Society habitat guides for plant lists and timing.
Avoid the common mistake of planting only annuals; they need re-seeding and offer limited long-term habitat. Thin aggressive species in year two and spot-seed gaps to keep diversity.
Think like a gardener and a biologist: match soil, sun, and bloom times. Try one multi-level patch this season and watch pollinators find it.
9) Solar-powered pathway lighting and smart irrigation controls
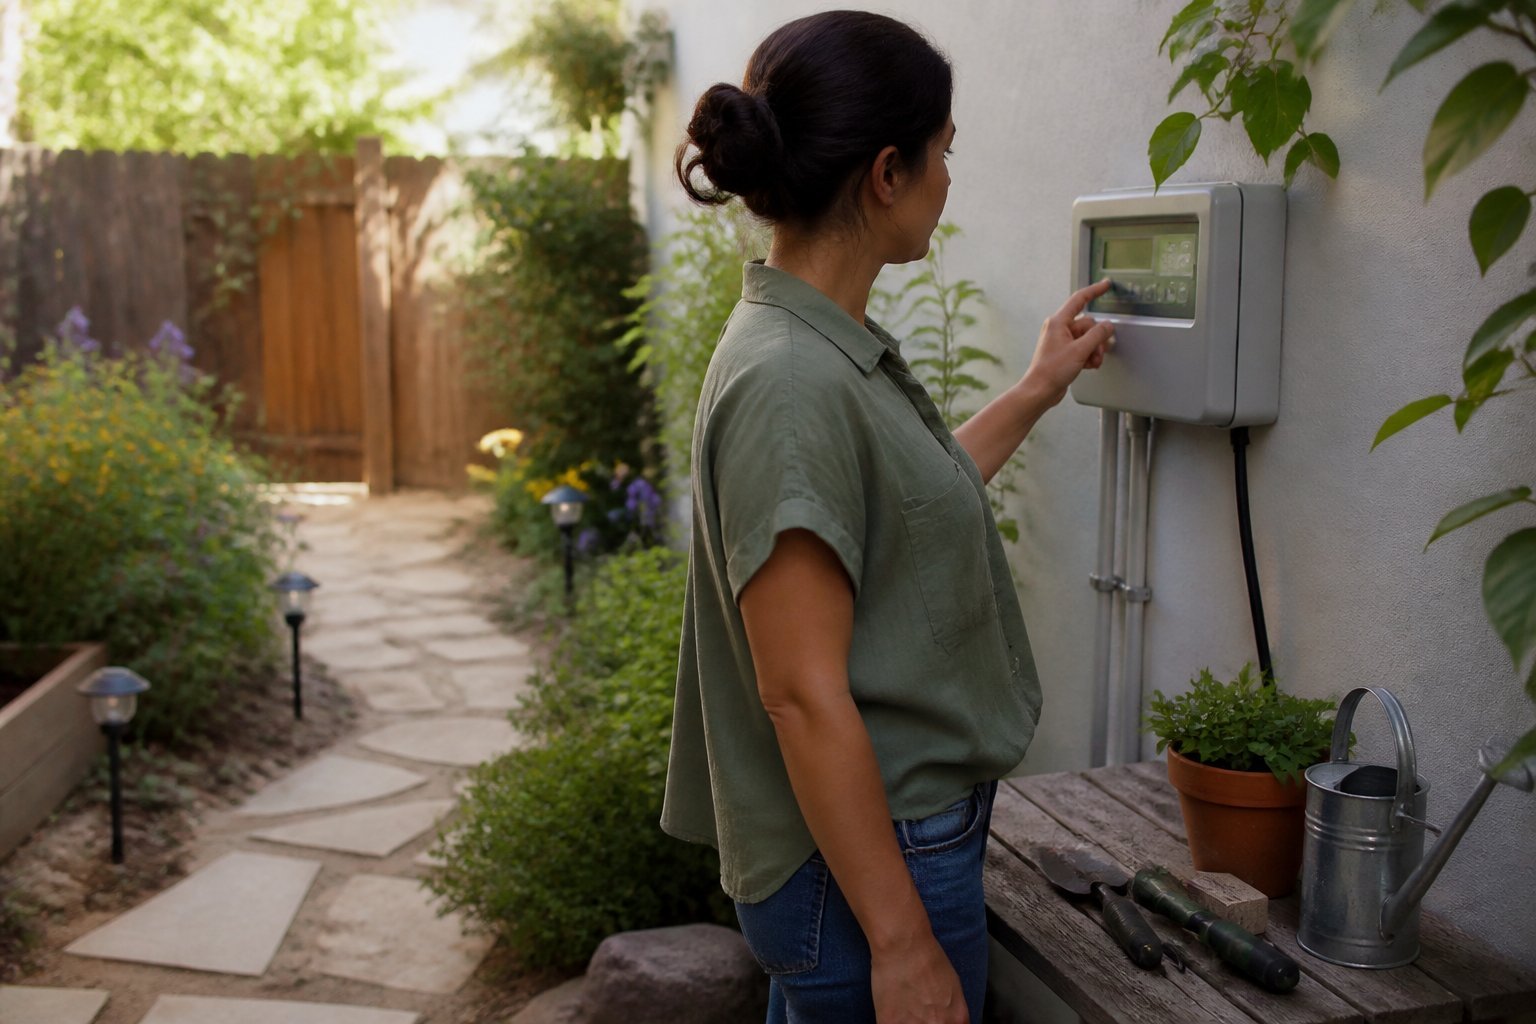
Intent: practical guide to brighten and save water.
Add solar pathway lights to lead guests and cut wiring work. Pick fixtures with good batteries and motion sensing; avoid cheap lights that dim by dusk. Place them 6–8 feet apart for even light and test at night before final placement.
Pair lights with a smart irrigation controller to save time and water. You can set schedules, rain skips, and zones from your phone. A common mistake is overwatering small beds—use shorter zones and check soil moisture manually first.
If you want a DIY upgrade, run a small trench for sensor wires and mount the controller near your hose bib. Start with one zone and expand later. Try one change this weekend to see instant impact on safety and curb appeal.
10) Compact courtyard with folding glass walls and courtyard fountain
This idea is a guide to turn a tight courtyard into a flexible living room. You open folding glass walls to blur the line between house and garden, then close them for privacy or warmth.
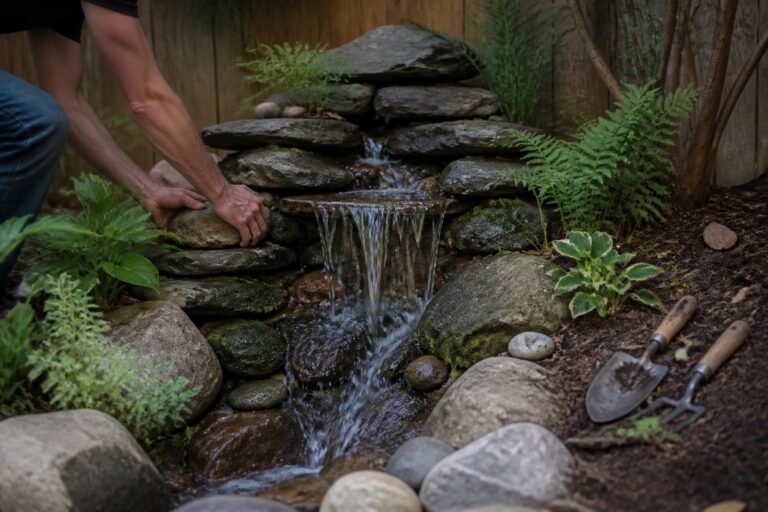
Place a small, low-profile fountain near the center or against a wall to add sound and scale. Choose a recessed basin or wall spout so water doesn’t overwhelm the footprint.
Think about sightlines from inside your home. A fountain framed by glass looks like an indoor art piece, but avoid planting tall shrubs that block the view.
Common mistake: using oversized materials that clutter the space. Pick slim frames, clear glass, and compact paving to keep the area airy.
Try a bench with storage against one wall. Test the folding mechanism before finishing surfaces to prevent misalignment and costly fixes.
Planning Your Outdoor Retreat
You’ll decide what to keep, what to change, and how much to spend. Focus on actual measurements, sun patterns, and a clear list of must-haves versus nice-to-haves.
Assessing Your Space
Guide: practical site survey to map light, soil, and use zones.
Start by measuring your yard with a tape and sketch a simple plan. Mark property lines, existing trees, slopes, and hard surfaces. Note sun exposure at 9 a.m., noon, and 4 p.m. for one day to pick plant and seating locations that work most of the day.
Check soil type with a shovel—loamy, sandy, or clay—and test drainage in any low spots after a rain. That tells you whether to amend soil, add raised beds, or install a dry creek. Think about sight lines from windows and from the main patio entrance; position focal features where they’re visible from the house.
Common mistake: planning without allowing 3 feet of clear walking space around furniture and 6–8 feet for fire-pit seating. Use a list: shade needs, privacy needs, storage needs, and a prioritized activity (dining, play, gardening).
Budgeting for Backyard Enhancements
Guide: practical budgeting with phased upgrades and cost-saving trades.
Decide on a total spend and then split it into three buckets: hardscape (paths, decks), softscape (plants, soil), and furnishings/lighting. Hardscape often takes 40–60% of the budget because labor and materials cost more. Get two local quotes for any major work and ask for line-item estimates.
Plan upgrades in phases: install drainage and major hardscapes first, then add plants and furniture the next season. Save money by doing demolition, planting, or painting yourself. Reuse materials where safe—old pavers can become a path, salvaged wood can become raised beds.
Watch for hidden costs: permits, utility locates, and irrigation runs. Keep a 10–15% contingency fund. Track expenses in a simple spreadsheet with columns: item, vendor, quoted cost, actual cost.
Balancing Functionality and Style
Guide: design choices that serve daily use and create visual impact.
Start with a core function: cooking, relaxing, or entertaining. Place that function closest to the house for convenience. Then layer style with durable materials—composite decking, powder-coated metal furniture, and outdoor-rated fabrics that resist fading.
Use a limited palette: three materials and three plant types to keep the look cohesive. Add lighting that serves two purposes: safety (path lights) and mood (string lights or low-watt accent spots). Choose multipurpose pieces like storage benches and foldable dining sets to save space.
Example: a gravel seating area with a steel fire bowl looks modern and drains well, while raised beds along the fence create privacy and fresh herbs. Common mistake: choosing pretty but fragile pieces that won’t stand up to weather. Test a single purchase first, then expand.
Enhancing Ambiance and Comfort
Create a backyard that feels inviting after dark, stays cool by day, and holds up through weather. Focus on layered lighting, targeted shade, and materials that resist fading, rust, and mildew.
Lighting Strategies for Evenings
Intent: guide
Start with three lighting layers: task, accent, and path. Use LED string lights over a dining zone for warm ambience and add adjustable recessed spotlights near food prep areas for clear task lighting. Solar path lights work well for walkways, but pick models with lithium batteries for consistent night-long output.
Place low-voltage uplights at the base of specimen trees to create depth. Aim fixtures so light washes upward, not into neighbors’ windows. For safety, mount motion-sensor lights by steps and near gates. Use warm color temperatures (2700K–3000K) to keep skin tones and plant colors natural.
Common mistake: over-lighting. Leave dimmable controls or smart bulbs so you can lower brightness for relaxed evenings. Test placement at dusk before finalizing fixtures.
Incorporating Shade Solutions
Intent: tutorial
Choose shade by use: a retractable awning for dining, a pergola with slatted roof for filtered sun, or a cantilever umbrella for a movable lounge spot. For full-day coverage, pair a pergola with a fabric canopy that you can open or close depending on sun angle.
Plant fast-growing trees like maple or honeylocust where you want long-term shade, but place them away from foundations and utility lines. Combine hard and soft shade—solid structure over seating and vines on trellises for cooler microclimates. If pests are a concern, add ceiling fans to covered areas; they lower perceived temperature and deter insects.
Watch for drainage and wind. Anchors and wind-rated hardware prevent damage in storms.
Selecting Weather-Resistant Materials
Intent: guide
Pick materials rated for your climate. For humid areas, choose powder-coated aluminum or marine-grade stainless steel for frames to resist rust. For decking and furniture, composite boards and solution-dyed acrylic cushions stand up to sun and mildew better than cheaper alternatives.
For textiles, look for UV- and water-resistant ratings and replace foam with quick-drain inserts to avoid mold. Seal wood decks with a high-performance penetrating oil every two years in hot-sunny regions. Hardware should be stainless or galvanized; fasteners and hinges often fail first, so invest in corrosion-resistant options.
A common pro tip: test a small material sample in your yard for a season before committing to large purchases. Consider maintenance time and costs when you choose.