Why Pop-Up Drain Emitters Matter (Homeowner’s Guide)
You worry when water pools near your foundation after a storm, and that worry makes sense—you can stop small leaks from becoming big, expensive problems. A pop-up drain emitter gives you a controlled outlet for roof and yard runoff, keeping water away from the house and lowering the risk of foundation damage, soggy lawns, and erosion.
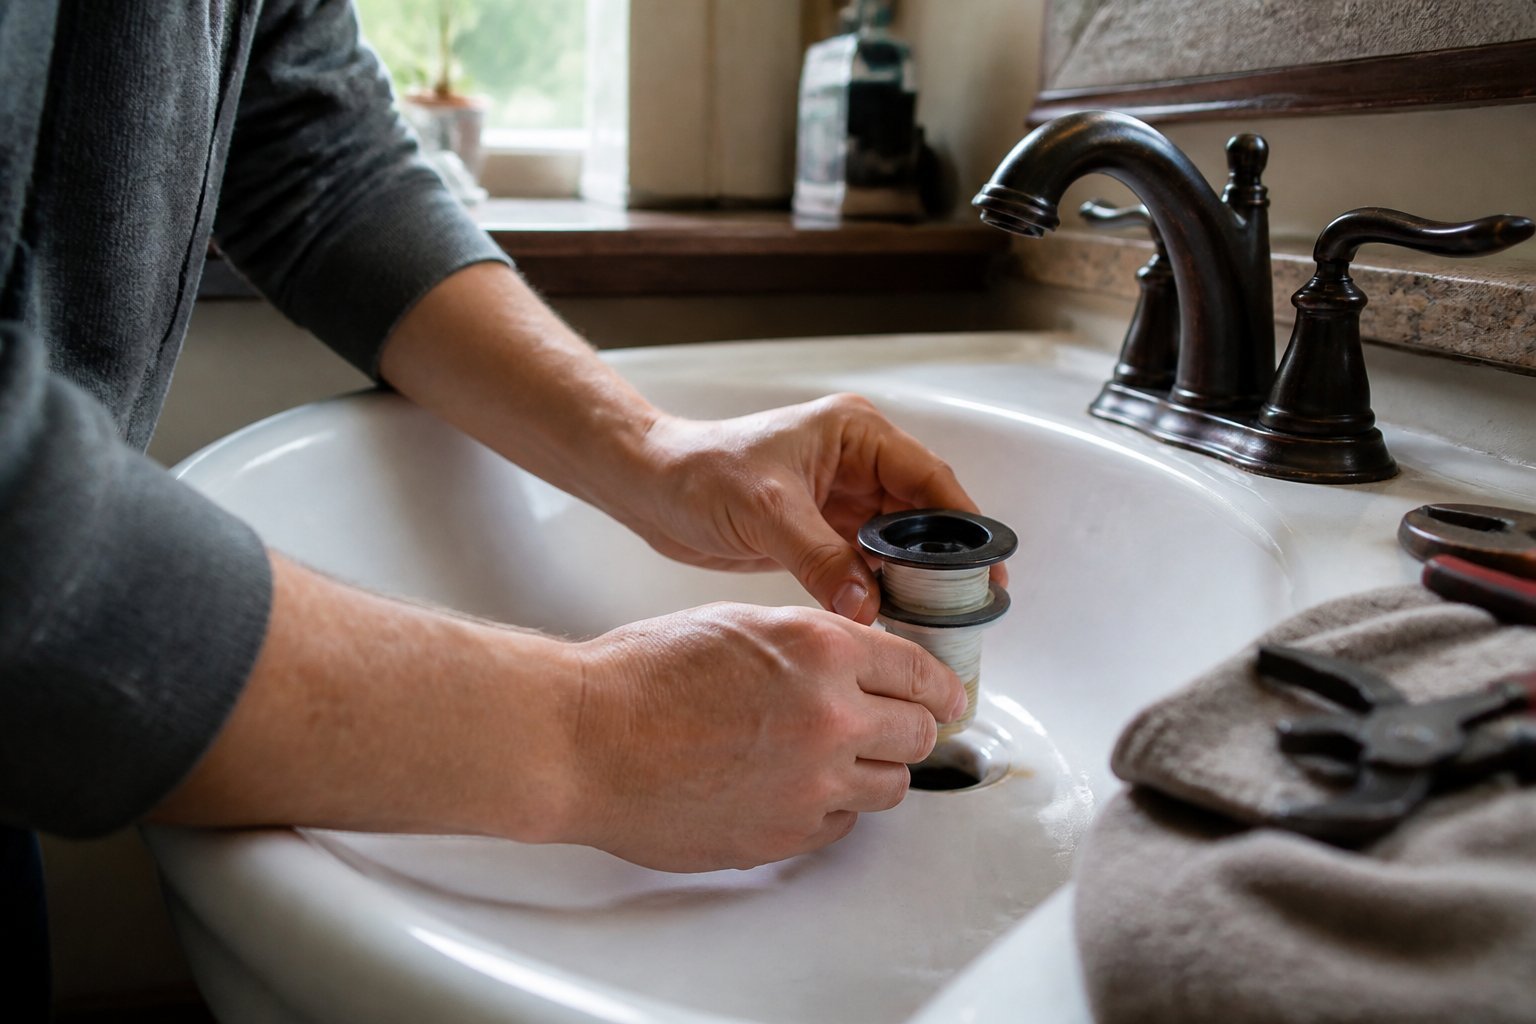
You’ll get clear, practical guidance that feels like a pro standing in your yard with a shovel. Expect simple checks, common mistakes to avoid, and a quick sense of whether an emitter, a dry well, or a splash block fits your property.
1) How pop-up drain emitters protect foundations by directing roof runoff away from the house
Guide intent: show how emitters stop water from pooling near foundations.
You place a pop-up emitter at the end of a buried downspout pipe so roof water leaves the house where it won’t cause damage. When heavy rain runs through your gutter, the emitter cap lifts and pours water out several feet from the foundation. This keeps soil from getting oversaturated and lowers the risk of basement leaks.
A common mistake is ending the pipe too close to the house. I’ve seen yards with wet spots and cracked masonry because water discharged within a few feet. Aim for at least 6–10 feet of separation, or slope the yard away from the foundation.
Check the emitter after storms. Leaves and sediment can jam the lid and cause backups. If you find clogs, flush the line or add a catch basin upstream to protect both the emitter and your foundation.
2) How the spring-loaded cap mechanism prevents backflow and keeps pests out
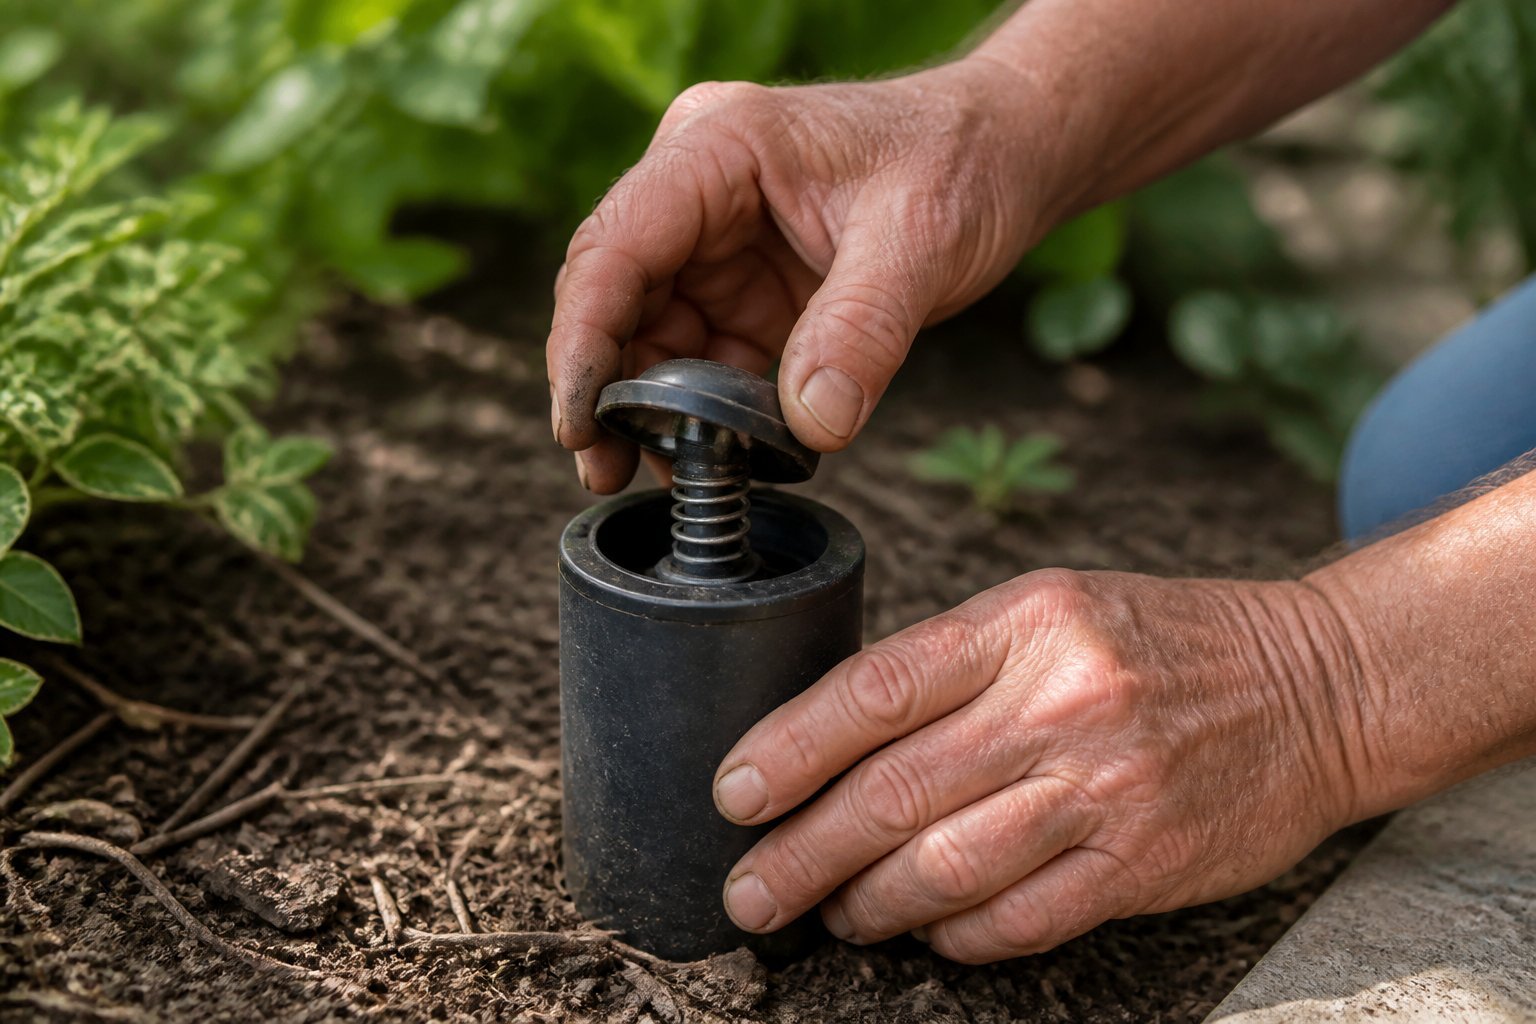
Intent: guide. The spring-loaded cap stays closed until water pressure lifts it, so flow only goes out when needed. That simple action stops sewage or standing water from flowing back into your pipes.
The spring and seal fit tightly when closed. That blocks odors and keeps rats, snakes, and insects from crawling in. A common mistake is installing the emitter lower than surrounding soil — that can let debris jam the cap.
Think of it as a one-way door. Test it by running water through the system; the cap should pop up smoothly and retract fully. If it sticks, clean the hinge and check the spring tension to avoid backups and pest entry.
3) Why buried downspout connections to emitters reduce surface erosion
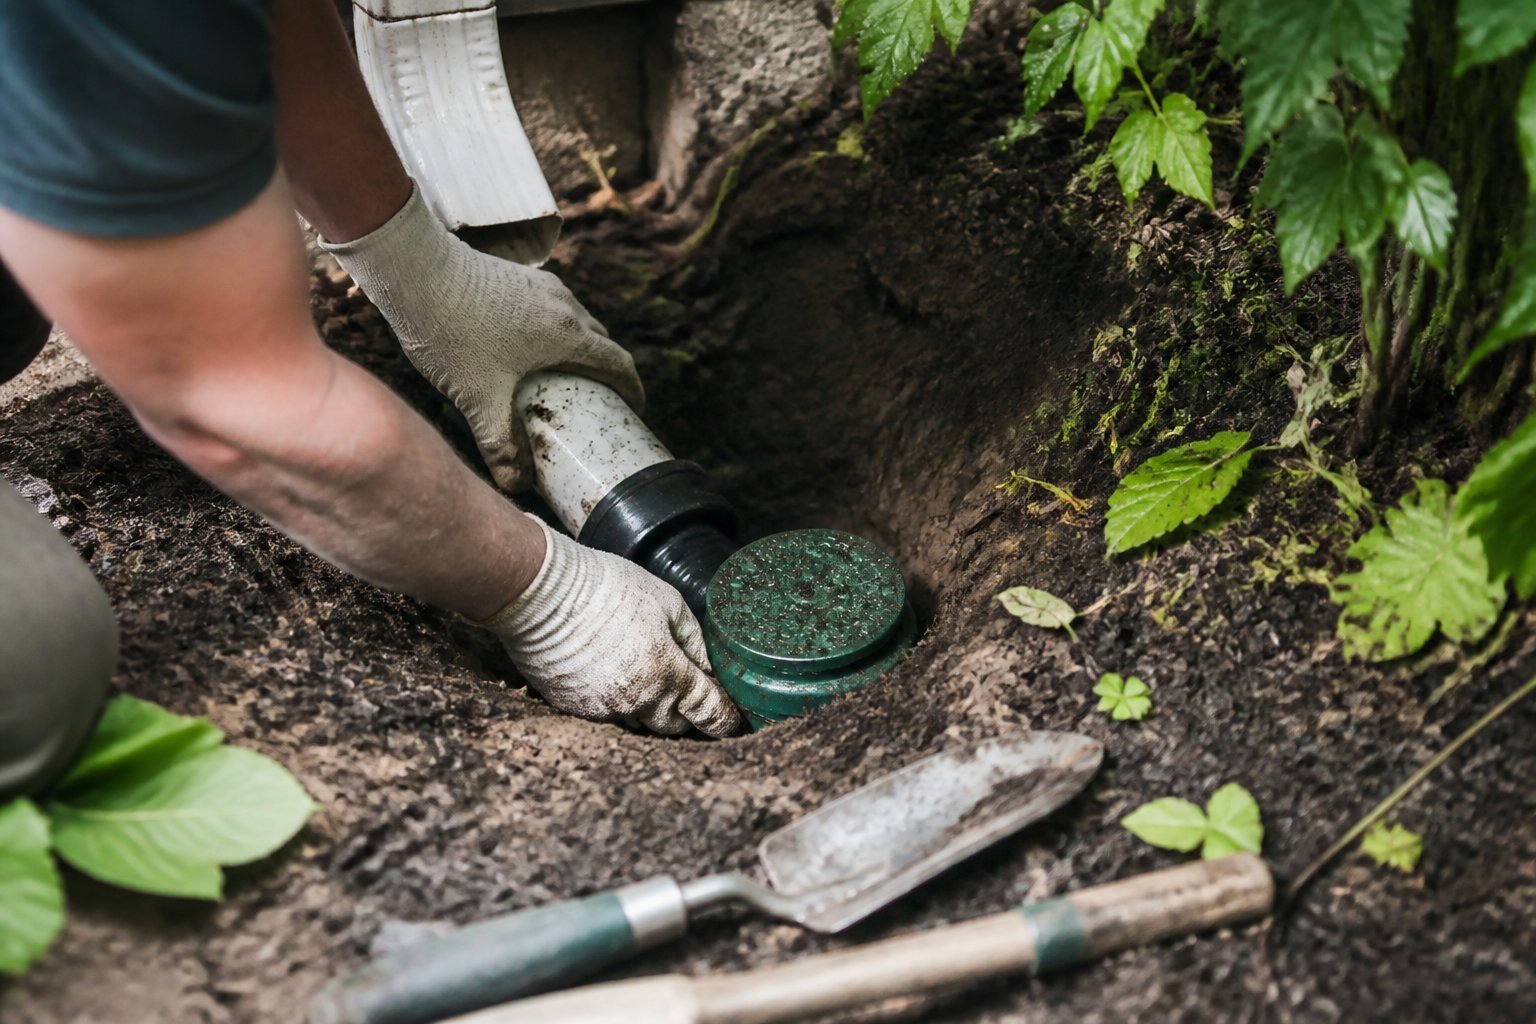
This guide explains how buried downspout lines to pop-up emitters cut erosion by moving water underground. You stop concentrated flows that carve ruts and wash away topsoil near the house.
When water leaves a downspout onto the lawn, it hits one spot hard. A buried pipe spreads that flow safely to a lower area where the pop-up releases it gently. You’ll see less soil loss and fewer mud channels along the foundation.
A common mistake is too-short pipes that still dump water on a slope. Run the line far enough, and add a slight downhill pitch so water exits at low pressure. I’ve fixed yards where simple rerouting stopped repeated erosion after a single heavy storm.
If your yard freezes, use pipe depth below frost line or choose flexible material to avoid damage. Check emitters after storms for blockages and replace broken caps to keep erosion control working.
4) Sizing and selecting the correct emitter diameter for roof drainage volume
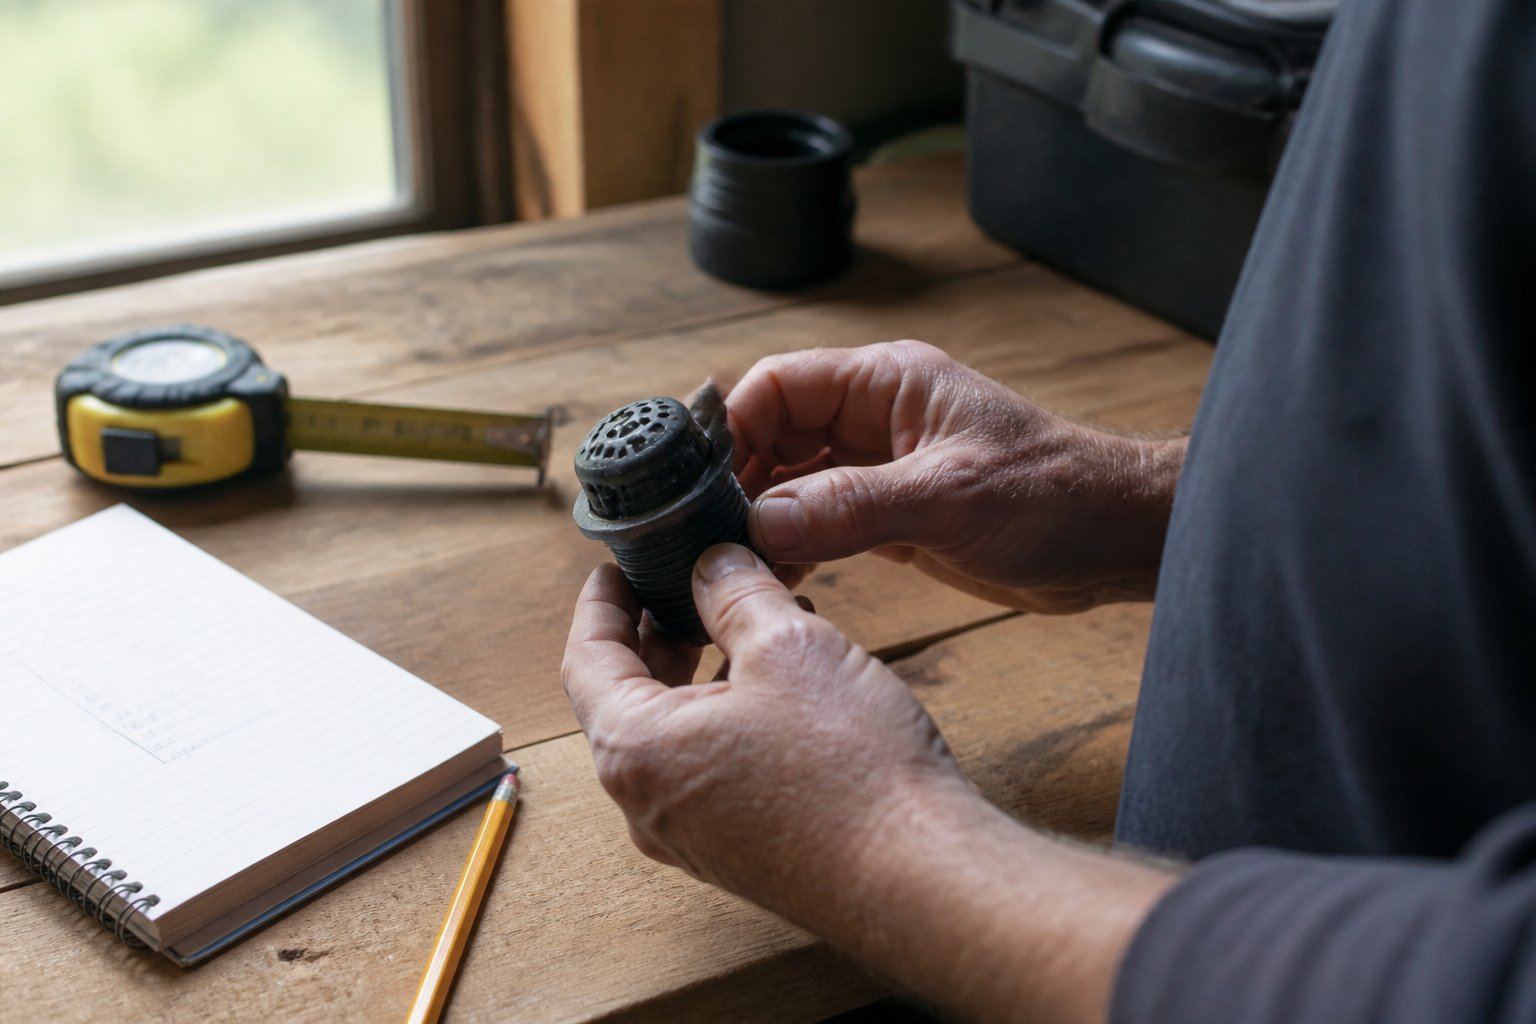
Guide: help you match emitter size to roof runoff so water moves away quickly. Start by knowing your roof area and local rainfall intensity. That tells you the gallons per minute you must handle.
Pick an emitter one size larger than the downspout outlet when heavy storms are common. For example, a 2-inch downspout usually needs a 3-inch or 4-inch pop-up emitter to avoid backups. A too-small emitter causes pooling and foundation risks.
Watch for common mistakes: relying on guesswork, ignoring local code, or skipping overflow paths. Test system with a hose after install to confirm flow. If unsure, consult a plumber or use an online roof-drain sizing tool like the Roof Drain Sizing Calculator for numbers.
5) Best placement practices — distance from foundation and slope considerations
This guide shows where to put a pop-up emitter and why it matters. Think of placement as a simple path: move water far enough from the house and let it run downhill.
Place the emitter at least 6–10 feet from your foundation when possible. If your yard slopes toward the house, extend that distance and aim for a downhill spot so water drains away naturally.
Keep a 1/4 inch per foot slope in the outlet pipe so flow won’t stall. A common mistake is burying the emitter too shallow; it can pop up or clog. I’ve seen DIY installs fail because the emitter sat level with lawn grade.
Avoid placing the outlet where it soaks a neighbor’s yard or walks. Test by running a hose—watch where water pools and adjust the emitter location.
6) How pop-up emitters reduce yard saturation and prevent soggy lawns
Guide: pop-up emitters move water out of low spots so your lawn stays firm after heavy rain. You bury a pipe from a downspout or French drain and let the emitter open only when water pushes the cap up.
This prevents constant wet patches that kill grass roots and attract pests. For example, one homeowner I worked with stopped clay soil puddles by routing a downspout to an emitter 30 feet away.
Watch for mistakes: don’t point the emitter at a neighbor’s property, and avoid placing it where it will erode a slope. Check the cap for debris and test during a downpour to ensure it pops open and seals tight afterwards.
7) Maintenance checklist: seasonal inspection, debris clearing, and cap operation test
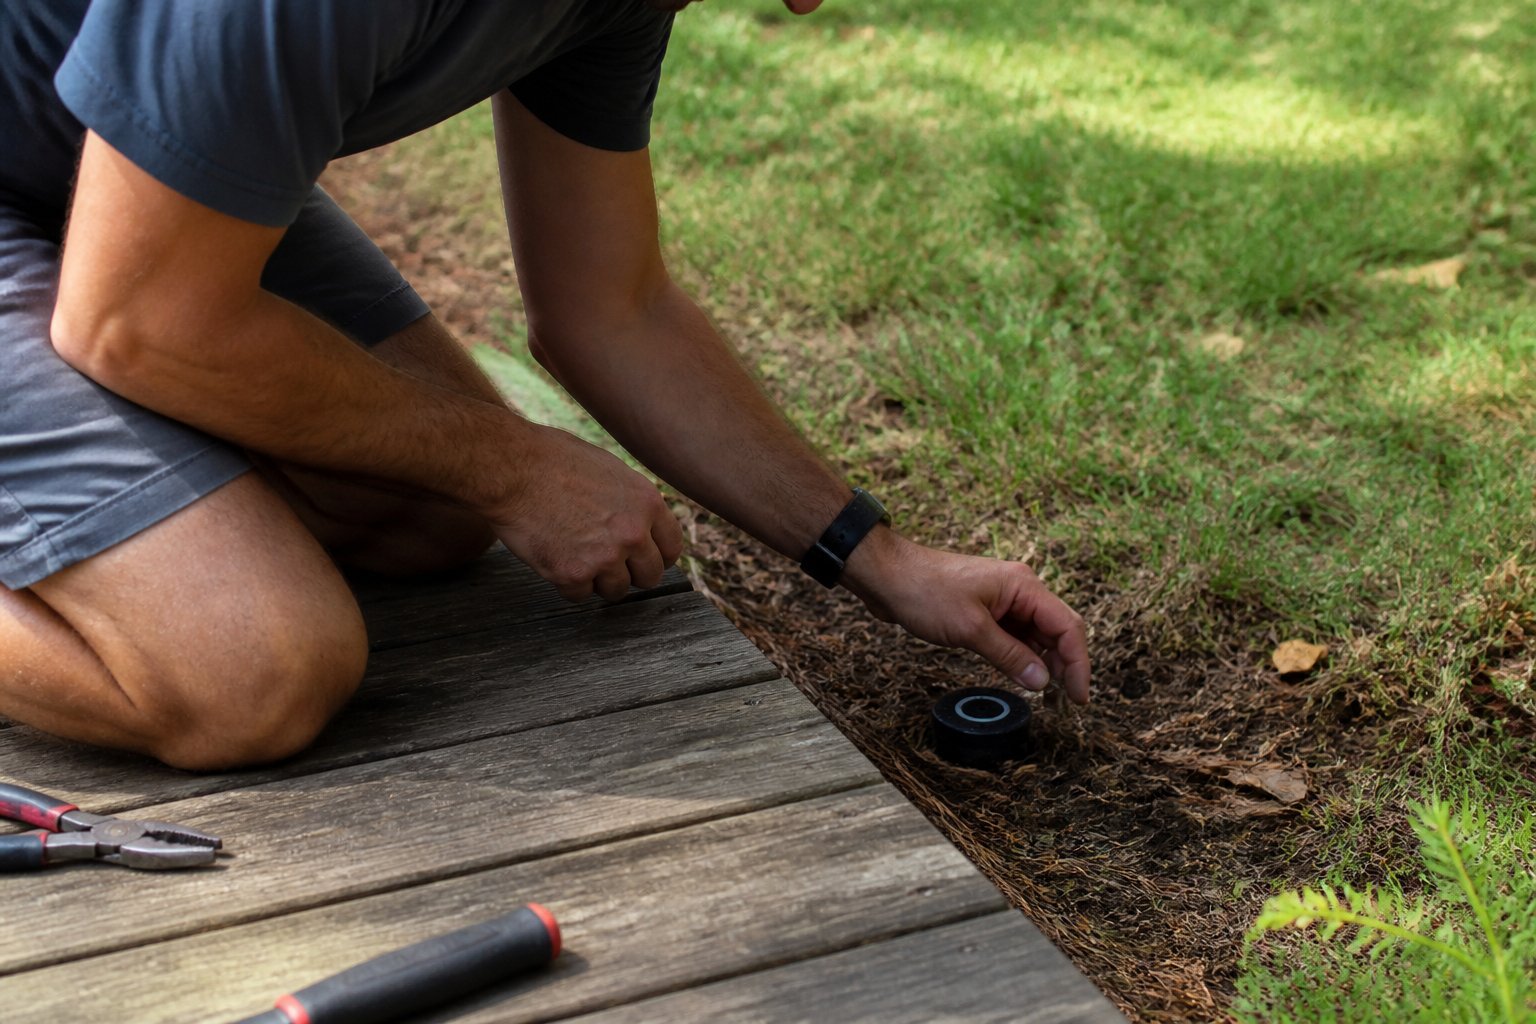
Guide — follow this checklist each season to keep pop-up drain emitters working and avoid yard flooding. Start by inspecting emitters after heavy leaves fall and after spring thaw. Look for cracks, sunk grates, or pooled water nearby.
Clear debris with gloves and a small hand rake; remove leaves, grass, and sediment from the grate and nearby soil. A common mistake is using high-pressure water that can wash out soil and expose pipe joints.
Test the cap by pressing it down and letting it pop up; it should move smoothly and seal when closed. If it sticks, clean the hinge and check for bent parts or trapped debris. Replace caps that crack or fail to seal.
If you find persistent clogging, trace the line to the catch basin and use a garden hose to flush it, or hire a pro if roots or collapsed pipe show up. Check seasonal tips at this pop-up emitter guide (https://sdrfoundation.org/pop-up-drain-emitter-problems-fixes).
8) Troubleshooting common issues: clogged lines, stuck caps, and frozen emitters
Guide: practical troubleshooting to get your pop-up drain emitters flowing again.
Start by checking for clogs. Remove the cap and run water through the riser; grit often packs at the nozzle. Use a toothpick or small wire to clear the hole, then flush the line to confirm flow.
If a cap sticks, don’t force it. Soak the cap rim with warm water and wiggle gently. Replacing a warped cap is cheap and faster than fighting a seized one.
Frozen emitters crack easily. Drain and blow out lines before frost, and inspect for hairline damage in spring. A cracked emitter lets pressure drop and wastes water.
A common mistake is skipping simple tests: isolate a section, swap a suspect emitter with a known-good one, and you’ll quickly find the problem. Check a detailed repair kit for spare caps and connectors to keep on hand.
9) Materials comparison: PVC vs. polyethylene emitters and durability factors
Guide: choose the right material for long-lasting pop-up emitters.
PVC is rigid and holds shape under pressure. You’ll like PVC where fittings must stay tight, but it can crack if frozen or hit by heavy tools.
Polyethylene (HDPE/LDPE) flexes and resists root intrusion better. It bends instead of breaking, so it works well in shifting soil and trenchless installs.
Think about UV, chemicals, and temperature swings. PVC tolerates chlorine and heat; polyethylene resists impact and fatigue over time. A common mistake is using cheap PVC fittings in rocky soil — they snap on impact.
Install with proper bedding and avoid sharp bends. If you expect settling or tree roots, choose polyethylene; if you need rigid runs and tight joints, pick PVC. Test one emitter line first to learn what holds up on your site.
10) When to install a pop-up emitter vs. a dry well or splash block
Guide: Decide by soil, space, and water volume. If your yard has heavy clay or water pools near the foundation, install a pop-up emitter so runoff leaves underground and pops up away from the house. A pop-up keeps basements drier and hides the outlet until needed.
If you have loose, sandy soil and space for infiltration, a dry well works better. It holds large volumes and lets water soak in slowly. Install it where digging won’t hit utilities and away from tree roots.
Use a splash block only for low volumes and short distances. It’s cheap but can erode soil and create wet spots if used alone. Common mistake: relying on a splash block where soil won’t absorb water.
Measure roof runoff, check local codes, and call before you dig. If unsure, test with a temporary downspout extension first.
How Pop-Up Drain Emitters Improve Yard Drainage
This section shows how pop-up emitters stop standing water and protect your foundation by routing roof and yard runoff to safe discharge points. You’ll learn practical steps and common pitfalls to watch for when installing or maintaining these devices.
Preventing Water Pooling
You want water off the lawn and away from walkways and play areas. A buried downspout with a pop-up emitter sends roof runoff through a pipe and releases it at a low point, so water won’t sit against siding or on turf.
Install the emitter where water can soak in or run to a storm drain. Use 3″–4″ pipe and keep the line sloped at least 1% to maintain flow. Avoid planting right above the outlet; roots and mulch can clog the cap. A common mistake is placing the emitter too close to the house — move it several feet downhill to reduce splash-back.
Maintenance is simple: lift the cap after big storms, clear debris, and run a garden hose to flush sediment. If you notice slow discharge, check for kinks, crushed pipe, or tree roots and repair before the yard gets soggy.
Reducing Erosion Around Foundations
You need to control concentrated flows so soil and mulch don’t wash away near footings. Pop-up emitters spread discharge across a wider area than a raw downspout, which reduces the speed of water hitting the ground and lowers erosion risk.
Set the emitter outlet onto stone, a splash pad, or a shallow rock bed to diffuse energy. For longer runs, add a few catch basins or a broad daylight outlet to break the flow. Don’t direct high-volume drains at garden beds or slopes without reinforcing the soil; use riprap or a grass swale to slow water down.
Watch for signs of erosion: exposed roots, gullies, or washed mulch. Fix by rerouting the line, increasing the outlet spread, or installing a simple energy dissipater at the pop-up. Small upgrades now prevent larger foundation or landscaping repairs later.
Installation Considerations
You need the right location, slope, and upkeep to keep water away from your foundation and prevent clogging or yard erosion.
Understanding Slope and Placement
This is a practical guide to placing emitters so water flows away from your house. Pick an outlet at least 10 feet from foundations and uphill landscaping. If your yard slope is less than 2% (about a quarter inch per foot), add a shallow grade or flexible pipe to get positive flow. For short runs under 25 feet, use 3-inch pipe; for longer runs or heavy roof runoff, use 4-inch pipe to avoid backups.
Place the emitter where discharged water won’t damage neighboring property or violate local codes. Avoid low spots where water will pool; instead aim for a stable discharge area like a swale, dry well, or gravel area. Common mistake: routing the line under driveways without protecting the pipe — use rigid conduit or extra bedding to prevent crushing.
Necessary Maintenance for Optimal Performance
Treat the pop-up emitter like any other moving part: inspect it before and after storm season. Clear leaves and debris from the cap and surrounding grate every 1–3 months. If the cap sticks, remove it, clean the hinge and spring, and lubricate with a silicone spray.
Flush the line annually by running water from a hose into the downspout or using a plumber’s auger for clogs. Replace crushed or collapsed pipe sections immediately; look for sags that let sediment collect. Keep a small gravel apron around the outlet to slow erosion and protect the emitter from mowing damage. If you see persistent pooling or slow opening, hire a pro to camera-inspect the buried line.