10 Smart Mobile Home Underpinning Ideas to Boost Curb Appeal That Wow
You want your mobile home to look cared for and last longer, not hidden behind a half-finished skirt. Good underpinning protects against pests and weather while lifting curb appeal at the same time, so you get both function and a cleaner look.
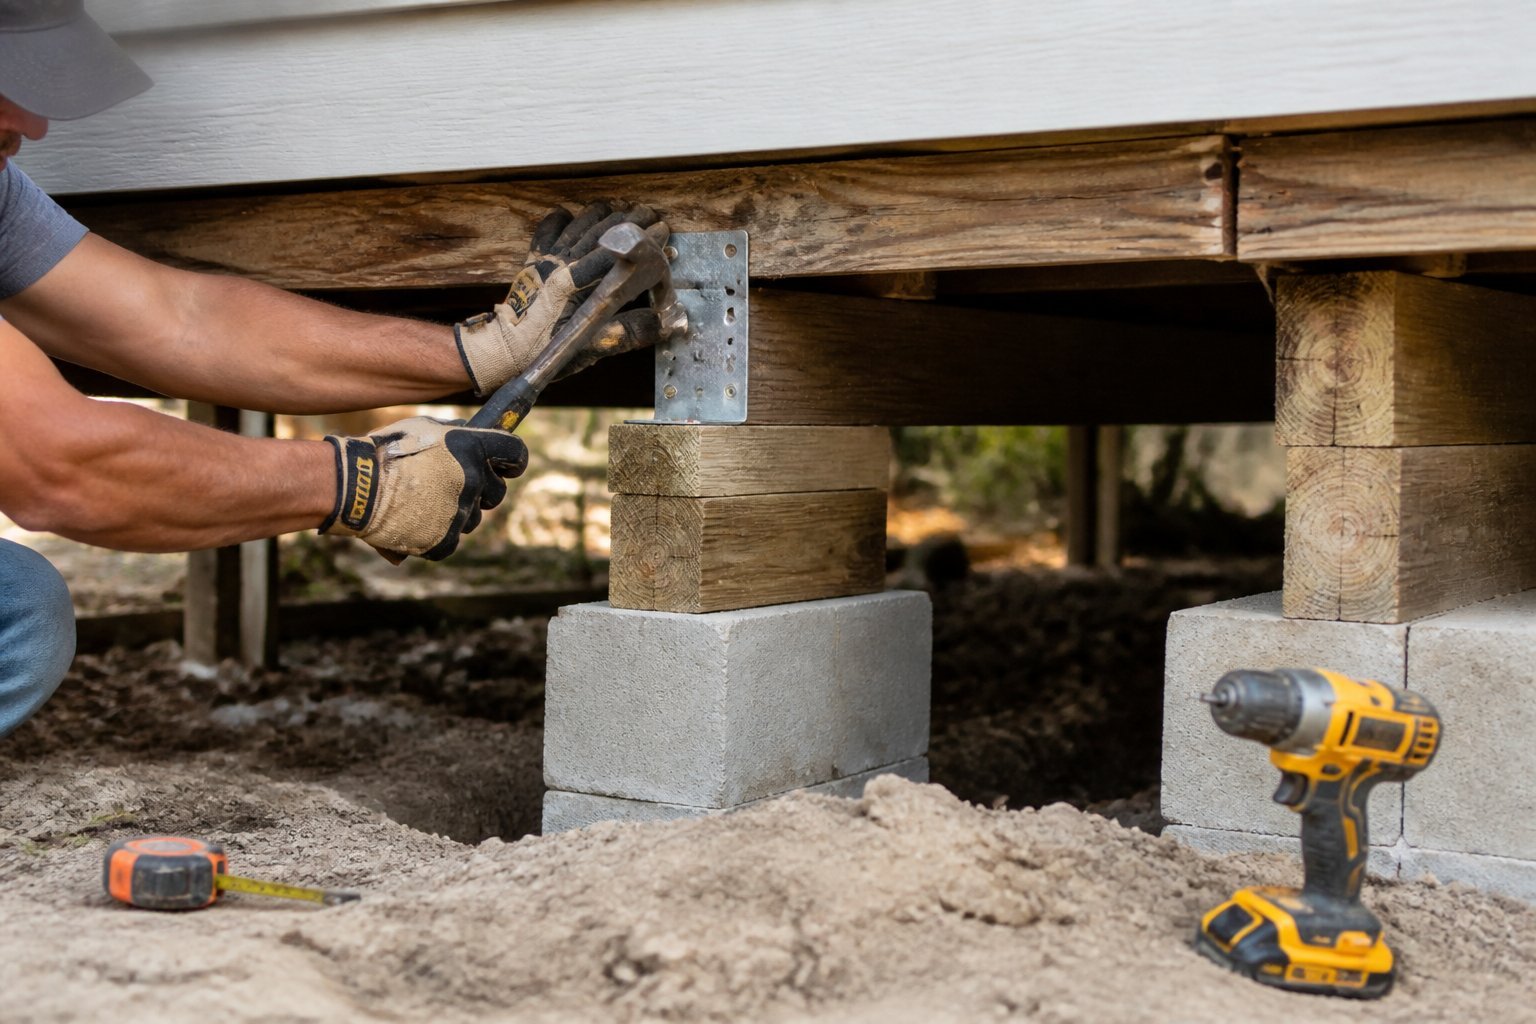
You’ll find practical ideas that fit tight budgets, seasonal tastes, or a more permanent upgrade—everything from low-maintenance panels to built-in storage and lighting. Expect clear tips, common mistakes to avoid, and real examples so you can choose the right under-skirt fix for your home and lifestyle.
1) Decorative vinyl skirting panels in charcoal with vented access doors
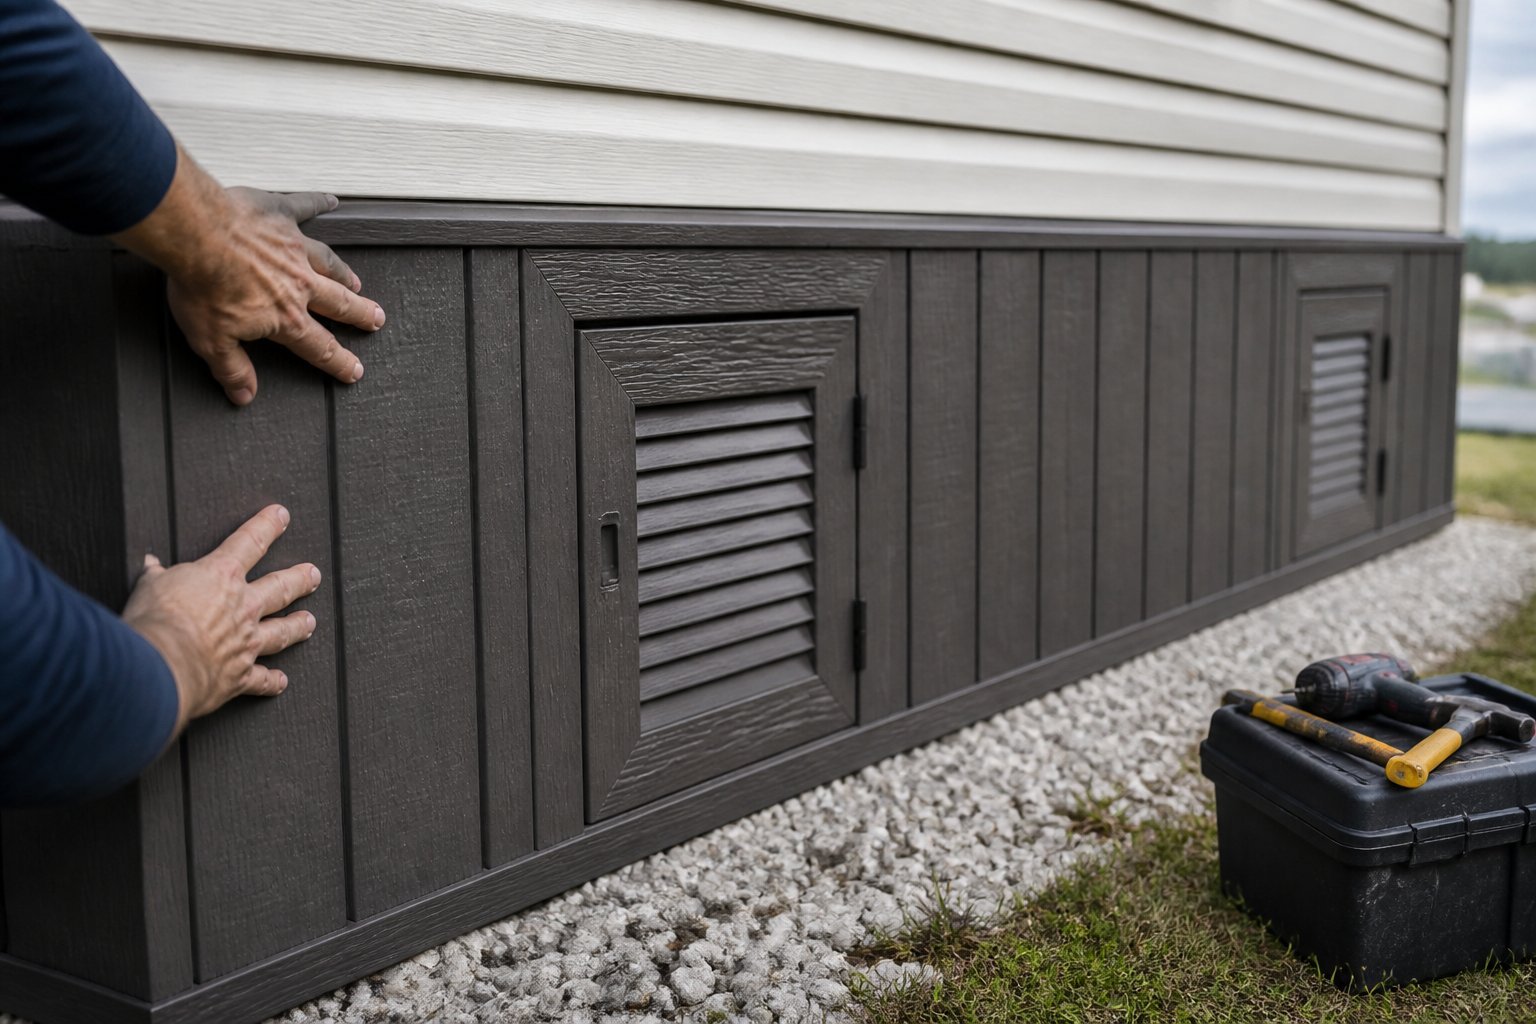
Idea: install charcoal vinyl skirting panels with built-in vents and a keyed access door to improve appearance and airflow. You get a clean, modern look that hides foundations and keeps under-floor air moving.
Start by measuring runs and planning vent placement near plumbing or HVAC. Charcoal hides dirt and pairs well with many siding colors. Choose vented panels to reduce moisture and mold risk; each vented panel offers measurable airflow for under-home ventilation.
Common mistake: cutting panels too short or forgetting a ground channel. Use a level and allow for thermal expansion when fastening. If you want a ready option, check a pre-cut premium vented panel product page for specs and vent area details.
Finish by adding a secure access door for service access and a painted trim to match your home. Plan and prep well, then install steadily for a long-lasting upgrade.
2) Brick-patterned faux stone skirting for a permanent masonry look
Idea: use brick-patterned faux stone panels to give your mobile home a solid, masonry feel without heavy labor. You get the curb appeal of brick with lighter, weather-resistant materials.
Install panels over a ventilated frame to avoid trapped moisture. Beginners often skip vents; that causes rot and insulation loss. Cut panels to fit around vents and access doors for a neat finish.
Pick panels rated for outdoor use and UV-stable color so the pattern won’t fade fast. Match mortar color to your siding for a cohesive look. If you want a pro finish, hire a contractor for corners and seams.
A common mistake is anchoring directly to thin skirting; instead fasten to a rigid substrate for strength. Try this when you want low maintenance and a long-lasting, brick-like exterior.
3) Perforated metal lattice skirting with powder-coat finish
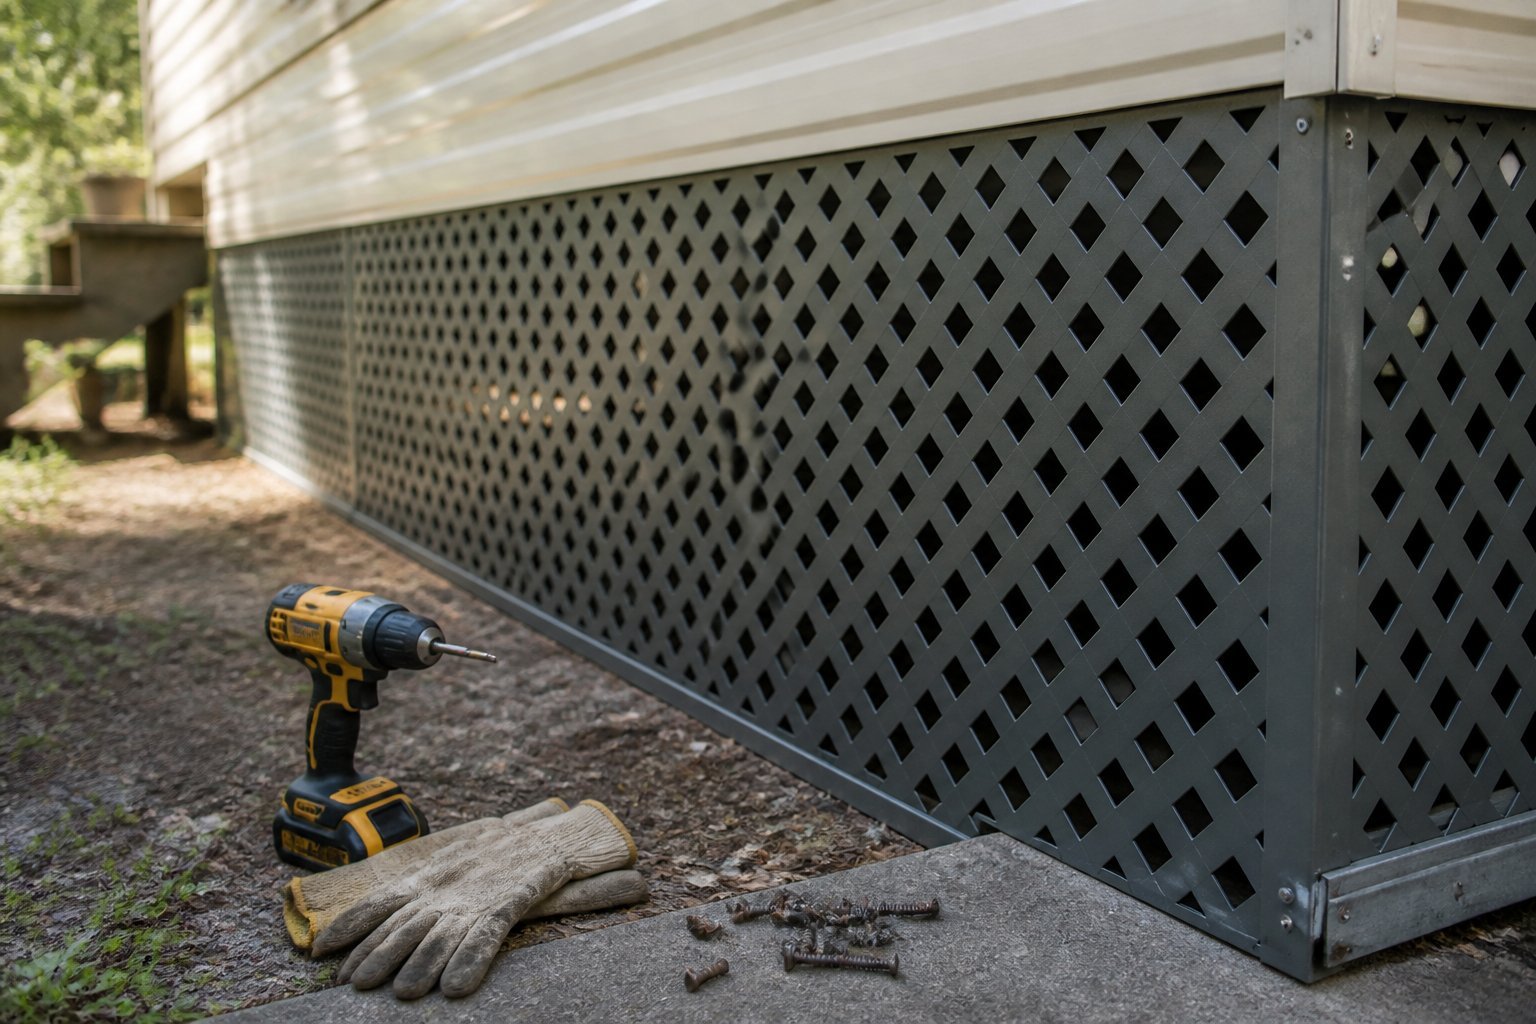
Intent: idea and guide. Use perforated metal lattice to add airflow, strength, and a modern look to your mobile home. The punched holes let moisture escape and keep pests out while still hiding the crawl space.
Choose a powder-coat color that matches your trim to make the skirting look built-in. Install panels with a slight gap at the bottom for drainage, and seal seams to stop drafts. A common mistake is over-tightening fasteners—this can warp thin panels.
For a pro touch, cut an access panel near utilities so you can reach hookups without removing large sections. If you live where salt or heavy rain is common, pick a galvanized base metal under the powder coat for longer life. Consider a perforation pattern that balances privacy and ventilation to fit your climate and style.
4) Insulated foam board skirting covered with vertical cedar planks
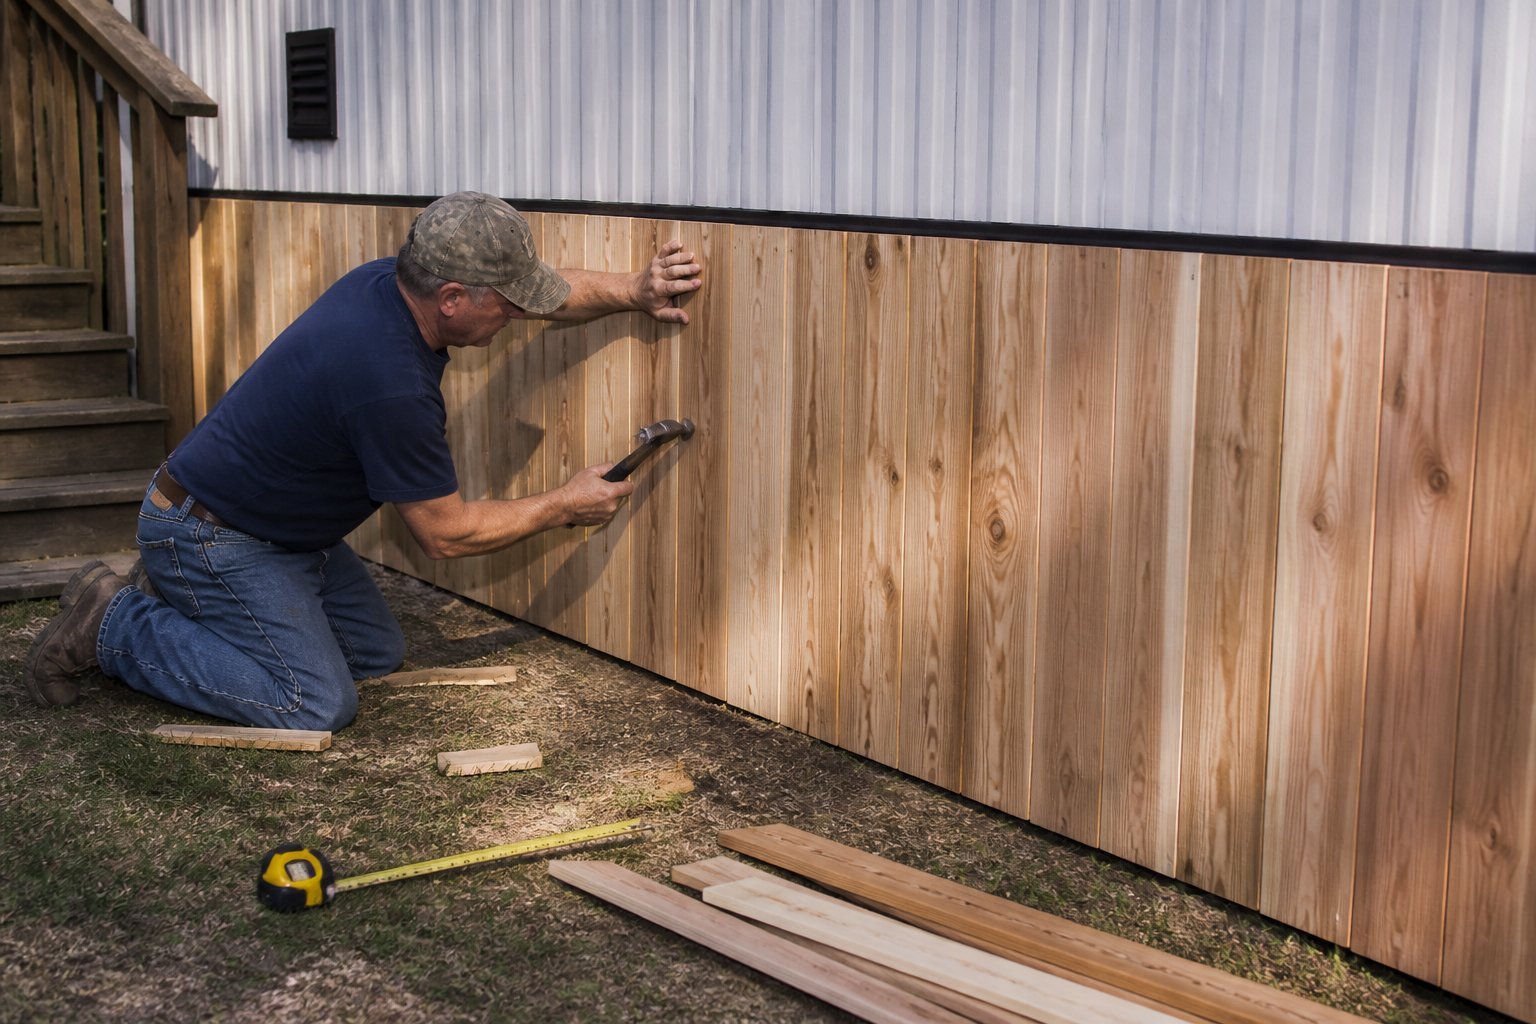
Idea: use rigid foam board for insulation, then face it with vertical cedar for a clean, warm look. This combo improves energy efficiency and gives your mobile home a high-end finish.
Start by fitting continuous foam panels to the foundation gap. Tape seams and add a moisture barrier; doing this right keeps pipes and insulation safe in winter.
Attach vertical cedar planks over a furring strip frame to allow airflow. Stagger plank widths for visual interest. Cedar resists rot and ages nicely, but plan to seal or oil it to keep the color you want.
Common mistake: nailing cedar directly to foam. Always use a solid backing and corrosion-resistant fasteners. If you want a quick supplier idea, check cedar skirting examples for design cues.
5) Removable hinged access panels with magnetic latches
Intent: guide. Use hinged panels with magnetic latches to give neat, paintable access to under-skirt plumbing and wiring. You cut one opening, fit a hinged frame, and attach a removable inner panel held by magnets for a clean look.
Install panels flush with your skirting so they hide from eye level. Paint the panel to match the skirting. Many homeowners buy ready-made hinged options for simpler fit and stronger frames; see an example of a removable access panel for drywall to compare styles (https://www.amazon.com/removable-access-panel/s?k=removable+access+panel).
Watch for common mistakes: undersized magnets that fail in wind, and gaps that invite pests. Test the latch and hinge several times before finishing. If you want a sleeker look, choose a magnetic flush panel made for tile or drywall.
6) Raised planter beds running along the foundation with trellises
Idea: install low raised beds along the skirting and add trellises for vertical plants. You’ll hide the base, add color, and gain growing space without blocking airflow.
Choose rot- and insect-resistant wood or composite and keep beds 12–18 inches deep. Plant climbing vines like clematis or peas on the trellis and shade-loving perennials in front. I once fixed a bare skirting by building three cedar beds; the trellises softened the look within a season.
Watch for common mistakes: don’t press beds tight against the foundation—leave a 2–3 inch gap to prevent moisture issues. Use gravel beneath for drainage and avoid heavy, hard-to-move structures if you might need access later.
For design ideas and step-by-step plans, check raised bed trellis guides to match materials and scale to your mobile home. Start small and expand as you see what grows best.
7) Skirting integrated with under-home storage drawers
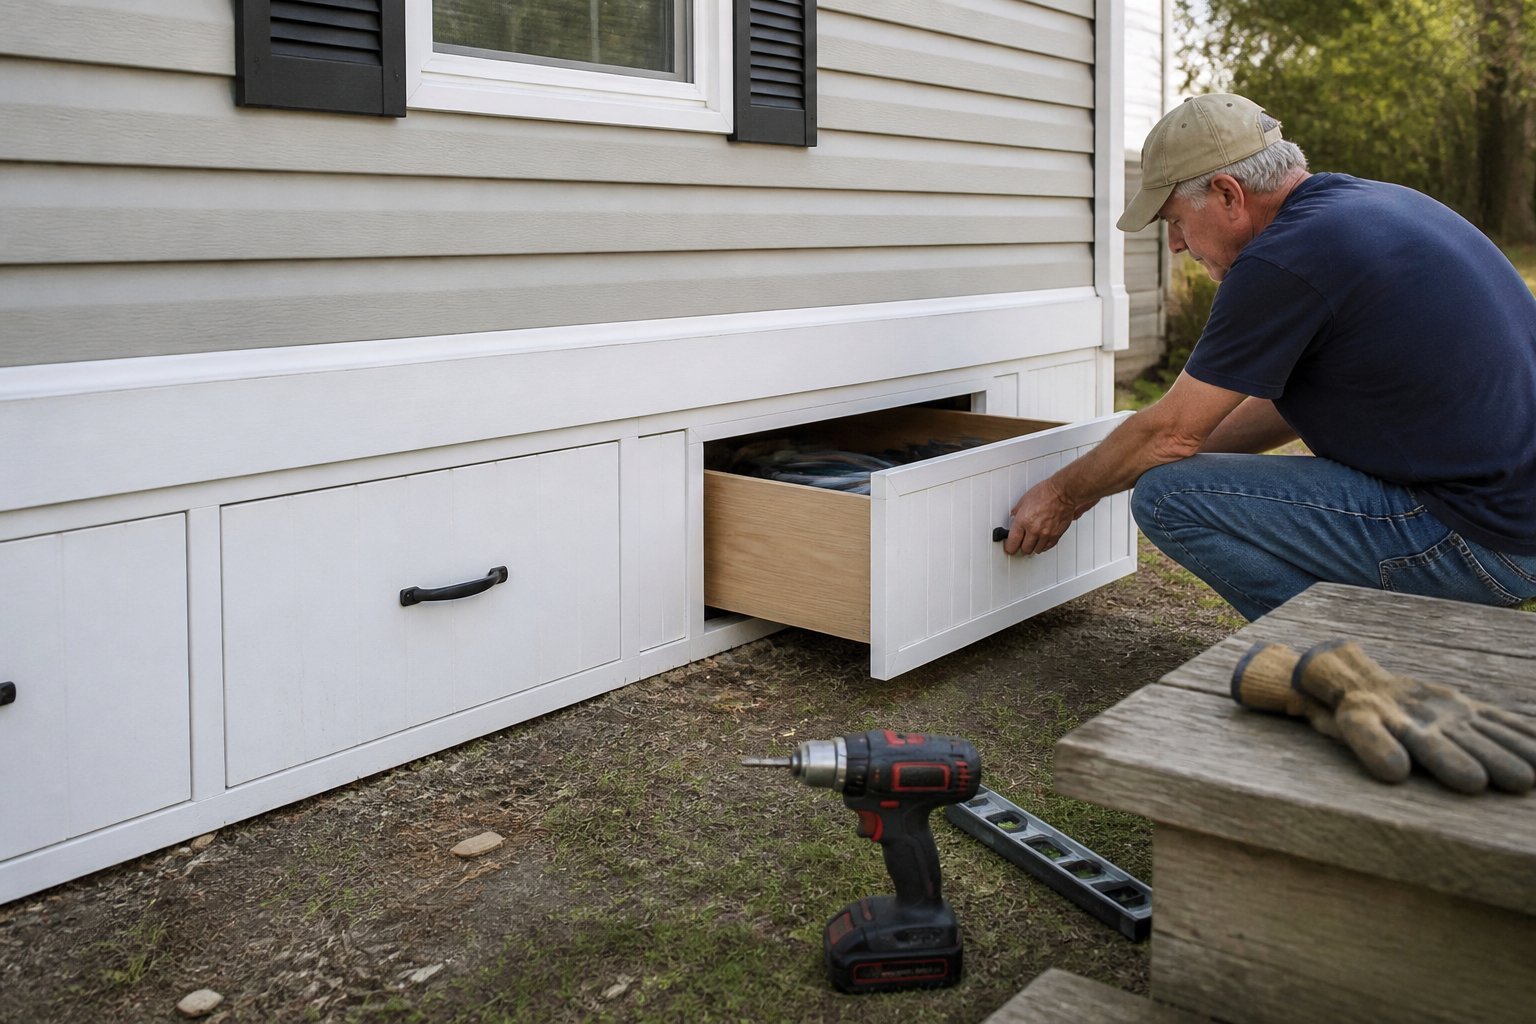
Intent: guide. Build skirting that hides useful pull-out drawers for tools, seasonal gear, or garden supplies. You get clean curb appeal and smart storage without adding a shed.
Plan drawer size around the crawlspace height and axle placement. Use marine-grade plywood or metal drawers on sliding rails for durability. A common mistake is skipping ventilation—add vents near drawers to prevent moisture and mold.
Install hinged skirting panels or removable sections so you can service plumbing and wiring. I once helped a homeowner who lost tools to a damp drawer because they hadn’t sealed the lip; a simple rubber sweep fixed it and kept things dry.
Label drawers and test weight limits before full use. If you want detailed plans, I can outline materials and a step-by-step build for your trailer.
8) Horizontal tongue-and-groove PVC skirting in white
Choose this option for a clean, classic look that resists rot and needs little upkeep. You’ll get crisp lines that read like painted wood but won’t peel or warp in rain.
Install panels horizontally to emphasize length and make your home look longer. Fit tongue-and-groove pieces tightly; a common mistake is leaving gaps that let pests and moisture in.
Measure twice and cut once — PVC trims can be fast to install with screws and outdoor adhesive. For best results, secure top and bottom tracks and add vents every few panels to improve airflow.
If your park has rules, check style and color limits before buying. Try a sample panel first to ensure the white matches trim and siding.
9) Skirted skirting skirt—fabric outdoor skirt with tie-back panels for seasonal change
Use this as a practical guide to add a soft, changeable look to your mobile home. A fabric skirt with tie-back panels gives you quick seasonal refreshes and easy access to utilities under the home.
Choose outdoor-grade canvas or marine fabric that resists mildew and sun. Pick neutral tones for year-round appeal and brighter patterns for summer; examples include charcoal canvas or striped nautical prints. Measure carefully—common mistake: cutting too short and leaving gaps at the bottom.
Install a simple track or grommet system so panels slide or tie back easily. Add ties at set intervals so you can open sections for airflow or repairs without taking the whole skirt down. Reinforce corners and ground contact points to avoid tearing in wind.
Expect to refresh or wash panels annually. If you want a low-maintenance option, pair fabric panels with a thin vinyl lower strip to protect from splash and pests. Try one side open first to test how it looks and functions before committing to all panels.
10) LED strip lighting installed under the skirt perimeter for evening wash
Intent: idea and brief how-to. Install low-profile LED strips under the skirting to wash the ground around your mobile home. You get soft, even light that hides vents and creates a clean nighttime look.
Pick warm white LEDs for a welcoming glow, or RGB for color accents. Run strips in recessed profiles for a neat finish and to protect cables. A common mistake is leaving strips exposed to splash; use IP65-rated strips and seal connections.
Test placement during dusk to check glare and shadow spots. Tie the lights to a dusk sensor or smart controller so they turn on automatically. If you’re unsure about wiring, hire a licensed electrician for safe, code-compliant installation.
Key Benefits of Quality Underpinning
Good underpinning protects the home, cuts energy waste, and hides the crawl space with a finished look. You get stronger support for the frame and lower heating bills while keeping pests and moisture out.
Increased Structural Stability
Guide: practical steps to strengthen your home’s base.
Quality underpinning ties the perimeter to solid footings so the chassis doesn’t shift when soil moves or seasons change. That reduces sagging floors, sticking doors, and uneven seams in the siding. If you use concrete block, poured concrete, or steel piers, place anchor points every 6–8 feet and check for gaps larger than 1/4 inch that can let water and pests in.
Common mistake: relying on only lightweight skirting panels without true supports. Those hide problems but do not stop movement. Inspect jacks, piers, and cross-bracing after storms or heavy frost. When you replace or add underpinning, lift only a few inches at a time and support with temporary cribbing to avoid frame distortion.
Enhanced Energy Efficiency
Guide: practical changes that lower bills and prevent freeze damage.
Underpinning stops cold air from circulating under the floor and helps keep water lines from freezing. Properly installed insulated panels or continuous foam board with vents placed strategically will cut drafts and reduce heat loss through the floor. Seal gaps around plumbing and wiring with weatherproof foam and install at least two screened vents per 20 feet to balance moisture control and airflow.
A common installer tip: pair a vented underpinning design with batt or spray insulation on the subfloor for the best results. Watch for moisture traps—do not enclose the crawl space without a vapor barrier and drainage path, or you may cause mold and rot. Take action: plan the materials and vent layout before you start.
Considerations Before Upgrading
Before you spend money or pick materials, check local codes, site conditions, and the current state of your undercarriage. Think about ventilation, access panels, and how the new skirting will handle moisture, pests, and wind.
Choosing Compatible Materials
Guide — pick materials that match your climate, foundation type, and maintenance ability.
Vinyl works well in wet, salty, or low-maintenance situations. It resists rot and cleans easily, but thin panels can dent in high winds. Faux stone or brick panels give a permanent look and resist impact, yet they weigh more and may need extra support at anchor points. Wood or cedar offers a warm look but needs paint or stain every few years and must have a moisture barrier to avoid rot.
Measure the gap under your home, note any utilities or access points, and choose vented panels where crawlspace airflow is required. A common mistake is ignoring tie-downs and plumbing runs; cutouts and removable sections save time later. Match color and texture to siding for a cohesive curb appeal boost.
Budgeting for Professional Installation
Guide — budget realistically for labor, permits, and materials to avoid costly surprises.
Get at least three written estimates that list materials, labor hours, and warranty terms. Expect installers to charge more if the site needs leveling, new skirting framing, or pest/rot repair. Permit fees vary by county; call your local building office to confirm requirements before you sign a contract.
Plan for hidden costs: replacing damaged insulation, adding vents, and sealing around utility penetrations. Ask contractors for references and photos of similar jobs. If you want a long-lasting finish, factor in slightly higher material costs now to avoid frequent repairs later. Schedule the job for dry weather to reduce labor time and avoid extra expenses — then book a pro you trust.