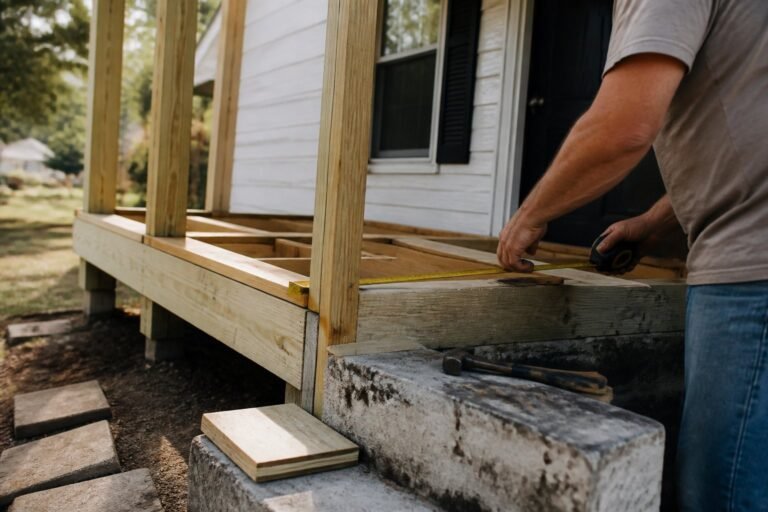
10 Stunning Porch Ceiling Ideas to Transform Your Outdoor Space Instantly
You want a porch that invites evenings, not excuses. If your outdoor ceiling feels bland, mismatched, or just forgotten, you can change it fast and affordably to lift the whole space and make your porch a place you actually use.
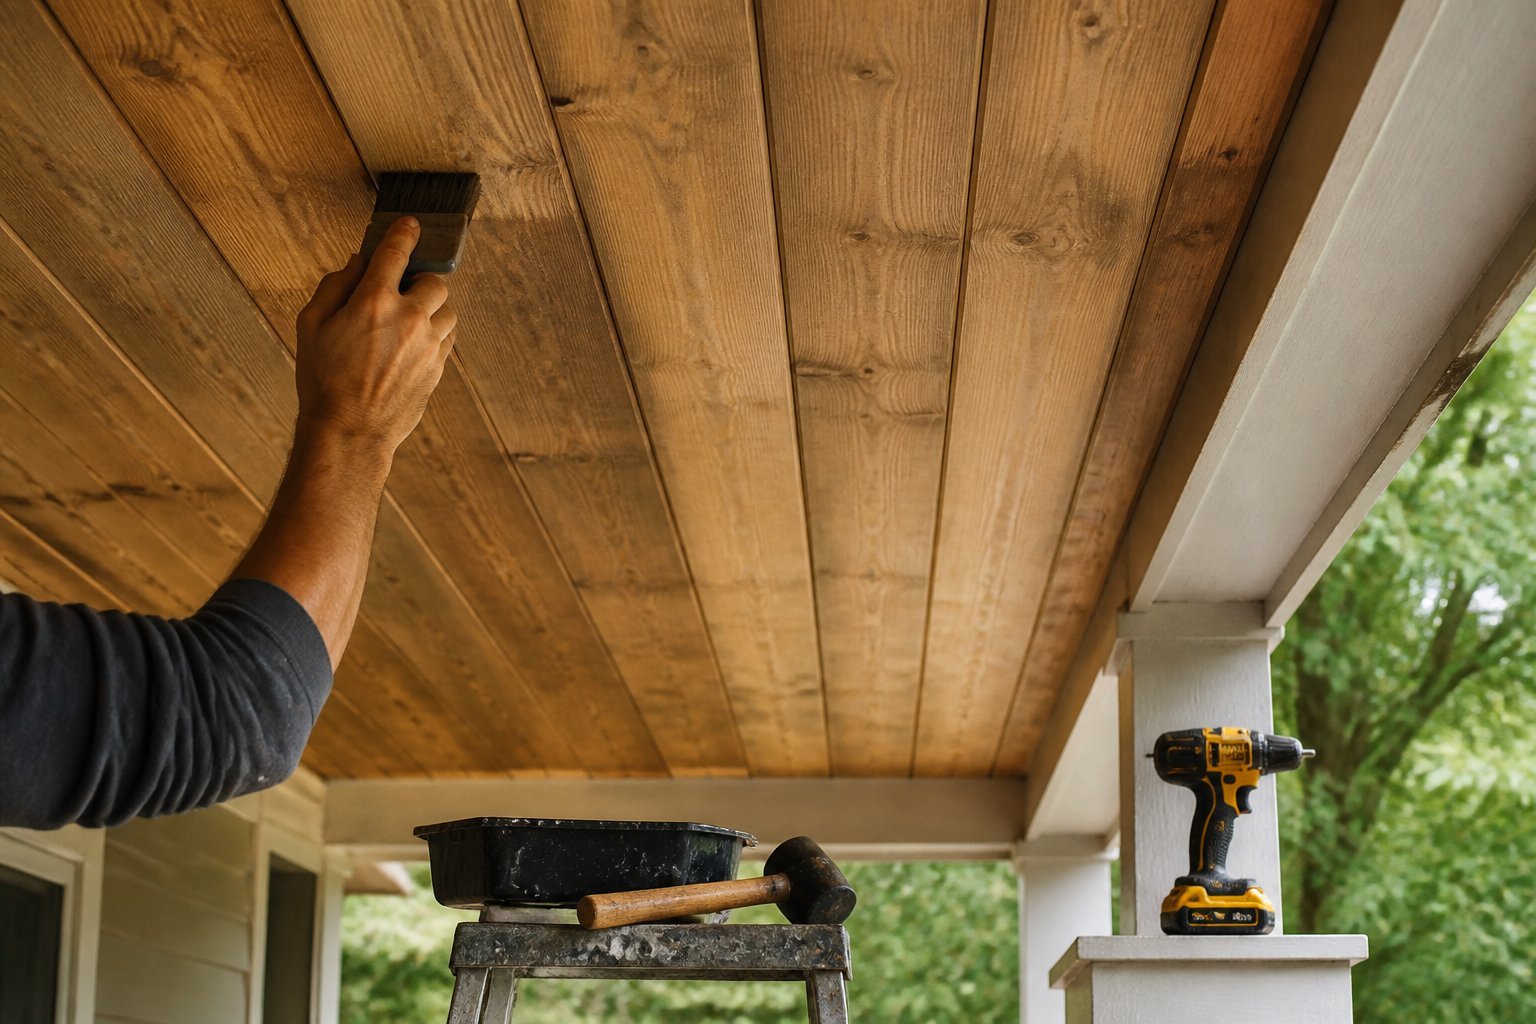
You’ll learn practical, budget-friendly ceiling ideas and DIY fixes that boost light, style, and durability so your porch looks polished without a huge cost or complicated work. Expect honest tips on materials, lighting, and common mistakes to avoid, plus ideas you can tackle in a weekend to get big visual payoff.
1) Sky Blue Beadboard Ceiling with Satin Finish
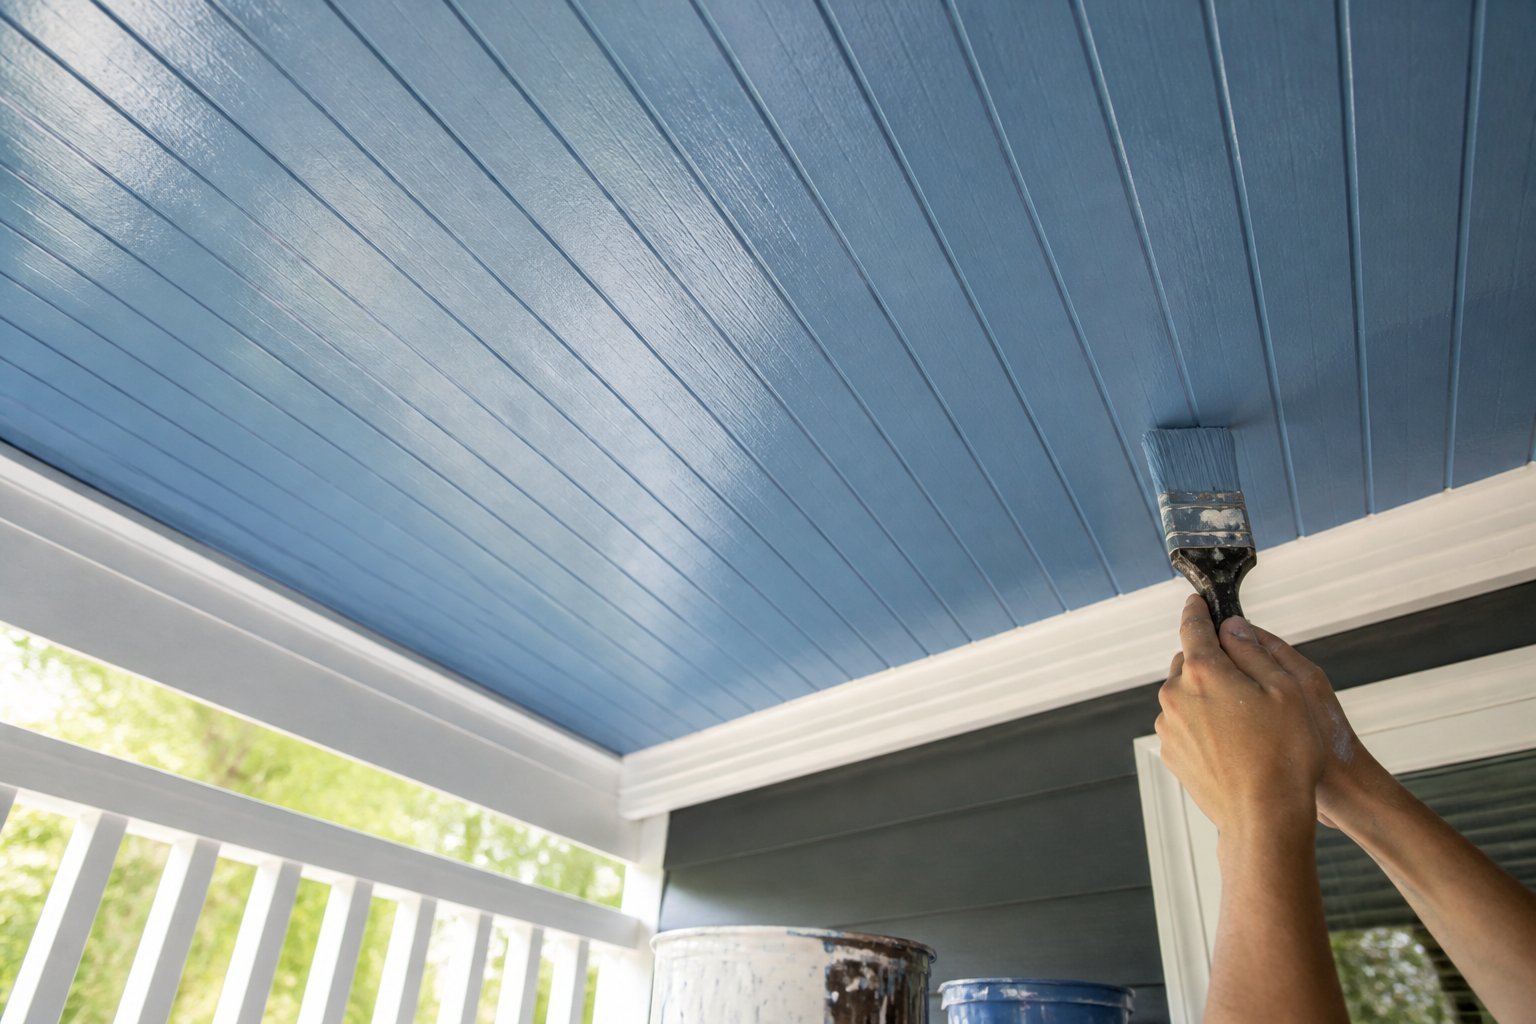
This idea is a guide to give your porch a calm, airy feel with classic beadboard painted sky blue in a satin sheen. You’ll get a soft, reflective finish that brightens the space without showing every imperfection.
Start by priming tongue-and-groove or beadboard panels. Paint in long, even strokes and watch for drips; satin hides brush marks better than flat, but sanding between coats still helps.
A common mistake is skipping ventilation while painting; open windows or use a fan to avoid tacky spots. For a cottage look, pair the ceiling with white trim and hanging wicker lights.
If you want inspiration, see sky blue ceiling ideas that pros use to set mood and curb appeal. Try a small test panel first, then roll the full ceiling when you like the color.
2) Reclaimed Pine Plank Ceiling with Flush LED Strips
Intent: tutorial and idea.
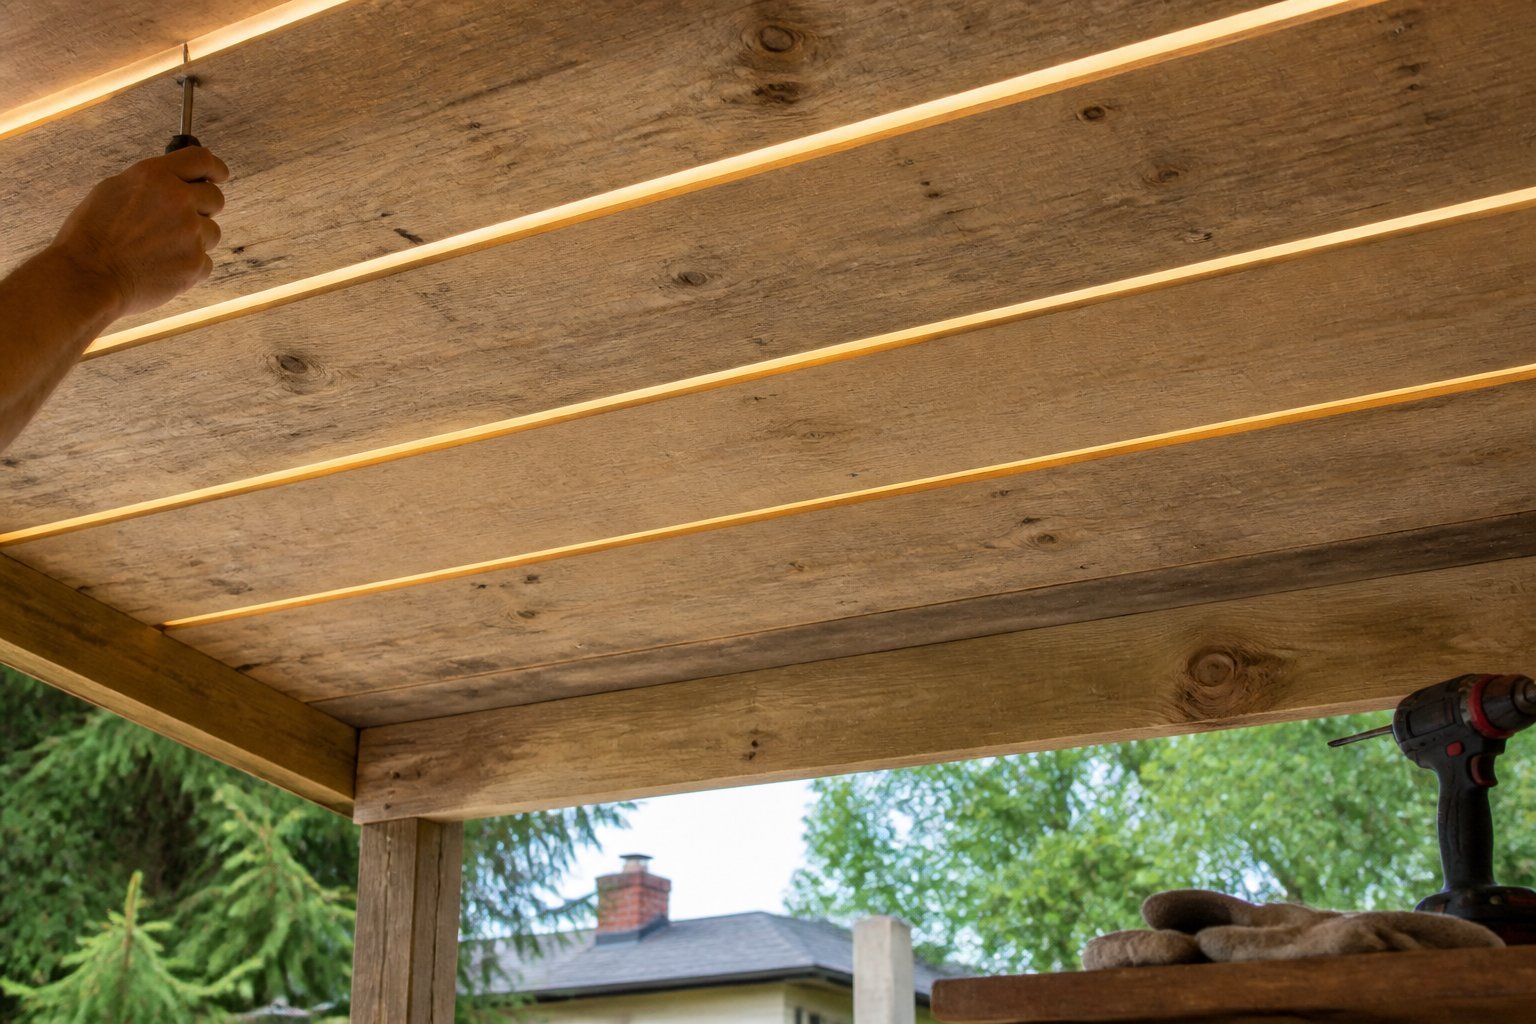
Use reclaimed pine for a warm, lived-in look that hides small porch flaws. Run the boards tongue-and-groove for tight seams, and stagger end joints to prevent weak spots. A common mistake is skipping acclimation—stack boards inside for a week to avoid future gaps.
Install slim flush LED strips between joists for even, glare-free light. Choose warm white (2700–3000K) to keep wood tones cozy. Conceal wiring in a shallow channel and test runs before final fastening.
If nails split the planks, pre-drill and use finish screws for a cleaner result. A light clear sealant protects against moisture but keeps the vintage patina. Try one long run down the center for depth, or parallel runs for a modern grid.
Ready to tackle it? Measure twice, cut once, and start with a small section to build confidence.
3) Tongue-and-Groove Cedar Stain in Honey Tone
Guide: idea. Choose tongue-and-groove cedar for a warm, natural porch ceiling that feels high-end but stays budget-friendly. A honey-toned semi-transparent stain brings out cedar’s grain and protects against UV damage.
Prep well. Sand lightly and clean all dust so the stain soaks evenly. Test the honey shade on a scrap piece or hidden board to avoid a too-dark finish.
Apply with a brush or stain pad along the grain for consistent coverage. Wipe excess within 5–10 minutes to keep the color even and prevent blotches.
Watch for common mistakes: staining in direct sun, skipping a test piece, or using opaque stain that hides the wood’s character. If you want inspiration, see ideas for stained tongue-and-groove porch ceilings at this collection of stained tongue and groove porch ceiling ideas. Try a small section first and then finish the rest once you’re happy with the tone.
4) Whitewashed Pine Coffered Ceiling with Brass Pendant
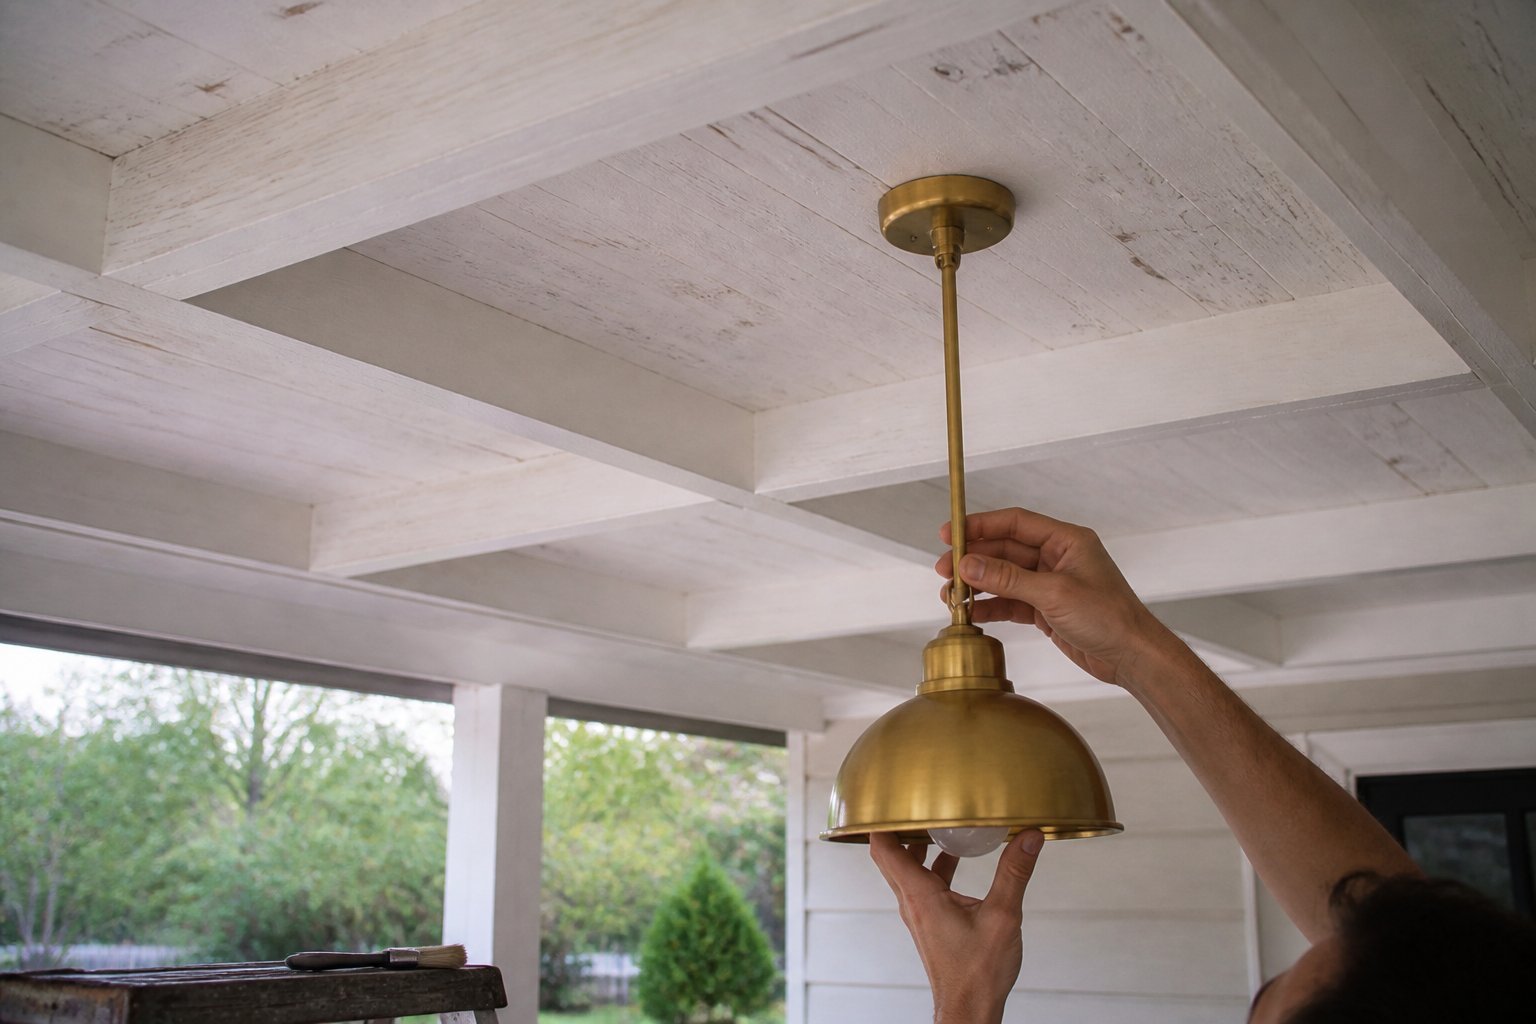
Idea: create a bright, textured ceiling that lifts your porch feel with simple materials and a single statement light.
You’ll build shallow coffers from whitewashed pine planks for a soft farmhouse look. Tight joints and consistent plank width matter; uneven spacing is the most common mistake and shows up in sunlight.
Install a centered brass pendant to add warmth and a focal point. Choose a damp-rated fixture and wire it to a porch-rated box; brass patinas nicely and hides fingerprints.
For DIY: cut a grid of 2×2 battens, attach planks across, then sand and whitewash. Seal with a water-resistant clear coat to protect from humidity.
See beadboard and plank ideas for more finishes at Porch Ceiling Ideas That Transform Your Outdoor Space.
5) Pressed Tin Ceiling Tiles in Antique Copper
Idea: install pressed tin tiles in antique copper to add vintage warmth and weather resistance to your porch ceiling. You get a classic look without heavy maintenance.
Start by measuring and planning a pattern. Lay tiles dry first to avoid mismatches; common mistakes are cutting too close to trim and skipping a primer on raw wood.
Tiles can glue up or drop into a grid, so choose the method that fits your ceiling structure. For DIY, use adhesive rated for outdoor use and seal edges with paintable exterior caulk to stop moisture.
If you want examples and buying options, check antique copper faux-tin panels at major retailers like Home Depot for easy lay-in or glue-up choices. Try one test row to confirm color and fit before committing to the whole porch.
6) Bamboo Panel Ceiling with Matte Varnish
Guide: use bamboo panels and matte varnish to get a warm, low-gloss porch ceiling that resists weather.
Start by measuring and choosing tongue-and-groove bamboo panels made for outdoor use. Install perpendicular to rafters for strength. Leave small expansion gaps and use stainless-steel fasteners to avoid rust.
Apply two thin coats of exterior matte spar varnish. Test on a scrap piece first so you know the final tone. Matte varnish keeps a natural look and hides dust better than gloss.
Common mistake: overbuilding the varnish layer. Thick coats drip and peel. Sand lightly between coats for a smooth finish and better adhesion.
If you want a rustic touch, mix a slightly darker stain into the first coat. Try this on a small section before committing to the whole ceiling.
7) Navy Blue Vaulted Ceiling with Recessed Lighting
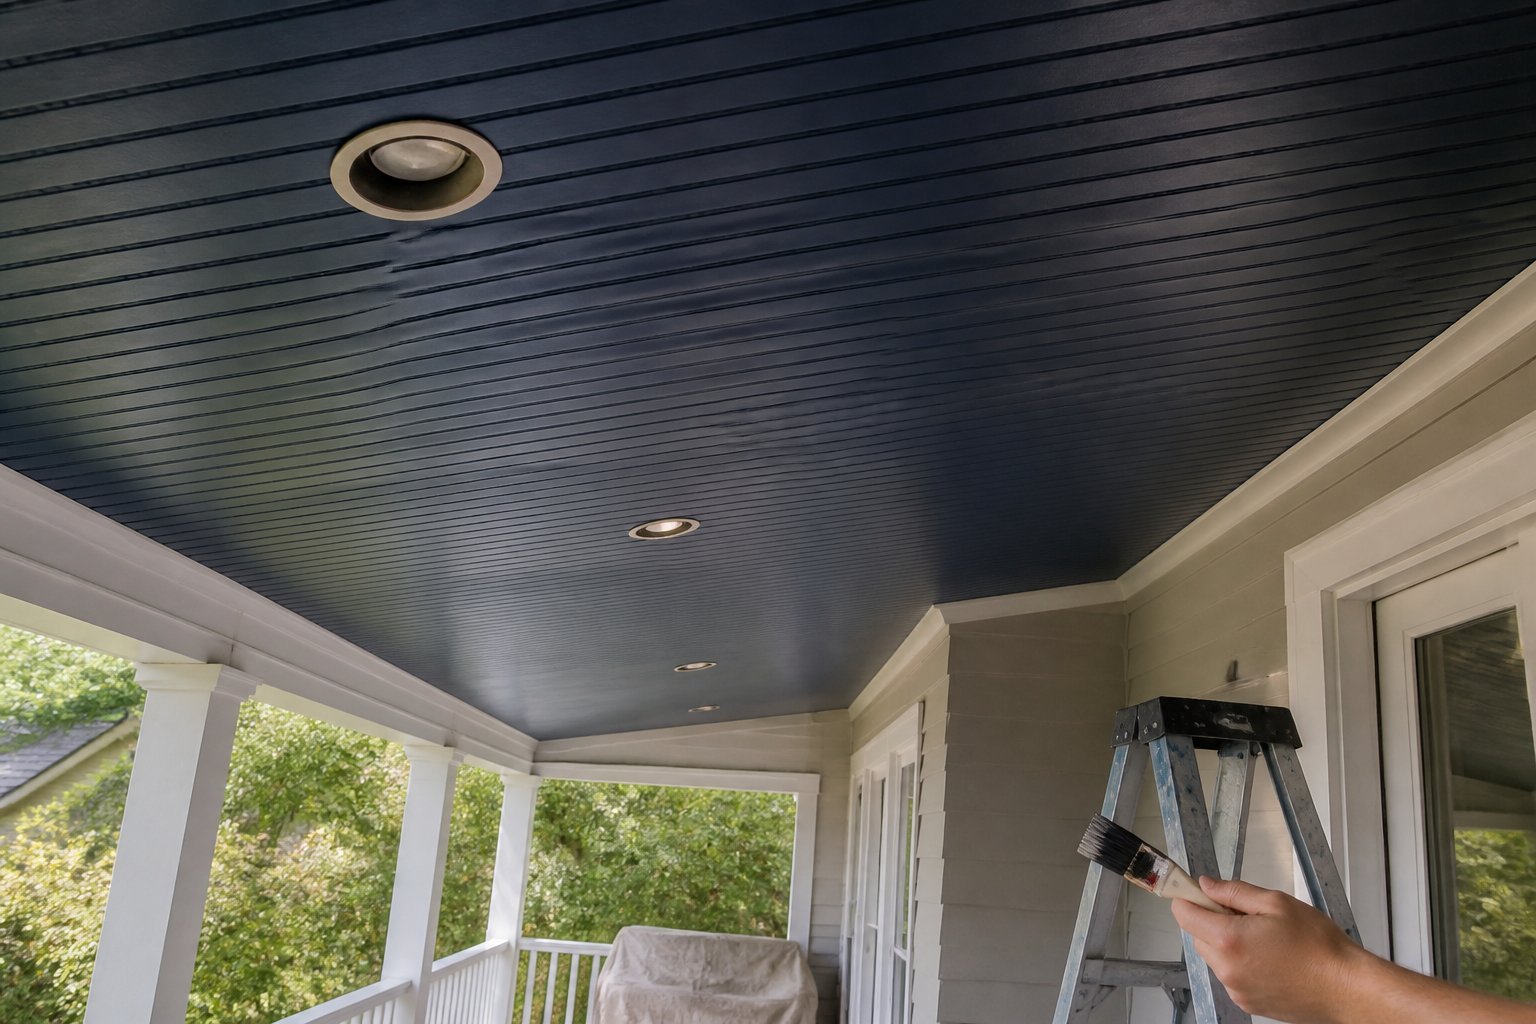
This idea is a guide to make your porch feel calm and modern. Paint the vaulted ceiling a deep navy to draw the eye up and add scale, then install recessed lights for even, glare-free illumination.
Start by priming the surface and using exterior-grade paint to avoid peeling. Space recessed fixtures evenly along the vault; if you’re unsure, mark lighting lines first and test with a temporary lamp.
A common mistake is using too-bright bulbs that wash out the navy. Choose warm, dimmable LEDs around 2700–3000K to keep the color rich and the space cozy. If your porch faces north, add slightly brighter fixtures to compensate for lower natural light.
You can pair navy with white beams or natural wood trim for contrast. Try one or two recessed lights near seating and add a dimmer so you control mood and function.
8) Fabric-Draped Canopy Ceiling (UV-rated outdoor linen)
Idea: turn your porch into a soft, shaded room by draping UV-rated outdoor linen across beams or a simple cable frame. You get instant shade, color, and a cozy feel without major construction.
Start by measuring and choosing fade-resistant fabric meant for outdoors. Mount stainless-steel hooks or a tension cable so the fabric can billow without sagging. A common mistake is using indoor fabric that mildews or fades quickly.
Use light colors to reflect heat or deeper tones to create drama. For an easy DIY, stitch looped hems for curtain rings so you can swap panels for cleaning. Add subtle LED string lights above the cloth for evening glow.
This method works on a tight budget and lets you change looks seasonally. Try silk-touch outdoor linen for a luxe feel or canvas for durability. Ready to pick your fabric and hardware?
9) Picket-Strip Accent Ceiling with Edison Bulb Chandeliers
Intent: tutorial and idea.
This look uses narrow picket strips nailed across the ceiling for texture and light shadow. You lay the strips in a simple grid or parallel runs, then paint them a soft white or contrasting navy to make the bulbs pop.
Hang Edison bulb chandeliers at different heights to add warmth and vintage charm. Use weatherproof fixtures if the porch is open, and balance brightness with dimmers so evenings feel cozy, not glaring.
Common mistake: spacing strips too far apart—this breaks the rhythm. Keep consistent gaps and test a small area first. For an easy DIY, cut picket strips from fence pickets and prepaint before installing.
Try one or two statement chandeliers over seating and smaller pendants near the edges. If you want help picking bulb size or hanging height, ask for quick measurements.
10) Mirror-Backed Ceiling Tiles for Light Amplification
Idea: use mirror-backed tiles to bounce daylight and porch lighting into darker corners. You get brighter evenings and a more open feel without rewiring or major construction.
Start by measuring and testing one tile size on a small area. Cut and handle mirror sheets carefully; wear gloves and use safety film to avoid chips. A common mistake is gluing directly to wood—use a rigid backer board and adhesive rated for mirrors to prevent sagging.
Pick low-reflective finishes if glare bothers you, or mix mirrored and painted tiles for a subtle shimmer. For inspiration and installation tips, see mirror tile ideas that show how reflective ceilings lift porches visually. Try one wall or the center panel first, then expand if it works for your space.
Understanding Porch Ceiling Materials
Choose materials that match your climate, budget, and the style you want. Think about how long it must last, how often you’ll clean it, and whether you want a painted or natural look.
Weather Resistance and Durability
Pick materials that resist moisture, sun, and pests. Cedar or redwood hold up well in wet or coastal areas because they resist rot and insects. Pressure-treated pine is cheaper but needs sealing and regular checks for warping.
If you live where it snows, choose rigid panels like aluminum or PVC that won’t absorb moisture and won’t sag under ice. For hot, sunny climates, look for UV-stable finishes so paint or stain won’t peel quickly.
Common mistake: choosing raw wood without a plan for sealing. Even attractive woods need a protective topcoat and periodic re-application. Match fasteners (stainless or coated) to your material to avoid rust stains.
Maintenance Considerations
Think about cleaning, repainting, and how often you’ll need to replace parts. Painted beadboard looks great but often needs touch-ups every 3–5 years in exposed areas. Vinyl and aluminum need only occasional washing with a hose and mild soap.
If you add lighting or fans, plan access panels or removable boards so you can service wiring without cutting the ceiling. For wood, factor in staining or resealing every 2–4 years depending on sun and rain exposure.
A budget trap: picking the cheapest material can raise lifetime costs through repairs. Spend a little more up front on corrosion-resistant fasteners and a quality finish to save time and money later.
Popular Finishes and Textures
Decide between painted, stained, or natural textures to set the porch mood. Painted sky blue (a classic coastal trick) hides nail holes and brightens shaded porches. Stained tongue-and-groove shows wood grain for a warm, rustic look. Tin tiles add an ornate, vintage feel and reflect light well under dim porches.
For modern porches, smooth PVC or aluminum with a satin finish gives a clean look and hides seams. For a cozy vibe, install beadboard or narrow tongue-and-groove planks in a natural or whitewash stain.
Example: homeowners often choose beadboard painted white for cottage charm, then regret frequent repainting. If you want the look without upkeep, pick a PVC beadboard alternative and save time.
Porch Ceiling Lighting and Ambiance
Good porch lighting makes your space usable after dusk and highlights the ceiling’s materials and details. Focus on layered light and placement so the porch feels warm, safe, and visually interesting.
Integrating Ambient Lighting
Guide the overall mood with soft, even fixtures. Install dimmable recessed lights or low-profile LED strips behind crown moldings to wash the ceiling with warm (2700–3000K) light. Use a smart dimmer so you can set bright task light for gatherings and low glow for late-night relaxation.
Mix in a central fixture—like a weather-rated pendant or flush mount—for anchor light. Choose fixtures rated for damp or wet locations and match finish tones to porch hardware. Run wiring to a GFCI-protected outdoor circuit and keep fixtures at least 6–8 inches from any wood trim unless rated for close contact.
Common mistakes: over-lighting with harsh cool bulbs or installing fixtures that aren’t outdoor-rated. Test a layout with temporary string lights before hardwiring to confirm placement.
Highlighting Architectural Features
Draw attention to beams, tongue-and-groove planks, or tin tiles with directional lighting. Use adjustable recessed eyeballs or small surface-mounted adjustable spots aimed along the grain or beam edges to create shadow and depth.
Accent lighting works best in pairs or runs spaced every 3–4 feet along a beam or the perimeter. For exposed rafters, mount uplights at the post bases to backlight the rafters and create dramatic silhouettes without glare.
For DIY installs, use low-voltage LED fixtures and an outdoor-rated transformer to reduce heat and wiring complexity. Avoid aiming lights directly into seating areas; that causes glare. If you want more ideas, check porch ceiling inspiration and lighting options at Martha Stewart to match style to function.