How to Fill a Raised Garden Bed for Under $30 (No Expensive Soil Needed)
You want a productive raised bed without spending a small fortune, and you can build one using mostly free or very cheap materials. You’ll learn simple layering tricks and low-cost fills that give plants the top-quality soil they need while keeping your total cost under $30.
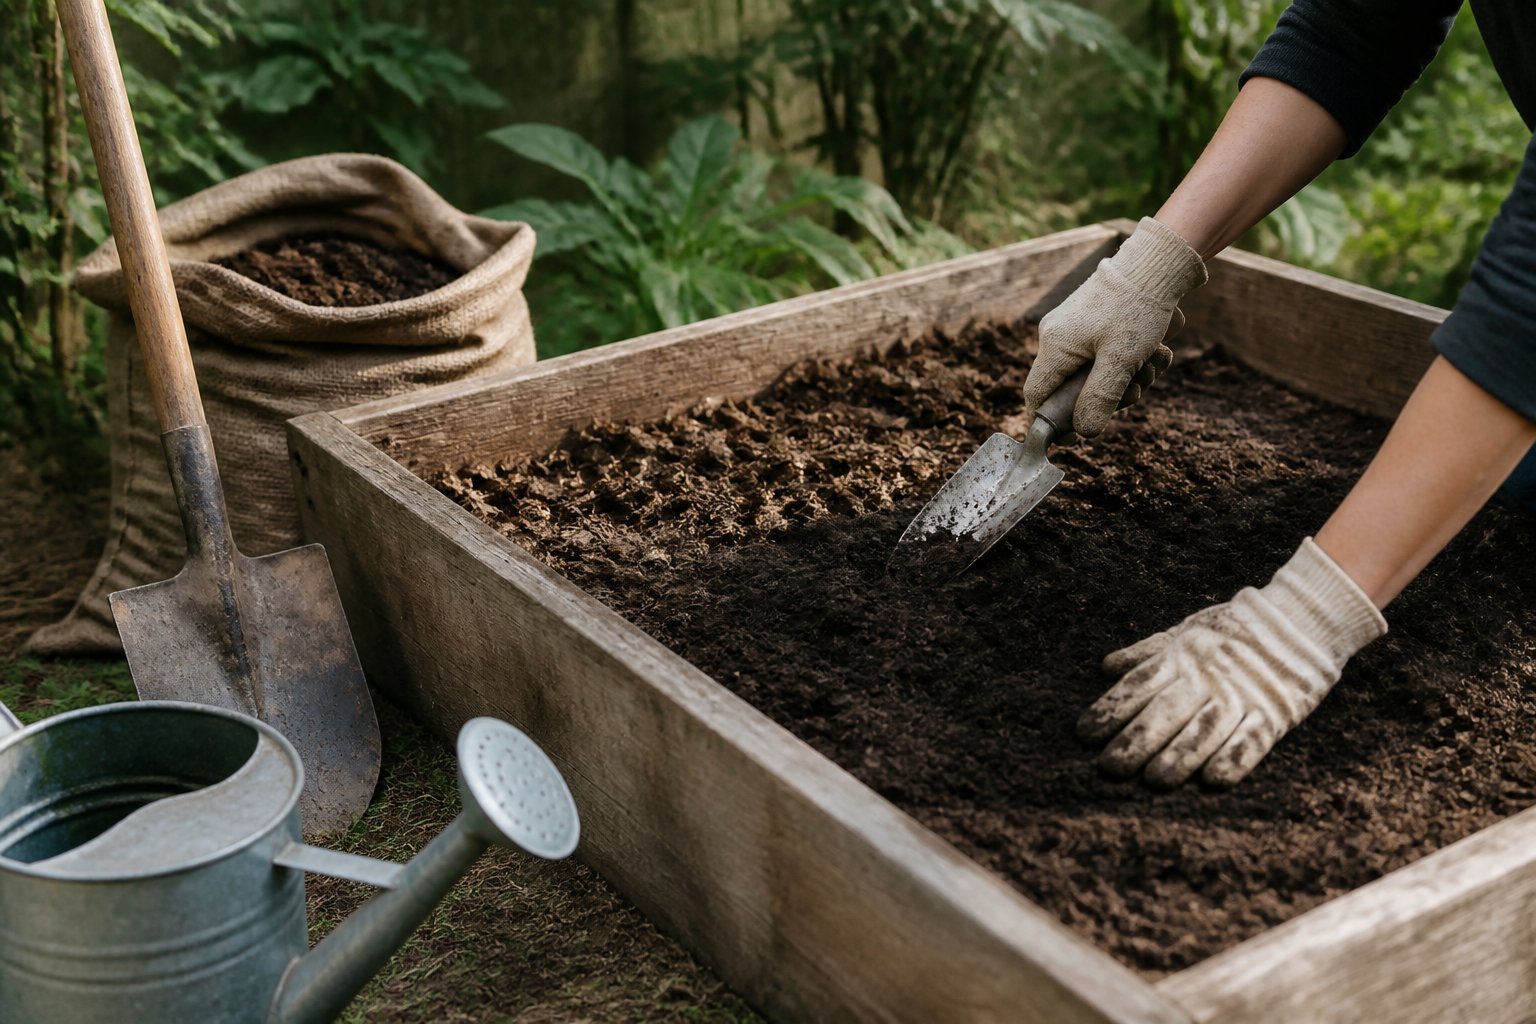
This article guides you through tried-and-true methods like cardboard cores, leaf mulch, composted kitchen scraps, and cheap bulk topsoil so you can pick the approach that fits your time and budget. Expect clear how-to steps, common mistakes to avoid, and practical tips for sourcing local materials so your raised bed starts strong and stays healthy.
1) Layered lasagna method: cardboard + leaf mulch + composted kitchen scraps
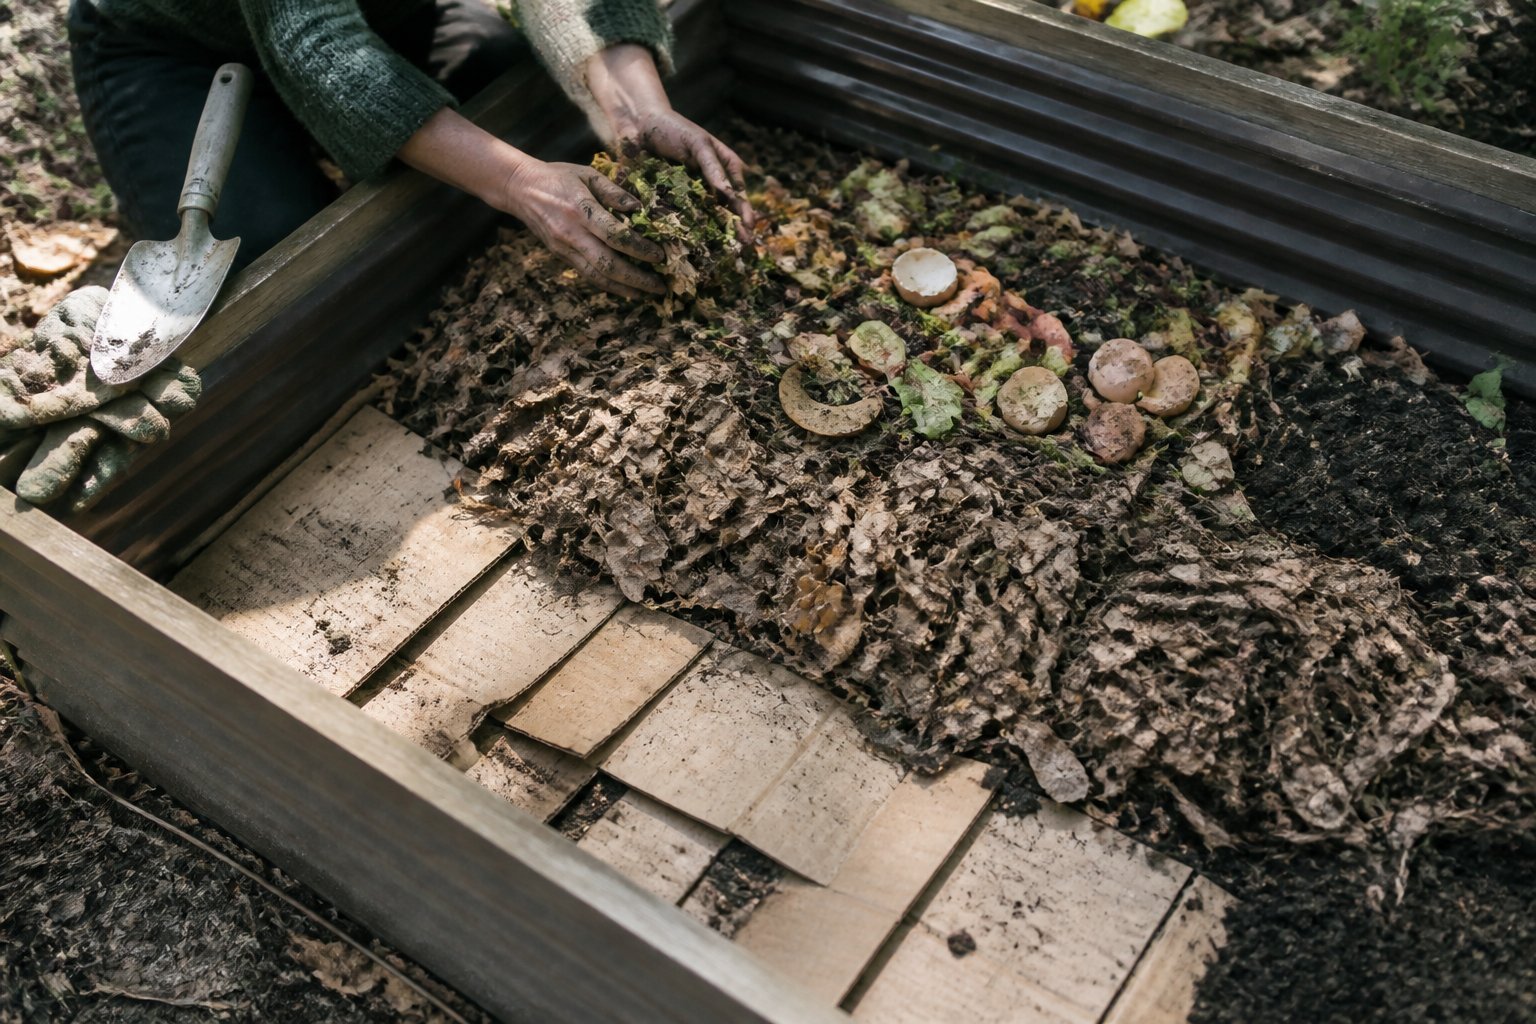
This guide shows you how to fill a raised bed on a budget using layers that break down into rich soil. Start by laying flat cardboard to block weeds; overlap seams and wet it so it stays put.
Add a thick layer of dried leaves or shredded yard waste next. Leaves hold moisture and add carbon; aim for 3–4 inches so the next layers don’t sink too fast.
Top with a 2–3 inch layer of composted kitchen scraps. Well-rotted compost feeds plants and speeds decomposition. Avoid fresh meat, dairy, or oily foods that attract pests.
A common mistake is packing layers too tight. Leave them loose and water each layer; patience pays off as materials compost in place. Try this on one bed first, then scale up.
2) Fill core with shredded cardboard and straw to save bulk soil
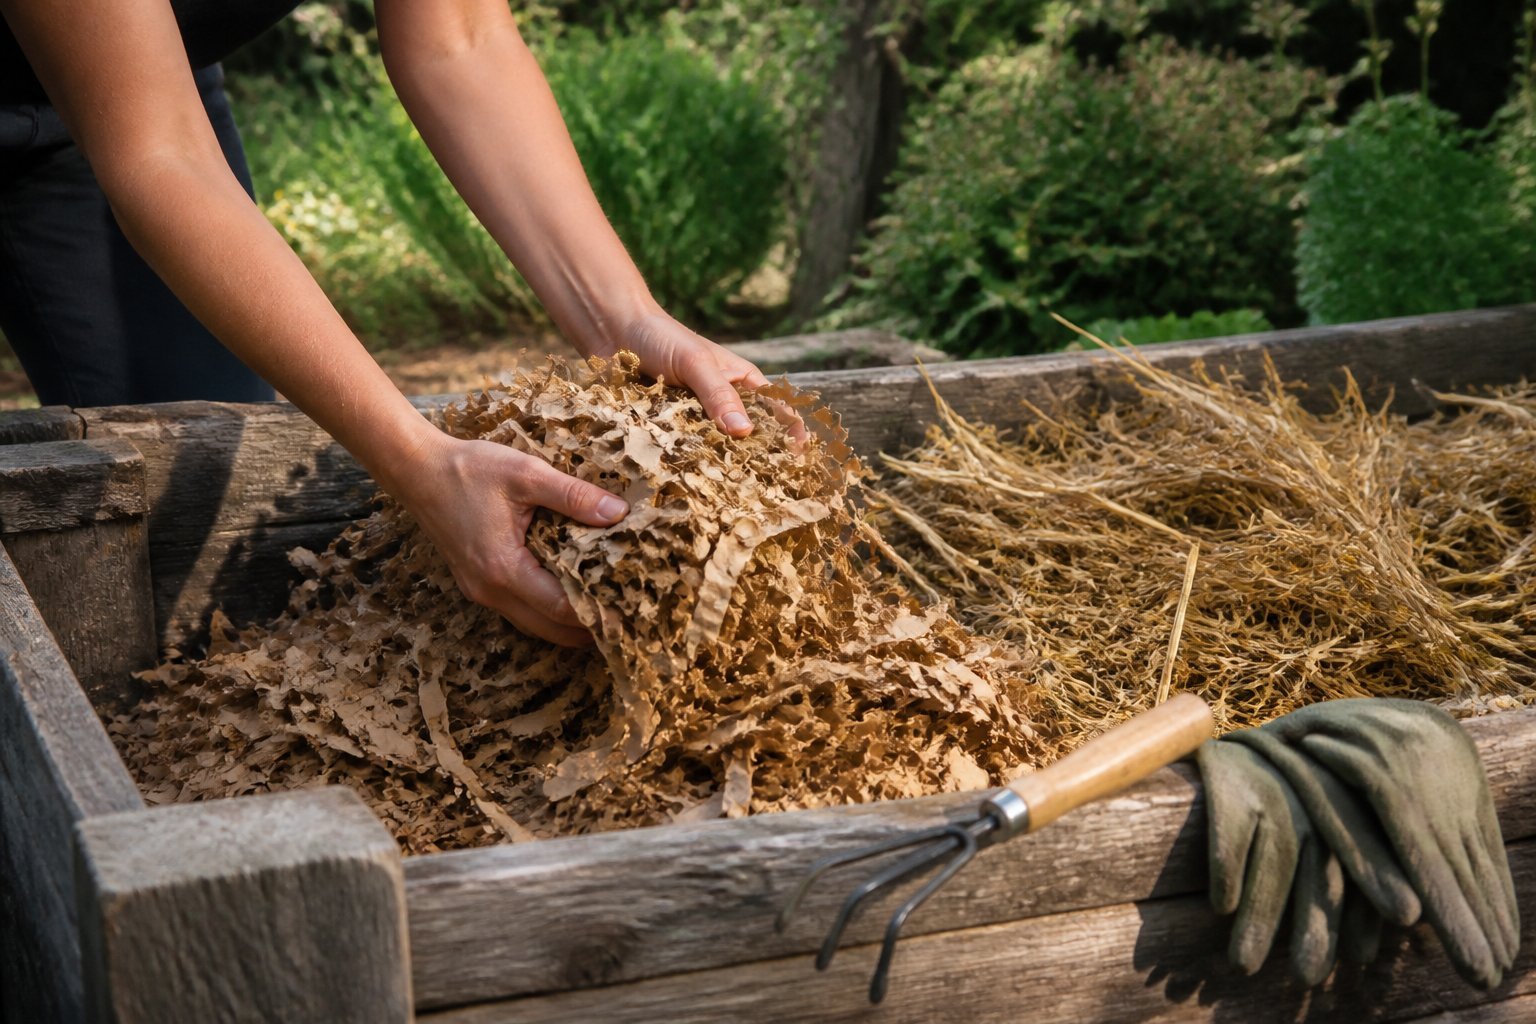
Guide: use shredded cardboard and straw to bulk the bed cheaply and speed decomposition.
Lay down tape-free cardboard flat across the bottom. Wet it so it sinks and blocks weeds. Add a 6–12 inch layer of shredded cardboard mixed with dry straw to create a light, airy core that will settle over time.
Keep the top 6–8 inches for good soil where roots live. This saves expensive soil and still supports plant roots. A common mistake is packing the core too tightly — leave some air gaps so microbes can break material down.
Example: I once filled a 4×4 bed mostly with cardboard and straw, saved half the soil cost, and still grew healthy tomatoes by year two. Try it this season and top up with compost in spring.
3) Use free fallen leaves layered and compressed as a base filler
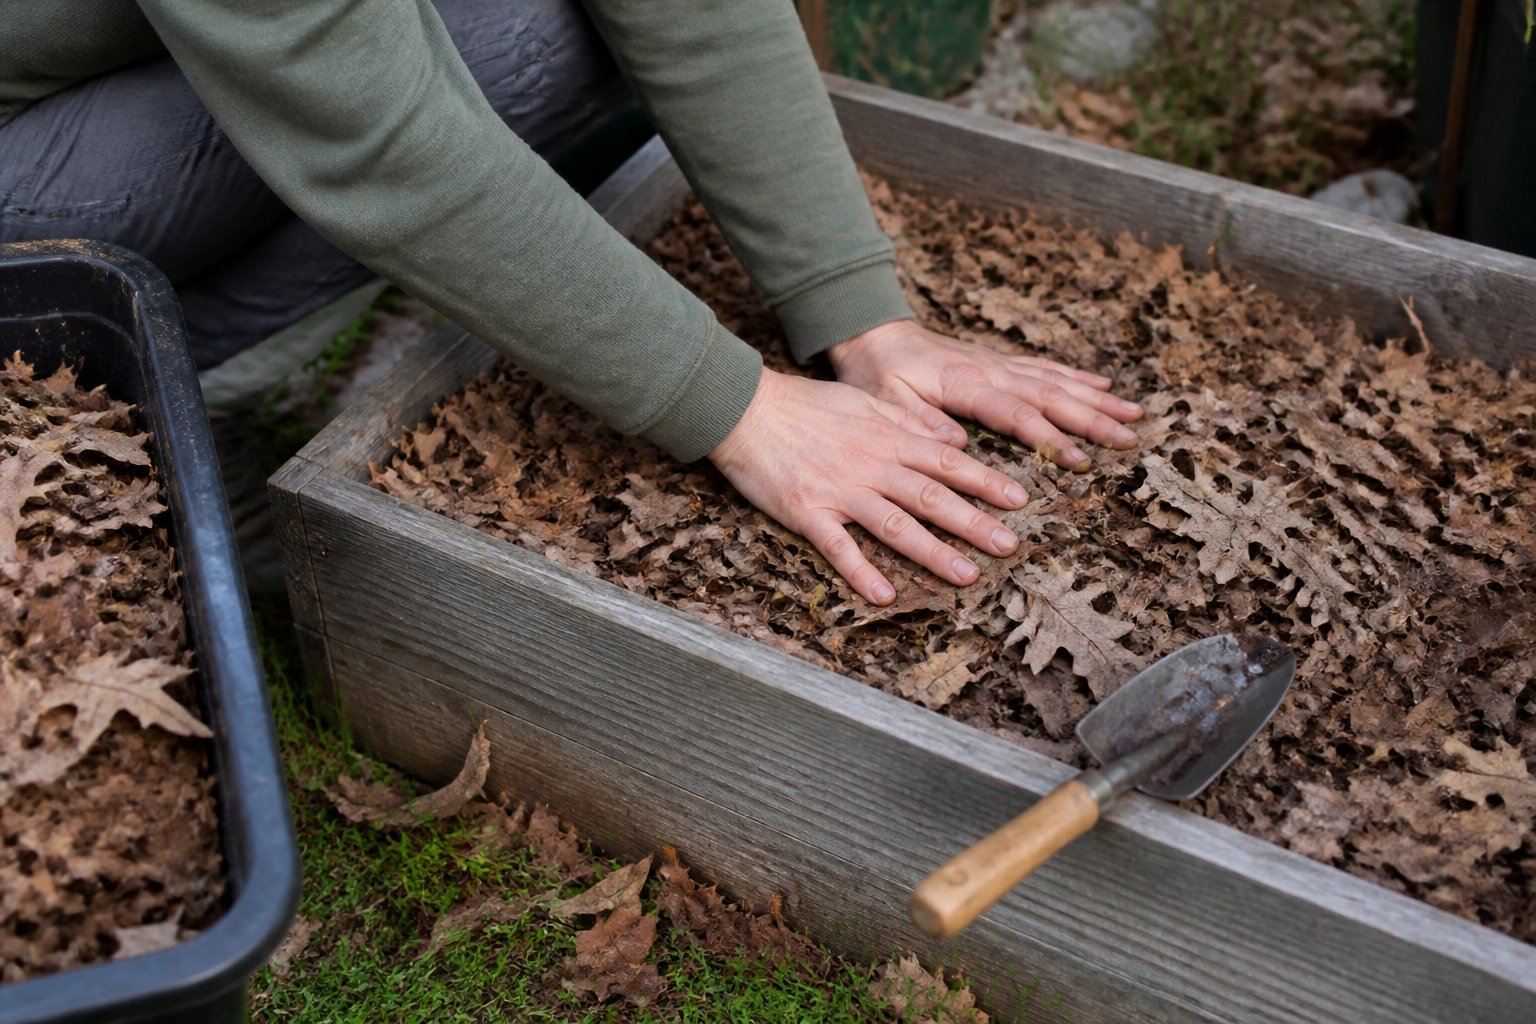
Guide: use fallen leaves as a low-cost, high-volume base that slowly turns to compost. Start by shredding or trampling leaves; whole leaves mat and block water. Layer 6–12 inches of shredded leaves, then stomp or tamp them down to remove large air pockets.
Keep wetter materials like grass clippings or kitchen scraps above the leaf layer, not mixed in, to avoid bad odors while decomposition starts. A common mistake is topping with light soil before leaves settle — wait a season or add a thin compost layer so young roots won’t float.
I once rebuilt a 4×8 bed this way and saved hundreds; plants rooted fine after one season. Try this method on one bed first, check settling, and add compost if needed.
4) Woodchip/brush pile core from local municipal green waste pickup
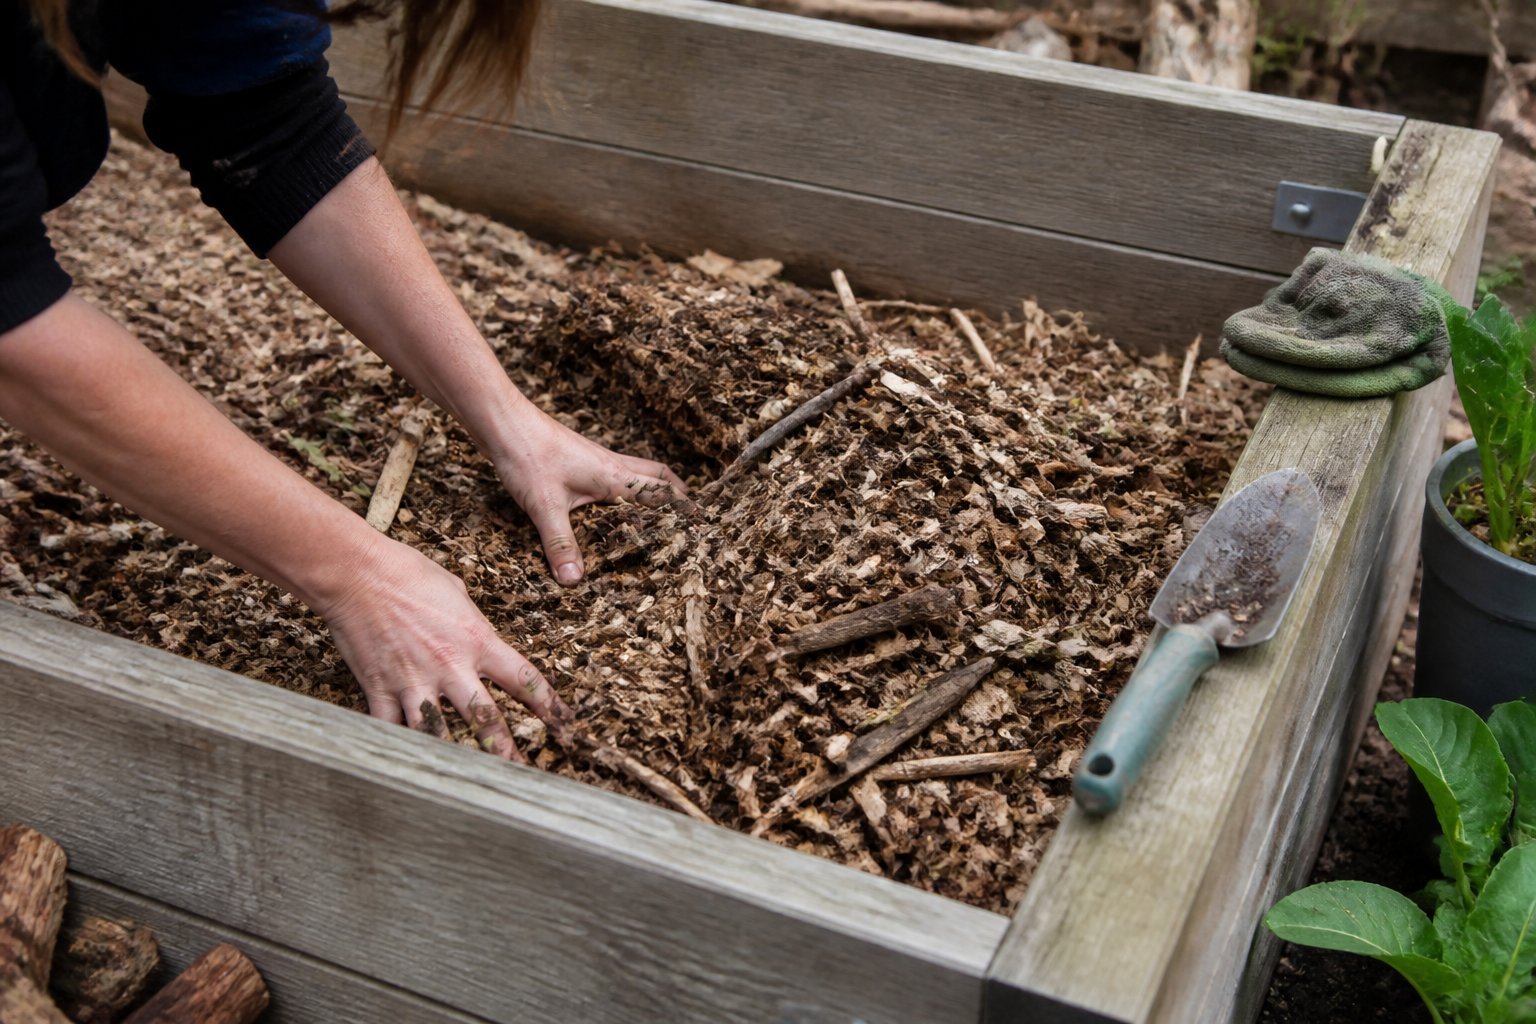
Guide: use municipal wood chips as a cheap, sturdy core for raised beds. Check your city’s green-waste program and plan a quick pickup or drop-off window.
Start by hauling fresh wood chips or brush piles into the bed to fill most of the volume. Pack larger branches toward the bottom and finer chips on top so the bed stays stable and drains well.
Expect some nitrogen tie-up early on; avoid planting heavy feeders right away. Add a thin layer of compost or aged manure before planting to feed roots as decomposition starts.
Common mistake: overfilling with large logs that settle unevenly. Leave space for a 4–6 inch topsoil mix. Try contacting your municipal yard for free mulch or wood chips through their green-waste program (https://www.lawnstarter.com/blog/lawn-care-2/where-to-get-free-mulch/).
5) Horse or cow manure mixed with straw from local stables
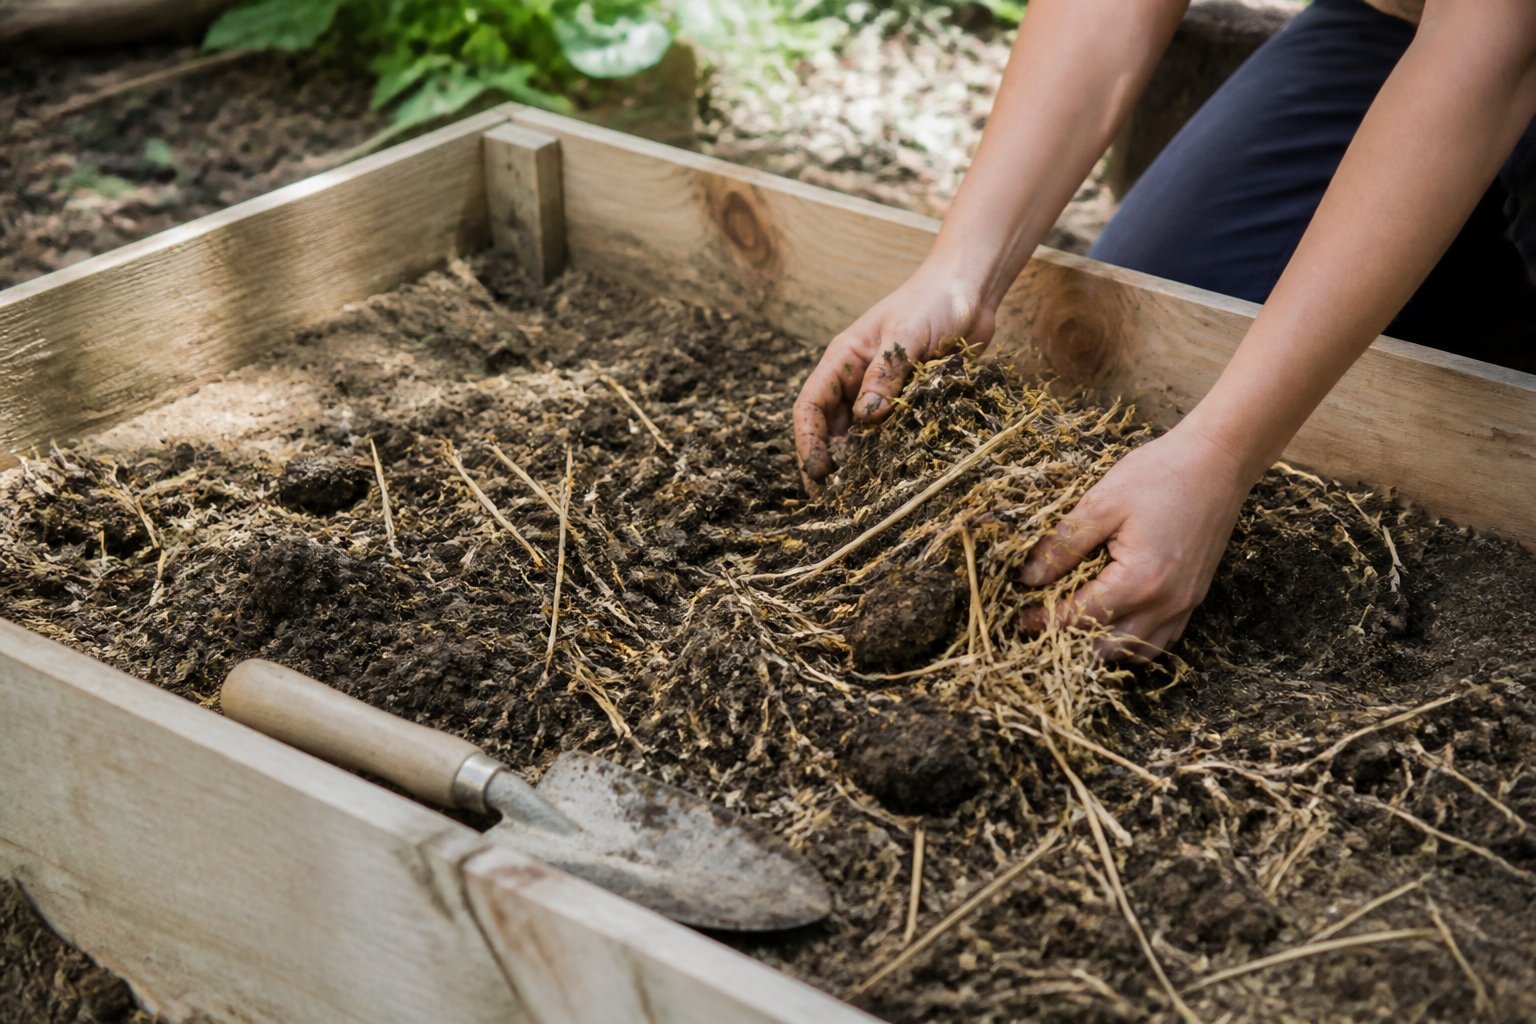
Guide: use well-aged manure mixed with straw to bulk-fill beds cheaply. You want manure that’s composted for at least six months; fresh manure can burn plants and smell bad.
Spread a layer of straw and topped with chopped, aged manure. Mix lightly so air can move through the pile; this helps it settle and start feeding soil below.
Common mistake: using fresh manure or manure with bedding full of plastic or heavy wood shavings. Ask the stable if the manure has been turned or cured, and avoid sawdust-heavy mixes.
Example: I once filled a 4×8 bed using two truckloads from a local farm. It saved money and, after one season, the top 8–12 inches became rich enough for vegetables. Visit a local guide on filling beds cheaply for more ideas: How To Fill A Raised Garden Bed – 24 Soil Alternatives That Won’t Cost … (https://positivebloom.com/how-to-fill-a-raised-garden-bed-soil-alternatives-that-wont-cost-you-a-penny/).
6) Bulk cheap topsoil blend from a local landscape supply (1/2 bed depth)
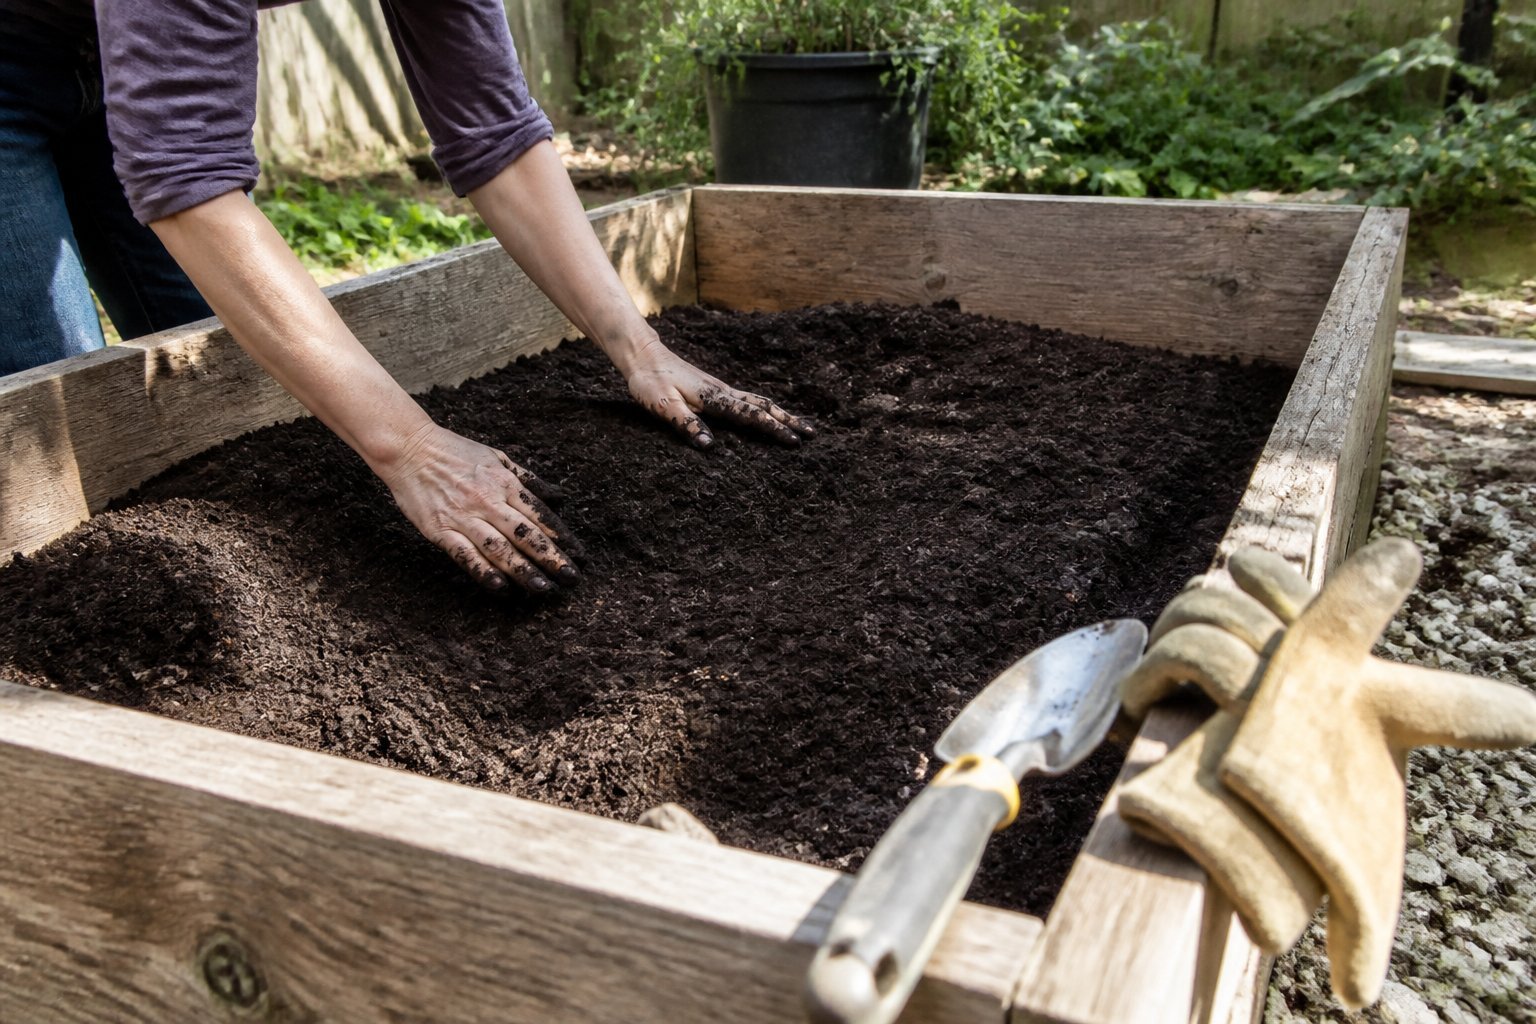
Guide: use this method to save money and still build good soil structure.
Buy a cubic yard or two of screened topsoil from a landscape yard and fill the bottom half of the bed. Mix in 20–30% compost or aged manure to boost nutrients and water retention. This gives structure and cuts cost compared with bagged mixes.
Avoid fresh, high-salt amendments and sticky clay topsoil. A common mistake is skipping a sniff and crumb test; if soil smells sour or compacts into a hard ball, reject it. I once hauled home a load that turned out too sandy — adding more compost fixed it over a season.
If you need local options, check municipal compost or landscape suppliers for bulk pricing and delivery. Start with the half-depth bulk fill, then top with lighter, richer mix for planting.
7) Home compost finished and screened for top 6–8 inches
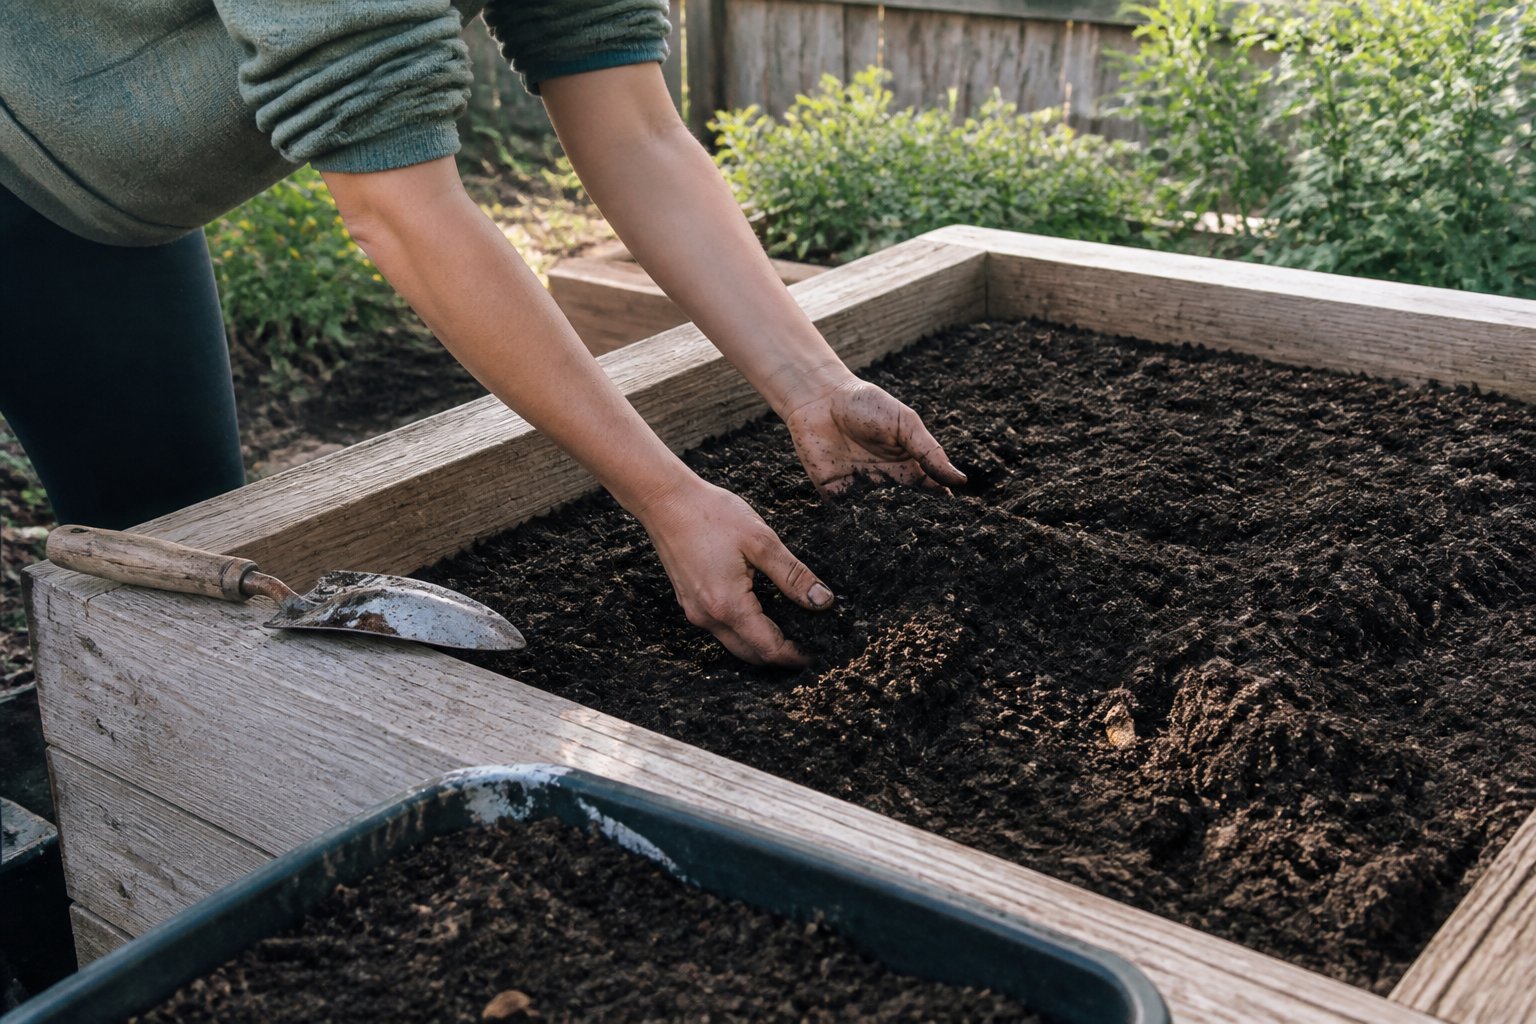
Guide: place your finished compost on top to feed plants and hold moisture. Screen it through a 1/2-inch mesh to remove sticks and large clods so seedlings sit in fine, even soil.
Tip: if your compost still smells or is hot, let it cure two more weeks. Using fresh, unfinished compost can burn young roots or attract pests; I learned this after a spring crop flop.
Mix screened compost with a little store topsoil if it’s very light. Aim for 6–8 inches of this blended layer—enough for most vegetables’ roots without buying bags of premium soil.
Common mistake: dumping unprocessed kitchen scraps into the bed. That invites rodents and slows plant growth. Instead, add scraps to your pile, finish them, then screen and spread.
8) Coconut coir blended with garden compost for light, moisture-retentive mix
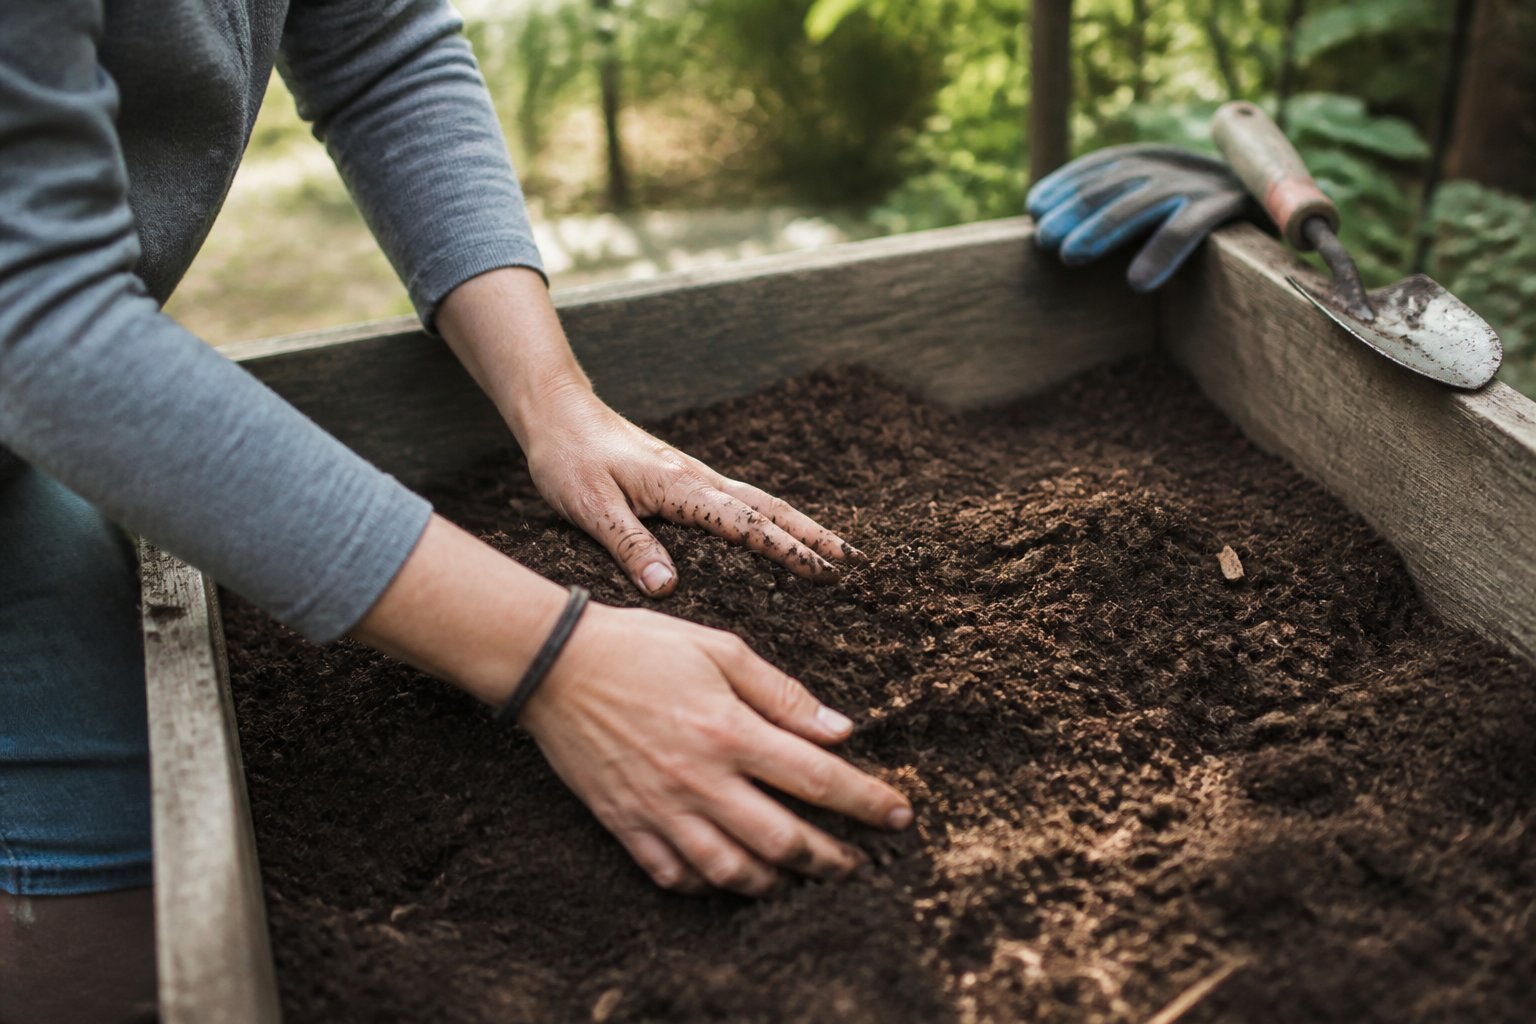
Guide: mix 1 part hydrated coco coir with 2 parts garden compost for a light, water-holding fill that costs little. This ratio keeps your bed airy while holding moisture for seedlings and vegetables.
Use compressed coir bricks—rehydrate in a bucket—then fluff before mixing. A common mistake is using dry coir; it repels water until fully expanded, so soak well.
If your compost is heavy or chunky, sift or break clumps so roots can move freely. For sandy soil nearby, add more coir; for rich loam, stick to the 1:2 blend.
I recommend testing a small bin first. Once you like the feel, fill the bed and plant shallow-root crops like lettuce or herbs right away—then water to settle the mix.
9) Leaf mold mixed with existing garden soil to improve structure affordably
Intent: practical guide.
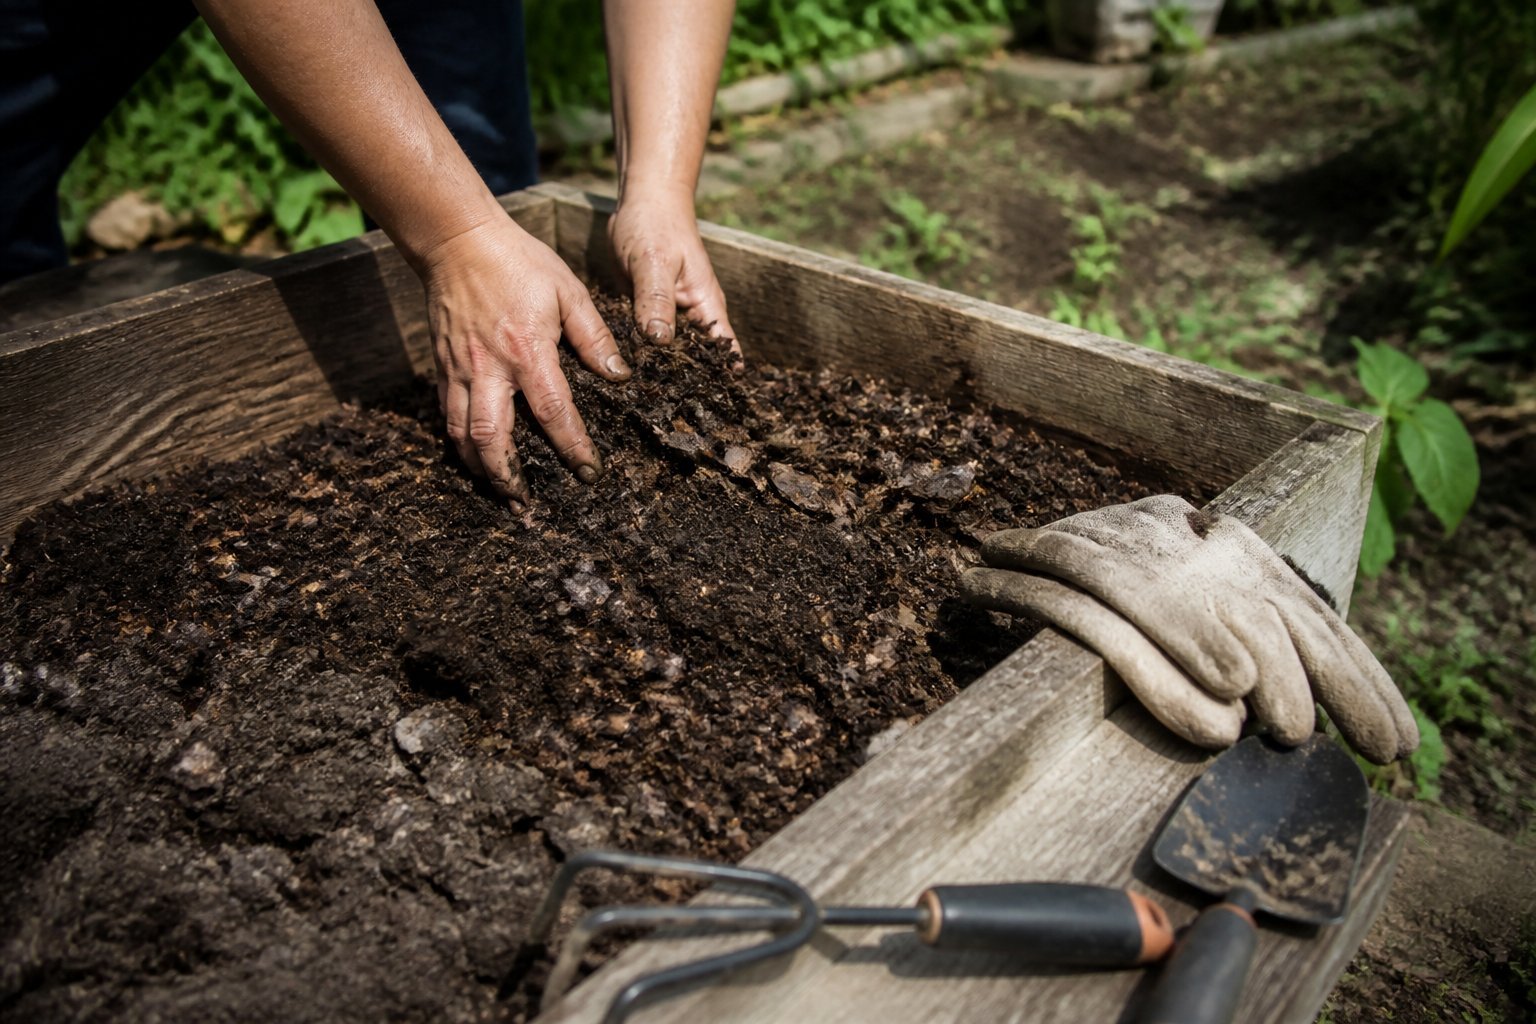
Mix leaf mold into the soil you already have to stretch budget and boost texture. Work a 2–3 inch layer of leaf mold into the top 6–8 inches of bed soil to loosen heavy clay or lighten compacted loam.
Leaf mold holds water and feeds soil life, not fast-release nutrients. If your leaves are still whole, shred them first with a mower. A common mistake is using fresh, wet leaves in a hot compost pile — they slow decomposition and smell.
I once rescued a tired bed by adding free leaf mold from fall raking; within a season seedlings rooted easier and stayed crisp between waterings. Make leaf mold by piling leaves in a bin or trench and letting them break down for 6–12 months. Try one corner of the bed first, then expand if you like the results.
10) Grass clippings layered thinly and composted in place as nitrogen boost
Guide: use thin layers of fresh grass clippings to add nitrogen and speed composting in your bed. Spread a 1/4–1/2 inch layer, then cover with a bit of dry material like shredded leaves or straw to stop matting.
You want steady breakdown, not a smelly soggy layer. Turn or poke the clippings every 1–2 weeks to add air and mix with soil below. If clippings smell sour, they are too thick or wet.
A common mistake is piling clippings straight from herbicide-treated lawns—avoid them. If you mow and bag clean clippings, they act like a free fertilizer you’ll notice in leafy growth within weeks.
Try alternating clipping layers with finished compost or cardboard for balance. Start small, watch how the bed settles, and adjust the layer thickness as needed.
Understanding Layered Gardening Methods
This method uses cheap, bulky materials at the bottom and a thinner, nutrient-rich mix at the top. It saves money, improves drainage, and builds healthy soil over time.
Benefits of Inexpensive Base Materials
You can use branches, cardboard, straw, and leaf litter to create a deep, cheap base that cuts the amount of bought soil you need. These materials break down slowly, so they create air pockets and drainage channels. That keeps roots from sitting in water and reduces root rot.
A common setup: 4–6 inches of coarse wood or brush, then a layer of cardboard to block weeds, then 6–8 inches of compostable yard waste. This gives structure without costing much. Avoid treated wood or glossy cardboard with heavy inks. If you pack the base too tightly, decomposition slows and drainage suffers — leave some voids.
Practical tip: gather branches after pruning or ask a neighbor for yard clippings. This saves money and recycles waste into your bed.
How Layering Supports Plant Growth
Layering creates zones: a coarse, airy bottom, a middle of decomposing organic matter, and a top of loose, living soil. Roots grow down into the looser layers and tap into stored nutrients as the lower layers break down. That sustains plants during heat and dry spells.
Microorganisms and worms move upward, turning bulky matter into usable nutrients. You get steady, long-term fertility rather than a single flush from bagged fertilizers. Watch for nitrogen drawdown early on; add a thin layer of finished compost or a light nitrogen feed if plants show yellowing. Rotate crops and top-dress with compost each season to keep the bed productive and low-cost.
Composting Strategies for Budget Beds
You can build rich, plant-ready soil using free or cheap organic materials and a few tricks to speed breakdown. Focus on high-carbon and high-nitrogen mixes, good moisture, and regular turning to get usable compost fast.
Easy Sourcing of Free Organic Matter
Collect fallen leaves, grass clippings, and kitchen scraps from your home first. Leaves and wood chips give bulk and carbon; fresh grass clippings, vegetable peelings, and chicken or cow manure add nitrogen. Ask neighbors for tree prunings or horse-stable manure; many will give it away. Save cardboard and shredded paper to layer as browns — they suppress weeds and absorb excess moisture.
Pile materials near your raised bed in a simple bin or wire cage. Keep wet and dry materials roughly balanced (aim for 2–3 parts brown to 1 part green). Mist the pile when the outside is dry; it should feel like a wrung-out sponge. Avoid meat, dairy, and diseased plants. Use city leaf-drop sites or local gardening groups for larger free loads.
Accelerating Decomposition Naturally
Chop or shred big materials before composting so microbes work faster. Turn the pile every 7–14 days to add oxygen; more frequent turning gives hotter, quicker compost. Add a thin layer of finished compost or garden soil between layers to introduce microbes. If you want heat, build a pile at least 3 feet across; small piles stay cool and decompose slowly.
Keep the pile moist but not waterlogged; cover with a tarp in heavy rain. Use a kitchen caddy for scraps and bury them in the active pile to deter pests. If decomposition stalls, add a handful of blood meal or urine (diluted) for a quick nitrogen boost. Once crumbly and dark, mix compost into the top 6–8 inches of your raised bed and plant immediately — or save it for the next season.