10 Backyard Zip Line Ideas That Are Safe, Fun and Cheap to Build — Thrilling DIY Plans Kids and Adults Will Love
You want big backyard fun that feels safe and affordable, and this article shows you how to get there without guesswork. You’ll learn ten practical zip line ideas that balance safety, low cost, and real backyard creativity so you can pick one that fits your space and skill level.
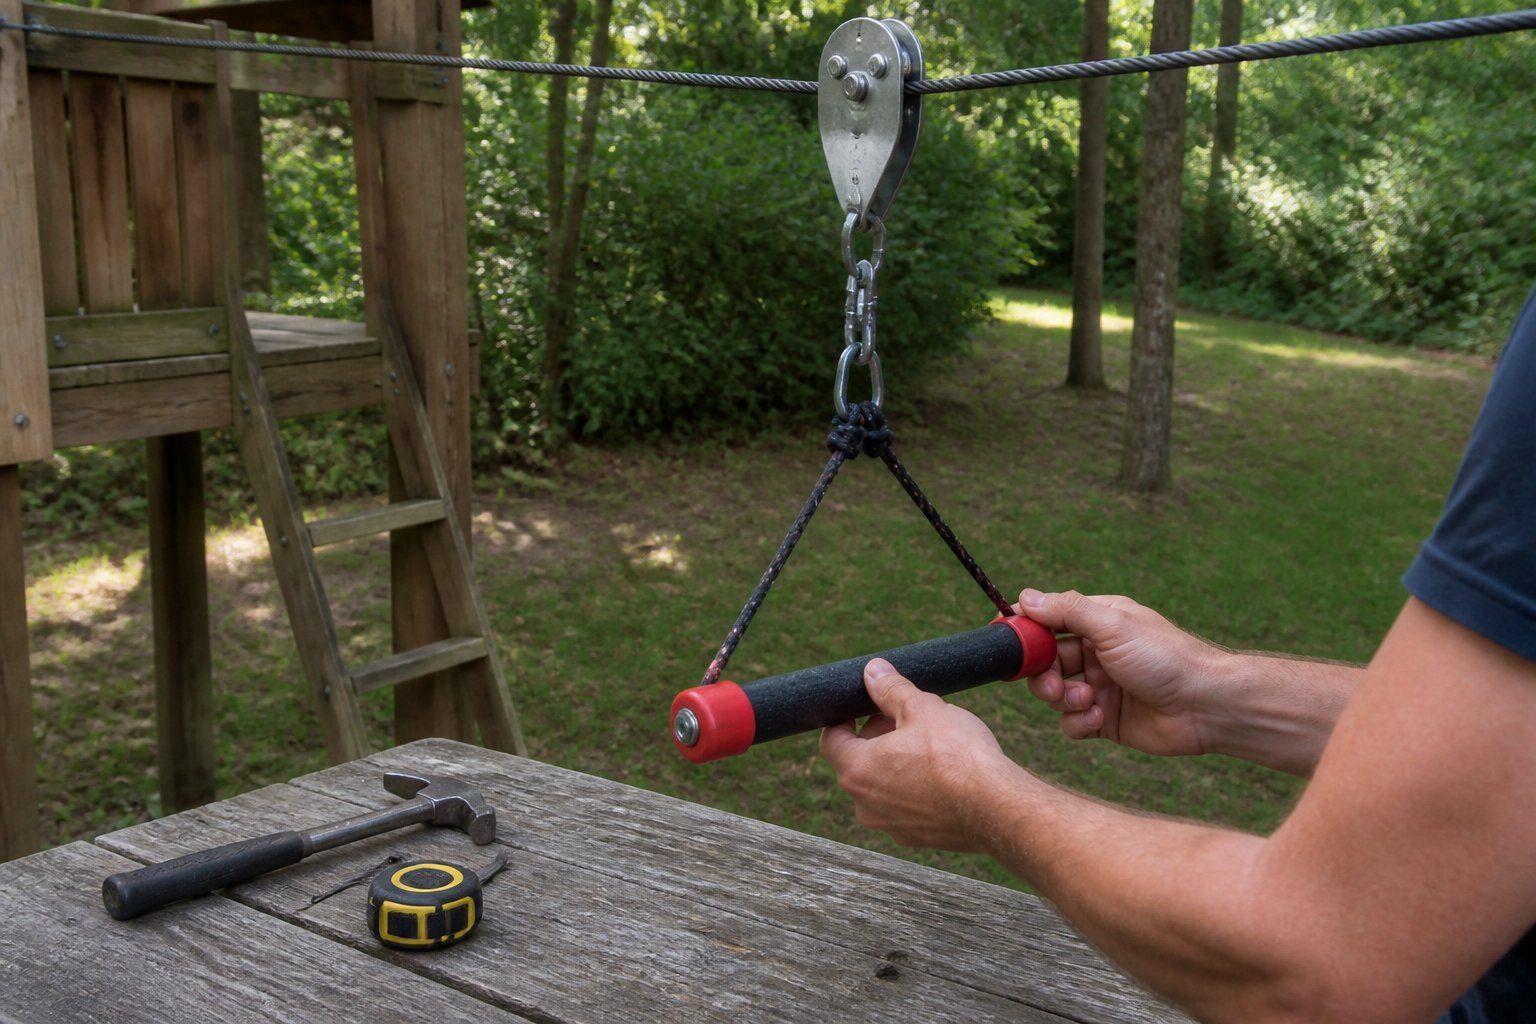
Think like someone who wants thrills but won’t sacrifice safety or their budget. You’ll see options from simple low-height lines for kids to tree-to-tree setups, tensioned stainless-steel cables, detachable kits, and dual lines for racing—with tips on common mistakes to avoid and the gear that actually matters.
1) Tree-to-tree zip line with wooden launch and landing platforms
Intent: guide. Choose two healthy trees at least 12 inches wide and 50–100 feet apart for a steady, fun run. Check tree health and height before you buy parts.
Build simple 3×4-foot wooden platforms that bolt to trees with wide straps or tree-friendly brackets. Anchor the cable above the launch platform so riders clear the landing; test tension with a heavy sack first.
Use a rated steel cable, a trolley made for zip lines, and locking carabiners. A common mistake is under-tensioning the cable — that causes sag and unsafe speeds. Wear a helmet and use a harness with a backup lanyard.
If you want plans and hardware kits, see a detailed kit and platform plans to match your trees and skill level. Ask a pro to inspect anchors if you feel unsure before riding.
2) Single-span cable zip line with trolley and helmet setup
This is a practical guide to building a single-span zip line you can trust. Aim for a gentle slope and a stout stainless cable between two trees or posts to keep speed manageable.
Use a rated trolley and a climbing-style helmet every ride. Attach a full-body harness if kids will ride; adults can use harness or handle trolleys. A common mistake is over-tensioning the cable — that creates harsh stops. Leave some sag and add a simple spring or rope brake.
Test with sandbags before anyone rides and inspect hardware each month. If trees are used, protect bark with wide straps. Try a short 30–50 ft run first to learn braking and angle control.
3) Low-height kids’ zip line with spring seat and safety harness
This idea is a how-to guide for a short, low-risk zip line you can build in a yard. Aim for a line under 8–10 feet long and set the cable no more than 3–4 feet off the ground to keep falls minor.
Use a spring seat to soften rides and reduce speed. Attach a full-body safety harness for younger children and double-check all carabiners, knots, and tree protectors before each use. A common mistake is skipping a spring or using thin cable; both increase jerk and wear.
Test the setup with weighted bags first and ride it yourself slowly to feel the braking. If you want a kit, consider options that include a harness, spring brake, and tensioning gear like those sold on major retailers such as Amazon.
4) Backyard zip line using a tensioned stainless steel cable (3/8″) and turnbuckle kit
This is a practical guide to a durable, low-stretch setup you can build yourself. Use a 3/8″ stainless steel cable for spans up to a few hundred feet and a rated turnbuckle kit to get safe, adjustable tension.
Start by picking two strong anchor points like healthy trees or pressure-treated posts. Wrap tree savers or use engineered eye bolts; never rely on thin straps alone. Tension slowly with the turnbuckle and check sag—too tight stresses anchors, too loose makes slow rides.
Common mistakes include undersized clamps and skipping safety backups. Use two cable clamps per splice and add a secondary lanyard or carabiner to the trolley hitch. Test with weight before riders and recheck tension after a few uses.
If you want parts, look for kits that include clamps, turnbuckle, and tree protectors to simplify sourcing. Inspect the system each season and replace worn gear to keep rides safe and fun.
5) DIY pulley trolley zip line using a sealed-bearing zip trolley (e.g., SpeedyPulley Pro)
Guide: build a sturdy trolley that rolls smooth and lasts. Use a sealed-bearing zip trolley for low friction and less maintenance.
Start by testing the trolley on a spare length of cable to feel the roll and check alignment. Tight bearings and wobble-free axles matter; a misaligned wheel will wear cable and feel jerky.
Attach the trolley to a climbing harness or a simple seat with a rated carabiner and a short sling. Use a stop block at the far end and a backup lanyard to prevent run-off; these small additions save serious headaches.
Common mistake: using cheap, open bearings or loose hardware. Those rust, seize, or slip. If you’re unsure, buy a known sealed-bearing model like the SpeedyPulley Pro and inspect it often.
Try short test runs with increasing weight before letting kids ride. If anything creaks or shifts, stop and fix it now.
6) Raised platform to ground zip line with padded landing pit and foam mats
This is a practical guide for building a short zip line from a small raised platform down to ground level. You want a quick launch, controlled speed, and a soft finish; plan the platform height and slope so riders stop near the padded pit without extra braking gear.
Use layered foam mats and loose-fill padding in the landing pit to absorb impact. Place a wide, low-profile bench or foam wedge before the pit to slow riders if they arrive too fast. Test with sandbags and a weighted trolley before letting kids ride.
Common mistakes: platform too steep, padding too thin, and landing outside the pit. I once fixed a friend’s line by adding an extra 12 inches of foam and a low catch rail—simple fixes that work. Try one small run first, then tweak padding and slope until it feels safe.
7) Detachable zip line for temporary use with tree-protecting straps and carabiners
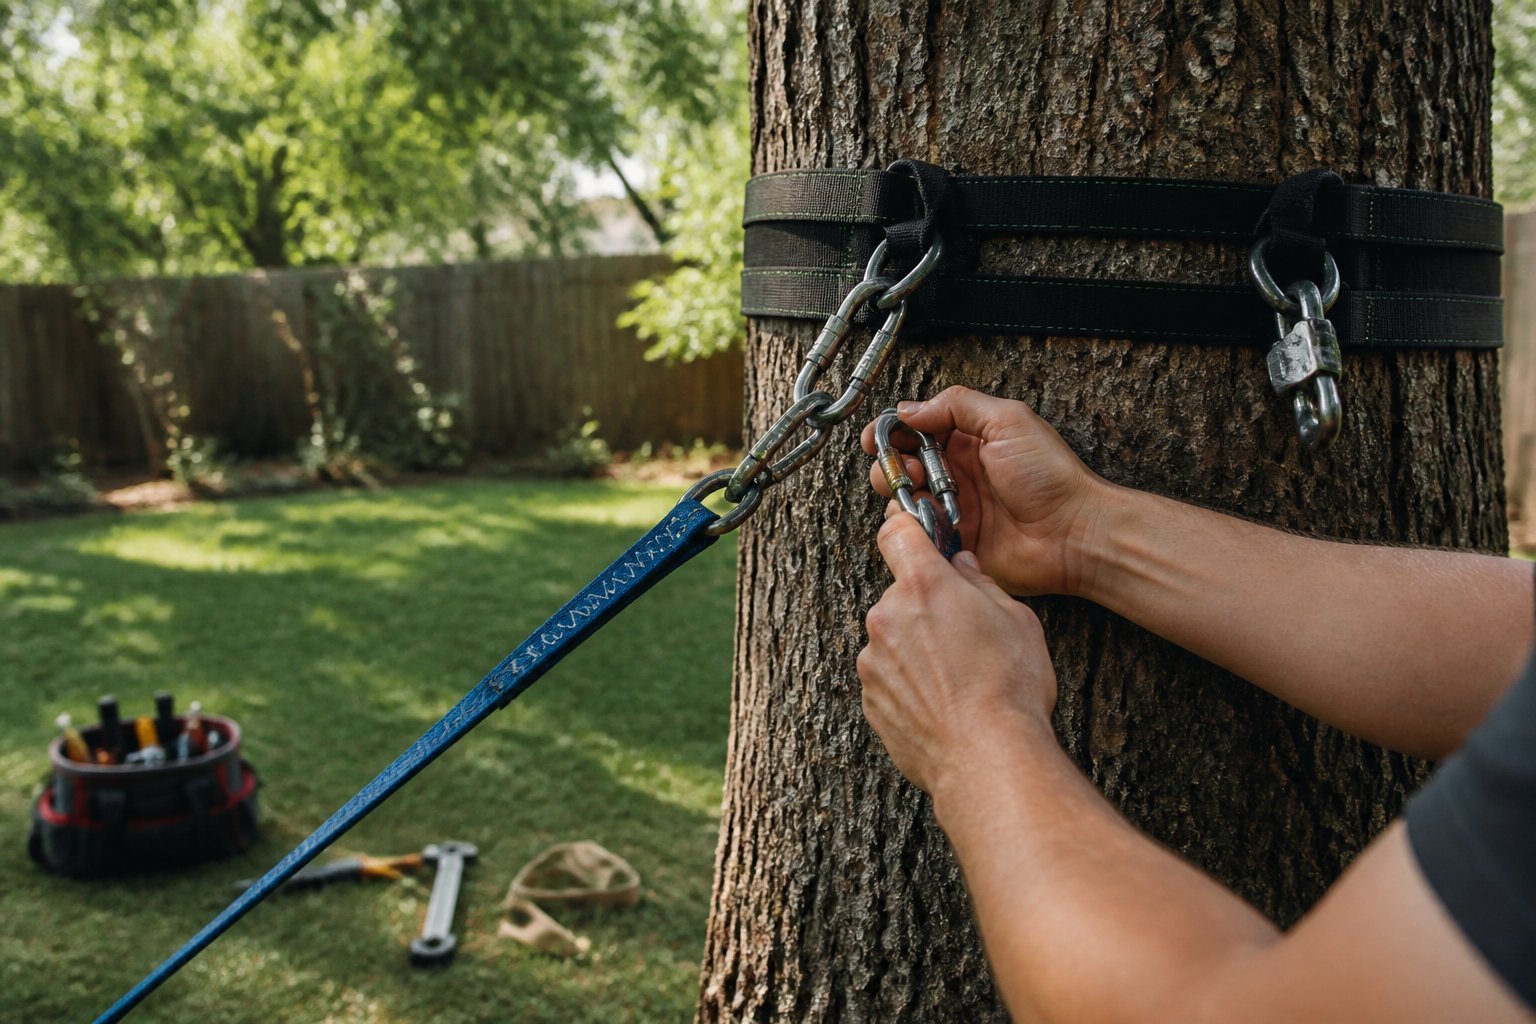
Guide: build a short, removable zip line that stays safe and easy to take down. Use heavy-duty tree-protecting straps and locking carabiners so you don’t weaken the bark or leave hardware behind.
Start by choosing two healthy trees spaced for a short run. Wrap wide straps high on each trunk; narrow straps or wire can cut the bark. Attach a rated cable or rope to the straps with locking carabiners and a tensioning system that you can loosen to remove the line.
Test the setup with a load before letting anyone ride. Common mistakes are overtightening straps, skipping a brake, or using non-locking carabiners. If a branch looks stressed, move the anchor and protect the tree.
When you’re done for the season, unclip and store straps in a dry place to prevent rot. Try it first for kids or a light adult to confirm ride angle and safety.
8) Dual parallel zip lines for side-by-side rider racing
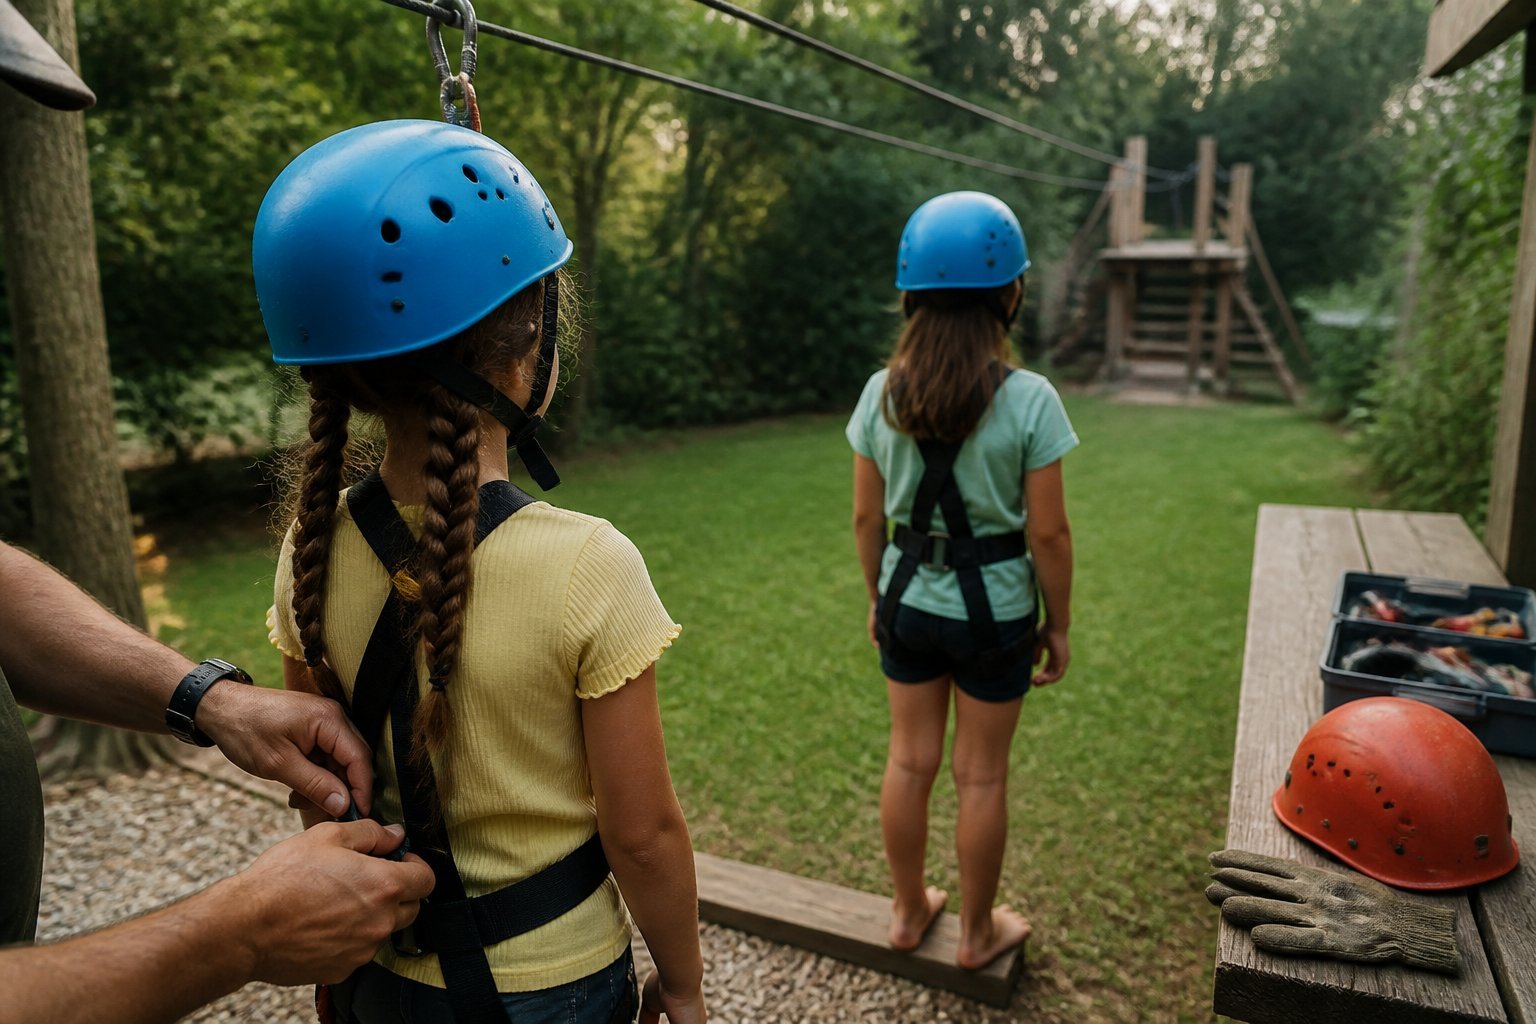
Intent: guide. You can build two lines parallel to each other so friends race side-by-side. Pick equal-height anchor points and match cable tension to keep speeds similar.
Keep lines at least 10–12 feet apart to prevent collisions and allow safe sway. Use identical pulleys, trolleys, and harnesses on each side. Test with sandbags before any rider uses them.
A common mistake is uneven slope; one lane then wins every time. Measure slope and tension with a level and a scale. Also check anchors, turnbuckles, and cable size—3/8″ stainless is safer for heavier use.
Start slow. Run short trial rides and adjust braking. If you want ideas for kits and step-by-step builds, see a practical kit walkthrough like this complete DIY Zipline Build That Actually Works. Try a practice race day with helmets and clear rules.
9) Zip line with adjustable slope using bottle jack tensioner and cable clamps
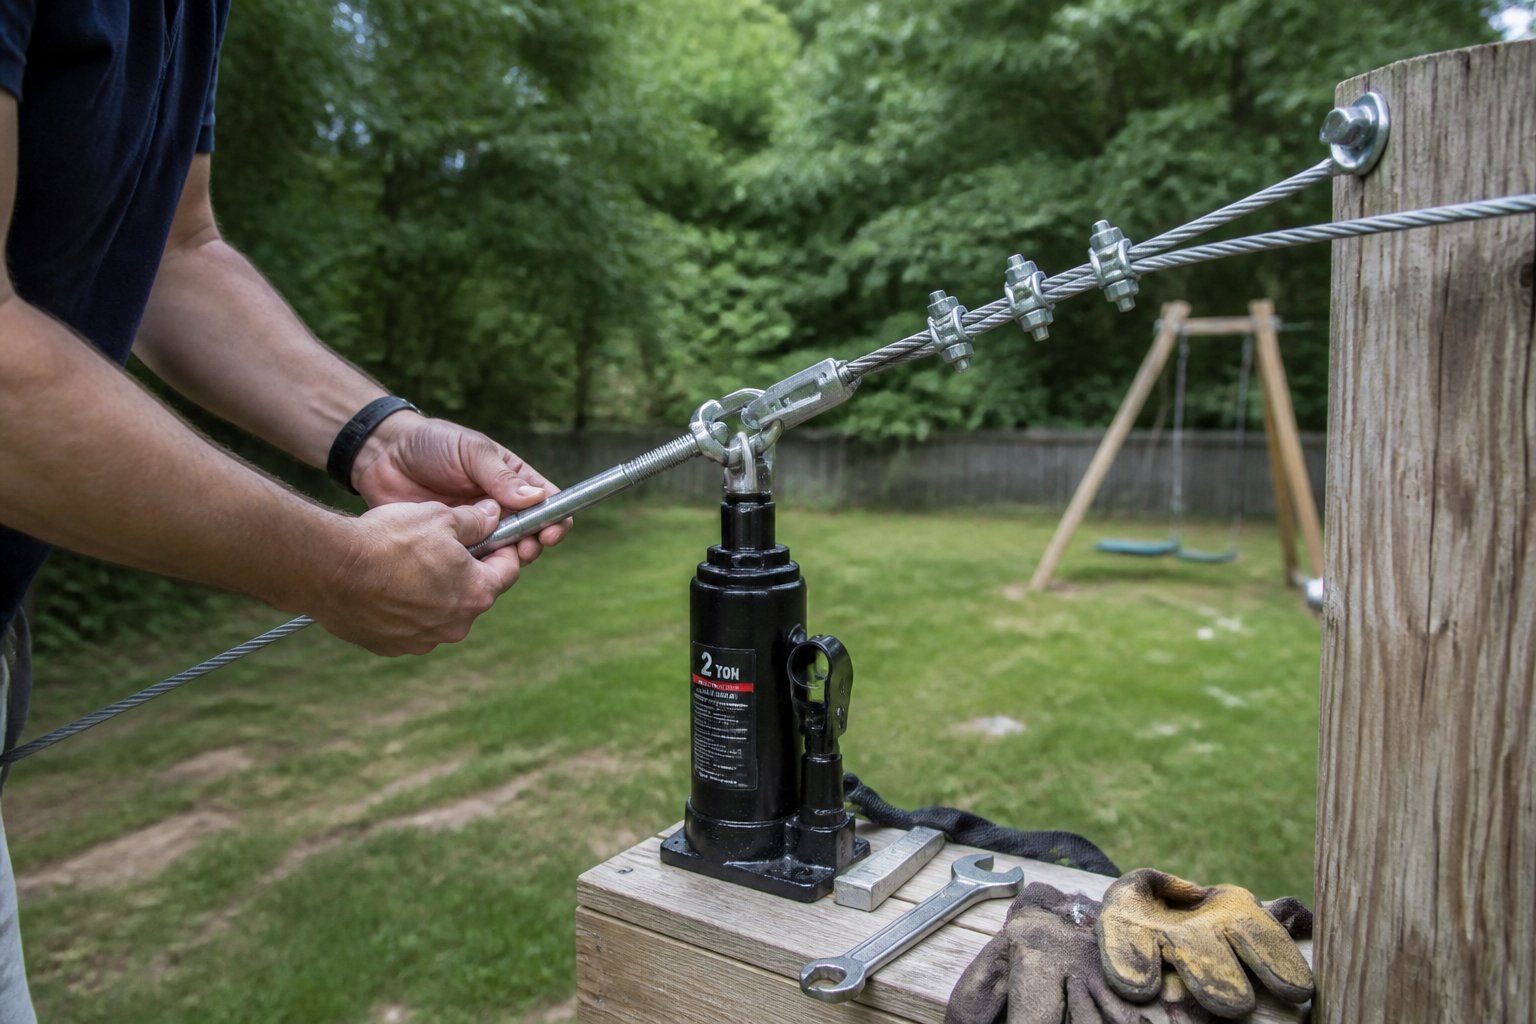
Guide: build an adjustable zip line tensioner so you can tweak slope for different riders and seasons. You’ll need a bottle jack, heavy-duty cable clamps, a turnbuckle or chain, and proper anchors at each end.
Start by anchoring the cable to one end and attach the bottle jack near the other. Pump the jack to tighten the cable, then lock the tension with several cable clamps and a safety wrap. A common mistake is using too few clamps; use at least three and torque them properly.
Test slope with a weighted trolley before letting anyone ride. If the line sags after a week, retension and recheck clamps. For a step-by-step installation and safety specs, see this detailed zip line installation guide.
10) Short-family zip line with wooden swing-seat and secondary safety lanyard
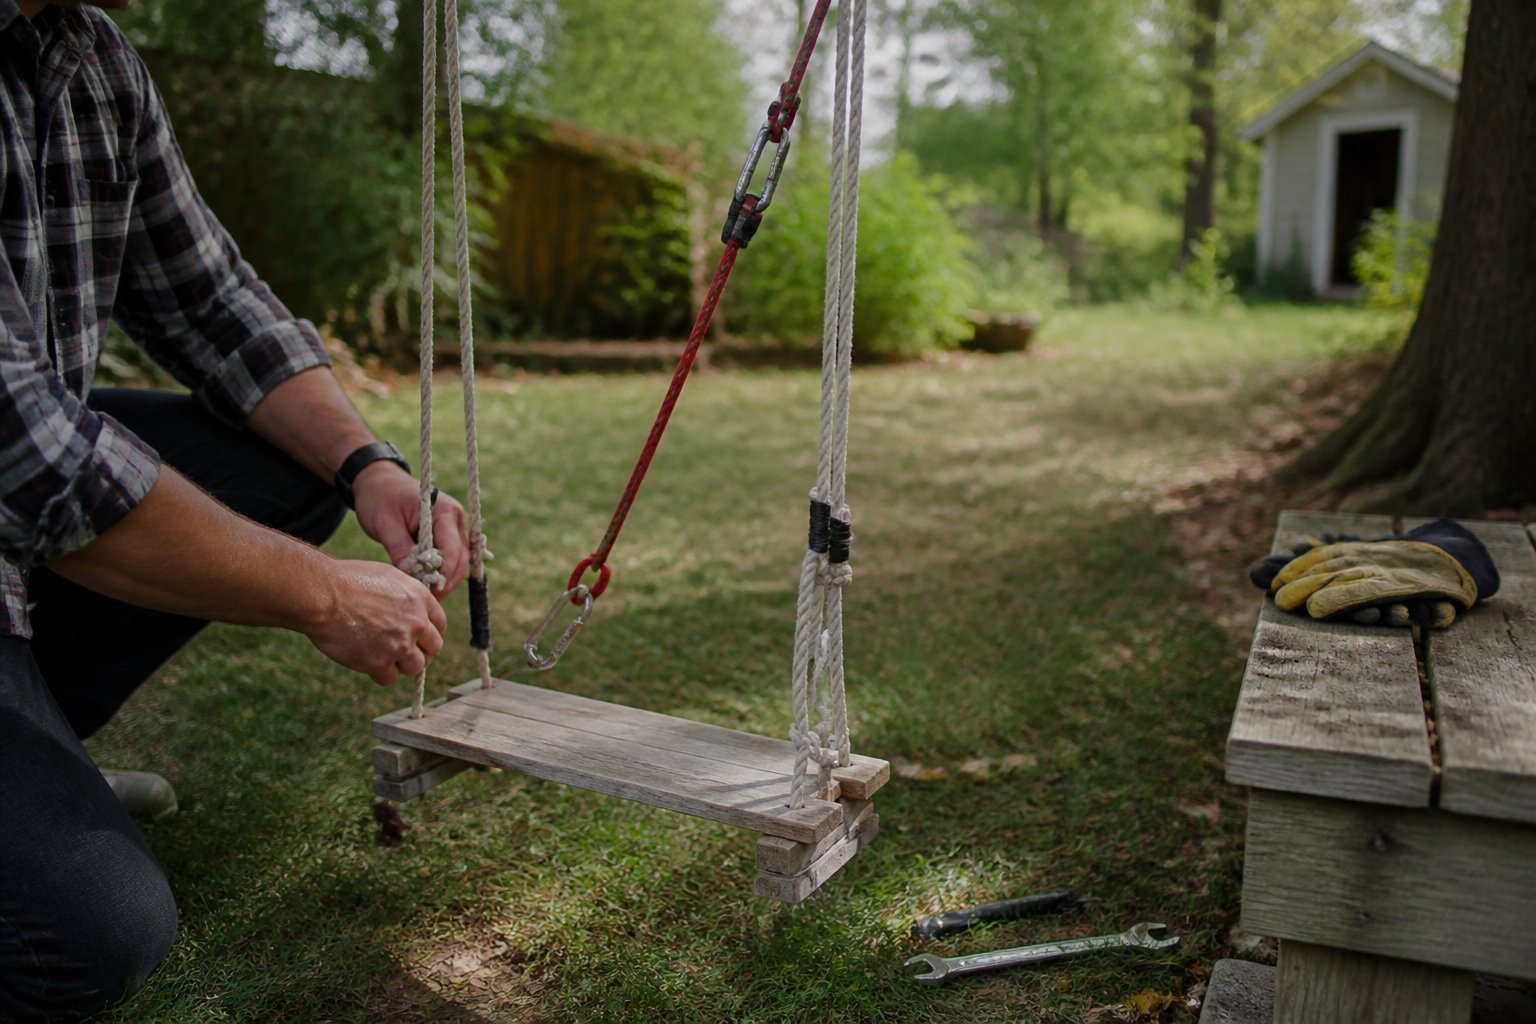
Intent: guide. Build a short, low zip line that fits family play and feels safe for kids and adults alike. Use a sturdy cable 30–50 feet long and keep the line low—about 4–6 feet at the lowest point—for easy mounting and safe landings.
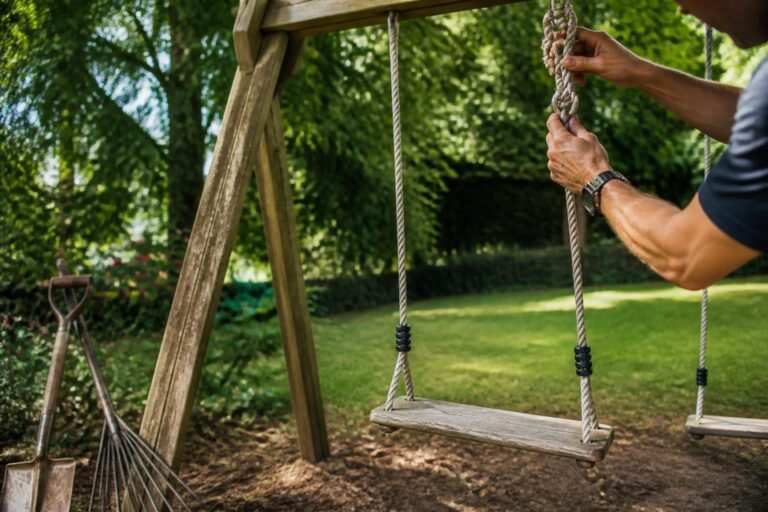
Attach a wooden swing-seat with heavy-duty eye bolts and a swivel to reduce cable twist. Add a secondary safety lanyard from the seat to your harness or belt so riders stay connected if the seat detaches. Test every bolt and knot before each use.
Common mistake: skipping dynamic-rated hardware. Use rated turnbuckles, thimbles, and locking carabiners. If trees are anchor points, add wide tree-protection straps to avoid damage.
Try a gentle family run first and watch for sway and speed. If it feels too fast, raise the line slightly or add a friction brake. Give it one careful test ride, then invite the family to enjoy the zip line safely.
Key Safety Guidelines for Backyard Zip Lines
You need clear rules for anchors, hardware, and the landing area so the line stays secure and riders land safely. Focus on solid anchors, certified trolley and hardware, and a cleared, controlled landing zone.
Safe Anchoring Techniques
Guide: tutorial. Anchor strength matters more than aesthetics. Use two independent anchors rather than a single point; that prevents a total failure if one anchor fails. For tree anchors, pick trees at least 18–24 inches in diameter and keep straps at least 1 inch wide to reduce bark damage. Wrap straps around the trunk, never drill into live trees. For post anchors, use pressure-treated or steel posts set in concrete to a depth of at least 3 feet for a typical backyard span.
Always calculate working load limits (WLL). For a family line, choose anchors rated for at least 2,000–3,000 pounds each to allow for dynamic loads and wear. Inspect anchors monthly and after storms. Common mistake: relying on a single eye bolt or a small lag screw—those are often under-rated and corrode quickly.
Choosing the Right Trolley and Hardware
Guide: tutorial. Use a trolley and hardware rated for overhead zip lines with a safety factor of 5:1 over the maximum expected load. Prefer stainless steel or galvanized steel hardware to resist rust. Choose a trolley with sealed bearings and dual braking attachment points if you plan to add a secondary brake.
Match carabiners, shackles, and turnbuckles to the trolley’s ratings; avoid generic climbing gear that isn’t rated for zip line forces. Install a secondary safety lanyard from rider harness to the trolley as redundant protection. Test all components on the ground with a load equal to your heaviest rider before first use. Common error: buying a cheap trolley from an unknown seller—this often leads to premature failure or unsafe wobble.
Landing Zone Precautions
Guide: guide. Design the landing zone to slow riders smoothly and prevent collisions. Keep a minimum clear radius of 10–15 feet around the line’s end free from rocks, furniture, and tree limbs. If your slope or speed is high, install a passive braking system (spring or bungee) plus a soft final bumper like stacked gym mats or engineered pads.
Mark the landing area visibly with flags or paint so riders and spotters know where to stand. Always station a trained spotter at the end who signals readiness and helps guide each rider to a stop. Test landing runs at different weights and adjust cable slope, brake stiffness, or pad placement until stops are predictable.
Budget-Friendly Materials and Tools
You’ll focus on strong, weatherproof parts that cost less than custom kit options. Choose a cable rated for weight and outdoor use, build simple platforms from treated lumber, and pick a few durable tools that cut install time.
Affordable Cable Options
Choose 3/8″ aircraft cable (7×19) for most backyard ziplines; it balances strength and flexibility and carries up to roughly 6,000 lbs when new. Buy galvanized or stainless steel cable to resist rust—stainless lasts longest but costs more. If you want a cheaper route, use galvanized cable and replace it every few years after inspecting for broken strands and corrosion.
Avoid cheap, non-rated rope or cable. Use cable clamps rated for your cable diameter and torque them properly: one saddle on the live end, two on the dead end. Add a thimble at each eye to prevent pinching. A simple example: run 50–100 feet of 3/8″ galvanized cable, two 3/8″ thimbles, four 3/8″ U-bolt clamps, and a corrosion-resistant pulley for a solid basic setup.
DIY Platform Construction Tips
Build platforms from pressure-treated 2×8 or 2×10 boards and 4×4 posts anchored with concrete footings. Keep the platform height comfortable—5–10 feet for kids, higher for mixed-age use—and include a locked gate or simple latch to control access. Use galvanized joist hangers and exterior screws to speed assembly and avoid nail back-out.
Install a 2×6 railing at child height and add a non-slip surface like grip tape or textured composite decking. Test the platform by loading it with 1.5x the anticipated user weight before connecting the line. Common mistake: using untreated lumber or relying on surface screws alone—those rot or loosen fast.
Tool Recommendations for Easy Installation
Buy or borrow a small set of essentials: a come-along winch (2–3 ton) for tensioning, a cable cutter made for steel cable, a torque wrench for clamps, and a cordless drill with long bits. A pipe wrench and large adjustable wrench make fittings easier. Rent an impact wrench for stubborn nuts.
Keep a safety kit: gloves rated for wire handling, safety glasses, and a hard hat for working at height. For tree-anchor builds, use tree-protection webbing or wide straps to avoid bark damage. Tip: mark tension points with a permanent marker and recheck after the first day of use. Get the right tools and the job moves faster and safer—go get them.