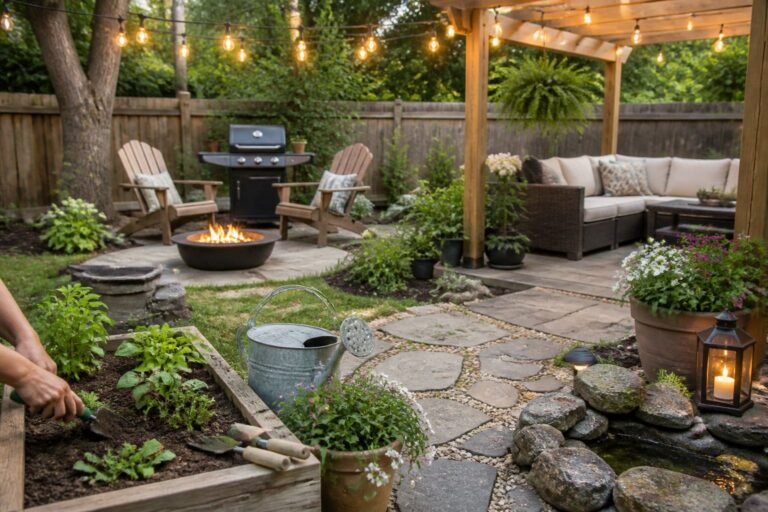
The Backyard Transformation That Cost $200 — Stunning DIY Makeover Ideas
You want a yard that feels like an escape without spending a fortune. This article shows how a full backyard makeover can come together on a $200 budget, so you can stop imagining and start doing with clear steps and realistic results.
You’ll learn a week-by-week plan, low-cost material choices, and simple DIY builds that deliver big visual impact without fancy tools or contractors. Expect honest tips on common mistakes—like skimping on drainage or buying the wrong gravel—and easy swaps that save money while improving durability and look.
1) Week-by-week $200 plan — materials and timeline
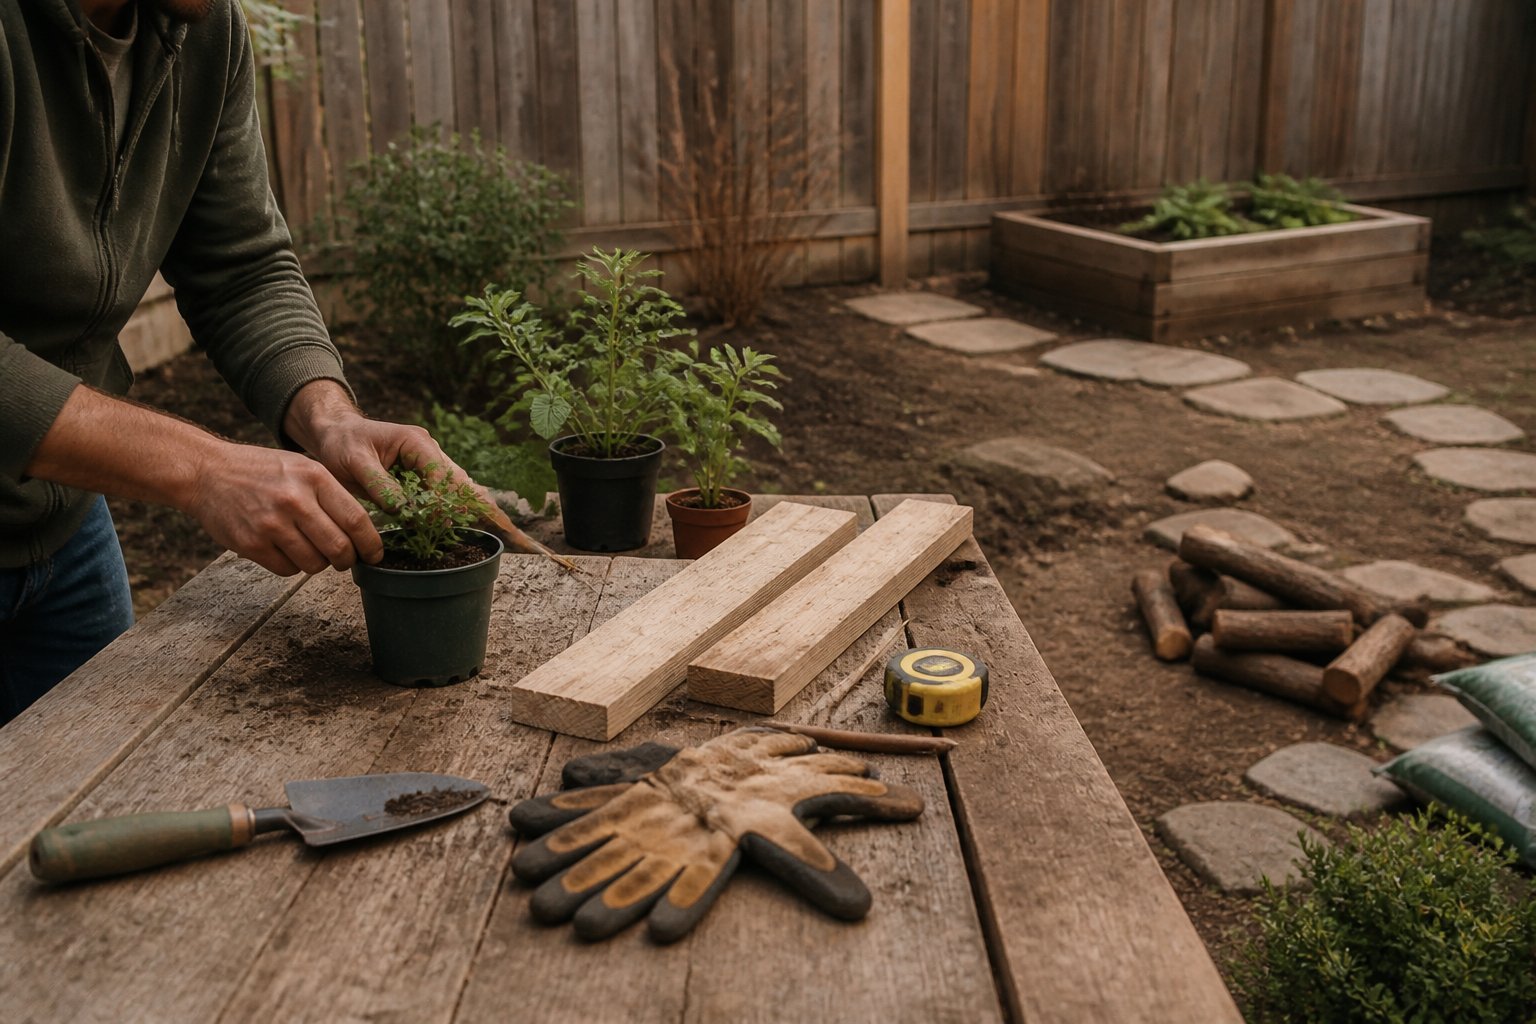
This is a practical, step-by-step guide to transform your yard in three weekends. You’ll buy only basic materials and reuse what you already have.
Week 1: clear debris, mark zones, and lay weed barrier. Expect to spend $25 on a tarp, stakes, and mulch; common mistake is rushing clearing—take time to level high spots.
Week 2: build a simple gravel patio and fire pit. Gravel, pavers, and sand run about $80; rent a tamper if needed. Work in small sections so edges stay straight.
Week 3: add seating, plants, and lighting. Spend $90 on reclaimed wood benches, native perennials, and solar string lights. Test layout before anchoring; you can swap pieces until it feels right.
If you need specifics for materials and tools, check a detailed cost breakdown and timeline that mirrors a $200 DIY makeover.
2) Salvaged pallet wood deck platform
Intent: guide. Build a simple pallet deck to get a durable, low-cost platform for seating and plants.
Start by choosing pallets that are sturdy and heat-treated (look for HT stamp). Flip and test each pallet; avoid cracked or water-logged boards. You want boards that hold screws without splitting.
Lay a level base of gravel or concrete pavers to prevent rot. Screw pallets together with long exterior screws and add joist-straps where pallets meet. Sand the top boards and replace any weak slats before finishing.
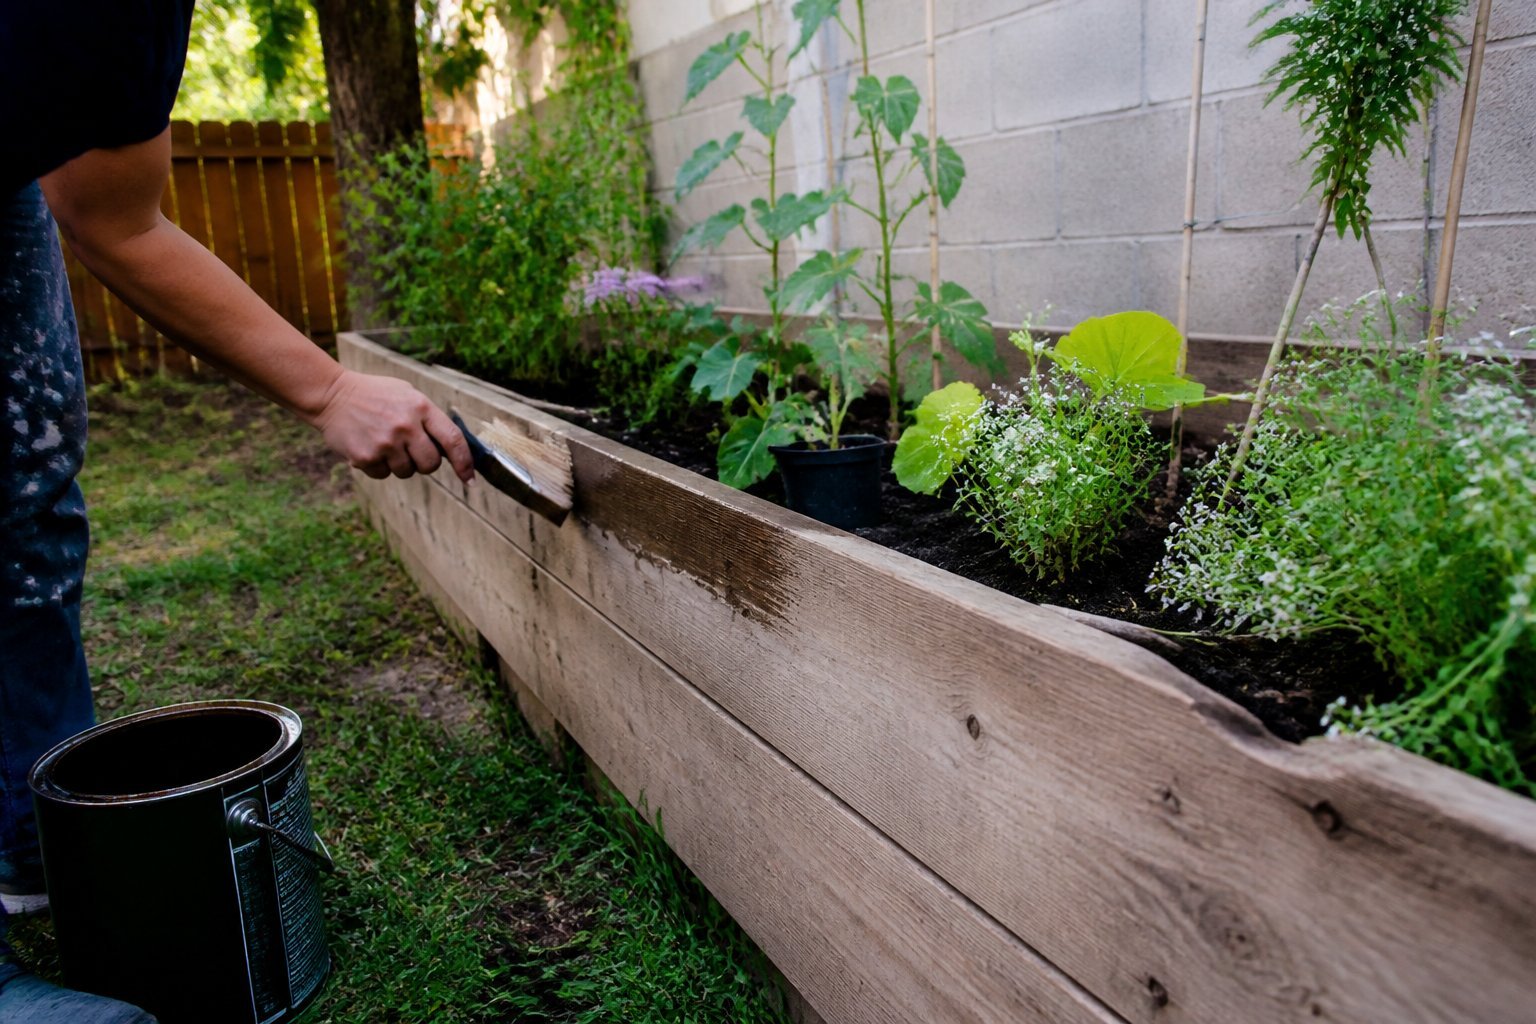
Stain or seal with an outdoor varnish to extend life. A common mistake is skipping the gap between boards; add 1/4–1/2 inch for drainage. If you need cost guidance, see a step-by-step pallet deck budget example.
3) Bagged pea gravel patio with edging stones
Guide: a simple DIY patio using bagged pea gravel and edging stones you can lay in a weekend. Start by measuring and marking the space so you buy the right number of bags; misjudging volume is the most common mistake.
Dig 2–4 inches, compact the soil, and add landscape fabric to stop weeds. Lay your edging stones on a compacted base; curved or straight edges both work. Pour and rake pea gravel to a 2–3 inch depth, then tamp with a plate compactor or a hand tamper for stability.
Choose edging that locks into the ground to keep gravel contained. Try concrete pavers, metal edging, or recycled stone—each gives a different look. If a fire pit or furniture will sit on it, add extra gravel under those zones for support.
4) DIY raised planter boxes from reclaimed cedar
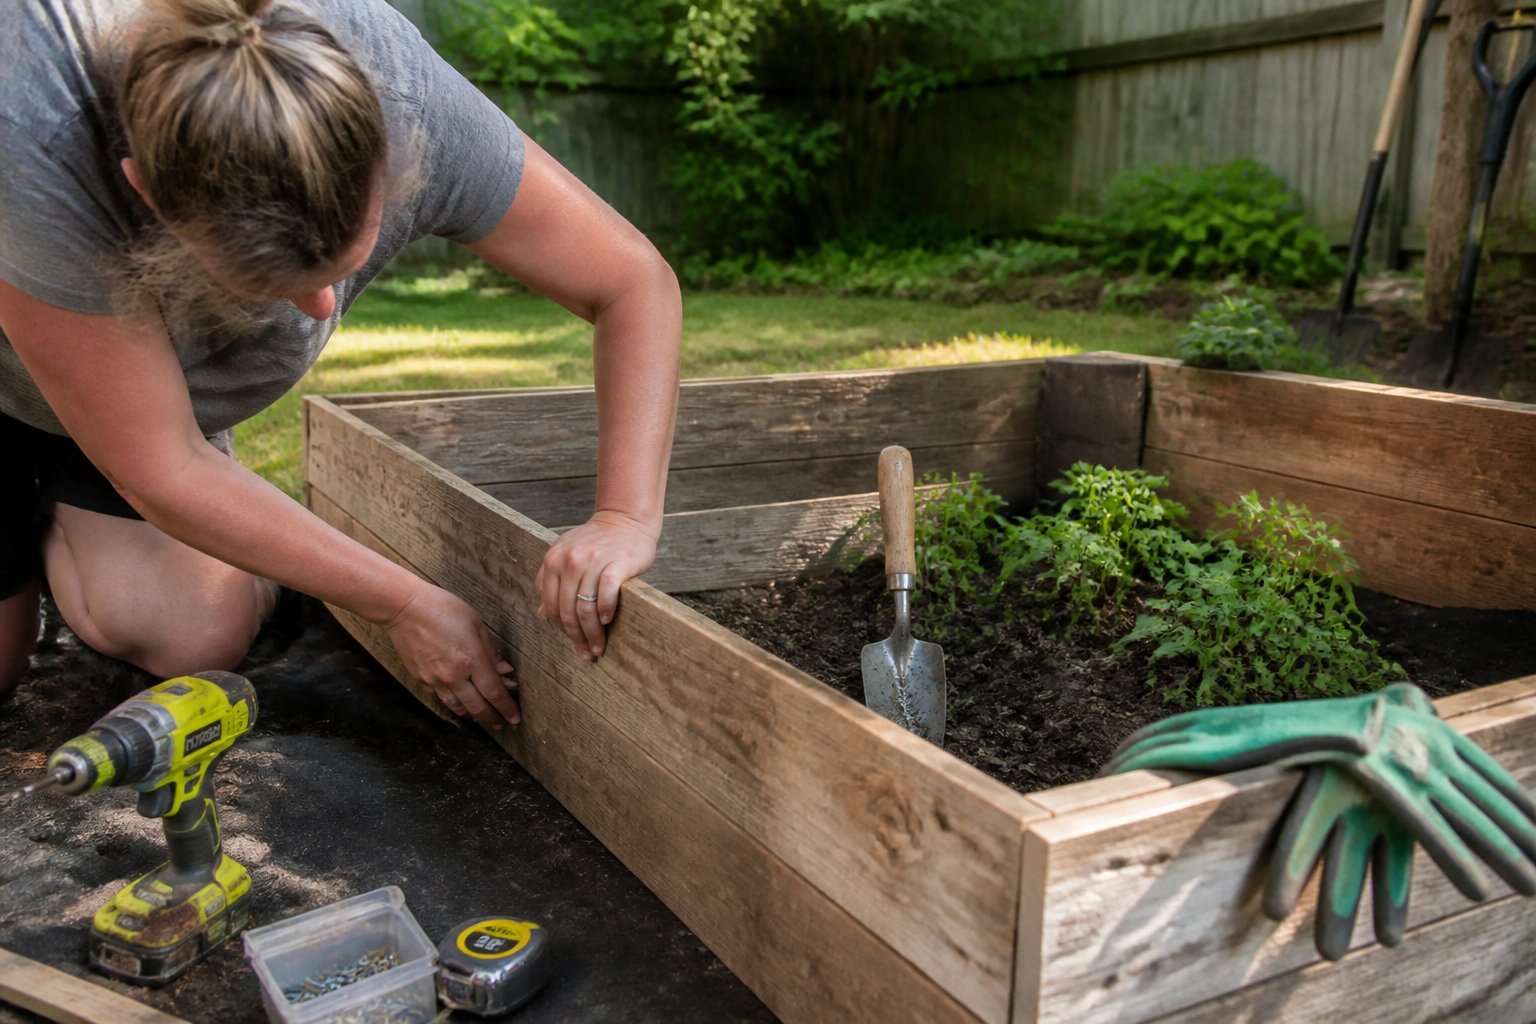
Tutorial: build sturdy, low-cost planter boxes using reclaimed cedar for herbs and veggies.
You’ll save money and get beautiful grain that weathers well. Look for fence boards or pallets that are clean and dry; avoid rotted or chemically treated wood. Cut boards to size, screw corner posts, and line the bottom with hardware cloth to keep pests out.
A common mistake is using nails alone—use exterior screws and glue for long life. If boards are thin, double them up for strength. Fill with a mix of topsoil and compost; that gives plants good drainage and nutrients.
I once turned two old cedar pallets into three 2×4-foot boxes in an afternoon. Try staining or leaving the cedar natural; either looks great and lasts years.
5) String-light bistro setup (LED globe lights)
Intent: tutorial. You’ll get cozy, even light without a big bill.
Pick shatterproof LED globe strands rated for outdoor use and IP65 water resistance. Hang them in a zigzag or single-span from anchors like hooks, posts, or a guide wire for a tidy look. See an easy zigzag method at this string light installation guide.
Keep bulbs 8–12 feet high to avoid glare. Use a loop at each end and a turnbuckle on the guide wire to keep tension. Test layout with temporary clips before drilling.
Common mistakes: over-tightening which strains sockets, and running cords through drainage paths. Use GFCI-protected outdoor outlets and outdoor-rated extension cords.
Try 3–4 strands for a 200–400 sq ft space. If you want dimming, choose dimmable LEDs and a compatible outdoor dimmer.
6) Sheet-mulch lawn conversion with compost topcoat
Intent: tutorial. Use sheet mulching to kill grass and build soil without digging.
Start by mowing short and watering a day before to soften the turf. Lay overlapping cardboard (no tape or glossy print) to block light, then wet it down so it stays put.
Cover cardboard with 3–4 inches of finished compost to feed microbes. Top with 3–6 inches of wood-chip mulch so weeds stay suppressed and moisture holds.
A common mistake is using thin cardboard or leaving gaps; grass will sneak through. If you want to plant sooner, cut planting holes and fill with rich compost before setting plants. For timing, expect 3–9 months depending on climate.
Try a small test bed first to learn rates and materials. When ready, plant perennials or seeds and water gently.
7) Portable fire pit (steel bowl + paver base)
Intent: tutorial.
You can build a safe, stylish portable fire pit with a steel bowl set on a simple paver base. Start by choosing a 24–30″ steel bowl and a flat 12-foot clear area; place six inches of compacted gravel and a sand layer before laying pavers for stability.
Set the bowl on three or four pavers to allow air flow and protect grass. Light small, dry wood and keep a spark screen nearby. A common mistake is stacking pavers directly on soft soil—this leads to wobble and cracking over time.
If you want a cleaner look, edge the paver circle with gravel. Test the setup once with a short burn to check heat spread. Try this for cozy evenings, and adjust paver height if smoke blows toward your seating.
8) Herb garden strip with soil amendments and seeds
This section is a practical guide to turning a narrow strip into a productive herb bed. You’ll learn which soil fixes matter and how to plant seeds for fast wins.
Start by loosening compacted soil and mixing in compost or municipal compost to add nutrients and structure. Use mulch to keep moisture steady; too little mulch invites weeds, too much can smother tiny seedlings.
Choose easy herbs: basil, chives, parsley, and thyme do well in small spaces. Sow seeds shallowly and label rows so you don’t overwater the slow growers. A common mistake is crowding plants; give each herb room to spread.
If street runoff worries you, raise the bed slightly with reclaimed wood or bricks. Watch for pests and pinch herbs regularly to boost growth. Try this and note one change after two weeks.
9) Upcycled outdoor seating from old pallets and cushions
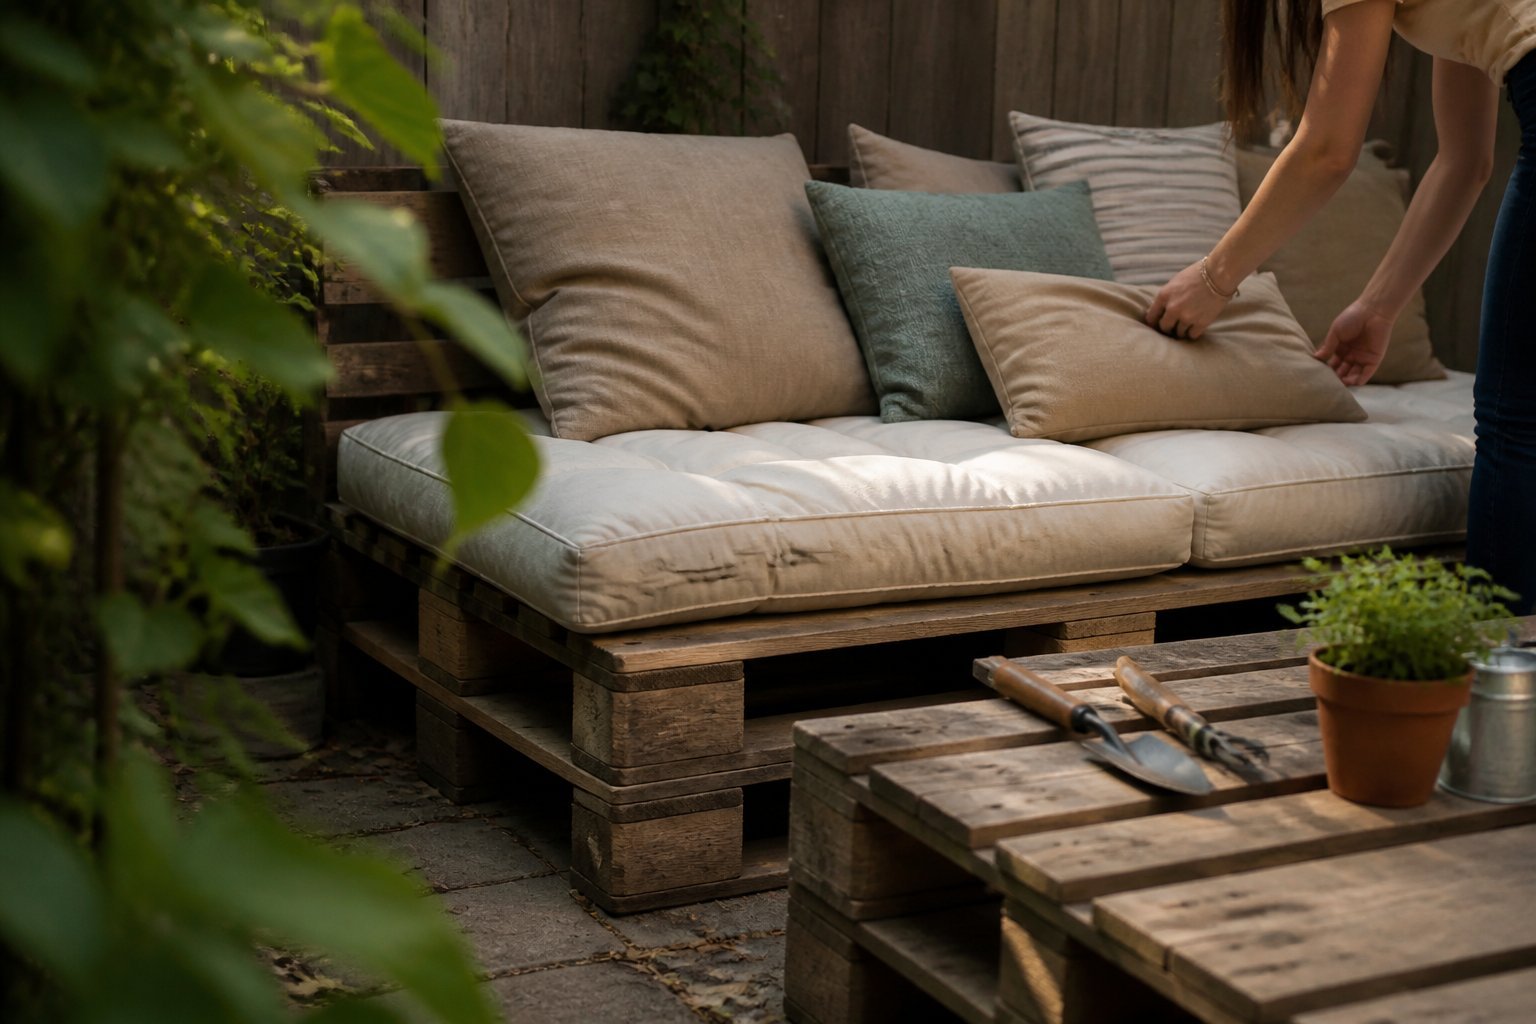
Idea: build simple pallet benches and a low sofa using two or three pallets stacked and screwed together. You can sand rough edges, add weatherproof paint, and anchor cushions for comfort.
Start by checking pallet safety. Choose heat-treated pallets and avoid ones with chemical stamps. Test stability and replace cracked boards to prevent splinters or collapse.
Common mistake: skipping sanding or sealant. That leads to splinters and fast wear. Use exterior paint or a clear sealer, and tighten all screws after the first season.
For inspiration, see a step-by-step pallet project that shows how to turn pallets into backyard furniture using affordable materials and cushions. Try mixing pallet wood with colorful outdoor cushions to match your yard and budget.
10) Stepping-stone path using concrete mix molds
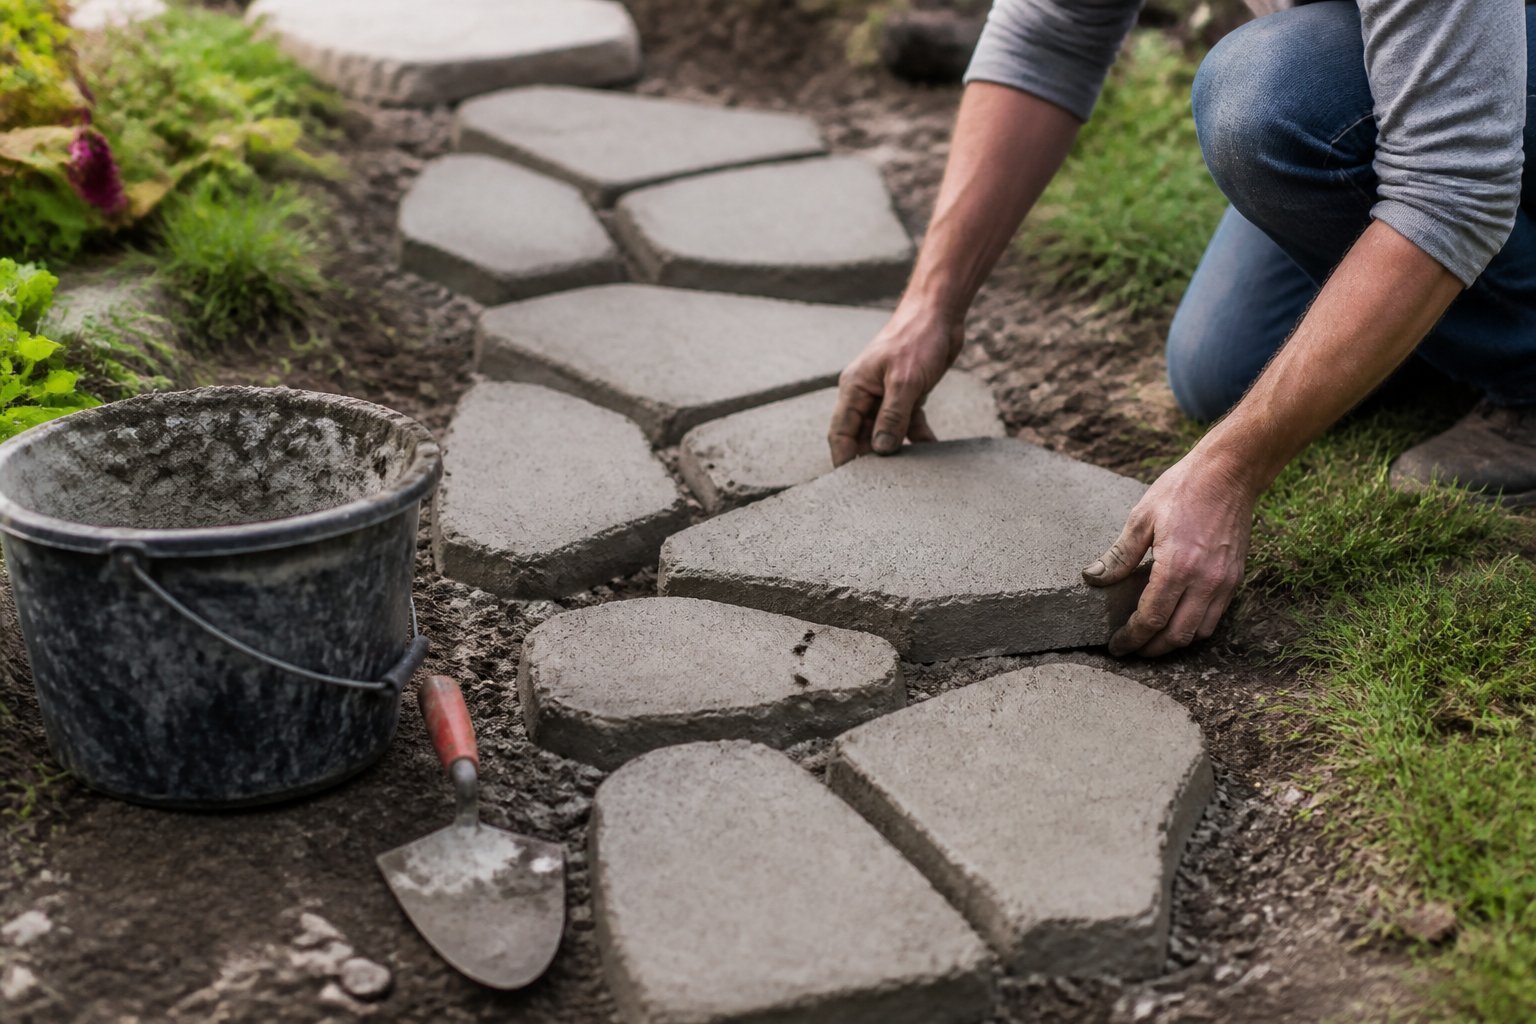
Tutorial: you can lay a neat stepping-stone path with premixed concrete and simple molds to link seating areas or hide a muddy route.
Start by measuring spacing—about 18–24 inches between centers feels natural. Mix concrete to a thick pancake-batter consistency; too wet makes weak stones, too dry causes poor detail. Pour into plastic or silicone molds and tap to remove air pockets.
Embed pebbles, glass, or leaves for personality while the mix is wet. Cure stones for at least 48 hours, then pop them out and let them harden a week before walking on them. A common mistake is skipping the weed barrier; lay landscape fabric or sand under each stone to reduce sinking.
Place stones on compacted soil and use a rubber mallet to level. If one sits wobbly, lift and add a thin sand base. Try a mix of shapes and spacing to keep the path looking natural and intentional.
Budget Planning and Cost Breakdown
You will see exactly where the $200 went and how to spread dollars so each purchase delivers the most visible impact. Prioritize high-visibility items, plan around free labor, and leave a small buffer for surprises.
Allocating Resources Effectively
Intent: practical guide to stretch a tiny budget without cheapening the result.
Start by listing must-haves vs nice-to-haves. For this project, must-haves were soil/topdressing, mulch, three fast-establishing plants, and a bag of gravel for a pathway. You allocated roughly: soil/mulch $70, plants $45, gravel $30, seeds/groundcover $20, tools and odds $35. That keeps core work first and style items later.
Use this order when you shop: buy soil and mulch by the cubic foot, choose nursery clearance plants, and pick multi-use materials (gravel can define paths and act as weed suppression). Save labor costs by doing demolition and planting yourself or trading favors with a neighbor. Track every purchase on a simple phone note so you don’t overspend on small items like stakes, twine, or fertilizer.
Common mistake: buying too many plants or decorative pieces early. Buy only what finishes the main function, then add accents later.
Hidden Expenses to Consider
Intent: guide to avoid budget-busting surprises during a low-cost makeover.
Don’t forget delivery fees and tool rentals. A small truck rental or one-way delivery for mulch can cost $40–$75, which would blow a $200 plan. Check if the store offers free local delivery for bulk mulch or soil to save that cost.
Permit needs are rare for simple yards but check HOA rules if you plan hardscaping. Waste disposal adds up—one cubic yard of haul-away or a small dumpster can run $100+. Factor in plant failure: add $15–$25 as a replacement buffer for frost or pests. Also include basic protective gear and small repairs (gloves, a replacement trowel).
Tip: borrow a wheelbarrow and rent power tools by the day. That can cut hidden costs and keep you inside the $200 goal.
Maximizing Small Investments for Big Impact
You can get the most from $200 by choosing one clear focal fix and stretching materials across small supporting touches. Pick upgrades that change how the yard looks and feels right away, then add low-cost accents that tie the space together.
Prioritizing High-Value Upgrades
Guide: pick one upgrade that creates a gathering spot or visual anchor.
Spend most of your budget on a single, visible change. A small gravel patio or compact paver seating pad costs about $80–$200 and gives you immediate function and a place to set furniture. Focus on level ground, compacted base, and simple edge stones to avoid future shifting.
Add one low-cost second priority: lighting or plants. Solar string lights for $15–$30 and three hardy shrubs or perennials for $30–$50 make the new pad look intentional. Common mistake: spreading money across too many tiny projects so nothing stands out. Do the heavy lifting first, then use cheap accents to make the area feel finished.
Creative Use of Recycled Materials
Guide: turn rescued items into durable, attractive features.
Salvaged pavers, broken concrete, and reclaimed wood cut costs while adding character. Use concrete fragments as a rustic pathway or stack reclaimed bricks to form a no-mortar fire pit. A pallet, sanded and sealed, becomes a bench or planter box for under $20 in paint and screws.
Pay attention to safety and prep. Clean and seal wood to prevent rot. Check concrete edges for stability before stepping. Example: one homeowner built a 4-foot bench and a three-tier planter from two pallets and spent $18 on fasteners and paint—big visual return for minimal cash. Scout local classifieds and building sites for free or cheap materials, but inspect items in person before buying.