10 Mobile Home Landscaping Ideas That Work on Any Budget — Transform Your Yard Fast
You want a yard that looks cared for without blowing your budget or wasting weekends on constant upkeep. Small spaces, tight funds, and picky HOA rules don’t have to stop you from creating a porch, pathway, or planting bed that feels intentional and welcoming. This article shows ten practical, low-cost landscaping ideas you can use to boost curb appeal, cut maintenance, and stretch every dollar.
You’ll get clear options that work for narrow lots and tiny budgets, plus common mistakes to avoid—like choosing thirsty plants or skipping edging that makes beds look messy. Expect step-by-step fixes, smart plant choices, and simple hardscape moves that deliver big visual returns so you can start improving your space this weekend.
1) Create a low-maintenance xeriscape with native drought-tolerant plants
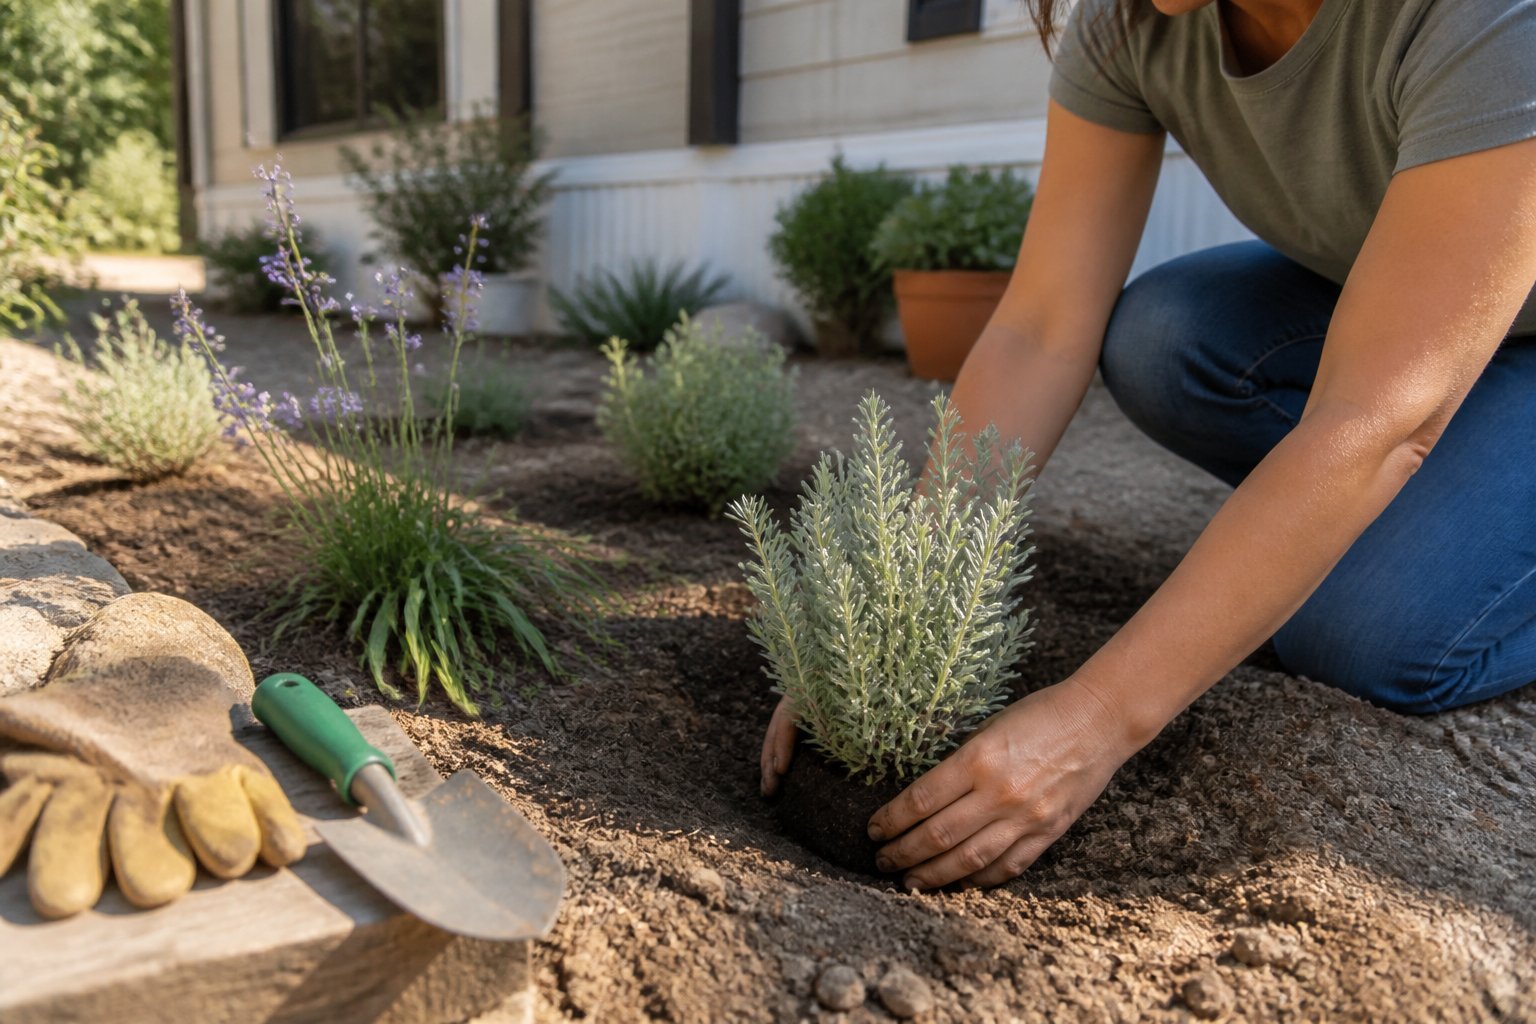
Guide: convert thirsty lawn to a water-wise yard that saves time and money. Start by mapping sun, shade, and drainage on your lot so you place plants where they’ll thrive.
Pick native, drought-tolerant species like local sages, ornamental grasses, or succulents; they need less water and fewer replacements. Mulch with gravel or bark to cut evaporation and keep roots cool.
Group plants by water need to avoid overwatering some and underwatering others. A common mistake is crowding plants—leave space for mature size so you don’t have to replant later.
Use a simple drip system or soaker hose for deep, infrequent watering. Try a small path of stepping stones through gravel to add function and let water reach the soil.
Replace part of your lawn gradually and watch how much you save; start with one bed this season and expand.
2) Install a gravel and paver pathway to define walkways and reduce mowing
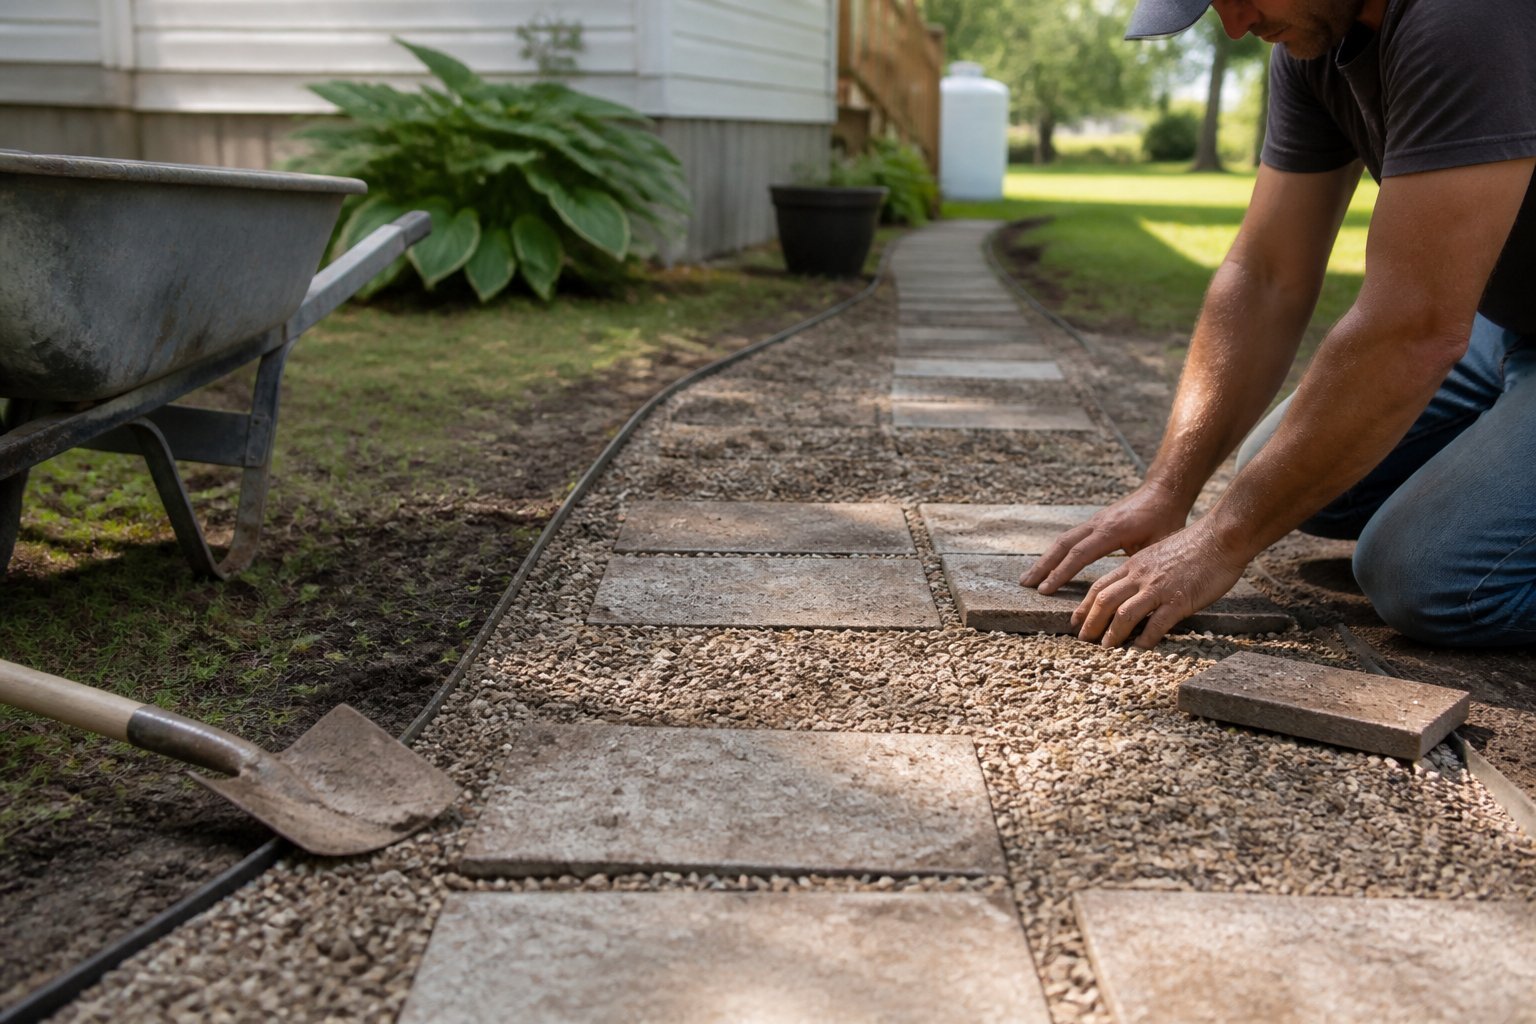
Guide: a simple gravel-and-paver path keeps foot traffic off grass and shrinks lawn area you must mow. Lay pavers where steps or turns need sturdier footing, and fill between with crushed gravel for drainage and low cost.
Start by marking the route with spray paint or string. Dig a shallow trench, add a compacted base, then level pavers on sand. A common mistake is skipping edging; without it gravel spreads into beds and looks messy.
Use wider pavers at corners so you can step off without sinking. Mix colors or shapes for a tailored look that matches skirting or porches. If drainage looks poor, slope the path slightly away from the home.
Try this on a short run first to learn the steps. Take before-and-after photos so you can repeat the layout on other sides of your mobile home.
3) Add foundation plantings using boxwood and hydrangea for year-round structure
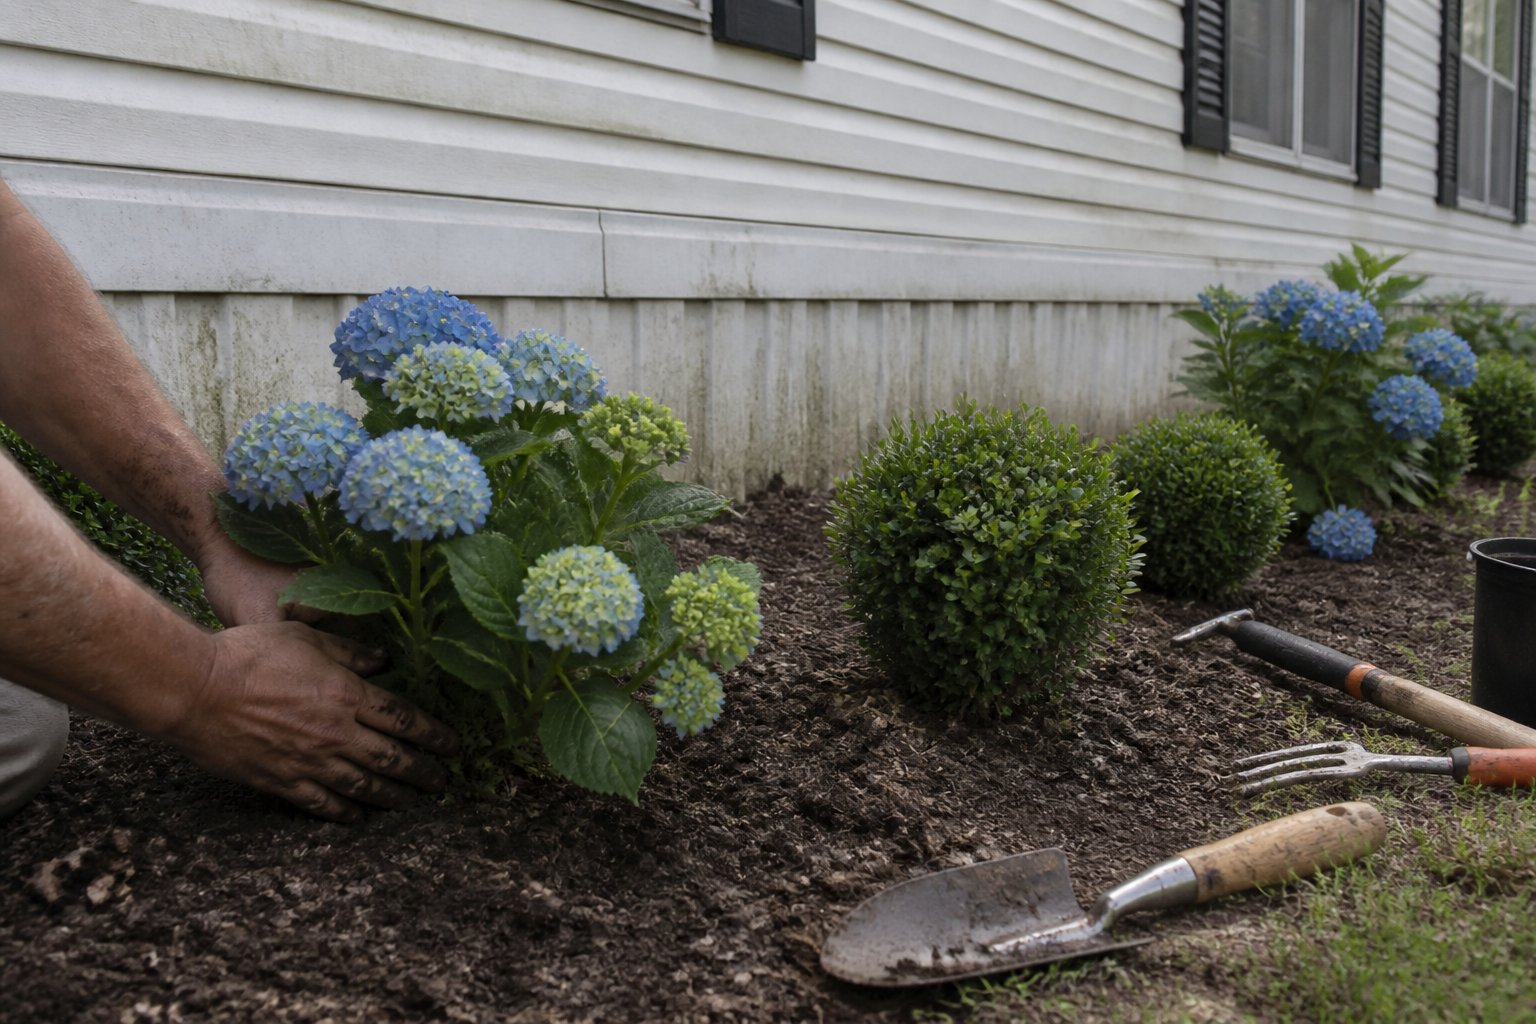
Guide: idea. Plant boxwoods close to the home for tidy, evergreen shape and set hydrangeas in front for seasonal blooms.
Boxwoods give backbone to your beds. Trim them to match your home’s lines, and they hold their shape all year.
Hydrangeas add big, soft flowers in summer and fall. Pick a mophead or panicle variety that suits your sun and soil; pH can shift bloom color for some types.
Plant deeper mulch and keep water steady the first season. A common mistake is crowding plants; leave room for growth so boxwoods don’t smother hydrangeas.
Try square black planters with a row of boxwoods and white hydrangeas along a narrow side path for a clean, low-maintenance look. Start small, watch how they grow, and adjust spacing next spring.
4) Use raised cedar planter boxes for vegetables and seasonal flowers
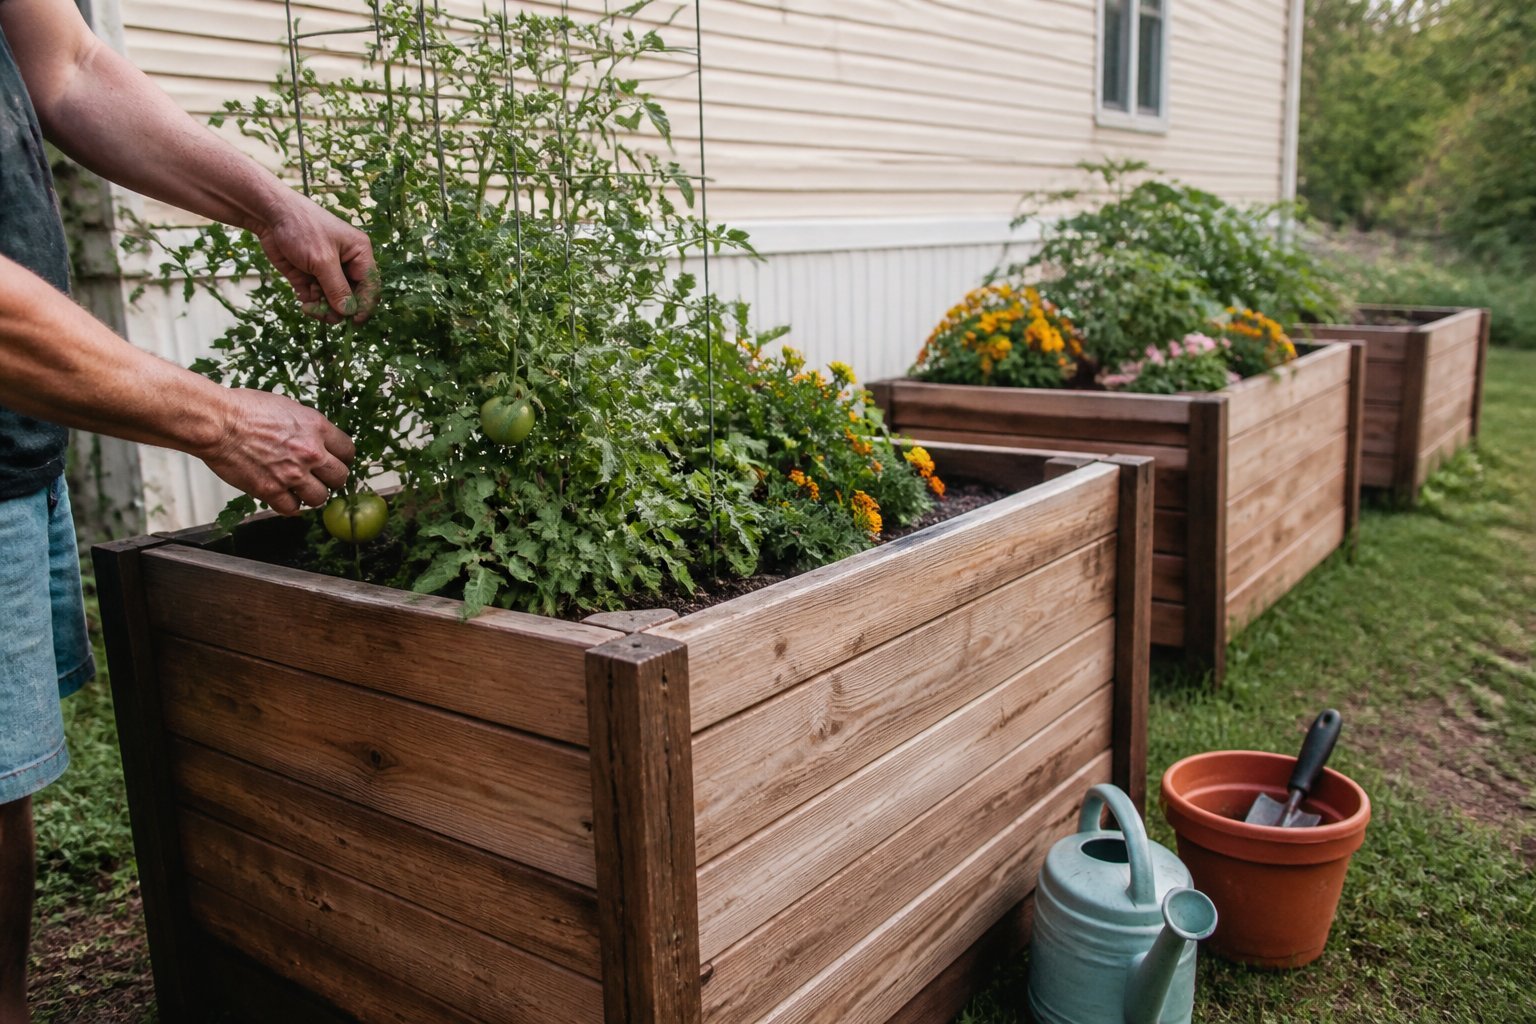
Intent: guide. Raised cedar planter boxes save space and give you a clean, tidy garden you can manage from a chair. They resist rot and look good on a narrow porch or beside a mobile home.
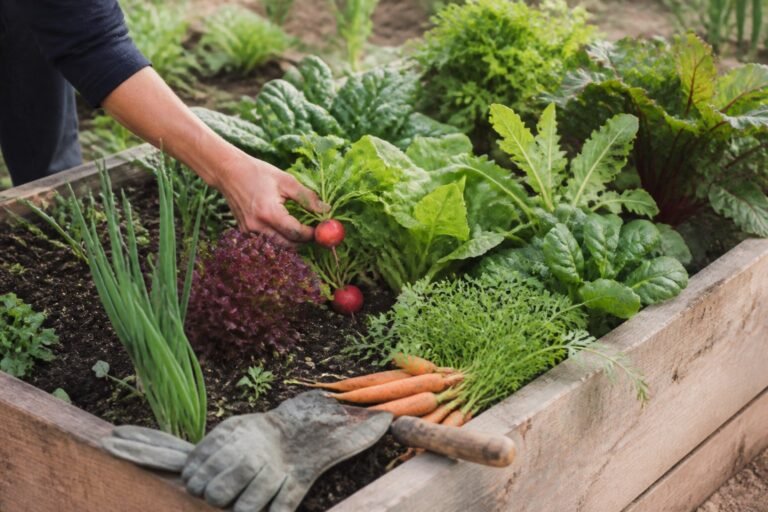
Build or buy boxes sized for your needs; 12–18 inches deep works for most veggies. Line the bottom with gravel for drainage and use a quality potting mix. Plant tomatoes, basil, and marigolds together for easy pest control and color.
A common mistake is packing soil too tight—roots need air. Water deeply but less often to encourage strong roots. Finish with a food-safe seal if you grow edibles.
For plans and planting pairings, see cedar planter box ideas and planting guides like this cedar planter box plan page (https://pergoladepot.com/cedar-planter-plant-pairings/). Try one box and expand when you see results.
5) Build a simple rock border with river rock for clean bed edges
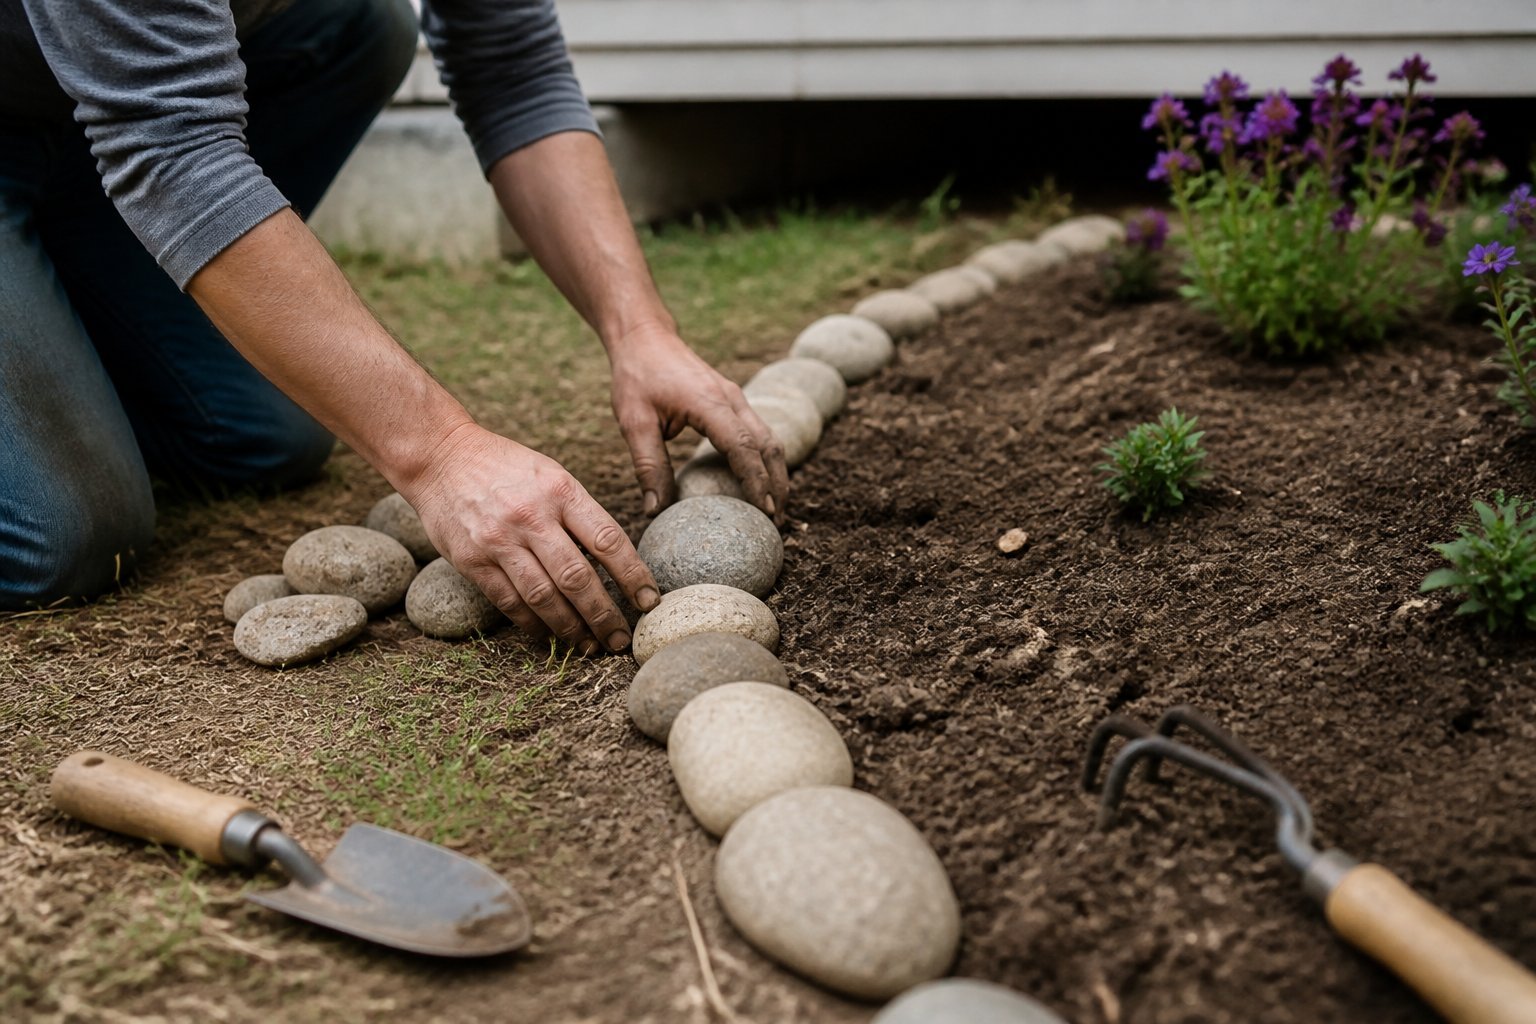
Intent: tutorial. A clean rock border gives your beds a finished look with little cost or skill.
Start by digging a 3–5 inch trench along the bed edge, keeping the line straight or gently curved. Lay landscape fabric if weeds worry you, then place 2–3 inch river rock to form a neat rim.
Use a mix of sizes for a natural look, and tamp the rocks so they sit stable. A common mistake is piling rocks too high; keep the top even with the soil to avoid tripping and to make mowing simple.
Try a contrast: pale river rock beside dark mulch makes plants pop. If you want tighter lines, set larger flat stones upright as anchors every few feet.
Gather rocks from a landscape supply or reuse ones you already have. Give it a test spot first, then expand—start small and refine as you go.
6) Install solar pathway lights for affordable evening curb appeal
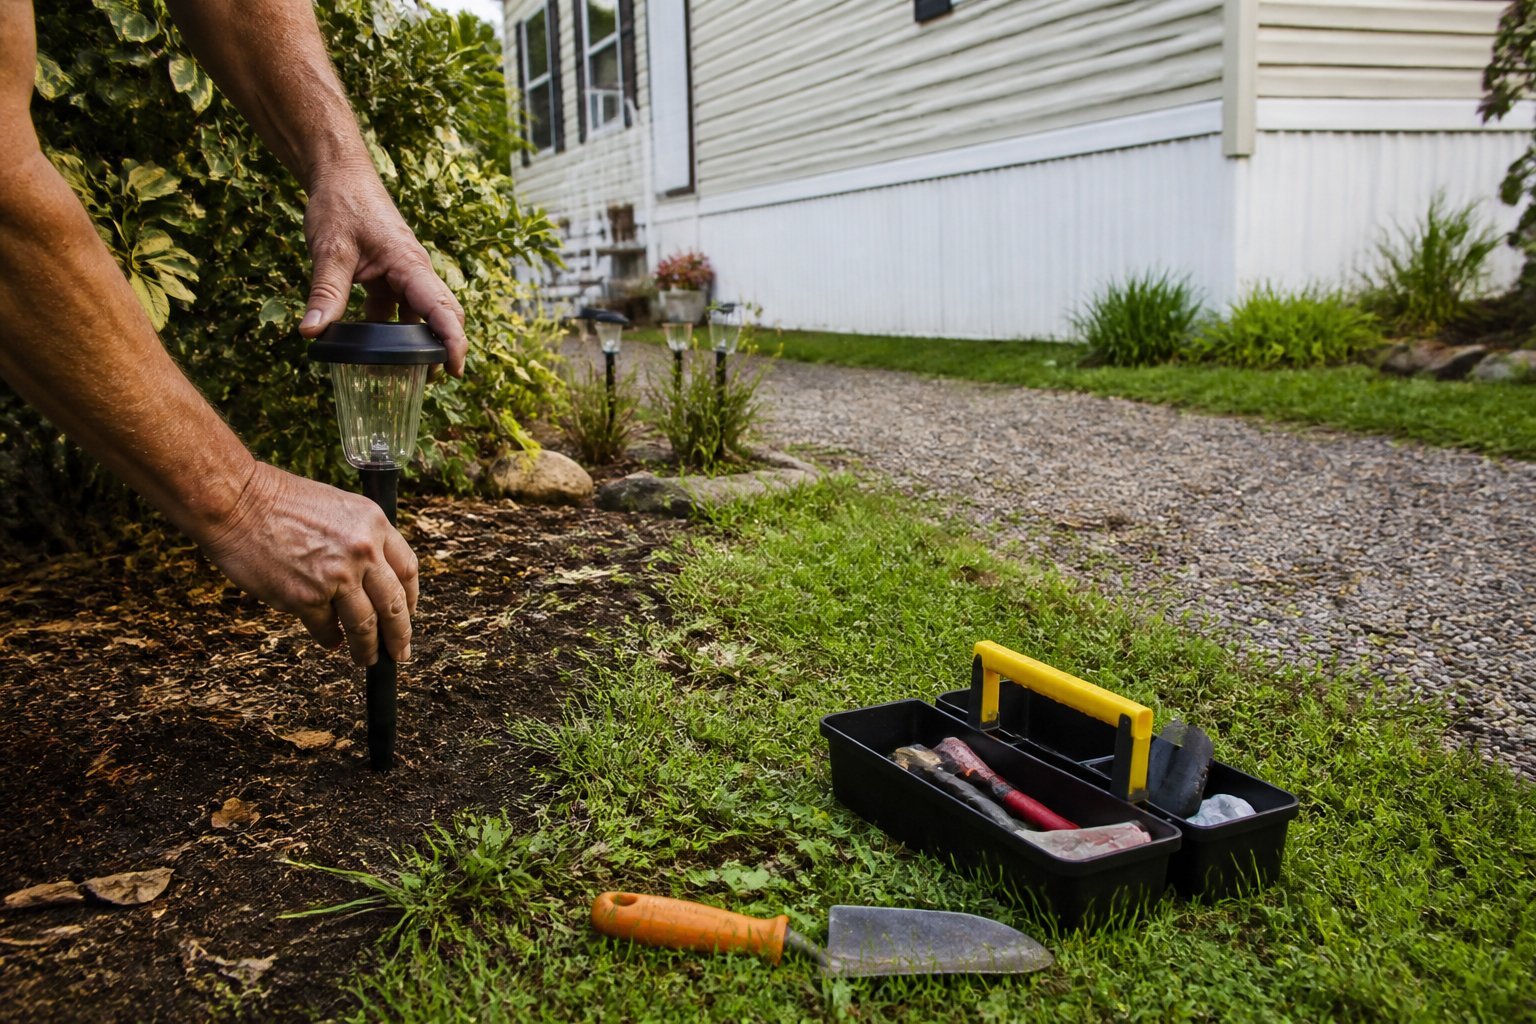
Intent: guide. Solar pathway lights add safe, soft light without wiring or high cost. You can place them along steps, driveways, or a simple garden edge to make your home feel cared for at night.
Choose lights with a full-panel solar cell and replaceable batteries for longer life. Space them about 6–8 feet apart on flat ground; closer spacing suits narrow paths. A common mistake is planting them under trees where they get little sun.
Try mixing styles: low stake lights for the lawn and lantern-style lights near the door. If one lamp stays dim, clean the solar panel and check the battery—dirty panels and dead cells are the usual problems.
For product ideas and layout tips, see a quick comparison of best solar pathway lights 2026. Add a few lights tonight to boost safety and curb appeal.
7) Plant a row of knock-out roses as a low-care focal hedge
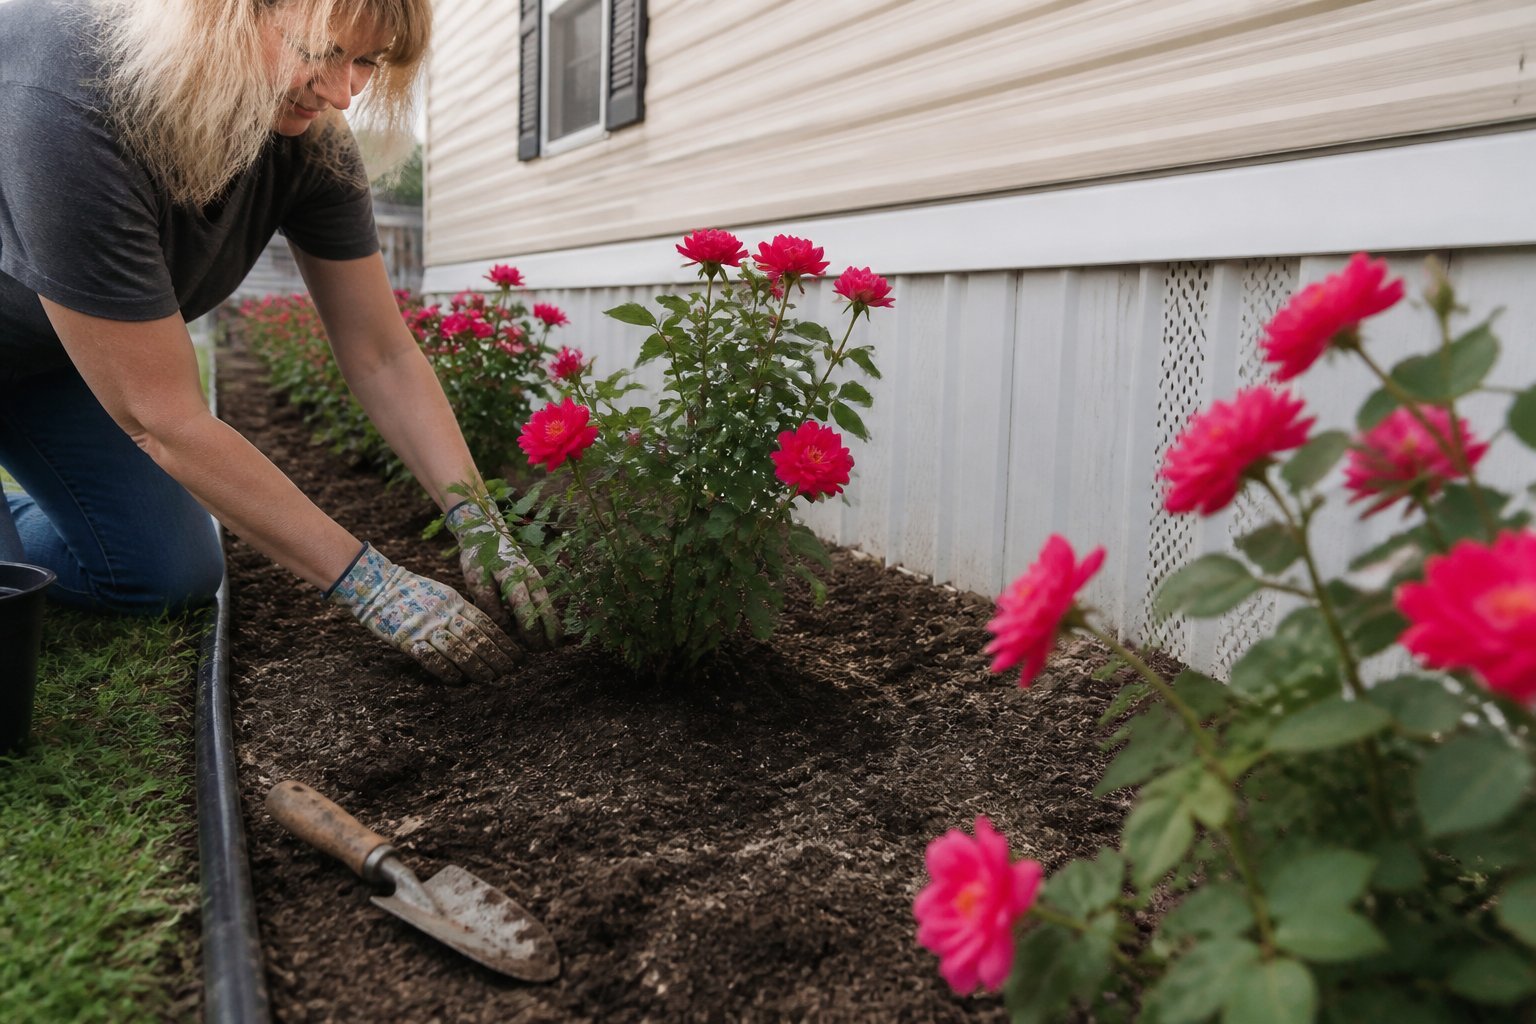
Intent: idea and guide. Planting a straight row of Knock Out roses creates an instant, low-care focal hedge for your mobile home yard. They bloom all season, resist many diseases, and need only basic pruning.
Place them 3–4 feet apart so they fill in without crowding. Use well-drained soil and a layer of mulch to keep roots cool and reduce watering. A common mistake is planting too deep; set the crown at soil level.
Prune lightly each spring and remove spent flowers to keep blooms coming. If deer or kids visit often, choose a color and height that fits sightlines and traffic. For design help, pair the roses with low ornamental grasses or a stone border to frame them and protect the bed.
8) Place large container plantings on the porch with ornamental grasses and geraniums
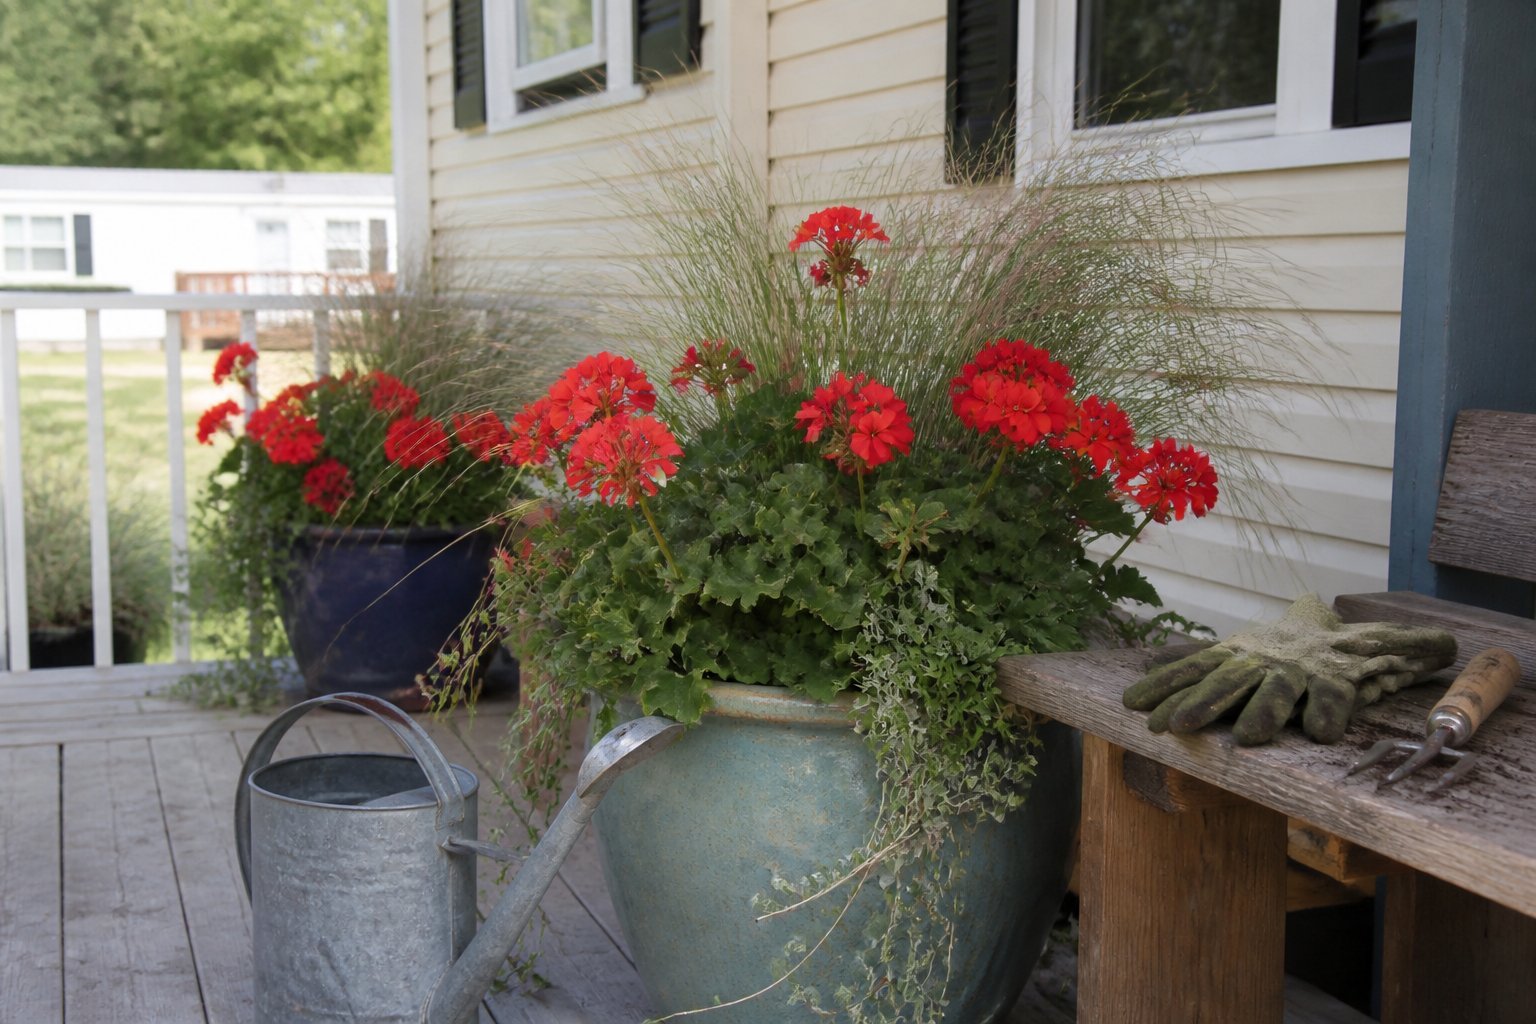
Idea: use big containers to frame your porch and add height, movement, and color. Choose a tall grass like fountain grass for texture, then tuck bright geraniums around the base for blooms that hide bare soil.
Start by picking lightweight containers for a mobile setup. Concrete looks heavy; fiberglass or composite pots give the same feel without the weight and make seasonal changes easier.
Planting tip: place the grass in the center or back, geraniums toward the edge, and add a trailing vine to spill over the rim. Water deeply at planting, then check weekly—grasses tolerate dry spells but geraniums need regular moisture.
Common mistake: overcrowding plants. Leave space so each plant grows. Try this and adjust container combos until your porch feels balanced and welcoming.
9) Create a pea-gravel patio with a bistro set for a cozy outdoor seating area
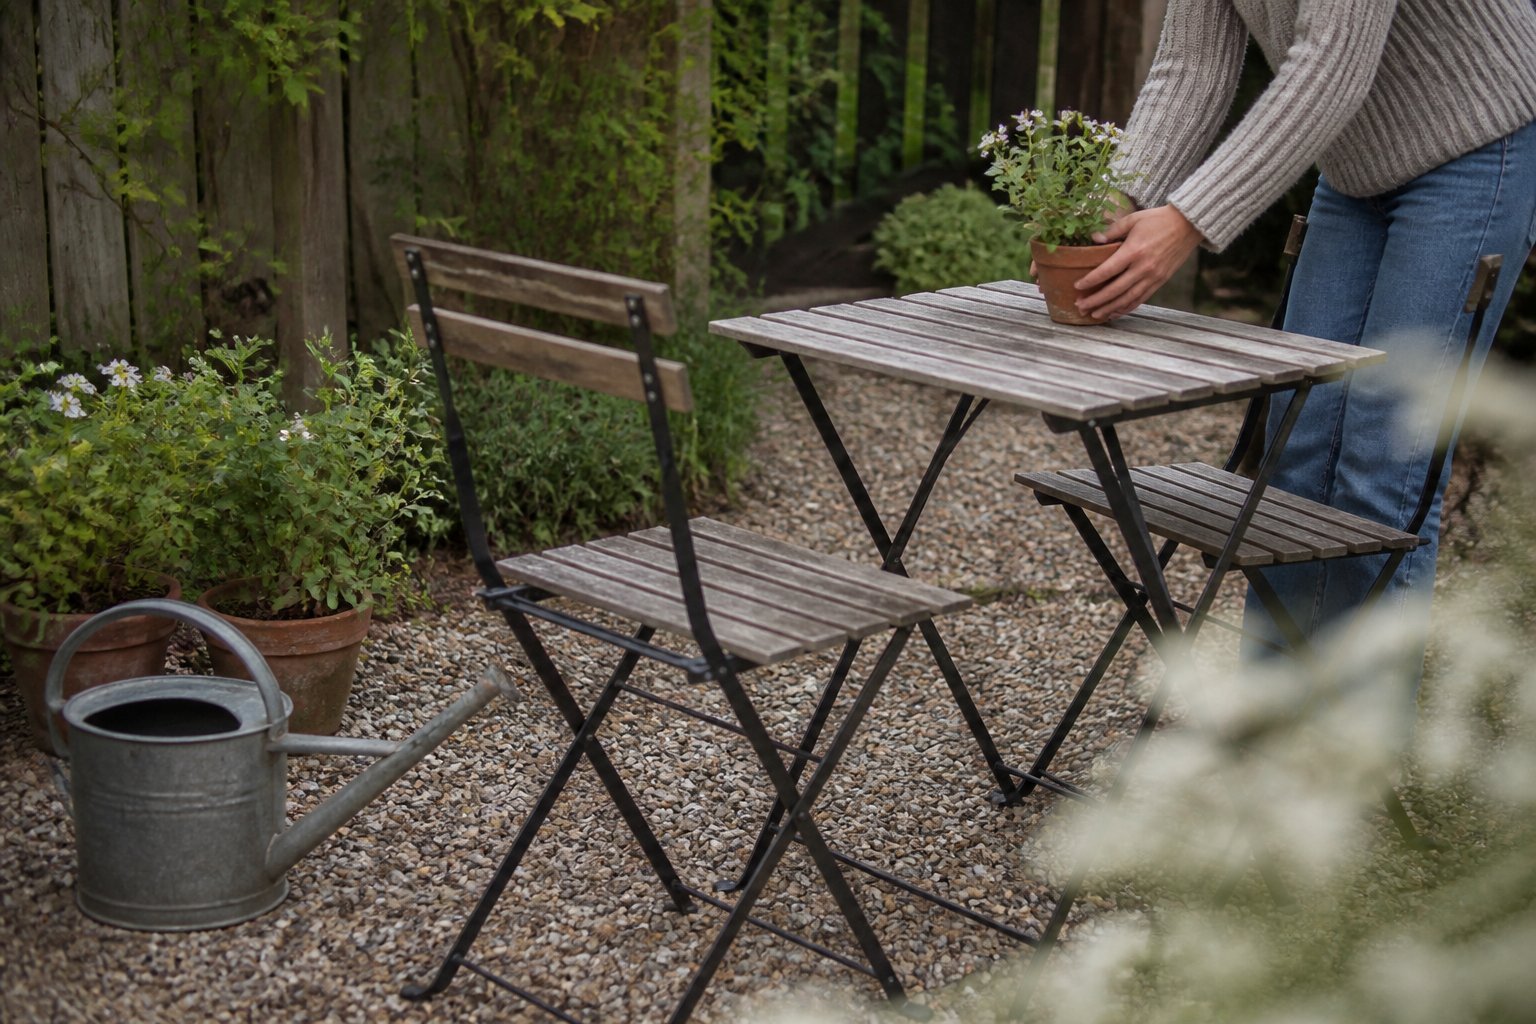
This is a practical idea that turns wasted space into a small, usable patio. Lay 2–3 inches of pea gravel over landscape fabric and tamp it flat for a stable surface that drains well.
Choose a small bistro table and two chairs to fit tight spaces. Metal sets are durable; wicker feels warm. Add a throw pillow or lantern to make it inviting.
Watch for common mistakes: skip weeds by using good fabric, edge the patio with pavers to stop gravel spread, and avoid too-thin gravel that shifts under chairs. If you want a firmer feel, add a compacted sand base first.
Try this near a side gate or under a window where you already see sunshine. Place plants in pots nearby and enjoy coffee outside today — start small and adjust as you go.
10) Use mulch and landscape fabric to suppress weeds and conserve moisture
This is a practical guide you can use today. Lay landscape fabric under beds to stop many weeds, then cover with 2–3 inches of mulch to hold moisture and hide the fabric.
Pick a woven or spun fabric for durability and cut X-slits for plants so roots breathe. A common mistake is piling thin mulch that breaks down fast; thicker bark or hardwood chips last longer and need less replacement.
Anchor fabric with landscape pins and replenish mulch each season. If weeds still appear, pull them early before they set seed. Try this on flower beds or around shrubs to save time and water—start small and expand as it proves itself.
Understanding Landscape Design Principles
You will learn how to make your yard useful, low-cost, and neat while still looking inviting. Focus on layout, plant choice, and easy-to-maintain materials to get big impact without big expense.
Balancing Function and Curb Appeal
Intent: guide. Start by mapping how you use your yard—walking paths, parking, play areas, and where you want privacy.
Prioritize traffic flow. Place durable mulch or crushed stone on paths and stepping stones where people walk most. Use low shrubs and a single “hero” plant by the entrance to draw the eye without blocking sightlines. Pick plants by mature size and maintenance: choose one or two evergreen shrubs for year-round structure plus 2–3 seasonal perennials for color. That keeps your beds tidy and cheap to care for.
Common mistake: planting large shrubs too close to the home. They block windows and create future pruning work. Use a simple scale rule: allow at least half the mature width between plant and wall.
Quick checklist:
- Map use areas on paper.
- Mark high-traffic paths first.
- Choose low-maintenance shrubs and a single focal plant.
- Keep planting distances based on mature size.
Incorporating Outdoor Living Spaces
Intent: tutorial. Decide what outdoor functions you need—dining, lounging, grilling—and size the space to match typical use.
Create a small, defined patio using gravel, pavers, or a compact deck. Anchor it with two elements: seating and lighting. Use modular furniture so you can rearrange or store pieces for winter. Add a raised planter or a freestanding privacy screen to block wind and add a green backdrop.
Think vertically to save space: hang planters, use trellises, or stack herb pots. For low cost, reuse pallets or crushed stone for a DIY patio base. Avoid common errors like leaving furniture directly on grass (it sinks and damages the lawn) or placing a grill too close to siding.
Do one upgrade at a time: add seating first, then lighting, then planters. This keeps costs down and shows immediate payoff—try a string light and a potted maple as your first two moves.
Maximizing Value on a Budget
You can get big curb appeal by picking smart materials and choosing which jobs to DIY. Focus spending where it shows most: durable edging, a few long‑lived shrubs, and simple lighting.
Choosing Cost-Effective Materials
Guide: pick materials that last and look smart without high cost.
Use crushed gravel or decomposed granite for walkways; it costs less than pavers and drains well. For edging, metal or recycled plastic gives a neat line and lasts years—avoid soft wood that rots. Mulch two to three inches to cut weeds and reduce watering; hardwood bark lasts longer than cheap shredded mulch. Plant one or two “hero” shrubs (boxwood, dwarf holly) near the entry to anchor the space; fill gaps with inexpensive perennials like salvia or daylilies. If you want rock accents, buy local stone by the pallet rather than custom-cut pieces. A small solar path light at $10–20 each offers big nighttime impact with no wiring cost.
Common mistake: buying many low-quality plants. Spend a bit more on healthy specimens and save on replacements.
DIY Projects Versus Professional Help
Guide: choose DIY for basic tasks, hire pros for safety or long-term systems.
You can save hundreds by installing mulch, planting beds, and simple gravel paths yourself. Basic tools—shovel, rake, hand trowel—are cheap to borrow. Use online how‑tos for laying landscape fabric, staking shrubs, and installing solar lights. Hire a pro for electrical work, drainage regrading, or complex retaining walls. A mistake many people make is underestimating soil prep time; poor soil means more watering and dead plants. Get a pro consult for grading or irrigation and use that plan to do the cheaper work yourself. This splits costs while keeping the result professional.