10 Backyard Shade Ideas That Don’t Require a Permit or a Contractor — Easy, Stunning DIY Upgrades
sYou want a cool, usable backyard now — not after months of permits or a contractor’s schedule. You can add real, safe shade quickly with simple products and smart placement, keeping costs and hassle low while making your outdoor space comfortable today.
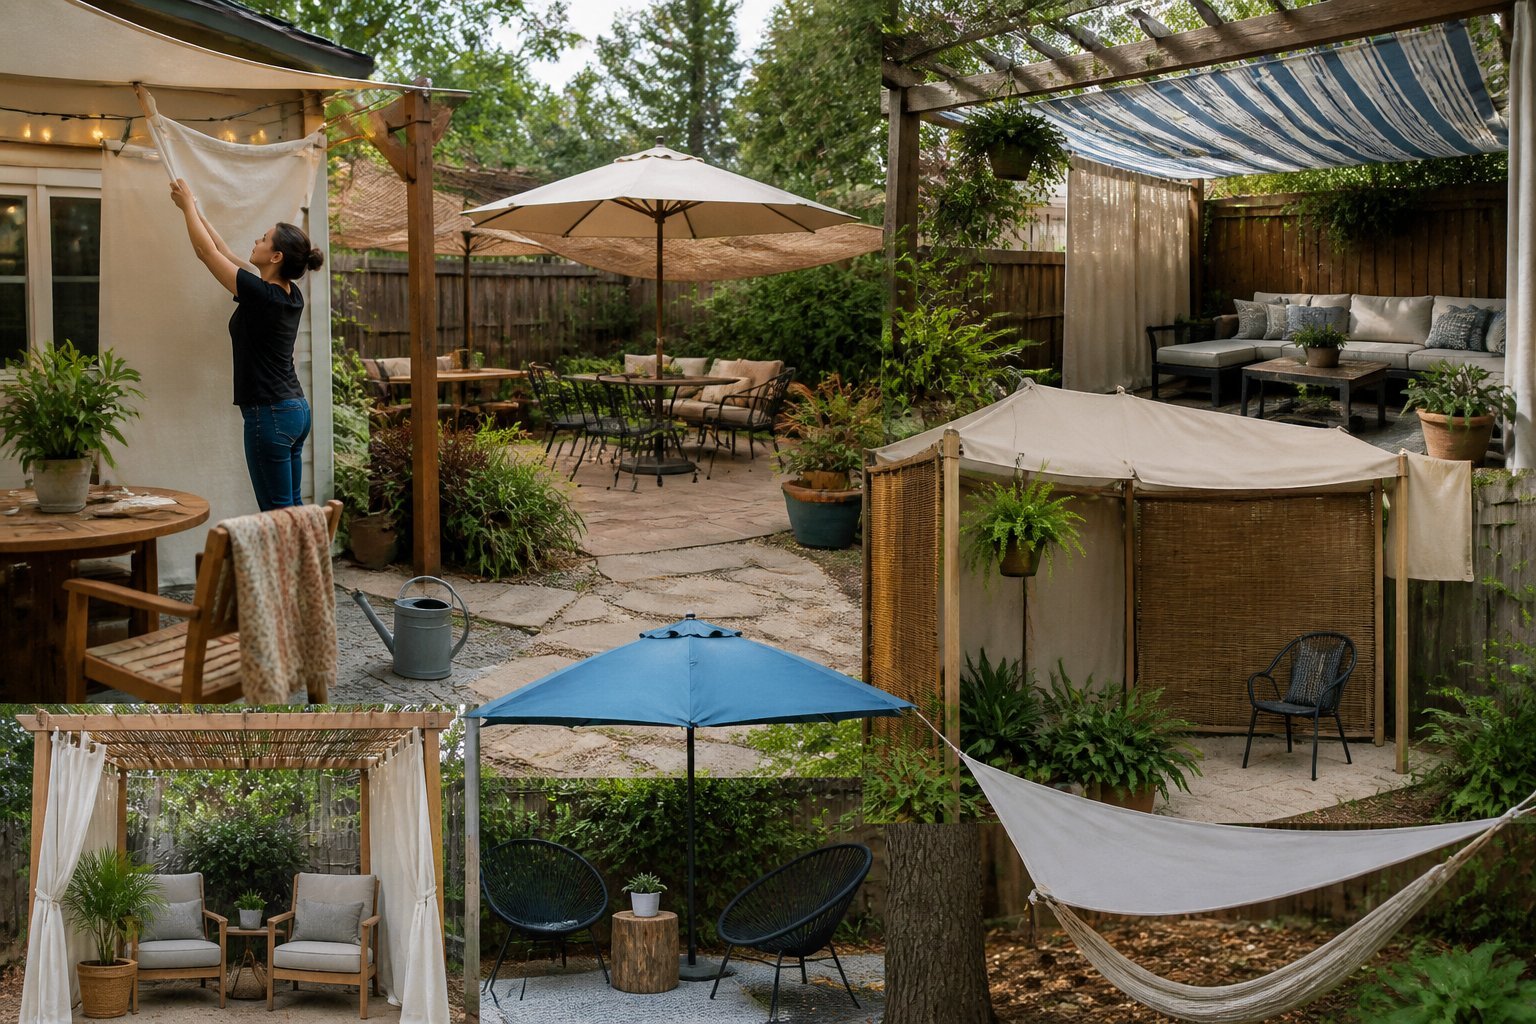
This article walks you through practical, permit-free options you can install yourself or with one helper. Expect clear guidance on temporary tents, shade sails, umbrellas, retractable awnings, pergola kits, screening, and maintenance tips so you avoid common mistakes and choose what fits your yard and budget.
1) Freestanding cantilever umbrella (table-mountable, 10–13 ft)
Intent: idea and quick how-to for shade using a table-mountable cantilever umbrella.
A 10–13 ft rectangular cantilever umbrella gives wide, movable shade without drilling into your deck. You can clamp or place the base near a table so the canopy clears heads and plates, which keeps meals cool and sun-free.
Choose a model with a sturdy base and crank lift. Look for UV-rated fabric and a tilt or swivel so you can follow the sun. A common mistake is skimping on base weight — light bases tip in wind.
Set the pole and base on level ground and test rotation before anyone sits down. If you want options, see retail listings for 10×13 ft cantilever umbrellas at Wayfair’s cantilever selection.
2) Triangle shade sail — UV-blocking polyester with stainless hardware
This is a how-to idea for quick, no-permit shade you can install yourself. Pick a UV-blocking polyester sail for sun protection and breathability.
Measure anchor points before buying so the triangle fits tight. Use stainless steel D-rings and turnbuckles to avoid rust and to tension the fabric without sagging.
Common mistake: using nylon rope or weak clips—those stretch or fail in wind. Buy marine-grade hardware and test tension after a week of weather.
If your yard has trees or posts, you can anchor to them, but protect wood with pad plates. Try a single triangle over a table or two overlapping for larger coverage. Choose colors that block UV but still brighten your space.
3) Retractable wall-mounted awning (manual or motorized)
Intent: practical guide.
A wall-mounted retractable awning gives you fast shade on demand. You can crank a manual model or push a button on a motorized unit to extend coverage when the sun is strong.
Pick the right projection so the awning shades your seating or doors without blocking windows. Choose acrylic or polyester fabric for UV and water resistance, and add a wind sensor for motorized models to prevent damage.
Common mistake: buying too small a unit or mounting too low. Measure from the wall to the edge of your seating and allow clearance for doors to open.
If you want options and ideas for styles and features, check retractable awning galleries and suppliers for examples and price ranges. Adjust the pitch slightly so rain sheds away from the house.
4) Pop-up canopy tent (10×10 EZ-up style for temporary shade)
Use this as a quick tutorial: set up a 10×10 pop-up canopy for instant shade at events or in your yard. Pick a flat spot and stake or weight each leg to prevent tipping in wind.
A 10×10 canopy covers about 100 sq ft—big enough for a table and chairs or a small grill. Look for models with adjustable leg heights and a roller bag for easier transport; retailers like E-Z UP sell purpose-built instant canopies with these features (see E-Z UP 10×10 options).
Common mistakes include skipping weights, placing it under low branches, or tightening fabric unevenly. If you plan longer use, add sidewalls or sandbags and check UV and water ratings first.
Try it once for a party, then keep the tent in your car for impromptu shade. Practice one timed setup so you can deploy it fast when needed.
5) Pergola with removable fabric canopy (freestanding kit)
Intent: practical guide for a DIY freestanding pergola kit with a removable canopy.
Choose a freestanding pergola kit that fits your space and skills. Many kits come with pre-cut parts and a fabric canopy that zips or snaps on, so two people can usually build it in a weekend.
Pick UV-resistant, mildew-resistant fabric like Sunbrella for longer life, and match a frame material to your climate—aluminum resists rust, wood looks warm. You can remove the canopy for winter or strong winds to protect the fabric and hardware.
Common mistakes: undersized footings and tight fabric tension that strains connectors. Anchor posts to concrete or use heavy-duty anchors on deck boards to keep the structure stable.
Try a neutral canopy to suit plants and furniture, or a bold stripe for a focal point. Test the retract method after assembly so you know how to remove and store the fabric properly.
6) Bamboo roll-up screening hung from existing fence
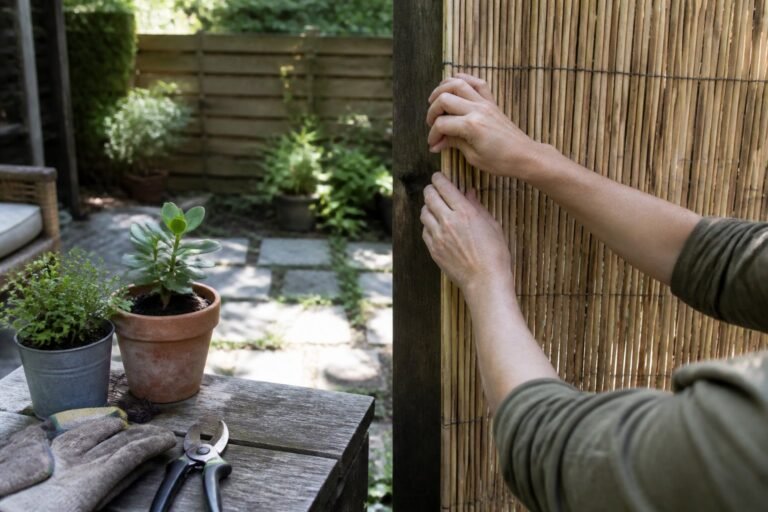
Idea: add quick shade and privacy by fastening bamboo roll-up screening to your current fence. This is a DIY guide you can finish in an afternoon with basic tools.
Measure the fence and buy rolls slightly longer than the panel height so the screening overlaps at seams. Use stainless steel screws and washers or galvanized wire ties; avoid just nails, which let the roll sag over time.
Common mistake: stretching the roll too tight. That can snap slats or pull posts out. Leave a little slack so the screening moves with wind and won’t strain mounting points.
If your fence is chain-link, wrap with galvanized wire every 12–18 inches. For wood fences, attach through the bamboo into the fence rails. Test one panel first to confirm spacing and look before covering the whole run.
7) Sail shade over cable-tensioned stainless lines
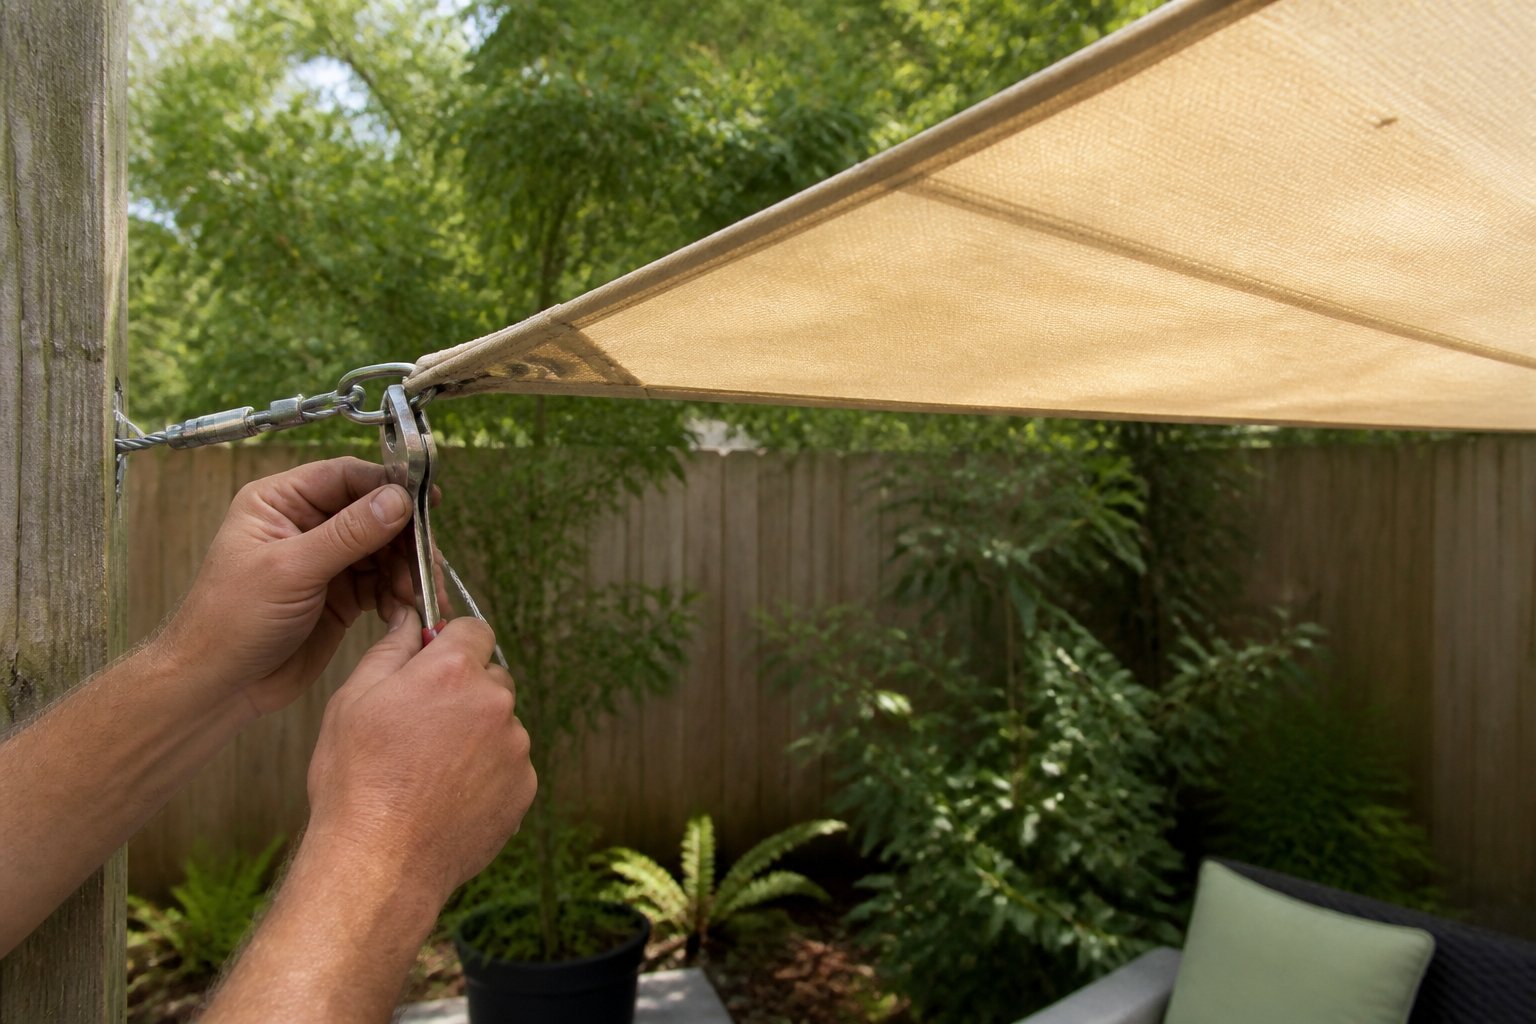
This is a practical guide to a sleek, low-profile shade you can install yourself. Use stainless steel aircraft cable stretched between strong anchors to hold a sun sail with clean lines and little visual clutter.
Measure and mark anchor points before you buy hardware. Use turnbuckles and pad eyes rated for outdoor loads; underestimating tension causes sag or wobble. A common mistake is using thin rope—steel cable keeps the sail flat and lasts longer.
Choose UV-stable fabric and slightly slope the sail for water runoff. If a corner will hit a gutter or window, move the anchor or add a short post to avoid rubbing. Expect to retension twice in the first season as fabric stretches.
If you want step-by-step plans, check a practical DIY post about DIY shade sail post ideas. Try a small test run first, then scale up to cover larger areas.
8) Patio umbrella with solar LED lights (tilt-and-crank)
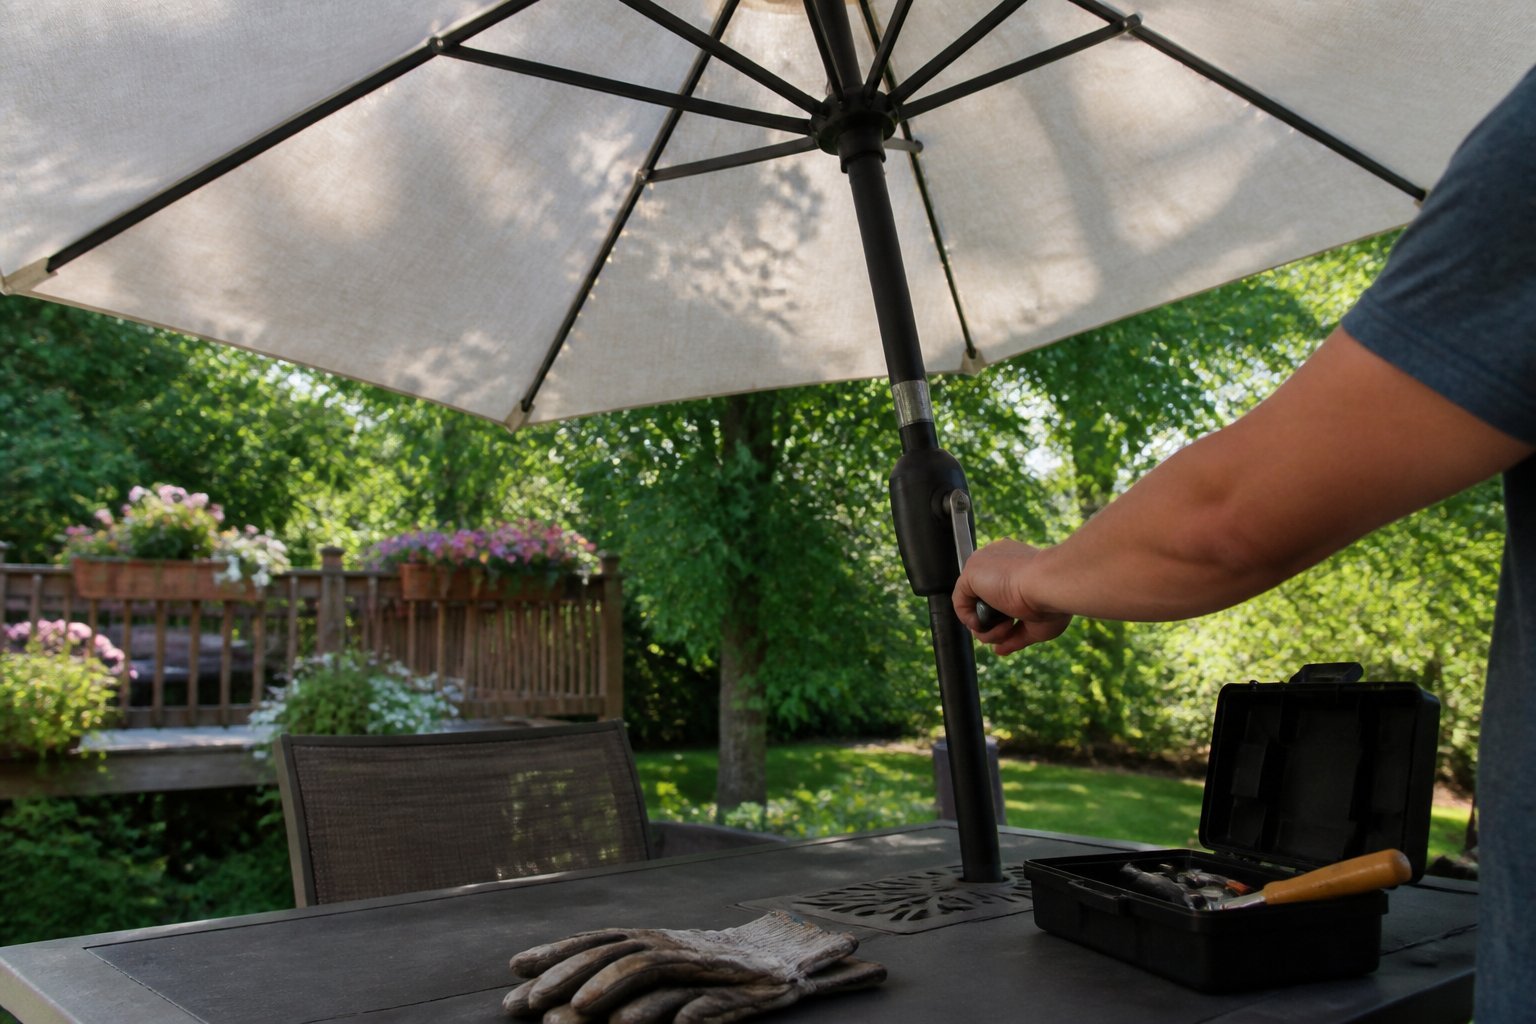
This idea is a quick shade upgrade you can install yourself. Buy a 9–10 ft umbrella with a crank and tilt so you can follow the sun and still keep lighted evenings.
Look for models with built-in solar LEDs and durable, UV-resistant fabric. A common mistake is buying a cheap pole that wobbles; choose thicker steel or aluminum and test the crank action before you buy.
Place the umbrella in a weighted base or secure it beside a table to prevent tipping. Solar lights usually run 4–7 hours; angle the canopy to catch sun all day for best nighttime performance.
Try neutral colors to match your yard and add string lights or a small fan for extra comfort. If you want options, browse places that list tilt-and-crank, solar-lit umbrellas like this patio umbrella collection (https://www.walmart.com/browse/patio-garden/solar-umbrellas/5428_5593752_8341994_7428917).
9) Fabric privacy curtains on a pergola or patio cover
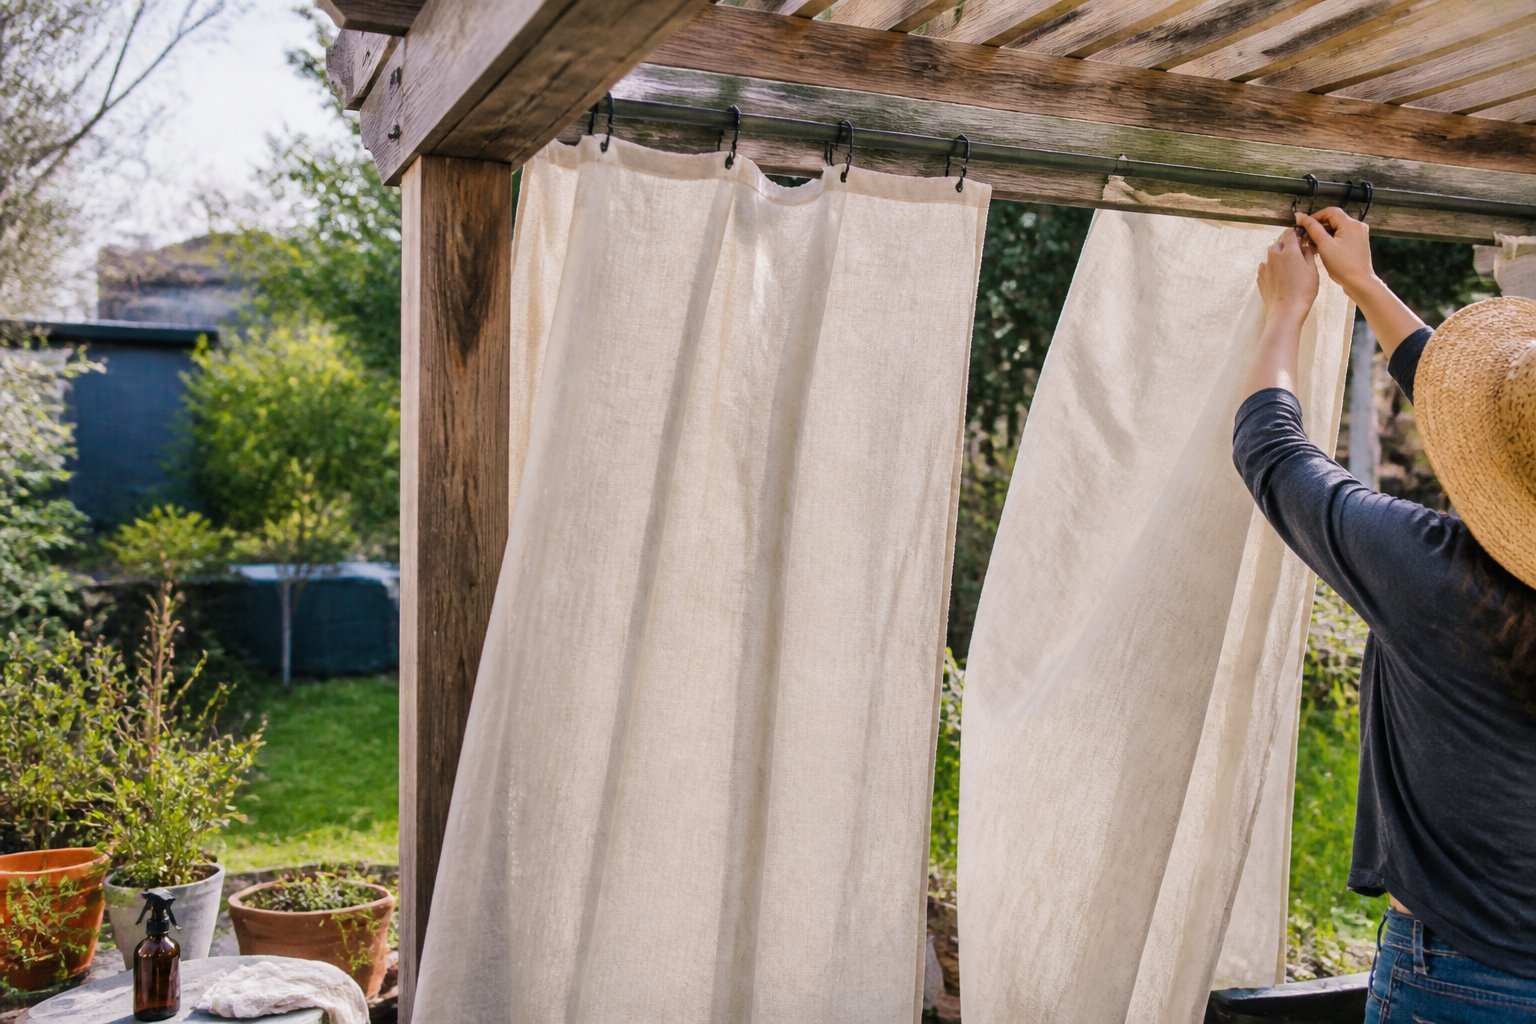
Intent: idea and how-to. Use curtains to add shade and privacy without permits or heavy labor.
Hang weatherproof fabric from curtain rods or outdoor-grade cable for a fast change. Choose Sunbrella or acrylic blends so colors don’t fade and mildew is less likely.
Measure twice and cut once. Make panels a few inches wider than the opening so they overlap for privacy. Mount rods to rafters or use hooks—avoid drilling into structural posts if you rent.
Common mistake: using indoor curtains or flimsy hardware. That leads to sagging and fabric damage in wind. Add tiebacks or Velcro straps to secure panels on windy days.
For style, mix sheer panels with heavier side panels for both light control and privacy. Try neutral tones for a calm look or bold stripes for a lively vibe. Consider a quick clip-on rod system if you want seasonal swaps.
10) Portable gazebo with zippered sidewalls
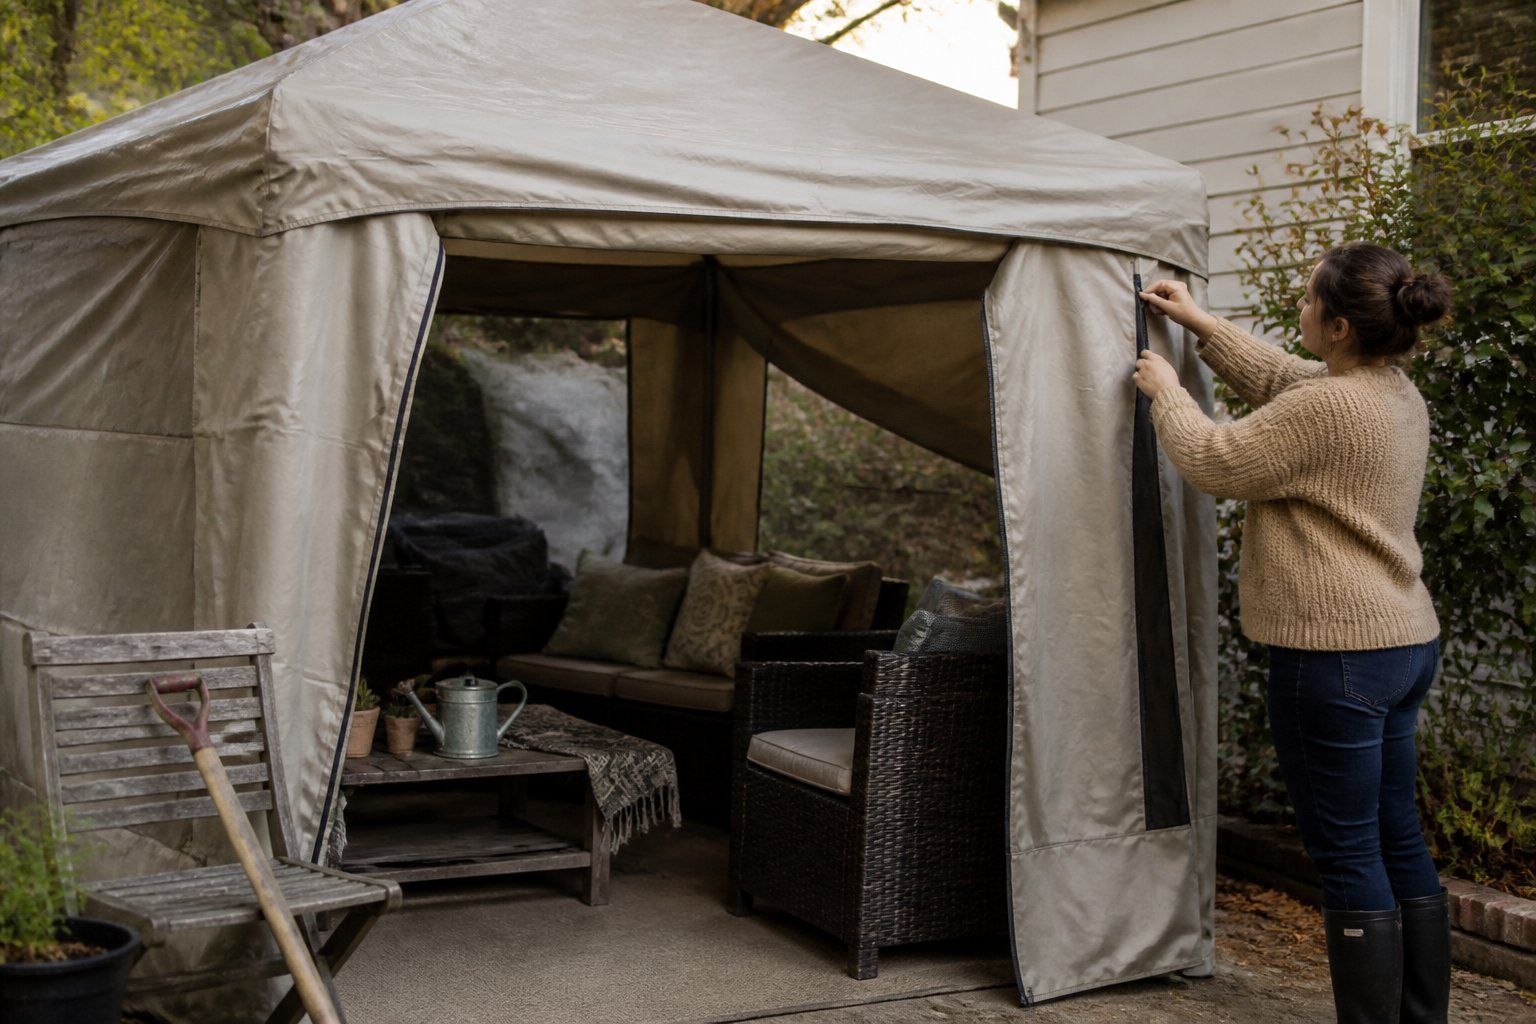
Idea: use a pop-up gazebo with zippered sidewalls to get instant shade and bug protection without permits. You can set it up alone in minutes, then zip the walls for privacy or leave them open for airflow.
Choose a model with a sturdy frame and a wheeled bag for easy storage. Check fabric weight and zipper quality; cheap zippers snag and make the walls useless in wind.
Common mistake: anchoring poorly. Use stakes and sandbags so the gazebo won’t lift in gusts. For events, add string lights and a rug to make the space feel like a room.
See a range of portable screened and sidewall gazebos for options and sizes at Wayfair.
Factors to Consider Before Adding Backyard Shade
Think about where sun hits during the day, what materials will last in your climate, and how the structure will affect plants and soil. Make choices that match your daily routine, budget, and the existing yard layout.
Sun Path and Shade Placement
Guide: planning where shade falls so your seating, play areas, and vegetable beds get the right light.
Track sun angles for a few days. Note sunrise and sunset directions, and mark the hottest hours (usually 11 a.m.–3 p.m.). Place permanent shade like a pergola where it blocks midday sun on your patio, and reserve portable options—umbrellas or shade sails—for spots that need seasonal flexibility. For example, put a dining table just west of a fixed shade if you want afternoon protection without blocking morning sun.
Common mistake: setting a shade sail too low or too close to plant beds, which funnels heat and reduces airflow. Use a simple sketch or a phone photo with shadows marked to decide exact placement.
Material Durability and Weather Resistance
Guide: choosing materials that survive rain, wind, sun exposure, and winter freeze-thaw cycles.
Pick fabrics with UV ratings and mildew resistance for sails and umbrellas. For frames, aluminum resists rust and is lighter than steel; pressure-treated wood looks better but needs sealing every few years. Check wind ratings: cheap umbrellas fail at lower gusts. If you live in a rainy area, choose quick-drain canopy fabrics and elevated bases to stop pooling. In hot, sunny climates, pick high-UV fabrics that retain color and block heat.
A pro tip: spend a bit more on fasteners and stainless hardware; cheap screws corrode first and cause whole structures to fail.
Impact on Garden and Landscaping
Guide: protecting existing plants, soil health, and water patterns when you add shade.
Shade changes how much light your plants get and alters soil moisture. Map sun-loving and shade-tolerant plants before you build. Move vegetable beds that need full sun to the yard’s brightest spot or use raised beds on the south side. Watch for roof runoff or added shade that channels water into planting areas—redirect gutters or use gravel swales to avoid waterlogging.
Common mistake: installing a canopy over root zones of mature trees; post holes and compacted soil harm roots. Use surface-mount anchors for lightweight structures near trees, and water deeply after any digging. If unsure, test a small shaded area first and observe plant response for a season.
Care and Maintenance Tips
Keep your shade setup working well and looking good by cleaning fabrics, tightening hardware, and storing items properly when not in use. Small, regular tasks prevent big repairs later and help your shade last through wind, sun, and rain.
Cleaning and Storage Recommendations
Treat fabric sails, awnings, and umbrellas like outdoor clothing: brush off dirt, spot-clean stains, and rinse salt or pollen away. Use a soft brush, mild soap, and cold water; avoid bleach or harsh detergents that weaken fibers. For metal frames, wipe down with a damp cloth and a mild cleaner, then dry to stop rust.
Store removable pieces in breathable bags or plastic bins with vents to stop mildew. For umbrellas and portable awnings, collapse them, secure straps, and stand them upright in a dry, ventilated space. Don’t fold damp fabric — it traps moisture and causes mold. Example mistake: tossing a damp sail into a garage bag and finding heavy mildew a month later.
Create a simple cleaning schedule: quick wipe weekly, deep wash every 3–4 months, and inspection before heavy-weather months. Label storage bins so you can find mounting hardware and repair parts fast.
Seasonal Adjustments
Adjust anchors, tension, and angle with the seasons to protect fabric and structure. In summer, loosen sails slightly to allow airflow and reduce stress on seams. In fall, lower tension and remove hardware that could corrode from wet weather. If winter brings heavy snow, take down flat sails and fold umbrellas to avoid collapse.
Check fasteners and anchors after storms. Replace frayed ropes, bent brackets, or cracked plastic fittings promptly. For wind-prone sites, add secondary tie-downs or quick-release carabiners so you can remove fabric quickly when high-wind forecasts appear.
Plan one maintenance day each season: inspect seams, oil moving parts, and tighten bolts. This small investment cuts repair bills and keeps your yard usable — schedule it on your calendar now.