The Container Drainage Trick That Saves Every Plant (Most Beginners Skip This) — 10 Must-Know Hacks
You keep losing plants and you can’t figure out why—most small fixes won’t help while the roots sit in soggy soil. This article shows a single, practical container drainage trick that stops slow water buildup and keeps roots healthy so your pots stop turning into plant graves.
You will learn simple, proven drainage steps you can use today to prevent root rot, speed drying, and make watering less stressful. Expect clear how-to tips, common mistakes to avoid, and easy upgrades that work for common pots and plants.
1) Drill multiple 1/4″ drainage holes in the pot base
Guide: tutorial
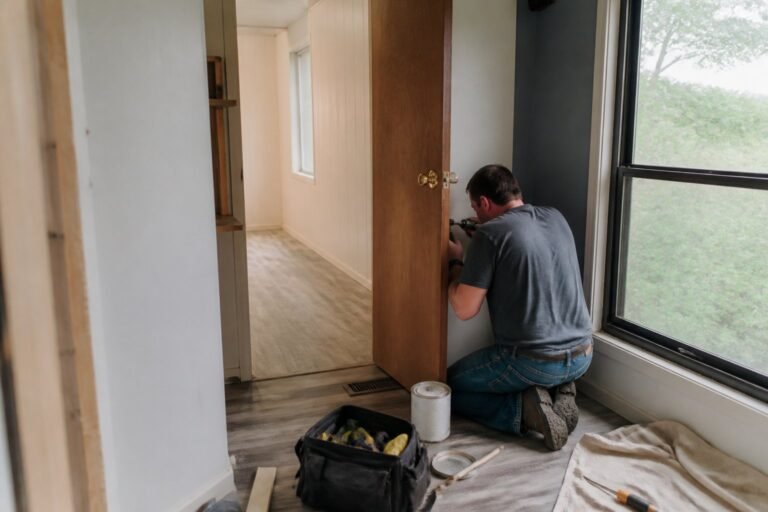
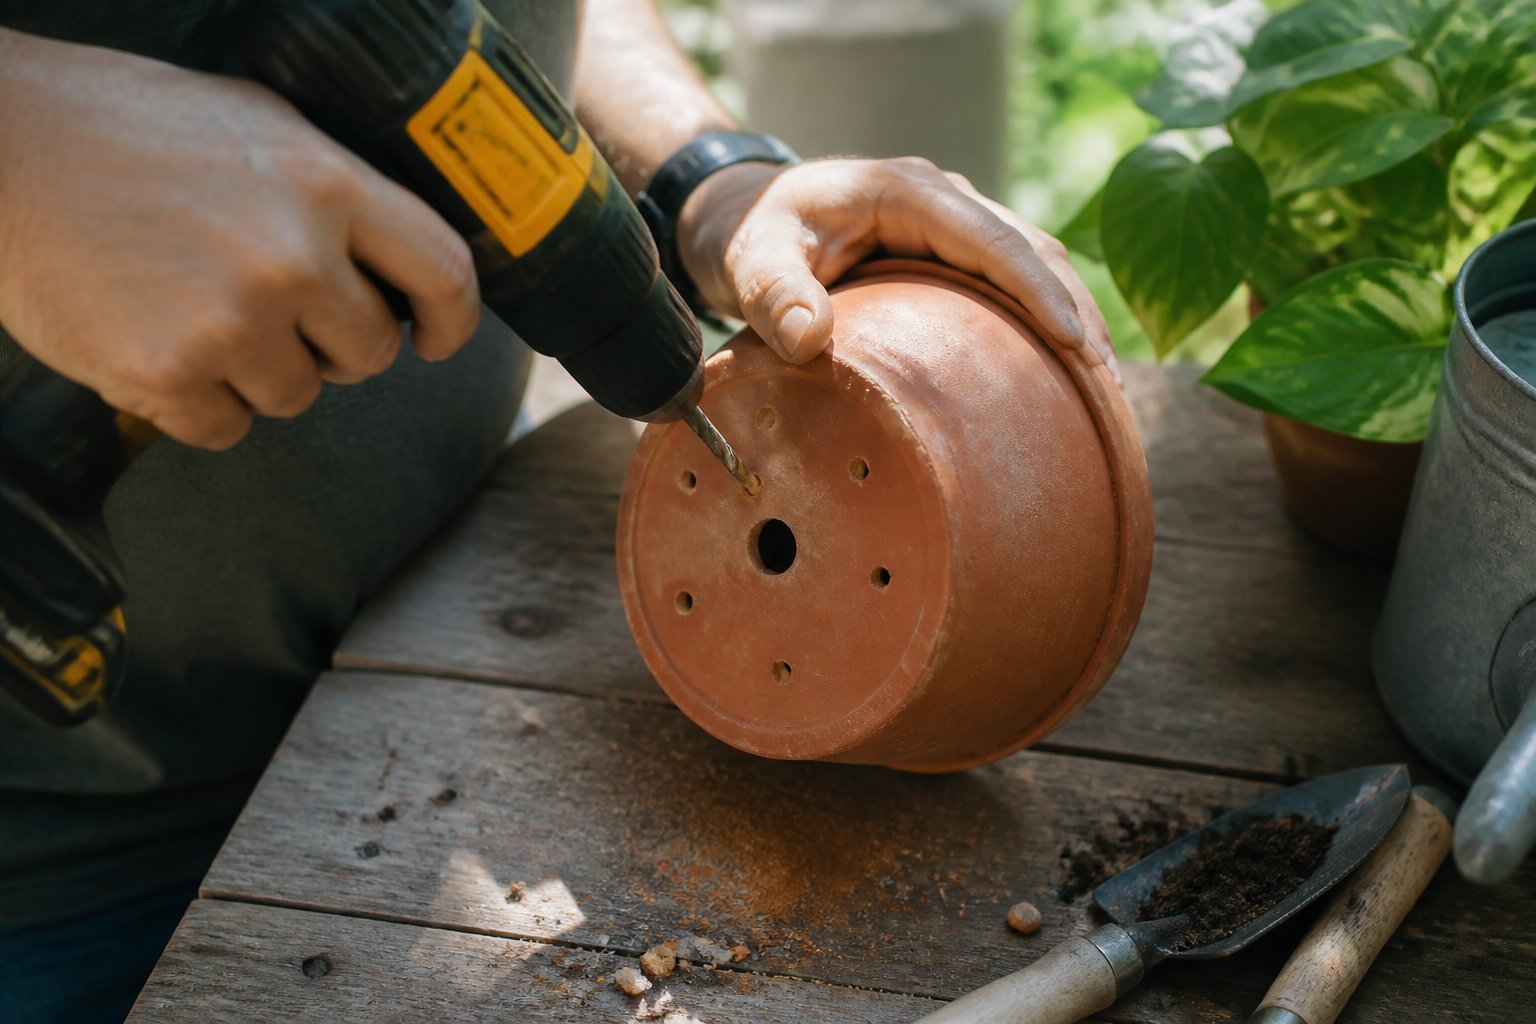
Drill several 1/4″ holes across the pot base so water leaves evenly and roots don’t sit in puddles. Use a scrap-wood backer and drill slowly to avoid cracking, especially with ceramic or terracotta.
Start with one center hole, then add two or three more spaced near the edges. For large planters, more holes prevent soggy spots and uneven drying. Beginners often drill just one hole — that often causes pooling and root rot.
Wear safety glasses and clamp the pot if you can. If the material is ceramic, use a masonry or diamond bit and keep the area wet to reduce chipping. After drilling, clean away dust and add 2–3 inches of gravel to improve flow.
Try this on your next pot and notice how much healthier your plants look.
2) Use an unglazed terracotta pot to increase evaporation
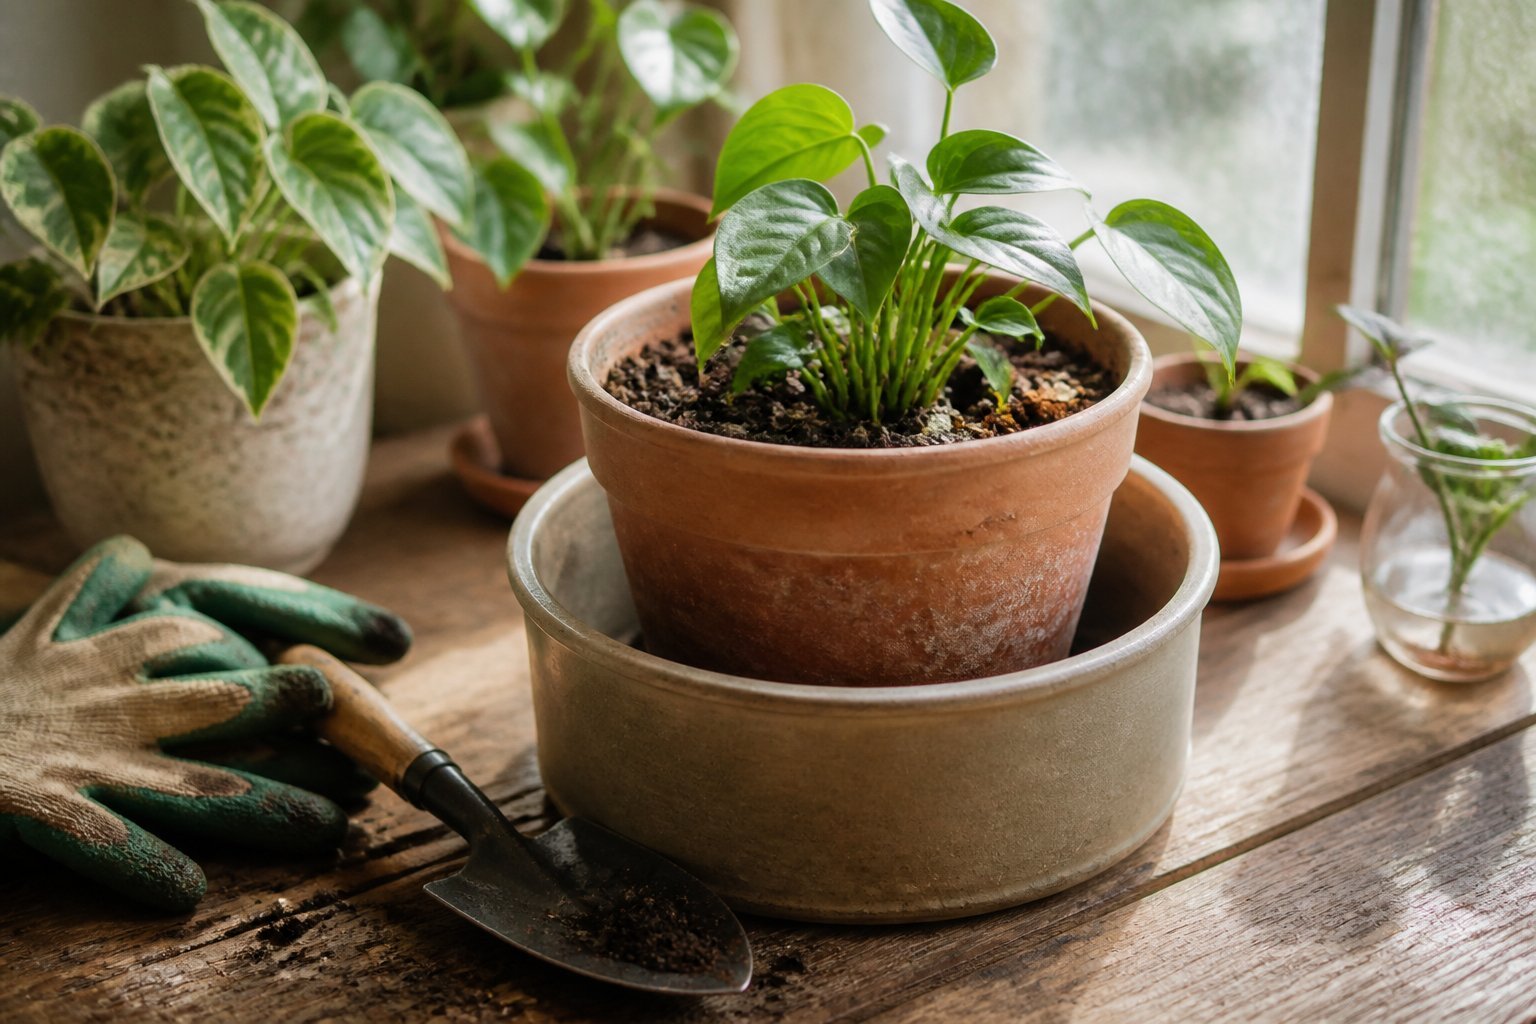
This is a practical guide. Bury an unglazed terracotta pot neck-up beside thirsty plants to raise local evaporation and airflow at the root zone.
Terracotta’s porous walls wick moisture out slowly, cooling soil and letting roots breathe. Use a true unglazed pot — glazed or painted pots block pores and won’t work. Test by soaking a pot; a porous one darkens as it absorbs water.
Place the pot so the rim sits just above soil level. Fill it and top off when soil dries; spacing depends on plant size — closer for small pots, farther for larger beds. Common mistakes: using sealed pots, burying pots too deep, or leaving the drainage hole open so water drains away.
Try one next to a potted herb or tomato and observe quicker recovery after heat. Adjust placement and refill schedule by watching soil moisture.
3) Replace garden soil with a chunky potting mix (peat-free)
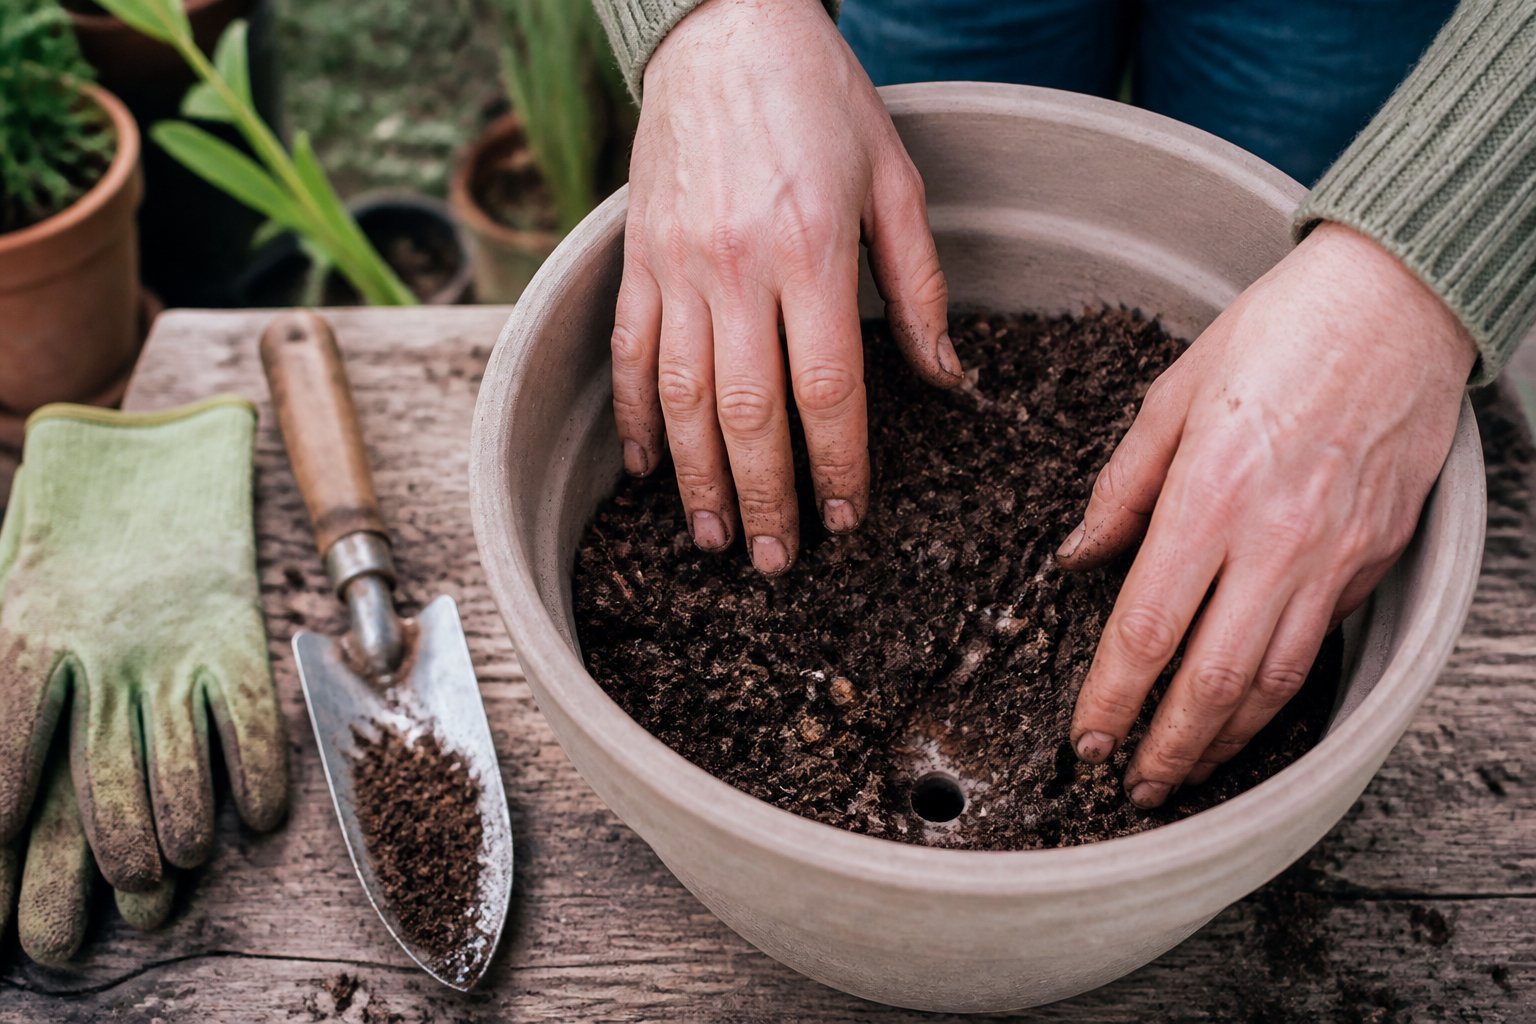
Guide: swap heavy garden dirt for a chunky, peat-free potting mix to improve drainage and root health. Use coco coir, perlite, and bark for air pockets that stop soggy roots.
You’ll notice faster drying between waterings and fewer pests when you avoid garden soil in containers. Beginners often pack soil too tight; that compacts and drowns roots.
Example: for a tropical houseplant try equal parts coco coir, orchid bark, and perlite. For succulents use more grit and less coir. Mistakes to watch for include using garden soil or too-fine compost, which slows drainage and invites rot.
Learn more about peat-free options and recipes for mixes on this peat-free alternatives roundup: peat-free soil alternatives for eco-friendly gardening (https://growersreview.com/peat-free-soil-alternatives/). Try one mix, observe roots in a month, and adjust the ratio.
4) Mix in perlite (20–30%) for improved airflow and drainage
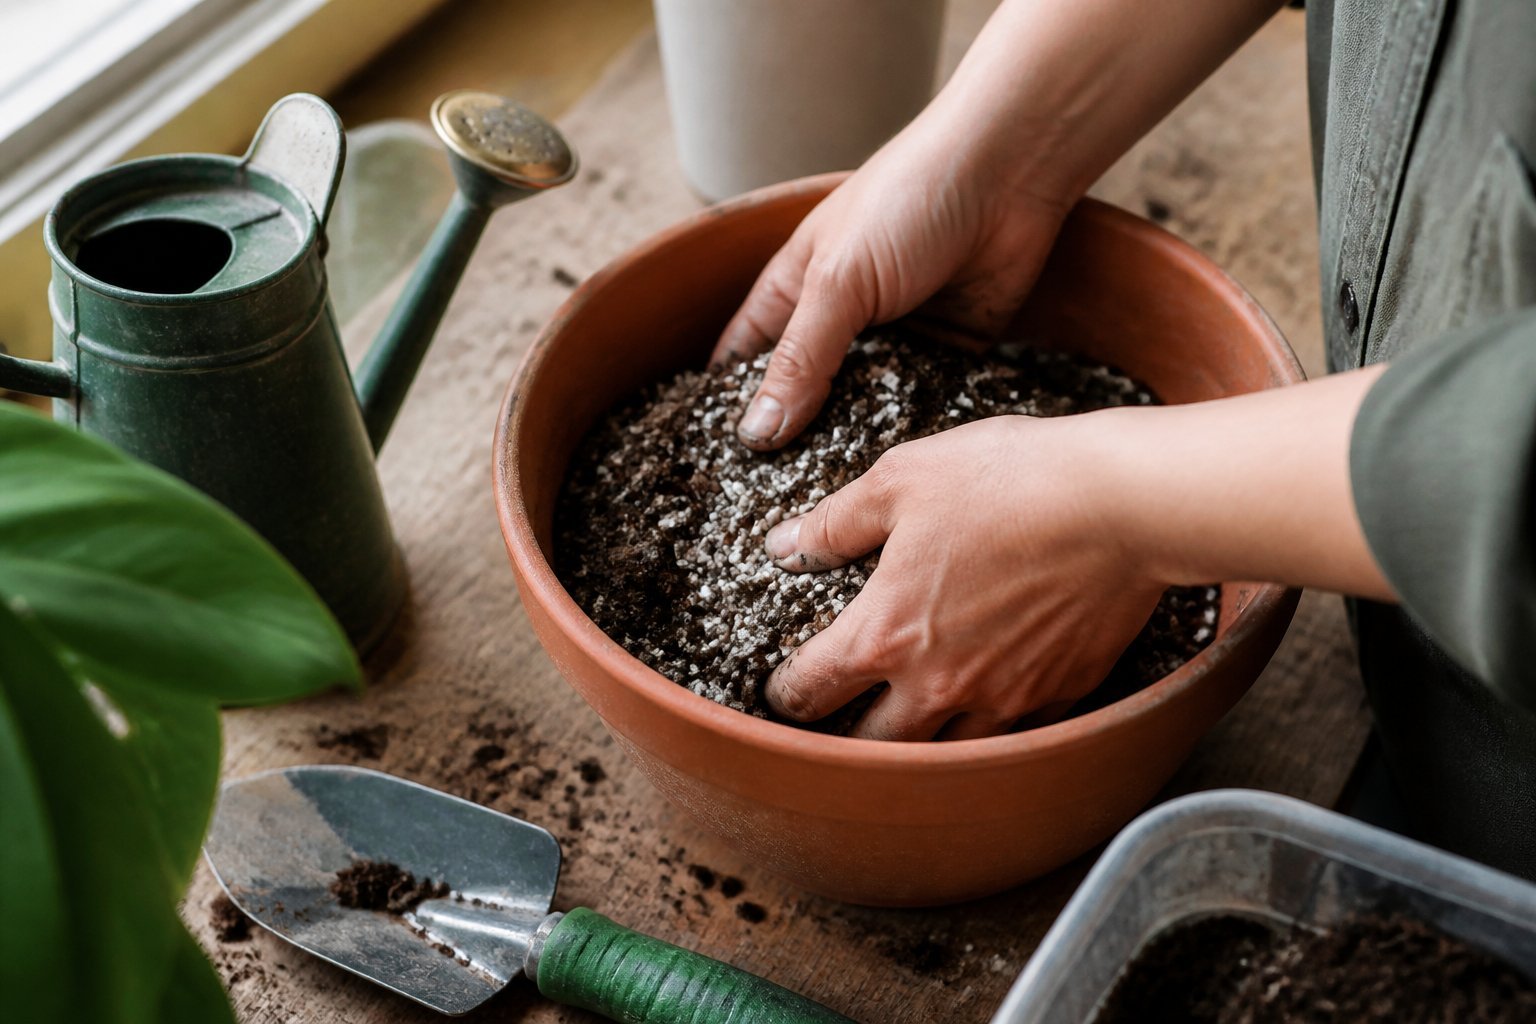
Intent: practical guide for mixing perlite into potting soil.
Add perlite to about 20–30% of your mix to keep soil light and airy. This helps roots breathe and stops water from pooling around them.
Use a small bucket or tarp and fold the mix until white particles spread evenly. For succulents, raise the perlite to 40–50%; for moisture-loving houseplants, stay near 20%.
A common mistake is using garden soil with perlite — that still compacts. Stick to a quality potting mix or peat-free blend first. Another mistake is overwatering because the mix drains faster; adjust your watering schedule.
I learned this after losing a ficus to soggy roots; switching to a 25% perlite mix fixed it within weeks. Try the mix in one pot first and watch how often it needs water.
5) Use coco coir and bark fines for orchids and succulents
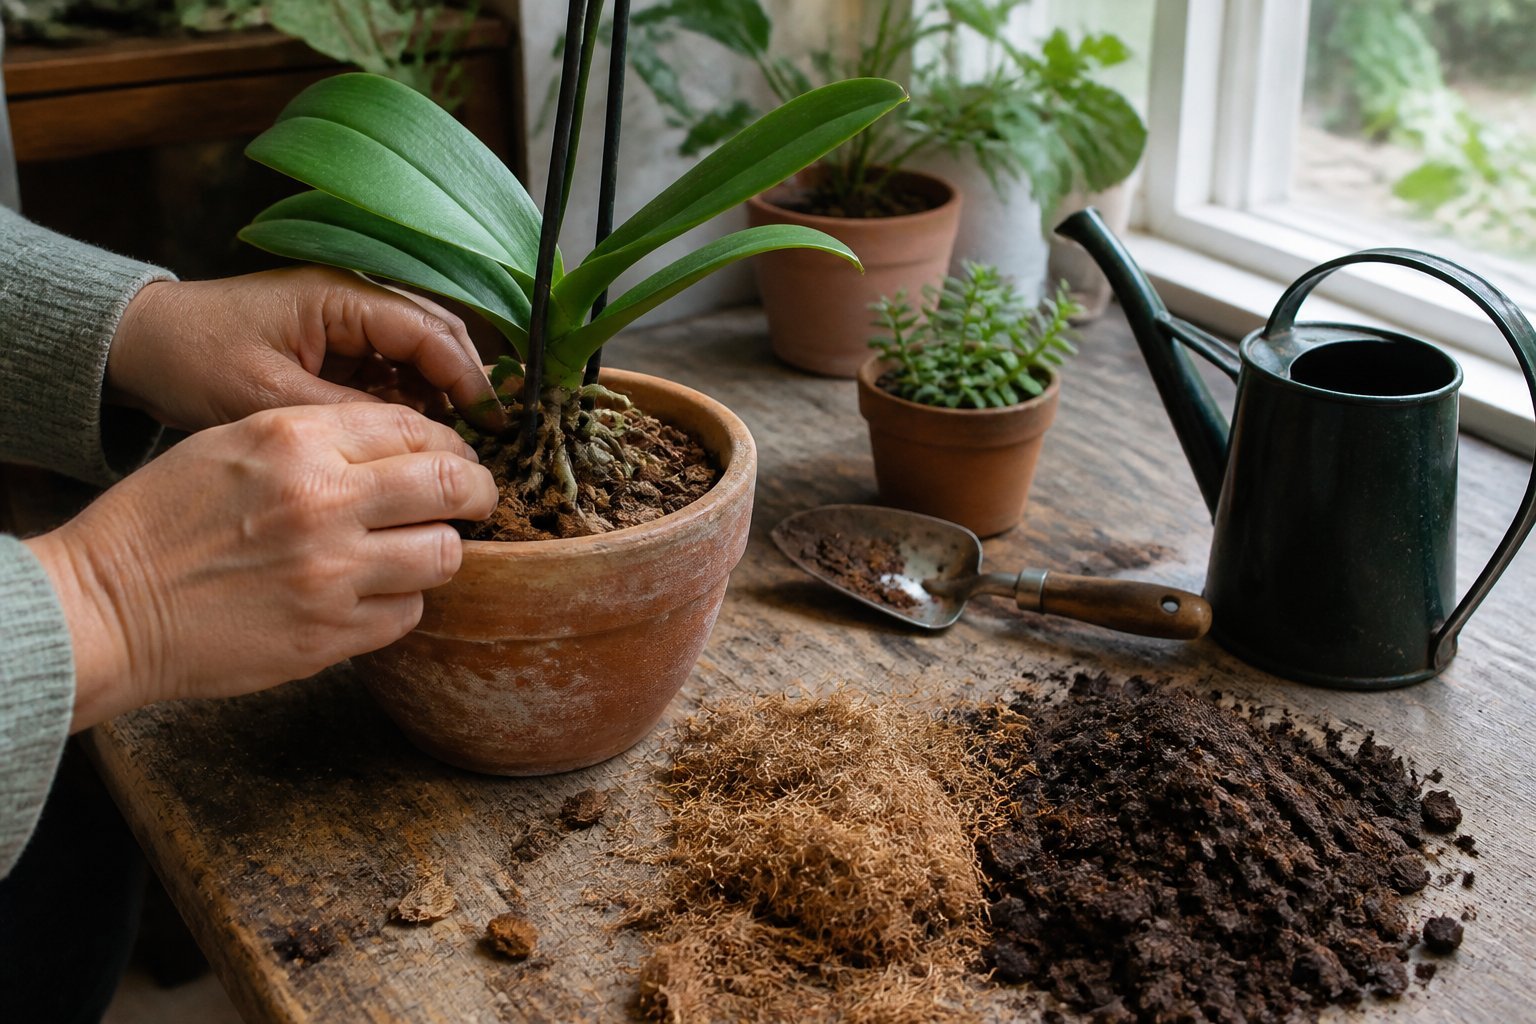
Guide: mix and drainage tip.
Use a blend of coco coir and bark fines to give orchids and succulents both airflow and steady moisture. Try 50% chunky bark, 30% coco coir chunks, and 20% coarse perlite for orchids; for succulents, shift to 30% coir, 50% grit (pumice or perlite), 20% bark fines.
Soak buffered coco coir before potting to remove salts. A common mistake is packing the mix tight — keep it loose so roots get oxygen.
If you repot a Phalaenopsis, tuck coir around the roots but leave space at the crown to avoid rot. For succulents, test by watering once and timing how long the pot stays damp.
Learn more about using coco coir with orchids from this practical guide on coco coir for orchids and aroids.
6) Raise pots on feet or pot risers to keep holes clear
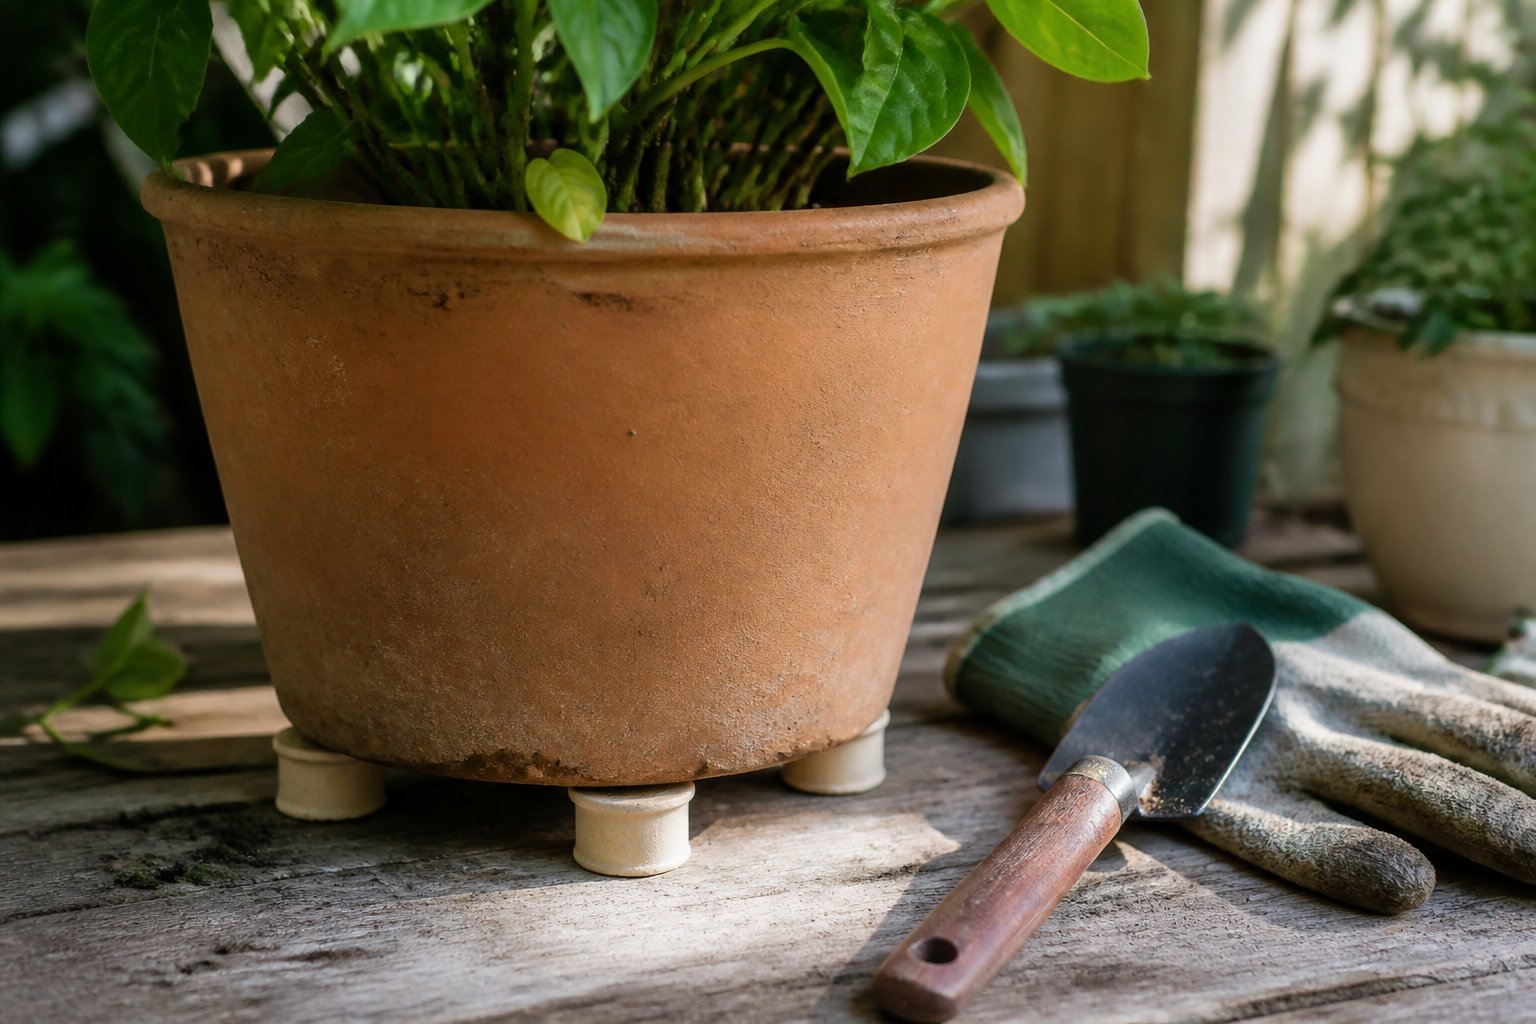
Tutorial: lift your pots an inch or two so water can exit freely and roots get air. Doing this prevents drainage holes from sitting in wet soil or clogged debris.
Use simple pot feet, bricks, or plastic risers. I once saved a balky fern by swapping a saucer for three small risers; within days the soil stopped staying soggy. Avoid flat trays that trap water under the pot.
Watch for common mistakes: don’t lift unevenly, and pick risers that won’t crack in freeze-thaw. For heavy pots, choose sturdy, wide-based risers to stop tipping.
Check the area under pots weekly. Clear moss or compacted soil to keep holes open and your plants healthier.
7) Line hole edges with landscape fabric or nursery mesh
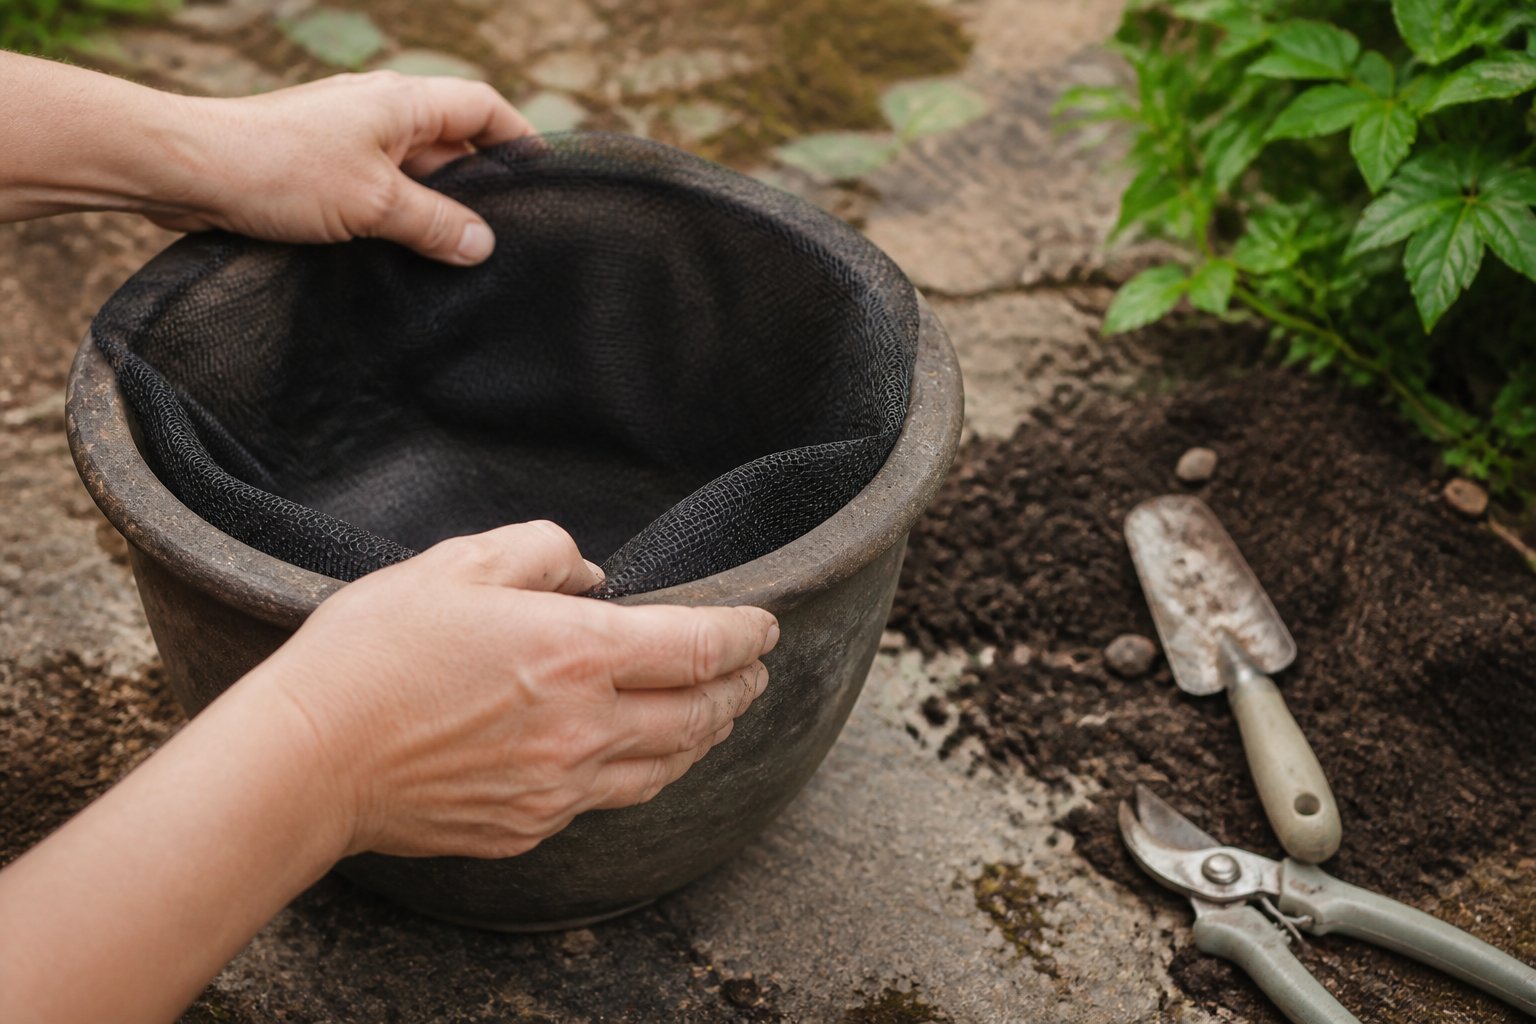
Guide: a quick fix that keeps soil in while letting water out. Cut a small square of landscape fabric or a round piece of nursery mesh and press it over the drainage hole.
This step stops fine potting mix from washing out and clogging the hole. I once watched a new gardener lose half her mix to a broken pot—this stops that mess.
Use breathable fabric for most plants and plastic mesh for heavy, wet mixes. Staple or tuck the edges so it won’t shift when you water. Avoid stuffing gravel into the hole; gravel can trap water and cause root rot.
If using a liner, fold the fabric over the folded edge to protect wood and keep soil contained. Try this on your next pot and see how much cleaner and healthier the drainage stays.
8) Avoid a gravel bottom—use coarse mix to prevent perched water
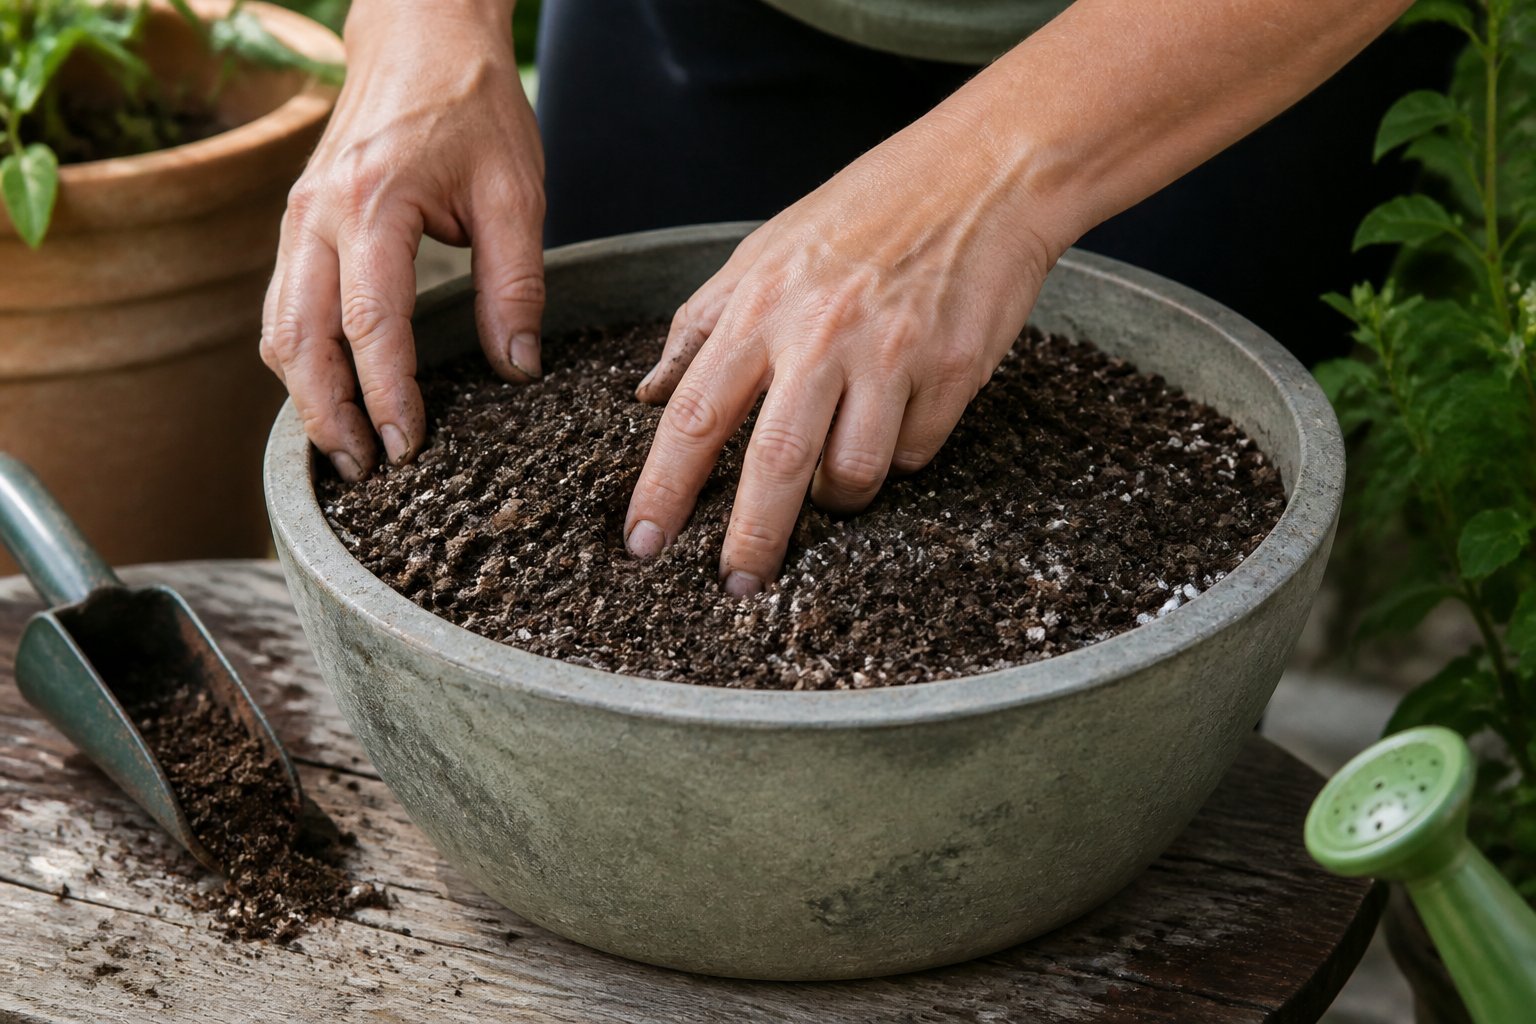
This is a short, practical guide to stopping water from sitting at the bottom of your pot. Gravel creates a boundary where water pools, so roots stay too wet.
Use a potting mix with larger particles—perlite, pumice, or coarse sand—mixed into your soil. That keeps the whole container draining evenly instead of creating a perched water layer that moves up into the root zone.
A common mistake is adding rocks to “fix” soggy soil; I once saw a fern slowly rot because the grower followed that tip. Test by watering: if water sits above the soil-gravel line, switch to a coarser mix.
Try a 70/30 potting mix to coarse aggregate ratio for plants that need good drainage. If you’re unsure, repot one plant and compare results over a month to see the difference.
9) Top-dress with a 1″ layer of horticultural grit for faster surface drying
Intent: tutorial.
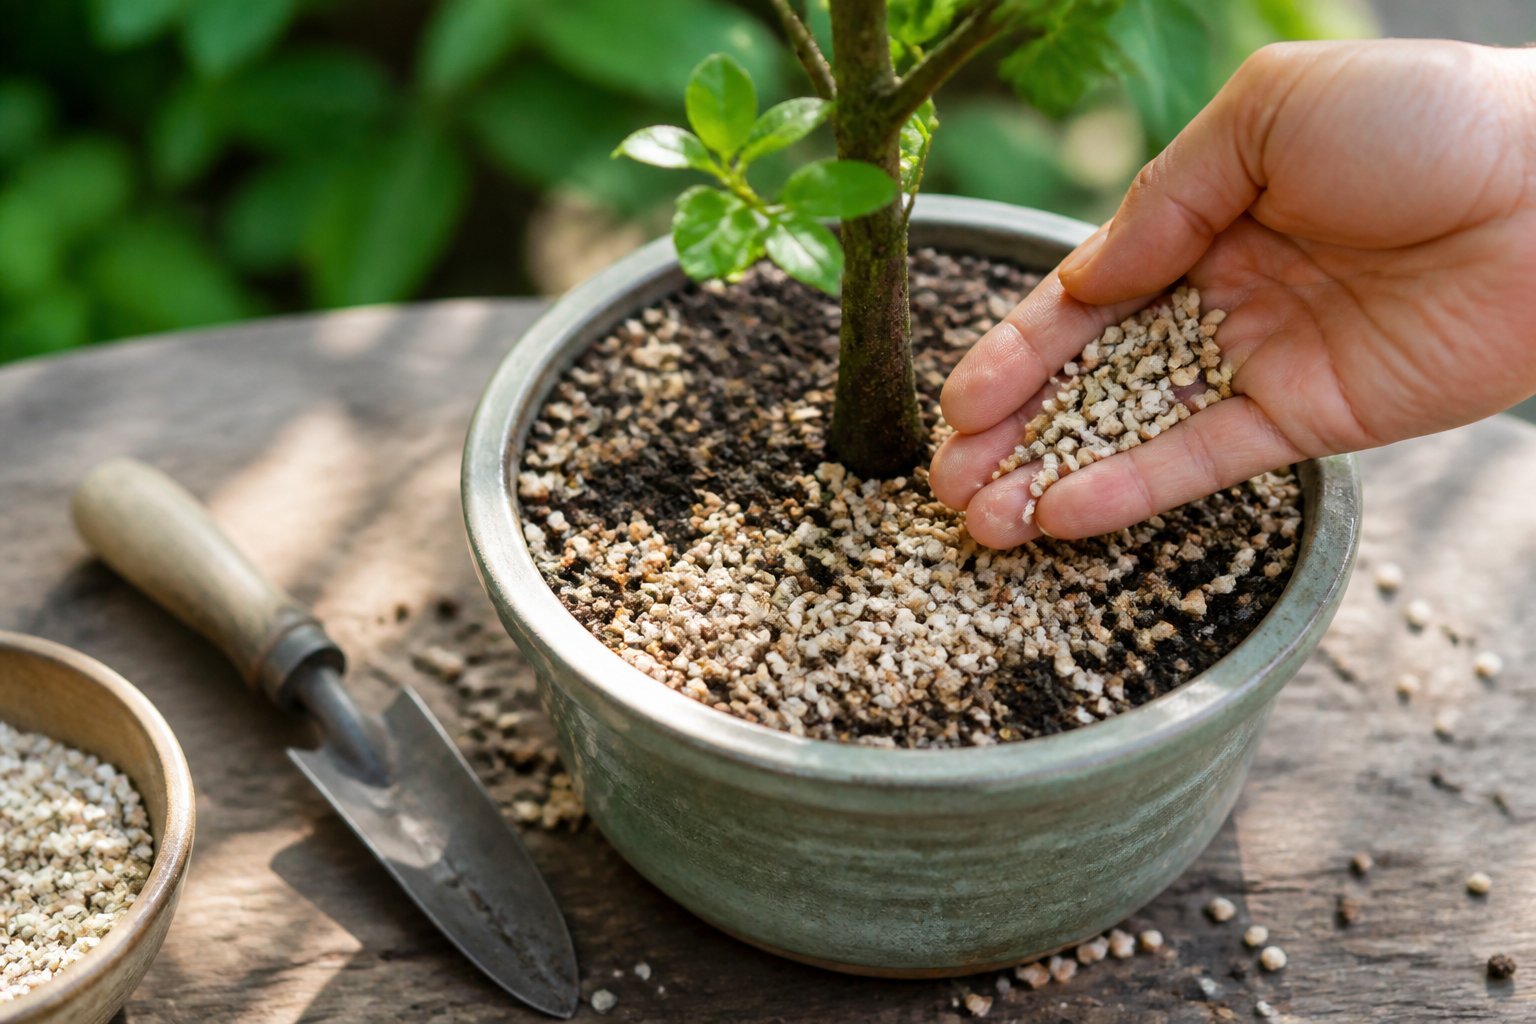
Add a one-inch layer of horticultural grit on top of your potting mix to speed surface drying and cut down on splashing when you water. You’ll notice the soil stays drier at the surface, which helps tender seedlings and prevents moss or fungus from taking hold.
Use coarse grit, not sand, so water still moves through. A common mistake is applying too much — keep it around 1 inch or roots may struggle to access light or air. If you grow in trays or pond pots, grit also stops fish or curious pets from stirring the soil.
Apply grit after watering and let the mix settle, then water from the top again to bed the grit in place. Try this on one pot first to see how fast it dries, then adjust as needed.
10) Repot into a container with stepped internal drainage channels
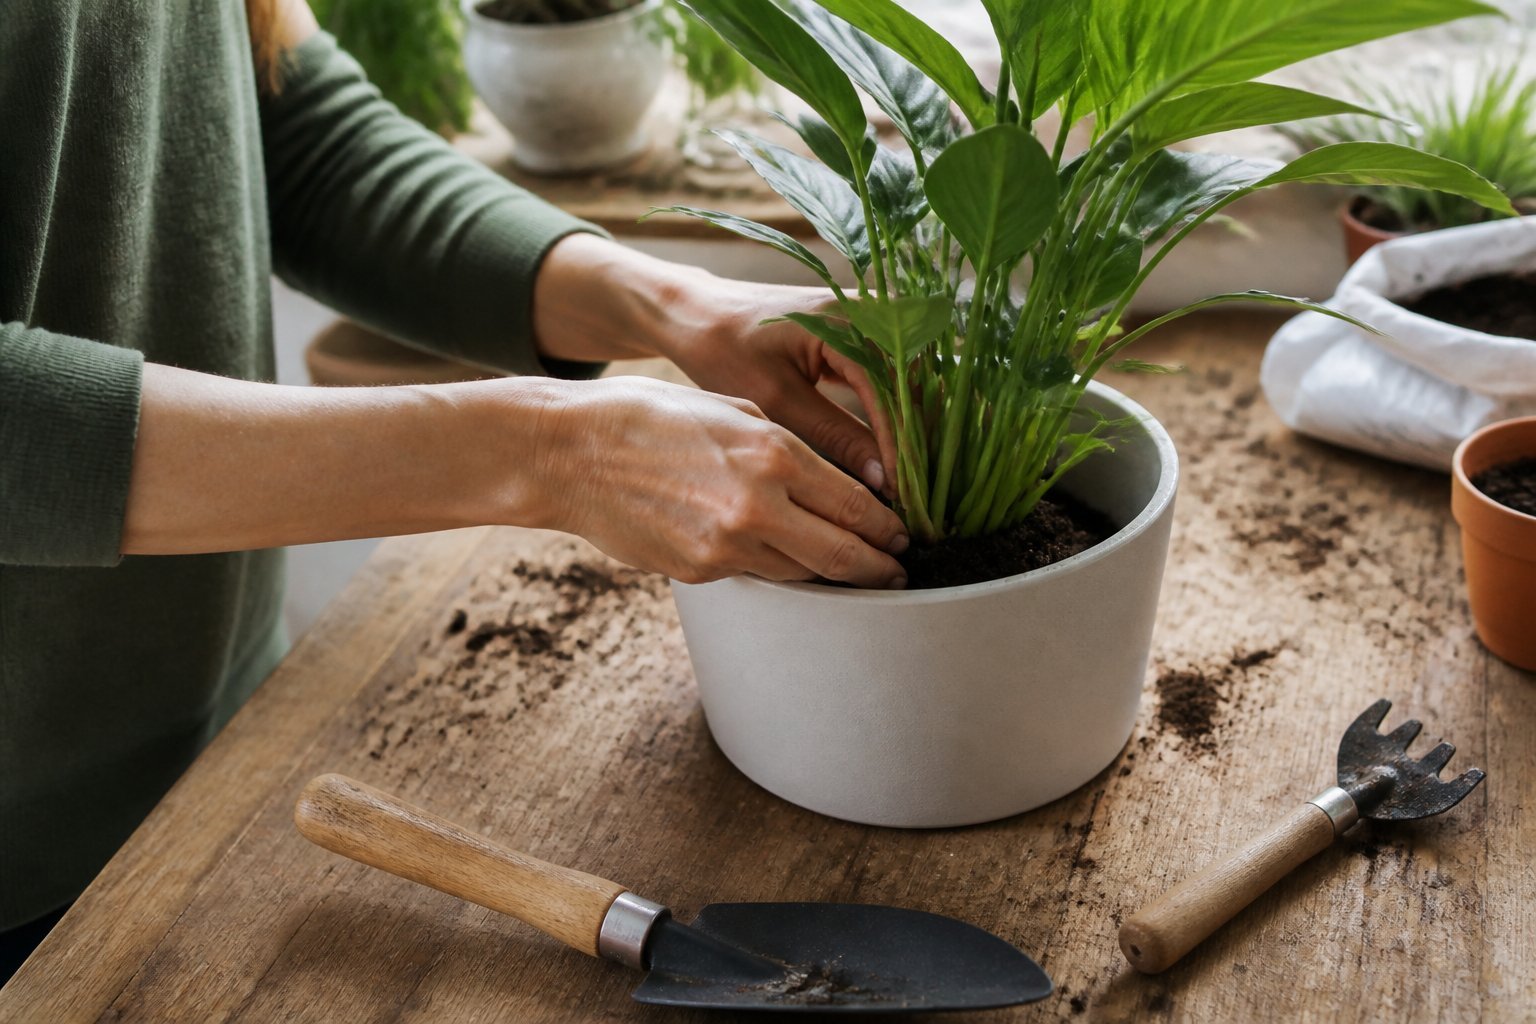
Guide: repot with a pot that has built-in stepped channels to move water away from roots.
Pick a pot whose interior has raised rings or channels that create a small air gap under the soil. This gap lets excess water collect below the root zone so roots stay aerated. I once saved a struggling peperomia by moving it into a stepped pot and cutting back watering.
When you repot, nest the root ball so soil sits above the lowest channel. Use a light potting mix and avoid compacting soil into the grooves. A common mistake is forcing dense mix into channels—doing that defeats the whole idea.
If you have no stepped pot, drill a few shallow grooves or add a coarse, loose base layer that mimics the effect. Try this on one plant first to see how your watering changes.
Understanding Drainage Principles
Good drainage keeps oxygen at the root zone and stops fungal growth. You need the right balance of water retention and fast flow so roots get moisture without drowning.
How Excess Water Impacts Roots
When water sits against roots, it pushes oxygen out of the soil. Roots need oxygen to respire; without it they weaken, turn brown, and stop taking up nutrients. That creates a soft, smelly root mass called root rot that spreads fast in warm, wet pots.
Watch for yellowing leaves, limp stems, and a sour smell from the potting mix. Those are early warning signs you must act on. A common mistake is watering on a fixed schedule instead of checking the soil. Stick your finger 1–2 inches into the mix; if it’s wet, skip watering.
If roots die back, new growth stalls and pests like fungus gnats appear. Repotting into fresh, well-draining mix and trimming rotten roots often saves the plant. Act quickly — recovery is easier before the crown rots.
Soil Texture and Water Flow
Soil texture controls how fast water moves and how much air remains. Coarse mixes with chunky bark, perlite, or coco chips let water pass and keep pockets of air. Fine mixes with heavy compost or plain garden soil hold moisture and can turn into a soggy brick in containers.
Aim for a loam-like potting mix: about 40–60% organic matter plus 10–30% coarse material for drainage. For succulents, raise the coarse fraction; for moisture-loving herbs, keep more organic but still add perlite. Avoid adding a gravel layer at the pot bottom — that can trap water above it and slow drainage instead of helping.
Test new mixes by watering thoroughly and timing how long it takes to drain. Good mixes drain within a minute or two and then feel just damp, not saturated. If water ponds or the mix stays squishy for days, change the mix or the pot.
Common Drainage Mistakes New Gardeners Make
You need clear signs to spot water stress early and the right pot choice to let excess water escape. Small fixes — spotting soggy leaves or drilling extra holes — save plants fast.
Overwatering Signs to Watch For
Tutorial: Learn how to spot and act on overwatering before roots rot.
Yellowing lower leaves that drop quickly often mean roots lack oxygen. Leaves that feel limp, soft, or translucent after watering point to waterlogged tissue rather than drought. Check the soil: if the top 1–2 inches seem dry but deeper layers are wet, roots are sitting in moisture.
Pull the plant gently from its pot occasionally to inspect roots. Healthy roots are firm and white; brown, mushy roots smell foul and break apart. If you find rot, rinse roots, trim dead pieces, and repot into fresh, well-draining mix. For prevention, water less often and use a moisture meter or finger-test to 2 inches depth. A simple rule: water only when the root ball is partially dry.
Pot Selection and Drainage Holes
Guide: Pick containers and modify them so water can leave freely.
Always choose pots with at least one drainage hole. Bigger plants need more holes; drill extra evenly spaced holes in plastic or terracotta to speed flow. Avoid using garden soil in containers — it compacts and holds water. Use a light potting mix with perlite or coarse sand to improve aeration and let water pass through.
Don’t assume a saucer or decorative outer pot replaces holes. If you use a cachepot, keep the plant in a drained nursery pot inside it, or lift the inner pot on pot feet so water can escape. For heavy pots, add coarse material under the soil only if the whole soil mix remains uniform — a mixed bottom layer can create a perched water table that still drowns roots. If drainage is slow, repot into fresh mix and increase hole count.