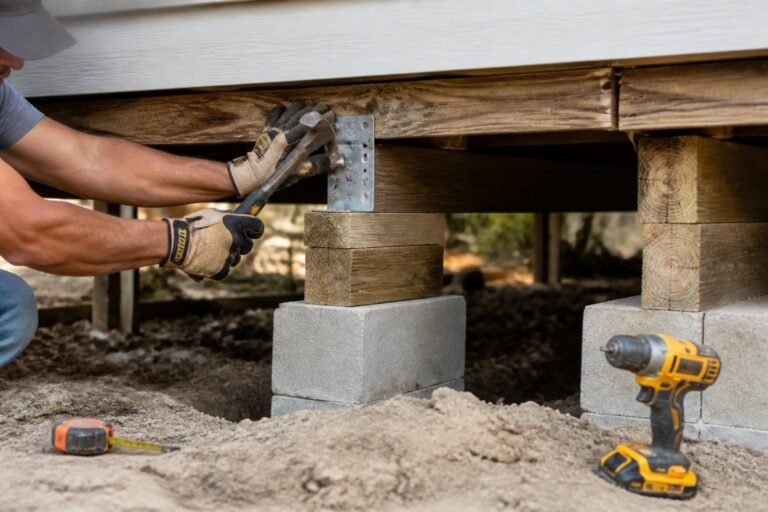
The Mobile Home Paint Trick That Adds $15,000 in Value for $300 — Transform Your Curb Appeal Fast
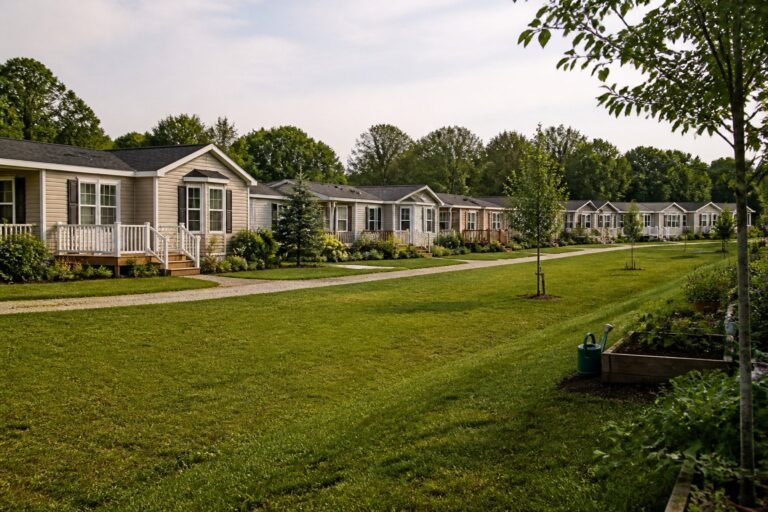
You want more value from your mobile home without a huge bill, and a smart paint job can deliver that fast. You’ll learn how targeted paint updates can refresh curb appeal, modernize interiors, and boost perceived value on a tight budget.
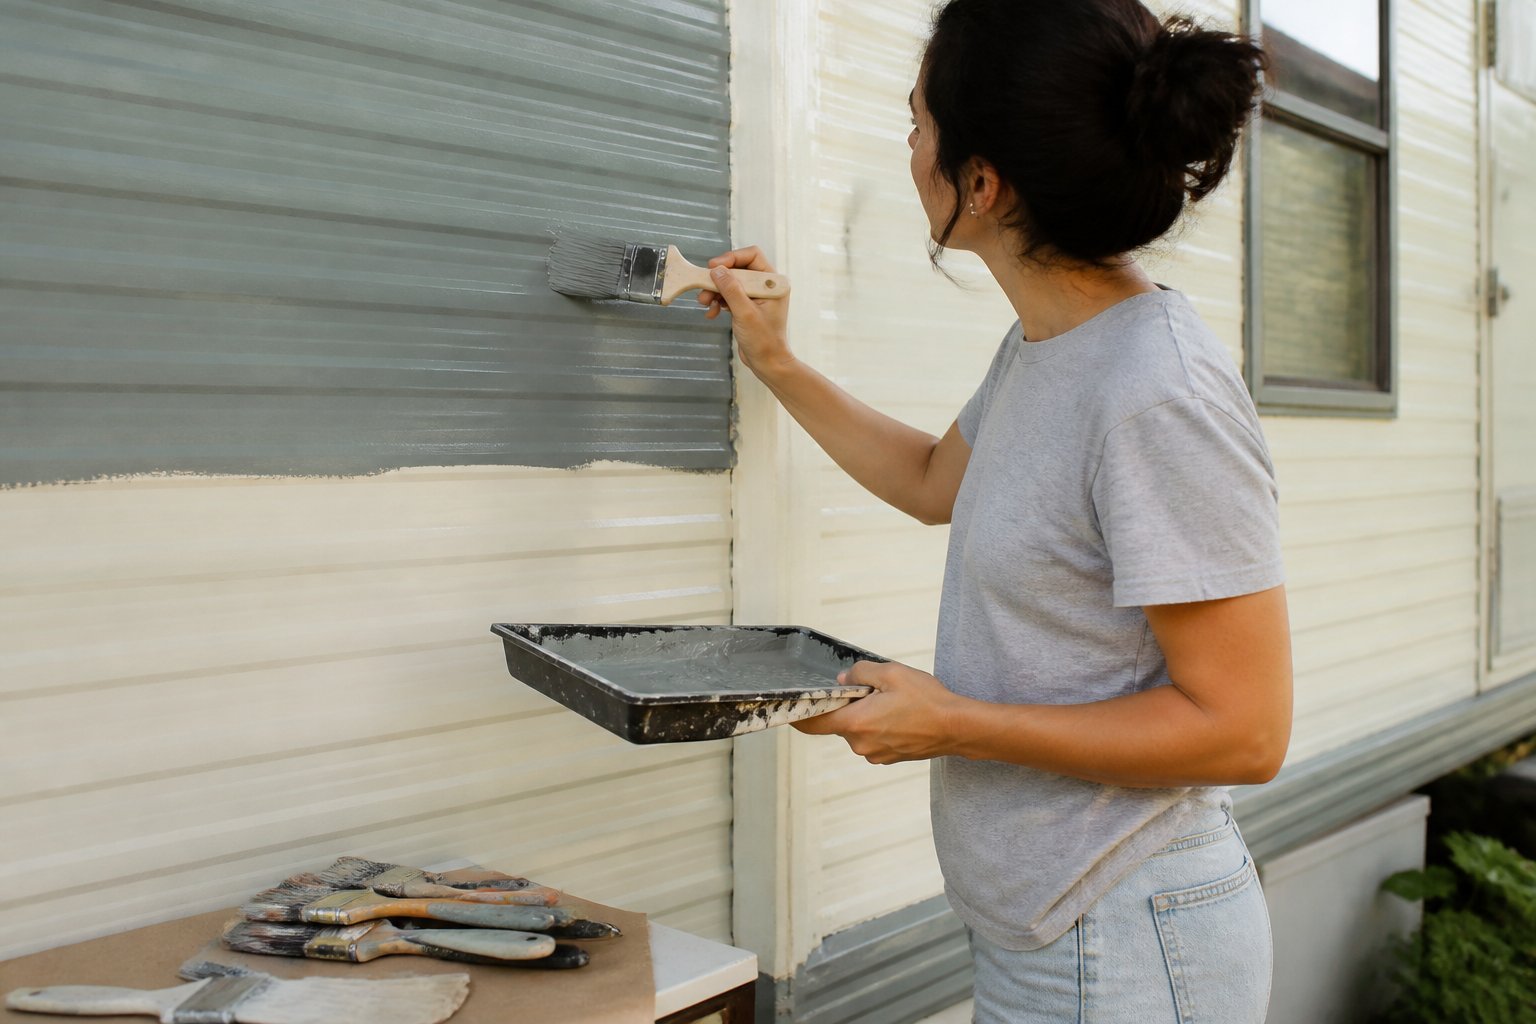
This article walks you through the practical steps, common mistakes to avoid, and the exact areas that move the needle on resale and comfort. Expect clear, pro-level guidance on exterior and interior colors, trim and accent choices, simple cabinet and bathroom fixes, and prep tips that keep your work looking professional for years.
1) Exterior: Repaint vinyl siding with Sherwin‑Williams Duration Exterior Acrylic Latex (light neutral)
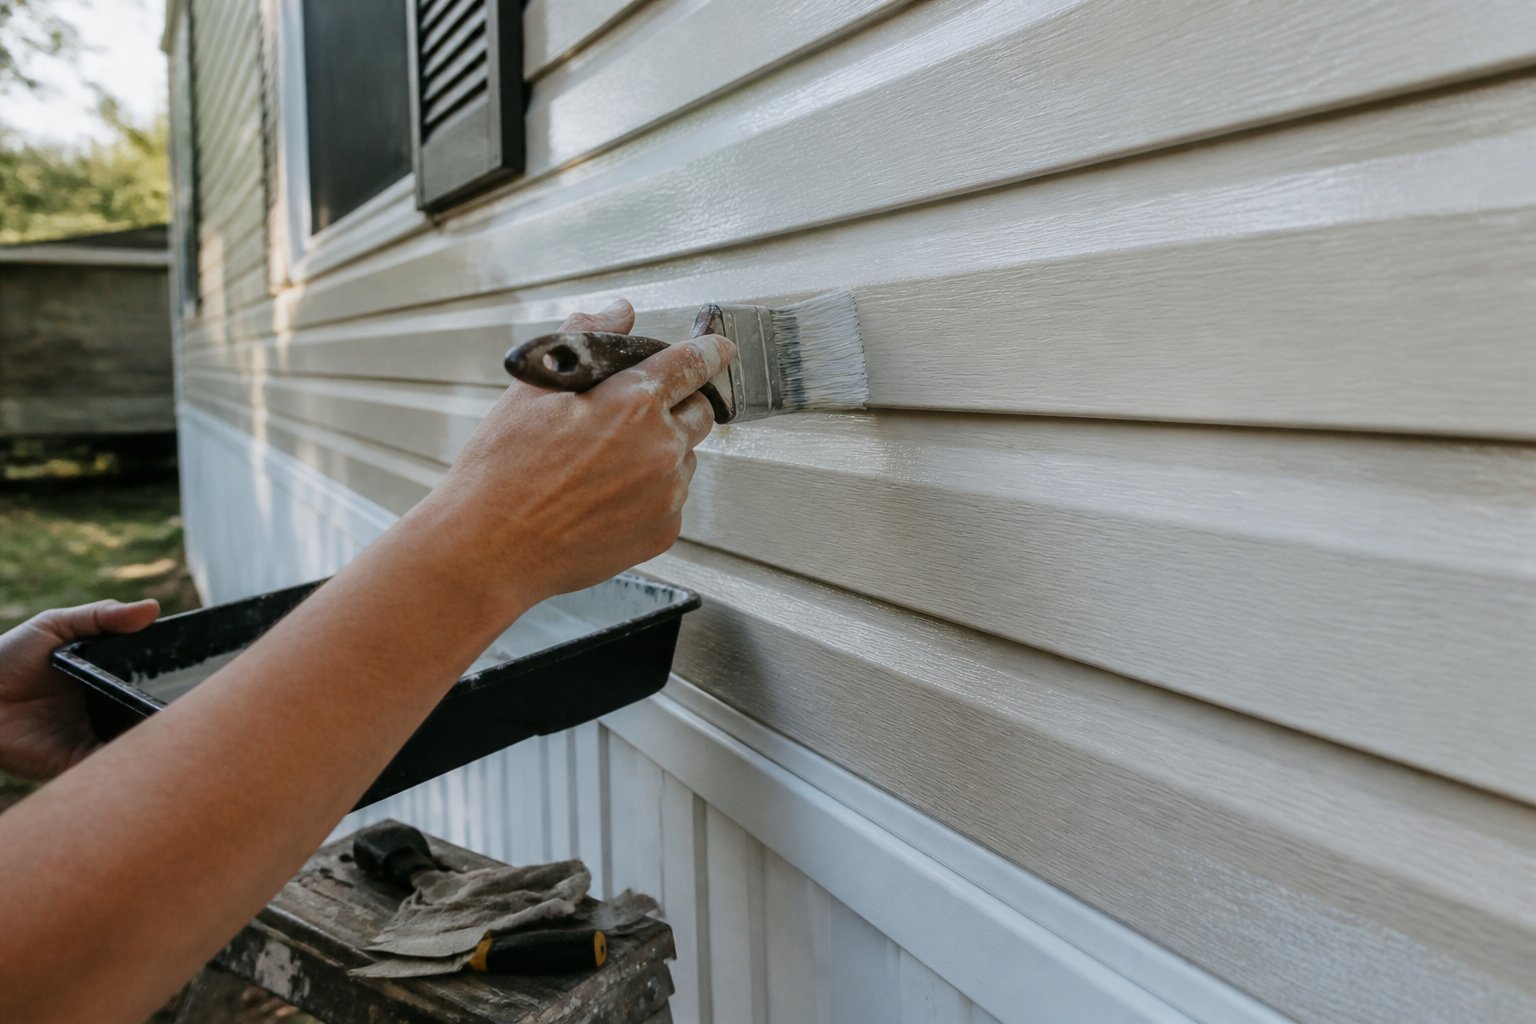
Intent: tutorial. Repainting vinyl siding is the fastest way to refresh curb appeal and boost resale value. Use Sherwin‑Williams Duration Exterior Acrylic Latex in a light neutral for long-lasting coverage and mildew resistance.
Start by washing the siding and repairing loose panels; a pressure wash and a nylon brush remove dirt and chalk. Apply one generous coat for repaints, two for new or bare areas, and keep a wet edge to avoid lap marks.
Duration has a thicker film build and strong adhesion on vinyl, so you’ll cover seams and faded spots more evenly. Watch for common mistakes: painting in direct sun, skipping primer on stained areas, or using dark colors that can warp vinyl.
If you don’t want surprises, test a small section first and note dry time. Pick a pale beige or soft gray to appeal to buyers, and plan to touch up trim in a contrasting crisp white.
2) Interior: Repaint living areas with Benjamin Moore Classic Gray (OC‑23) eggshell
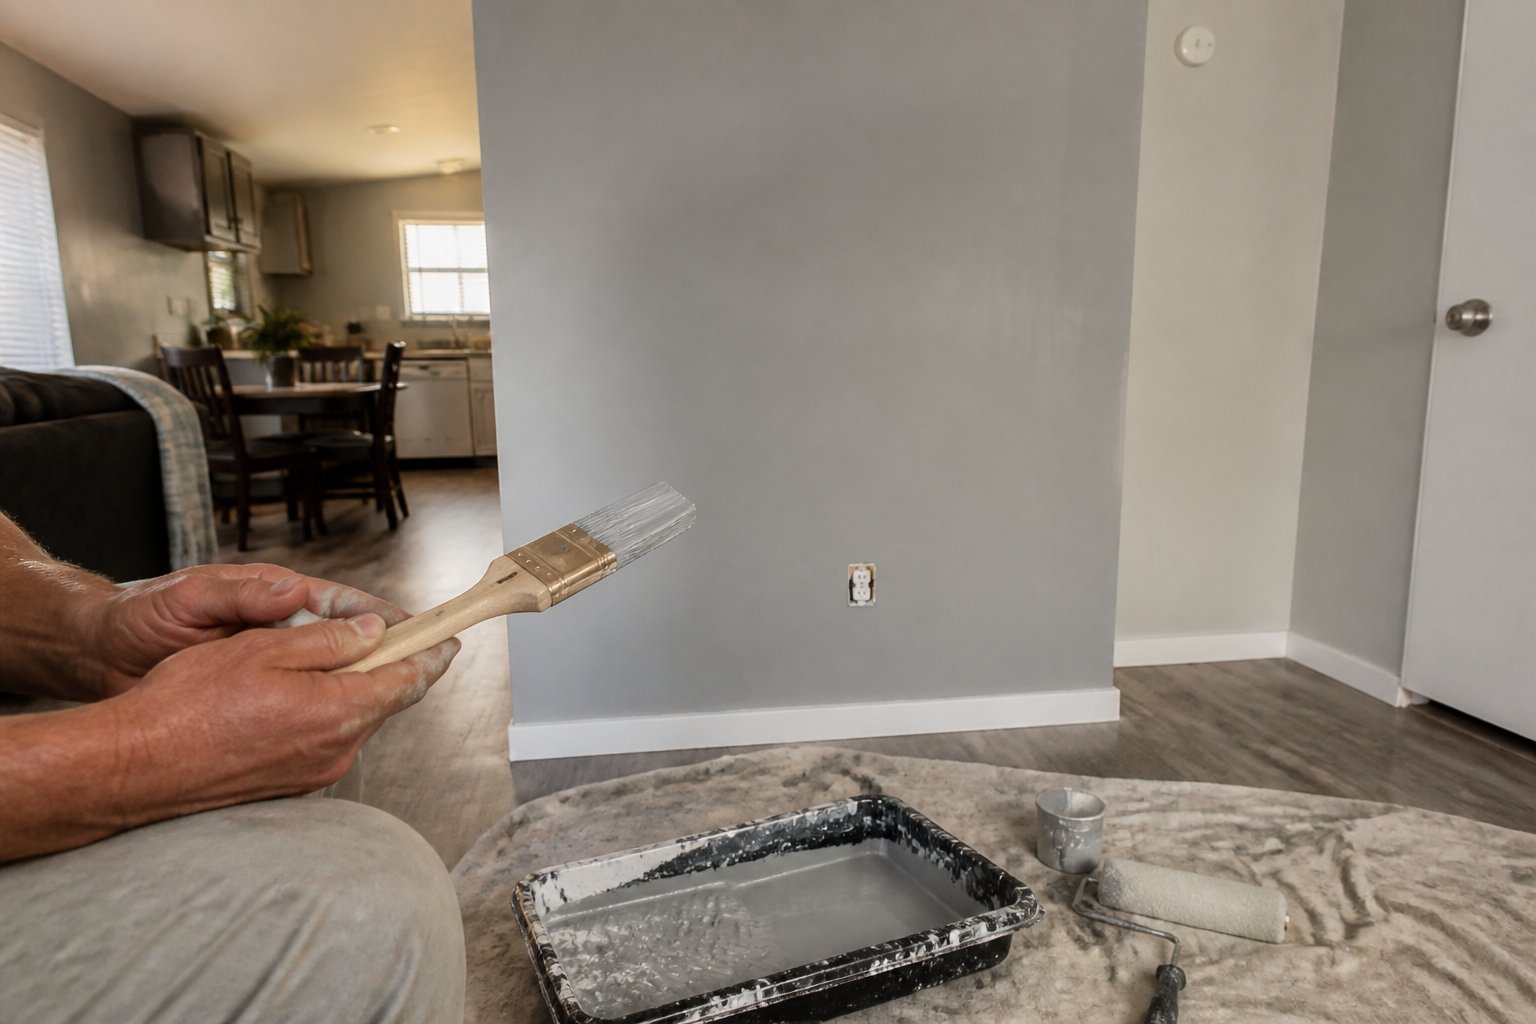
Intent: tutorial. Repaint living spaces to create a neutral, bright backdrop that appeals to buyers.
Choose Benjamin Moore Classic Gray (OC‑23) in eggshell for walls and keep trim bright white. Classic Gray is a warm off‑white that reads fresh under natural light and hides minor surface flaws better than stark white. See the official Benjamin Moore page for color details: Classic Gray OC‑23 (https://www.benjaminmoore.com/en-us/paint-colors/color/oc-23/classic-gray).
Prep matters: clean, sand glossy spots, and use a quality primer on stained or dark areas. Roll walls with a 3/8″ nap for smooth coverage; back‑roll brushed edges to avoid lap marks. Common mistakes include skipping primer and using flat finishes that show scuffs.
Paint two thin coats for even color and durability. When you finish, step back and view rooms in both daylight and artificial light. If you need a quick pairing, Snowfall White trim keeps rooms crisp.
3) Trim & Doors: Paint trim and doors with Benjamin Moore Advance Semi‑Gloss (white)
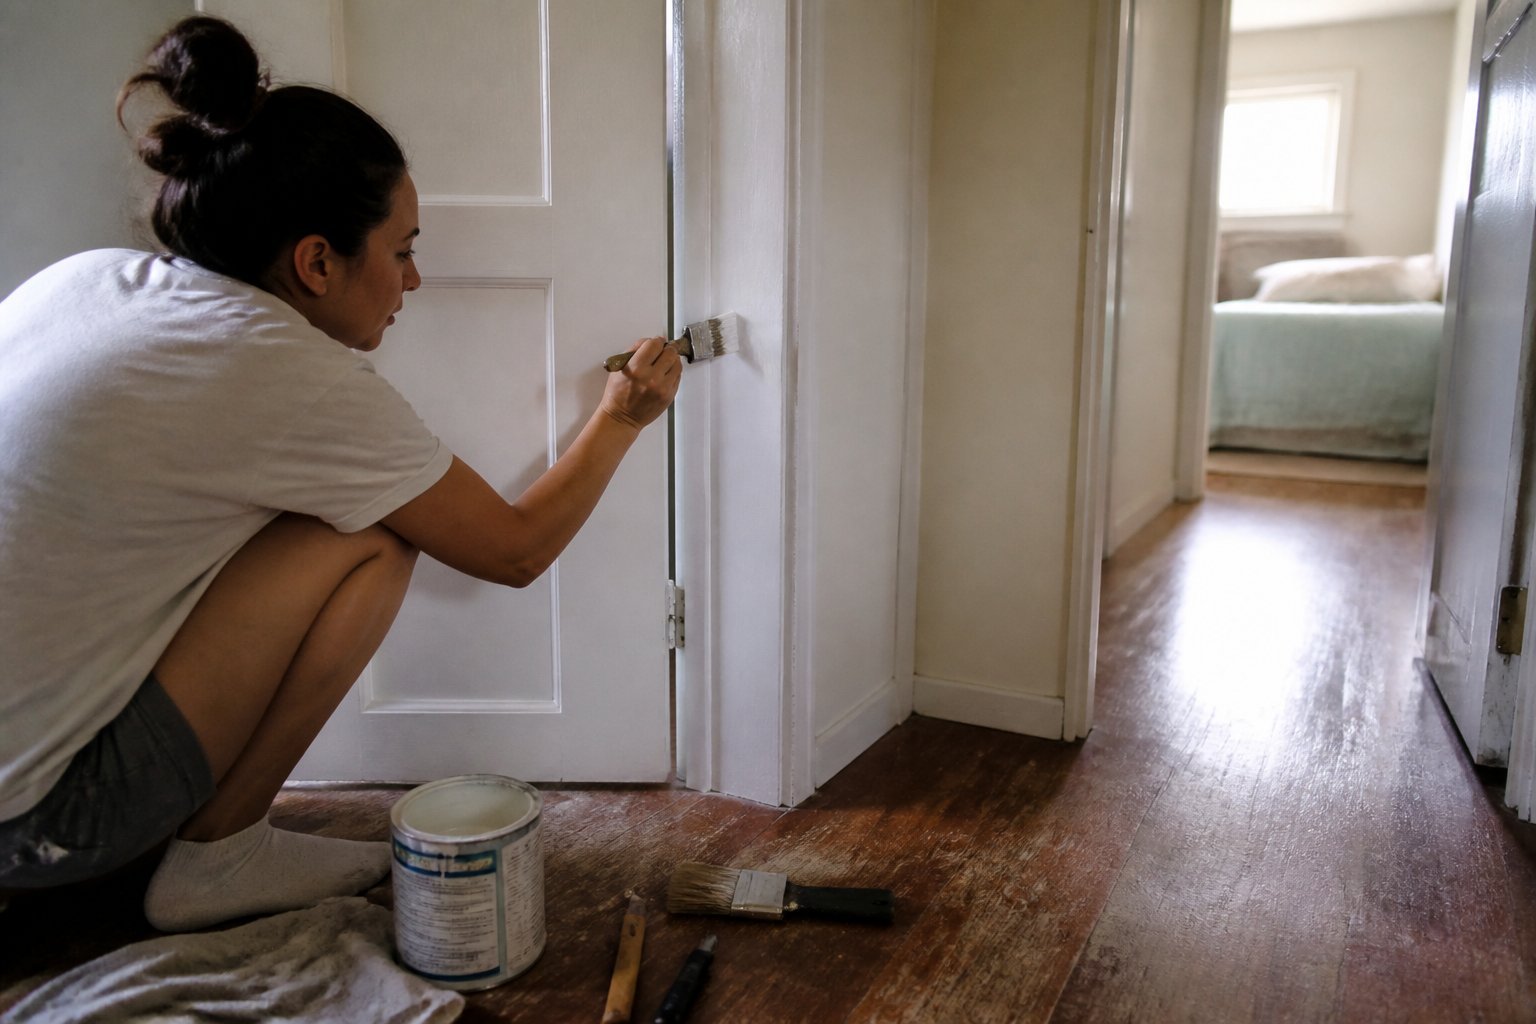
Intent: tutorial. Paint trim and doors first to make the whole space look crisp and high-end.
You’ll get a hard, washable finish using Benjamin Moore Advance Semi‑Gloss, which behaves like oil but cleans up with soap and water. Sand lightly, wipe with a tack cloth, and use a high‑quality angled brush for edges.
Avoid common mistakes: don’t overload the brush, and keep a wet edge to prevent lap marks. If you see drips, smooth them quickly; small runs dry into visible bumps.
Example: on one 12×40 mobile home I painted, fresh white trim framed rooms and made walls look newer. Spend time prepping—caulk gaps and prime bare wood—to cut touch-ups later.
4) Accent: Add a charcoal accent wall using Sherwin‑Williams Iron Ore in the living room
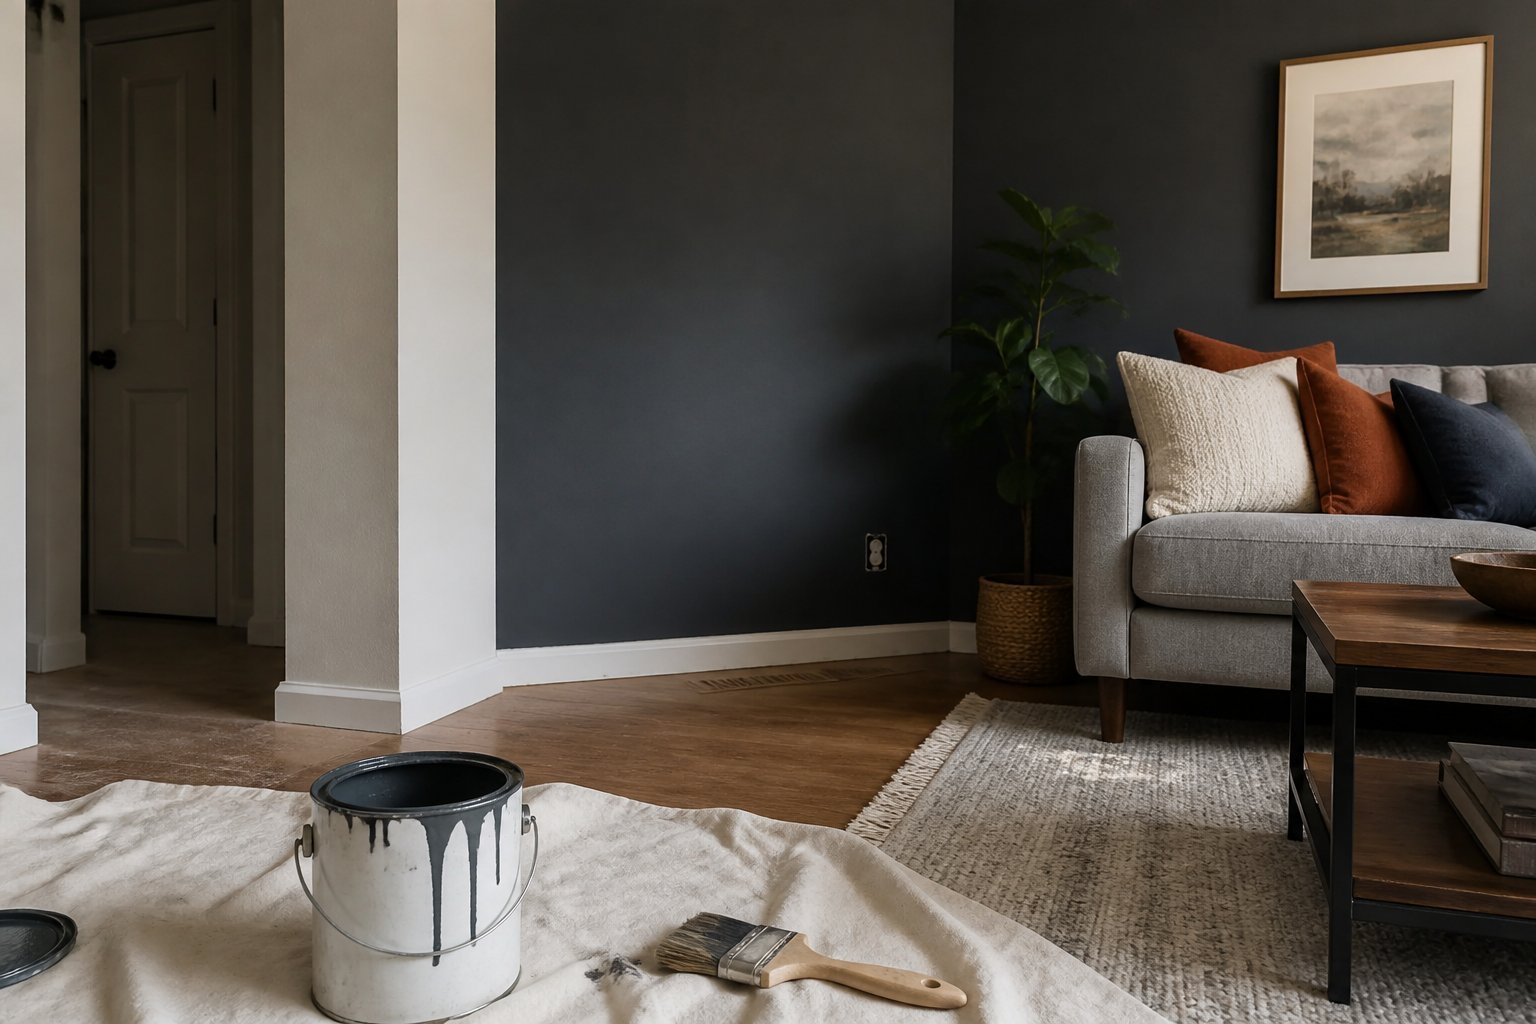
This is a tutorial to help you add depth without darkening the whole room. Paint one wall behind the sofa or TV with Sherwin‑Williams Iron Ore for a bold, modern anchor.
Keep the rest of the walls light—Alabaster or warm white works well—to keep contrast clean. Test a 2×3 foot sample on the wall to check undertones in your light. Natural wood furniture and brass lamps warm the charcoal and prevent a cold look.
Avoid painting all four walls; that can make small mobile homes feel smaller. Use painter’s tape, a shimmy of roll-and-brush technique, and two thin coats for even coverage. If you want a softer edge, paint the trim the same charcoal for a dramatic, built-in feel.
Try it on one wall first and live with it a week. If it reads too dark, add a light rug and greenery to lift the space.
5) Kitchen Refresh: Repaint cabinets with Rust‑Oleum Cabinet Transformations kit (white)
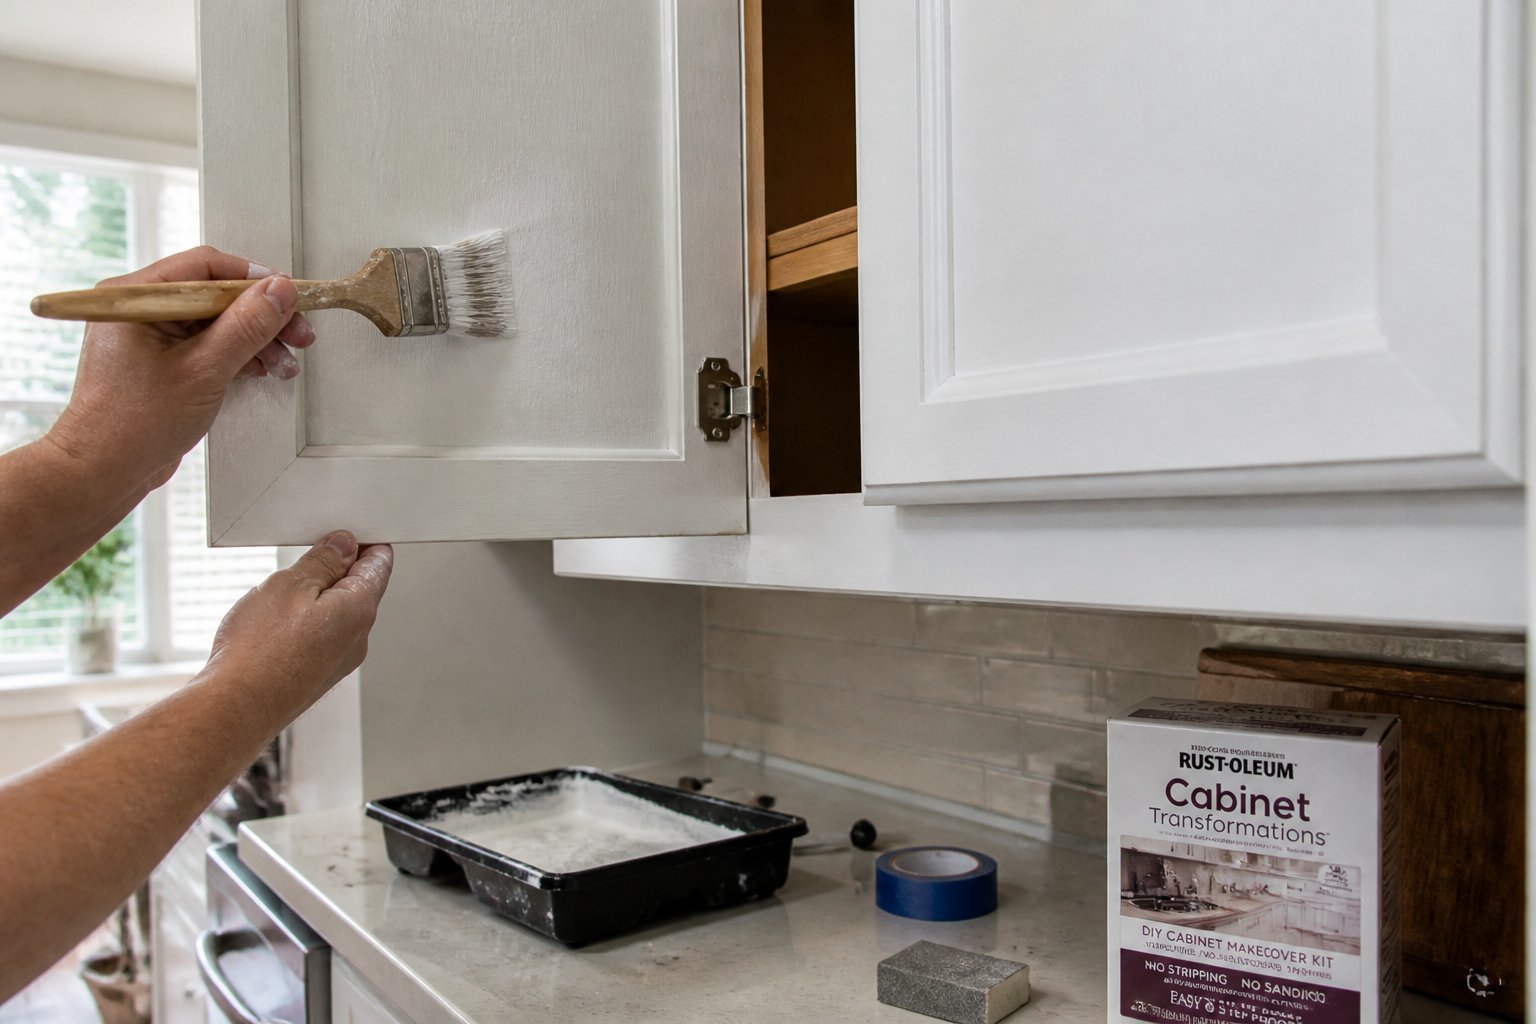
Intent: tutorial. You can get a high-end look without replacing cabinets by using a Rust‑Oleum Cabinet Transformations white kit. It works on wood, laminate, and metal and gives a durable, smooth finish when you follow the steps.
Start by cleaning and degreasing every surface; any residue will show through white paint. Sand lightly where needed and remove hardware so you get even coverage. Mix and apply the kit exactly as directed for the two-step system to avoid brush marks or peeling.
A common mistake is rushing cures—wait the full dry time before reattaching doors and hardware. For a softer, modern look, try Pure White and add satin hardware. See product details and kit options at Rust‑Oleum’s Cabinet Transformations page (https://www.rustoleum.com/product-catalog/consumer-brands/transformations). Pick one small cabinet door to practice first, then tackle the rest.
6) Bathroom Refresh: Use Zinsser Perma‑White mold‑resistant paint for bathroom ceilings and trim
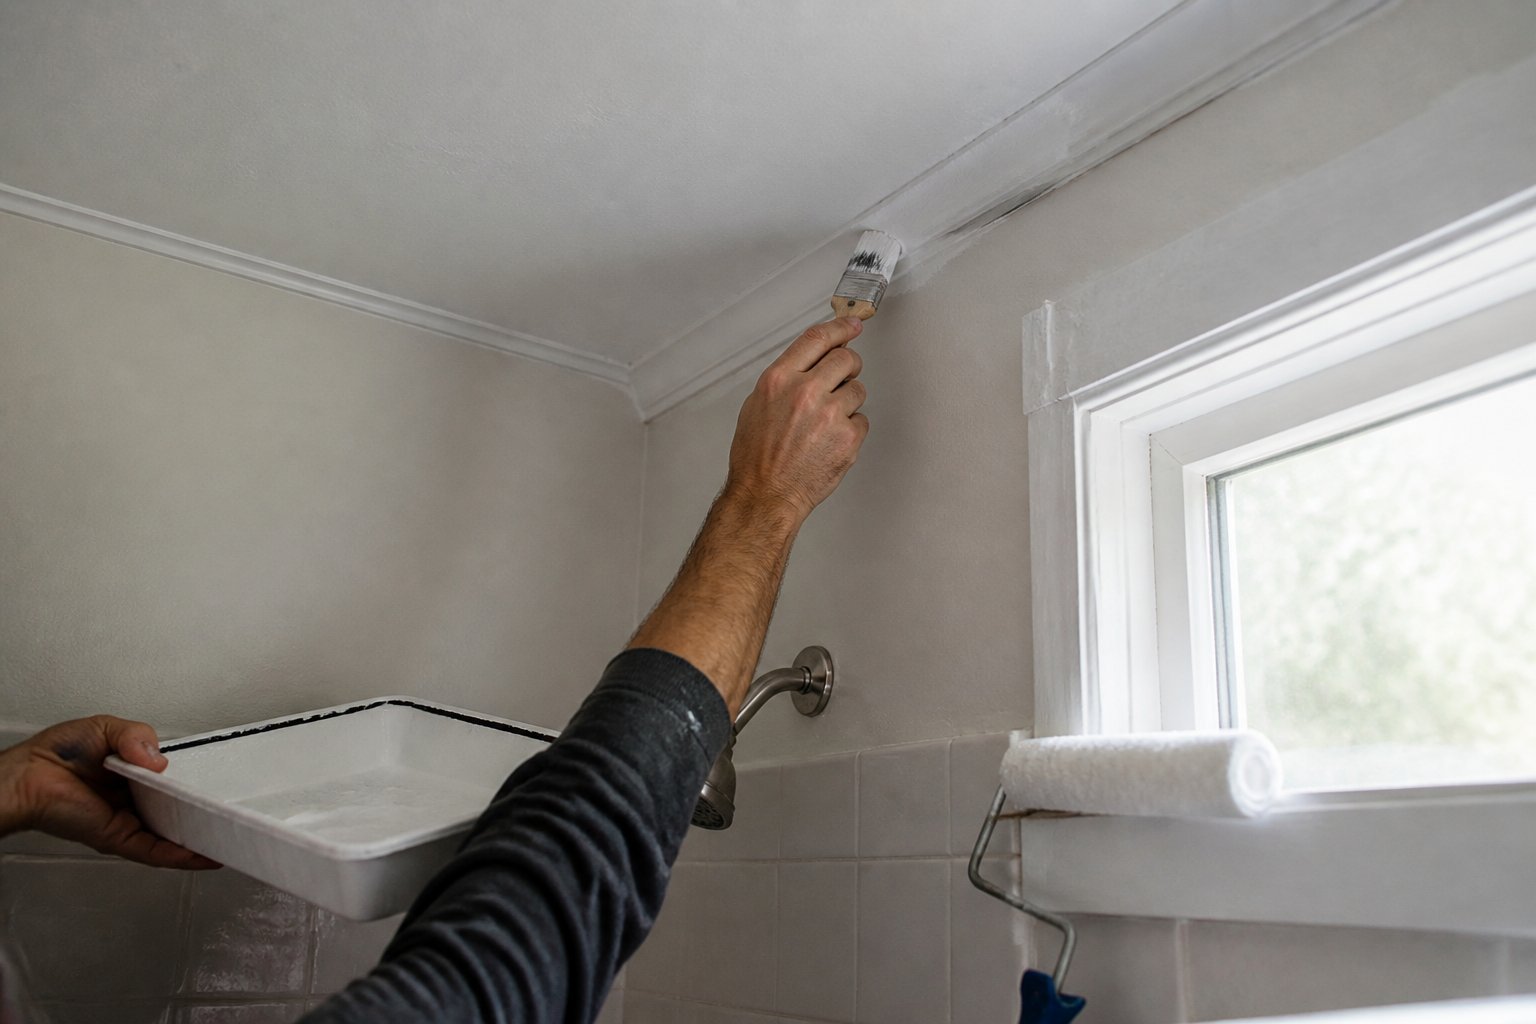
Intent: guide. Paint the ceiling and trim with Zinsser Perma‑White to stop mold from returning and make small bathrooms feel cleaner fast. The product is made for moist rooms and gives a washable, scrub‑ready finish that holds up to humidity.
Start by cleaning and drying surfaces. Patch cracks, sand glossy spots, and use a mildew cleaner if you see stains. Apply Perma‑White with a brush on trim and a roller for ceilings to avoid lap marks.
A common mistake is painting over active mold. Kill and remove it first or the paint won’t stick. Use thin, even coats and wait the full dry time between coats for best durability.
Perma‑White works on ceilings, trim, doors, and cabinets. Try a satin or semi‑gloss for trim to make it easy to wipe and to reflect light in tight spaces. Find product details at the Rust‑Oleum Perma‑White page (product info).
7) Curb Appeal: Paint skirting and porch railing with Behr Premium Exterior Semi‑Gloss (dark taupe)
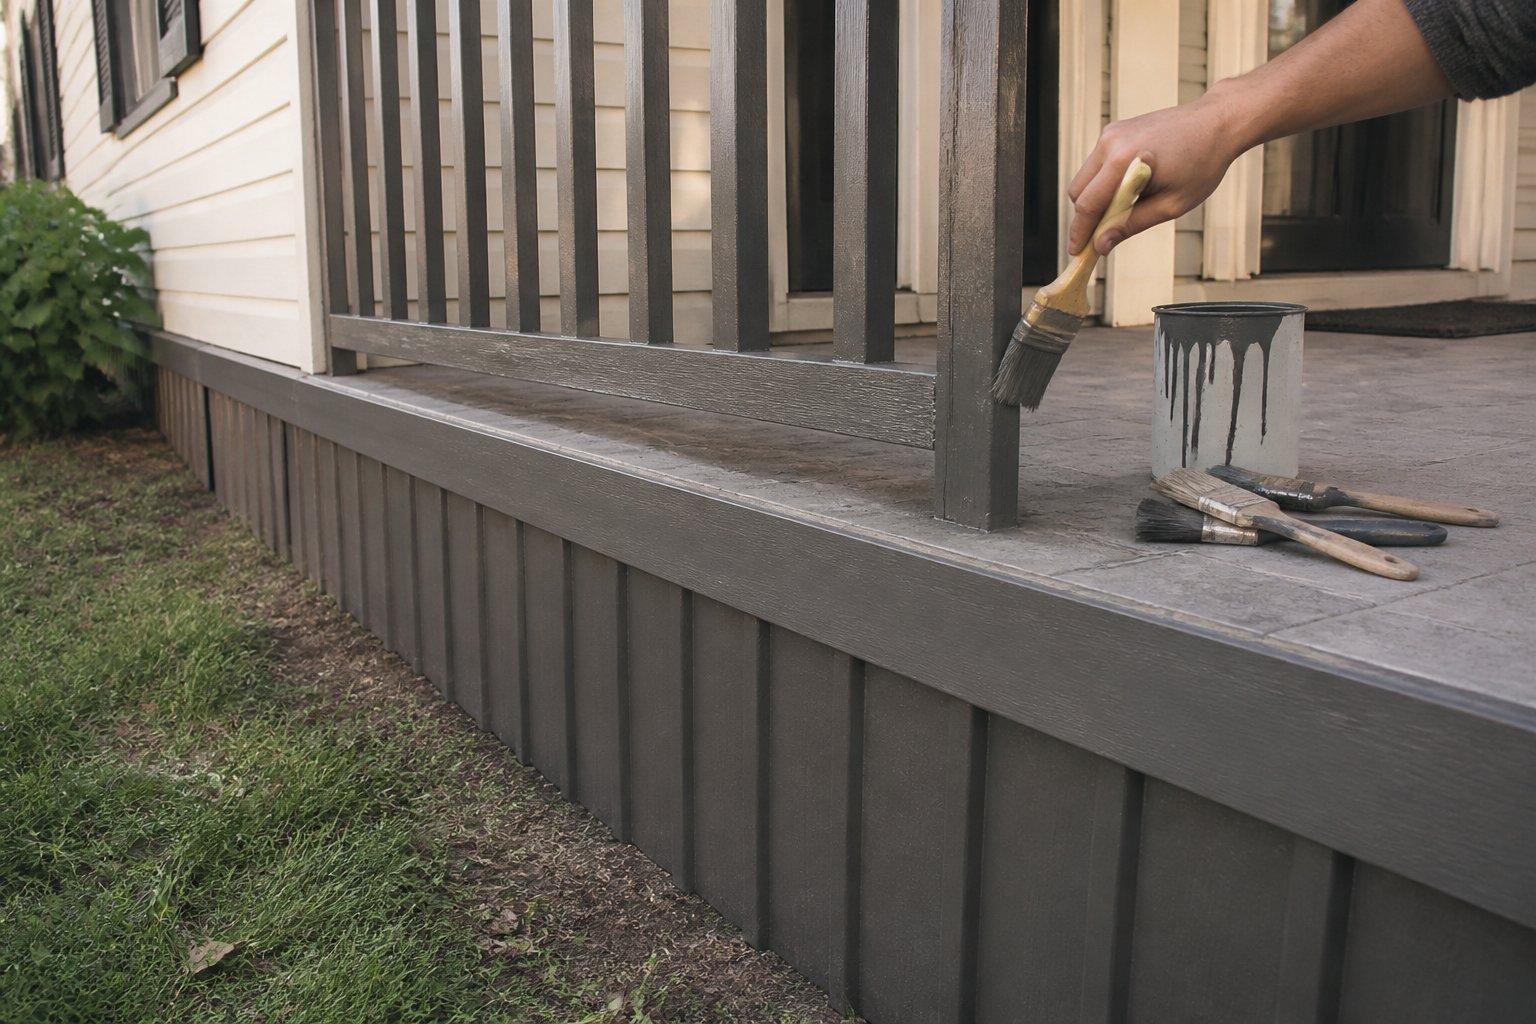
Intent: guide. Paint the skirting and porch railing in dark taupe to ground the home visually and hide dirt. You want a semi-gloss finish for durability and easier cleaning.
Prep is key. Scrape loose paint, sand rough spots, and wash with a mild detergent. Prime bare areas; skipping primer is the most common mistake that leads to peeling.
Use a 2–3 inch angled brush for rail details and a short-nap roller for skirting panels. Work top to bottom and keep a wet edge to avoid lap marks. Two coats usually give full coverage.
Dark taupe works for both warm and cool house colors and makes trim and doors pop. For a paint match and product details, see Behr’s exterior collection: https://www.behr.com/colorfullybehr/exterior-colors-to-elevate-curb-appeal
Refresh small areas now, and you’ll avoid costly repairs later.
8) Front Door Upgrade: Paint front door with Benjamin Moore Aura Grand Entrance (Hale Navy)
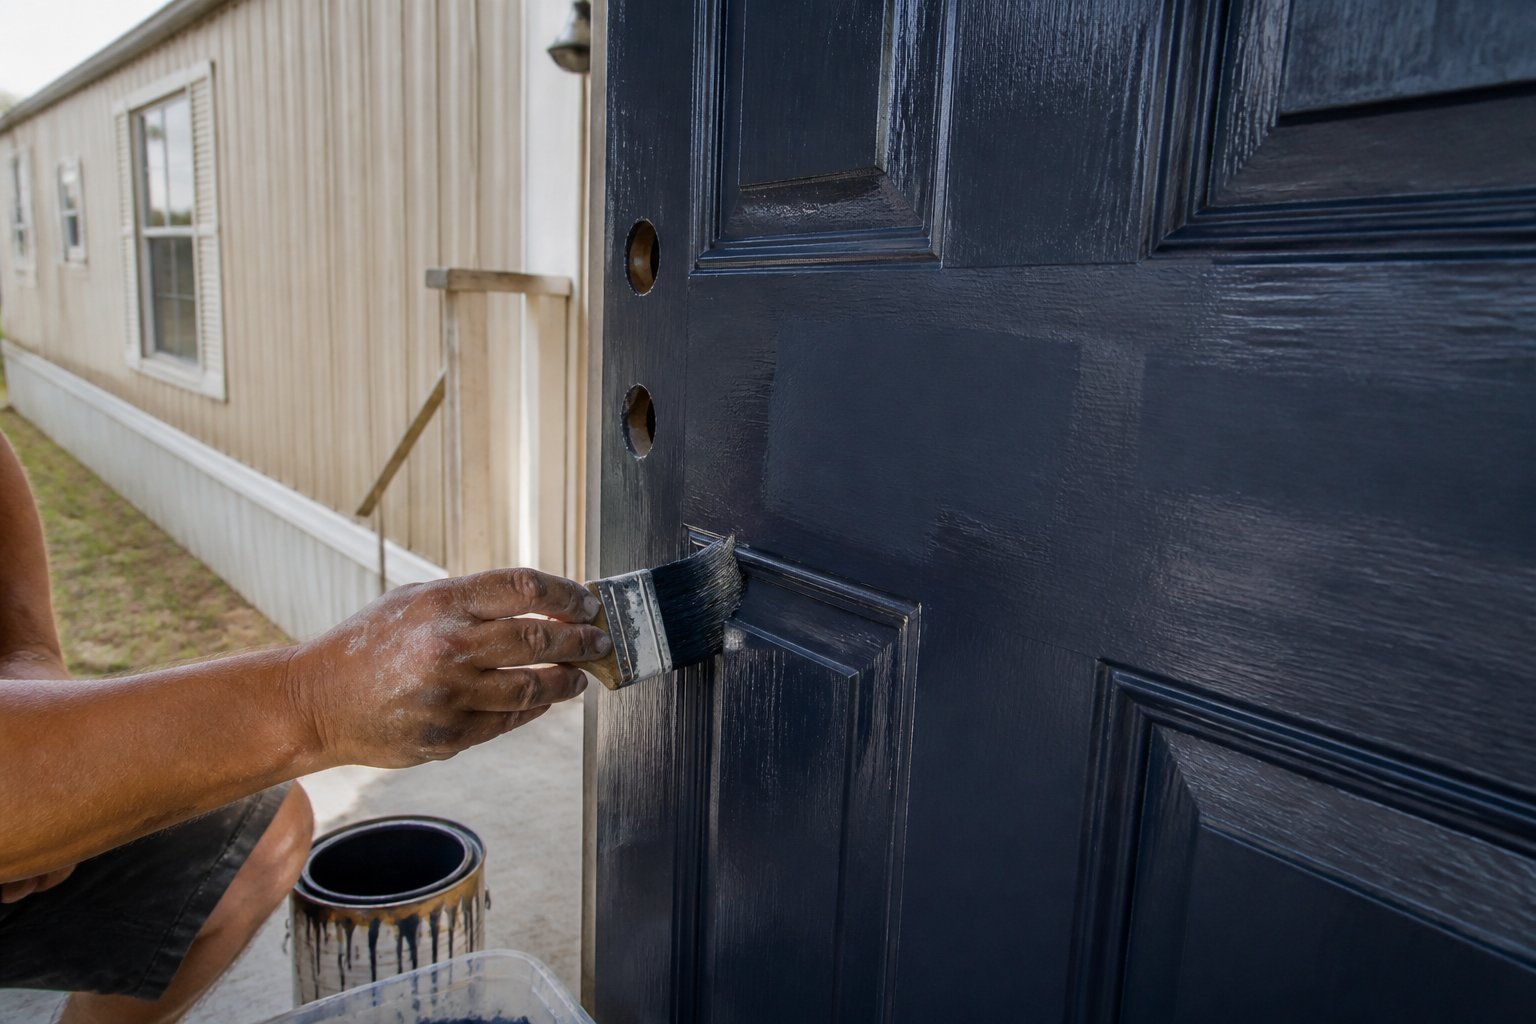
Intent: tutorial.
Paint the front door Hale Navy to give your home a crisp, upscale focal point. Use Benjamin Moore Aura Grand Entrance for rich color and a durable, glossy finish that stands up to weather.
Remove hardware and sand lightly to dull old gloss; this helps the new paint stick. Prime if bare wood or if you see stains—skipping primer is a common mistake that causes peeling.
Cut edges with an angled sash brush, then use a short-nap roller for flats to avoid brush marks. Apply two thin coats, letting each dry fully for even coverage and true Hale Navy depth.
If you worry about scuffs, add a wipeable polyurethane approved for exterior paints. Once done, reinstall hardware and step back—your entry will look intentional and worth the investment.
9) Underside & Steps: Paint metal skirting and steps with Rust‑Oleum Protective Enamel (oil‑based)
Guide: tutorial. Paint metal skirting and steps to stop rust and lift curb appeal quickly. Start by scraping loose rust and wire‑brushing seams; clean with a degreaser so the paint bonds.
Use Rust‑Oleum Stops Rust oil‑based enamel for metal; it dries tough and resists corrosion. Apply thin coats with a brush or small roller to avoid drips. Two light coats work better than one heavy coat.
Watch for common mistakes: painting over wet surfaces, skipping primer on badly pitted metal, or applying in high humidity. If steps are slick, sand lightly after curing and add non‑slip granules mixed into the last coat.
Do one side at a time so you can use the steps while paint cures. Test a small patch first, then tackle the rest—your mobile home will look sharper and stay protected.
10) Touch‑Ups: Keep a gallon of matching trim paint for quick spot repairs
Guide: keep a gallon of trim paint on hand so small dings never look neglected.
When buyers inspect a mobile home, tiny chips on trim shout “poor upkeep.” You’ll save time and money by storing one matched gallon. Use a small brush or a trim touch-up tool for neat lines and less mess.
Match sheen and color exactly; even the right hue looks wrong if the finish differs. Test an out-of-sight area first. A common mistake is layering thick paint — feather thin coats instead for seamless blending.
Keep a label with paint formula and where it was used. That note helps future repairs and keeps your home showing-ready. Get your brush and fix the spot before it becomes the first thing a buyer notices.
Understanding Color Psychology in Exterior Design
Choose colors that match your home’s style and the feelings you want buyers to have. The right palette improves curb appeal, signals care, and can raise appraisal interest when done well.
How Shades Influence Buyer Perception
You want buyers to picture themselves living there. Neutral main colors—soft gray, beige, or warm taupe—make rooms feel larger and safe to most buyers. Use a bolder trim or door color, like navy or forest green, to add perceived value without risking taste.
Avoid very bright or highly personal colors on the main siding; they can cut your buyer pool and lower offers. A common mistake is painting the whole home a trendy color that looks dated in two years.
Practical tips:
- Test swatches on all four sides in daylight and evening.
- Use satin or low-sheen exterior paint for durability and easy cleaning.
- Keep roof and foundation tones in mind so the color reads cohesive, not clashing.
Neighborhood Appeal and Local Trends
You must match local expectations while still standing out in a good way. Walk the block and note dominant palettes: coastal areas favor pale blues and whites; desert regions lean warm tans and clay tones. Copying a palette that fits the neighborhood reduces the chance an appraiser or buyer flags the home as an outlier.
Also check HOA rules or park guidelines before choosing a bold color. A single planned accent—like a deep-red door—can boost perceived care and charm without breaking rules.
Quick checklist:
- Mirror at least one common tone from nearby homes.
- Choose accents that read well from the street.
- Photograph your test panels at midday and at dusk to confirm consistency.
Surface Preparation and Longevity Tips
Get the surface clean, repair dents or rust, and choose the right primer and paint to extend life and curb appeal. Small fixes now prevent peeling, rust, and costly repainting later.
Cleaning and Priming Guidance
This is a hands-on tutorial for preparing metal, vinyl, or wood siding. Start by washing with a pressure washer set to low or a garden hose plus a stiff brush. Use trisodium phosphate (TSP) or a heavy-duty siding cleaner to remove grease and mildew; rinse twice. Scrape loose paint and sand rusty spots down to bare metal or sound substrate. For holes or gaps, use exterior-grade caulk or marine sealant—press it into seams and smooth with a wet finger.
Choose a primer matched to the siding: rust-inhibiting metal primer for steel, high-adhesion bonding primer for vinyl, and exterior latex or oil-based primer for wood. Apply primer on bare metal, patched areas, and chalky surfaces. Let primer dry per label—usually 24 hours in cool, dry weather. A proper prime improves paint coverage and helps you avoid redoing the job in a few years.
Tips for Lasting Results
This guide helps you get a durable finish that looks good for a decade. Pick 100% acrylic exterior paint for most mobile homes; it flexes with temperature and resists UV. For metal, consider acrylic latex with a rust inhibitor. Buy high-quality paint—cheaper paint often flakes and fades faster.
Apply two thin coats rather than one heavy coat. Use a 3/8–1/2″ nap roller for smooth siding and a brush for edges. Paint on dry days between 50–85°F and avoid direct sun on hot afternoons. Watch for common mistakes: painting over chalky surfaces without priming, skipping rust treatment, or using interior caulk outdoors. Clean brushes and store leftover paint in airtight cans to touch up chips later. If you want professional help, hire someone experienced with mobile-home siding to avoid lift stations and warranty issues.