10 Backyard Movie Night Setups That Cost Under $100 to Build — Easy, Stunning DIY Ideas
You want a big-screen movie night without breaking the bank, and you can build one fast with ordinary items and a little know-how. This guide shows ten backyard setups you can assemble for under $100, so you can enjoy a cozy, cinema-style evening without expensive gear or long DIY projects.
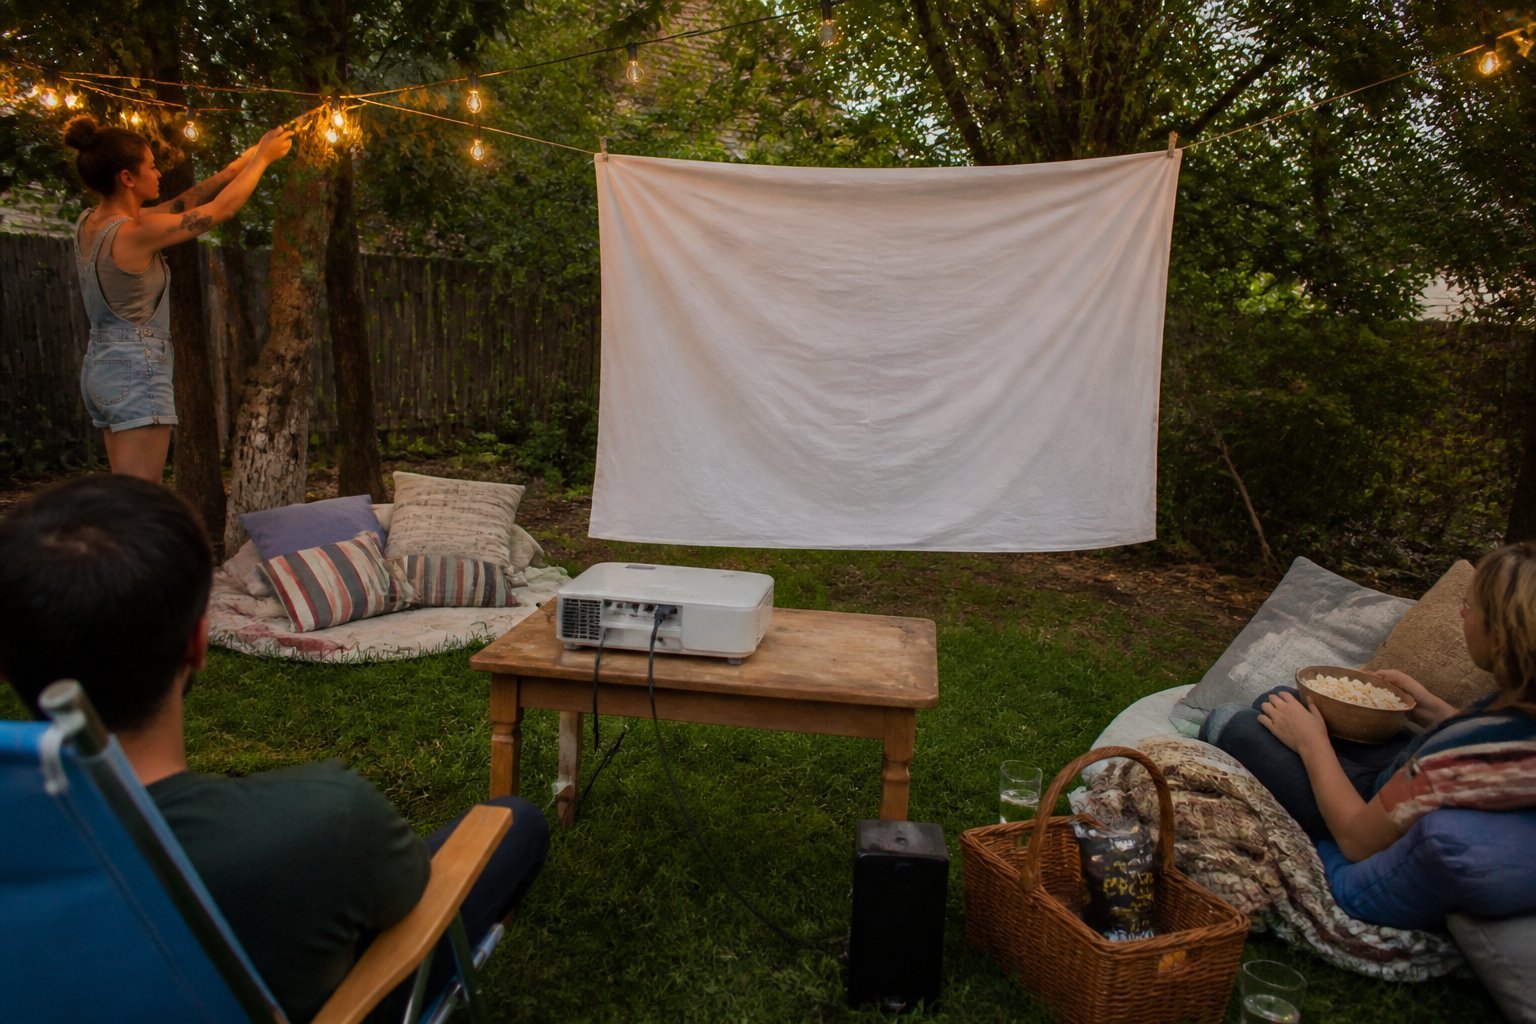
You’ll get simple plans, real budget picks, and common mistakes to avoid—like choosing a dim projector or ignoring sound. Expect clear how-tos for screens, seating, lighting, and snacks so you can pick the setup that fits your yard, your crew, and your budget.
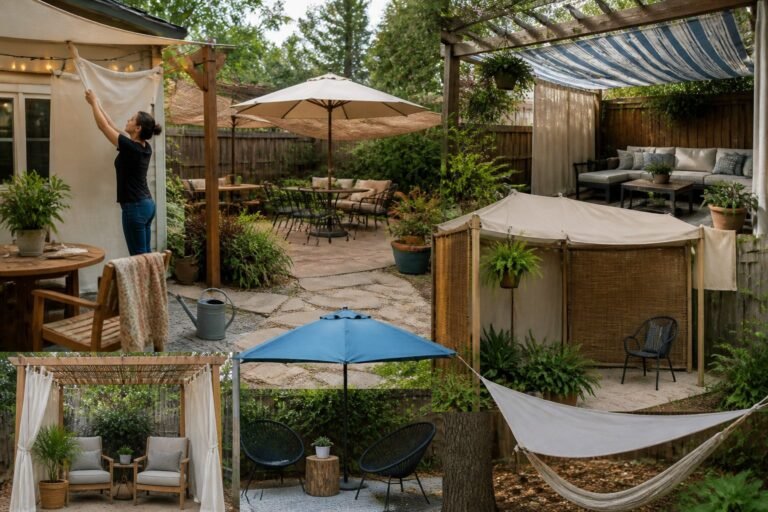
1) White bedsheet screen hung between two trees
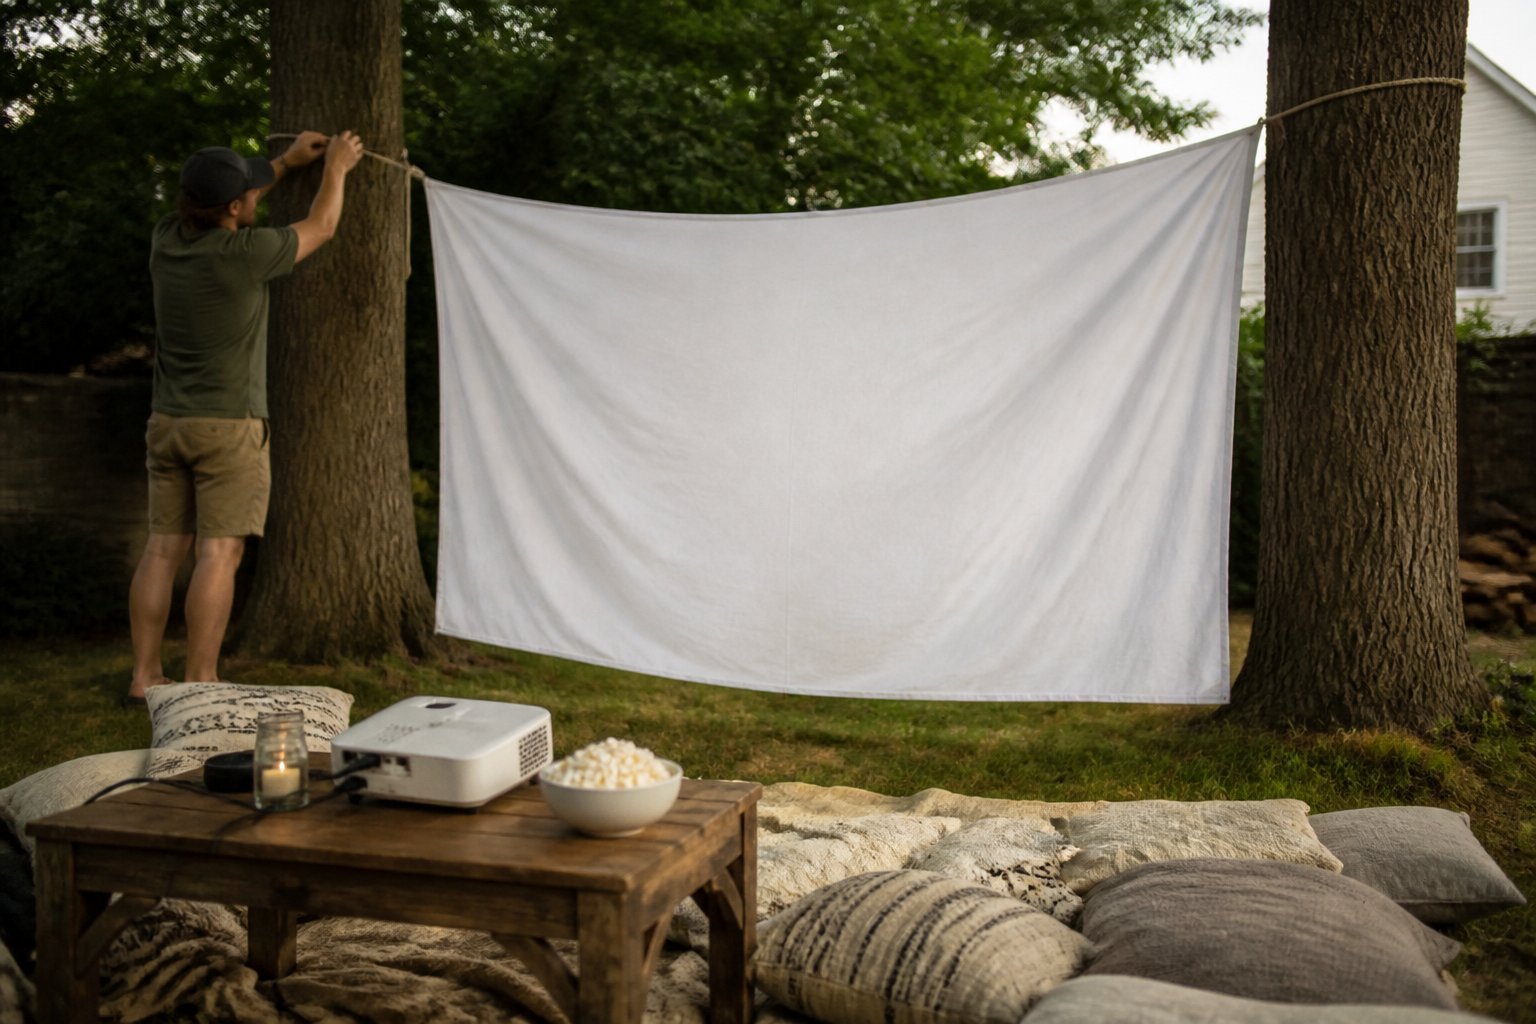
Guide: This is a quick, low-cost screen you can set up in minutes. Tie the sheet tightly to avoid wrinkles and sagging; small wrinkles blur the picture.
Use a plain white queen or full bedsheet for a smooth surface. Secure corners with rope or bungee cords and add clothespins along the top for extra tension. If one tree is at an angle, mount a lightweight pole to keep the sheet flat.
You’ll avoid common mistakes by testing projector distance and height before guests arrive. Move the projector back until the image fills the sheet without spilling off the edges. Bring a spray bottle to dampen stubborn wrinkles if needed.
This setup costs under $30 and works for most compact projectors. Try it once and you’ll know how to tweak tension, angle, and seating for better viewing—go hang your sheet and test the picture tonight.
2) $30 Mini LED projector (portable model)
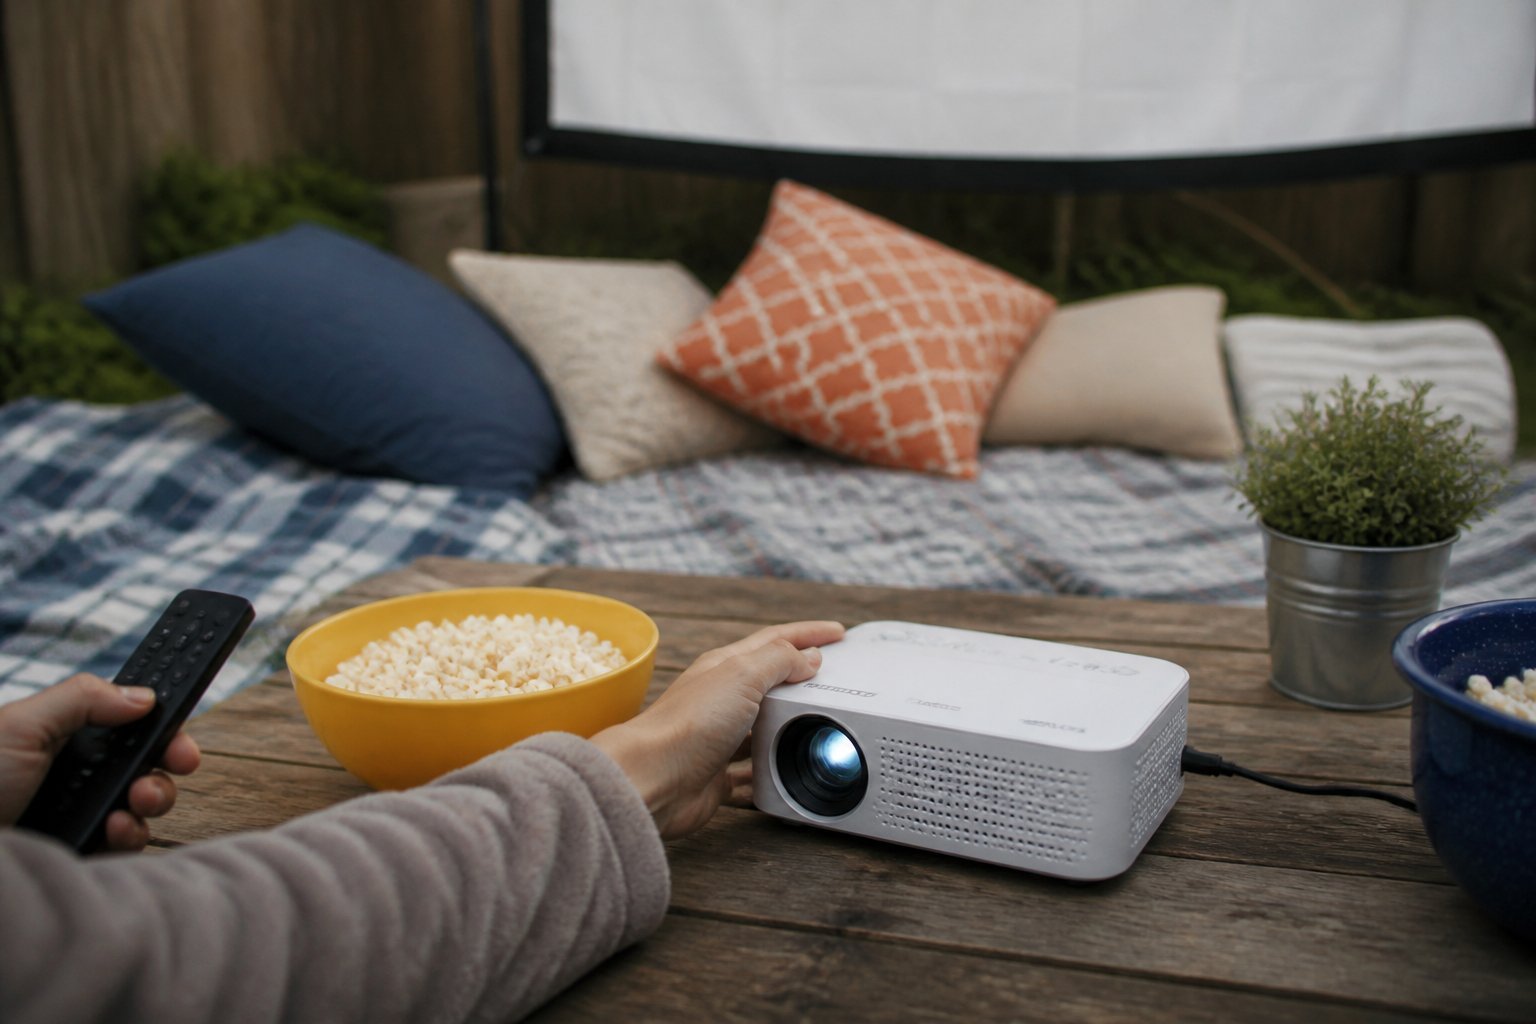
This guide shows you how to get a solid backyard screen on a tiny budget. A $30 mini LED projector gives you portability and easy setup for casual movie nights.
Look for models that support HDMI or cast from your phone. A common mistake is picking one with very low brightness—plan for twilight-only use or sit close to the screen for a better picture.
Use a white bedsheet or a portable projector screen for the sharpest image. Mount the projector on a stack of books or a small tripod; steady placement fixes wobble and keeps focus steady.
Bring a Bluetooth speaker for clearer sound; the projector’s built-in speaker often lacks bass. Test audio and picture before guests arrive so the night runs smoothly.
For shopping help, check budget projector picks and backyard setup tips from practical gear guides.
3) Insta360 Tripod for stable projector placement
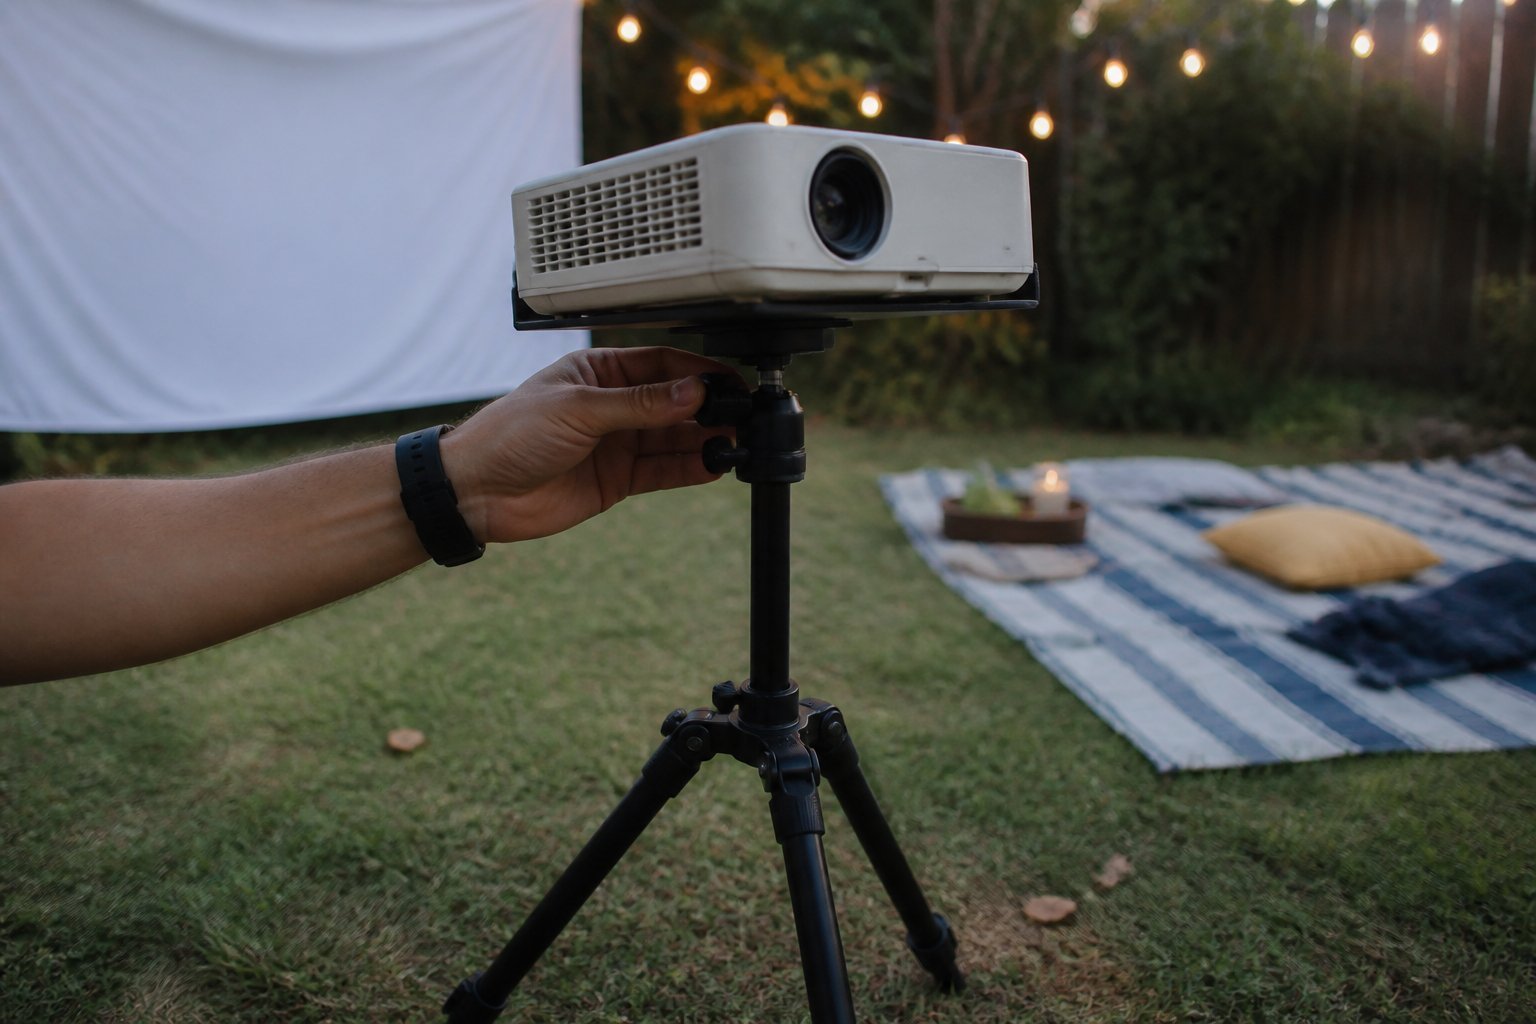
Guide: set up a steady projector mount for backyard movies.
Use an Insta360 tripod to get a low-cost, stable base that fits many small projectors. Its 1/4-inch mount and lightweight aluminum legs hold your projector steady and keep legs out of the frame. Check the tripod’s weight limit and balance the projector to avoid tipping.
Place the tripod on a flat surface and test short clips before your guests arrive. A common mistake is extending only one leg or placing it on soft ground; instead, use a small board or brick to level it. If you need higher reach, try a longer Insta360 throwpod or an extendable model for overhead shots.
Want a quick purchase? See the official foldable Insta360 tripod for compatibility and specs.
4) Twin air mattress seating with outdoor blankets
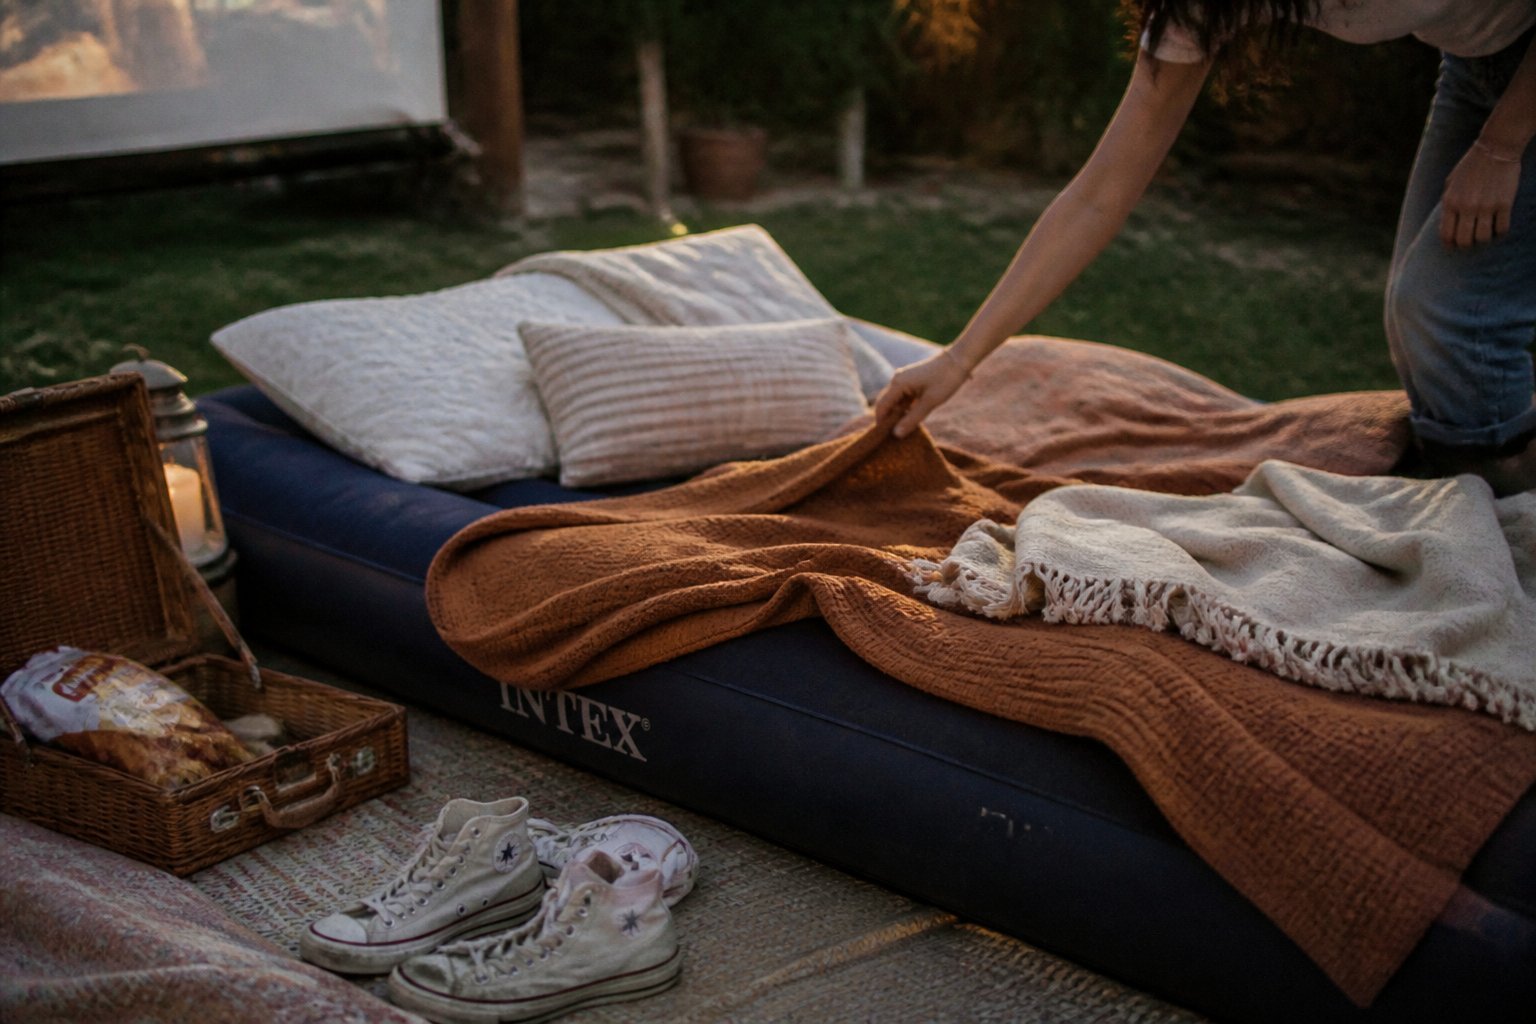
Set up two twin air mattresses side by side to create a low, cushy couch for your backyard movie night. Inflate them just enough to feel supportive but soft, and lean them against each other or a wall for back support.
Layer with outdoor blankets and heavy throws to hide seams and add grip. Add a few pillows and a weighted blanket at the foot to stop wind from moving things.
Common mistakes: overinflate (it feels hard) and skip anchoring (mattresses slide). Use clips, bungee cords, or a rug underneath to keep the seats stable.
This idea costs little and feels luxe when you add patterned blankets and warm lighting. Try it once and adjust firmness, cover choices, and layout until the setup fits how you and your guests like to lounge.
5) DIY PVC-frame projector screen (plans + PVC pipe)
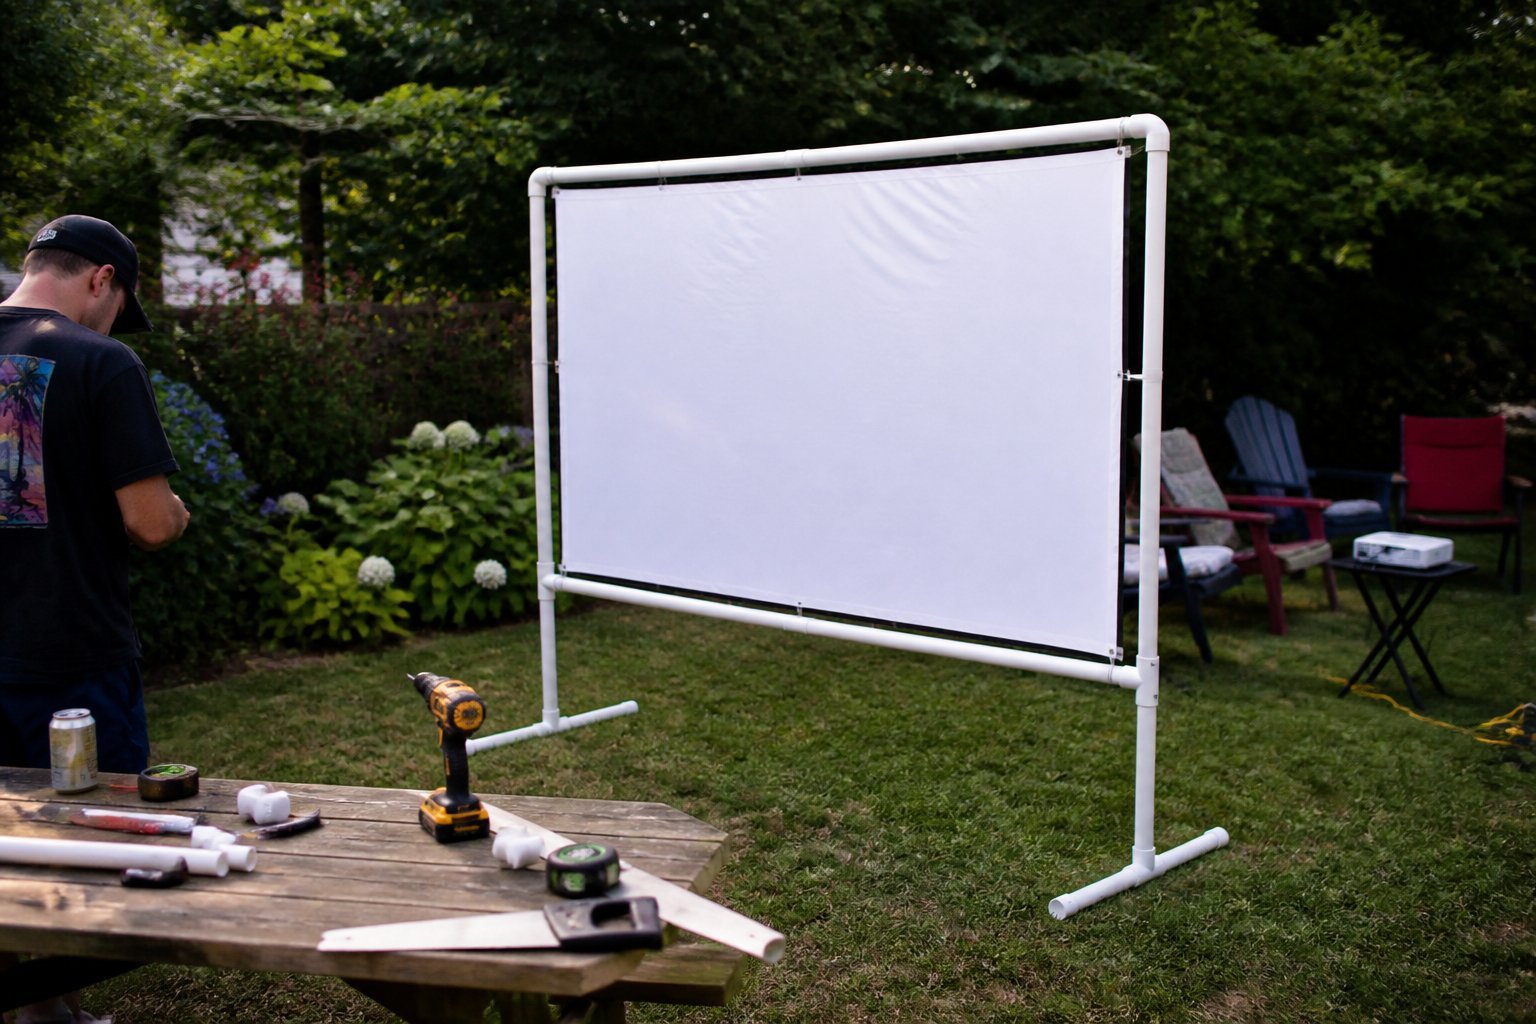
Guide: build a steady PVC frame screen you can take down and store easily. You’ll need PVC pipe, tees and elbows, a white sheet or blackout material, and a drill.
Cut pipes to match screen size; common frames use 1″ or 1½” PVC. Use slip tees for corners and add ground stakes or a cross brace to stop wobble. A common mistake is skimping on tension—loose fabric wrinkles the image. Use grommets or bungee cords at the edges for even tension.
If wind worries you, add sandbags to the legs or use longer stakes. I once swapped cheap sheet material for blackout cloth and the gain in contrast was obvious. For a parts guide and step plan, see a clear PVC-frame tutorial.
6) Bluetooth portable speaker: Anker Soundcore 2
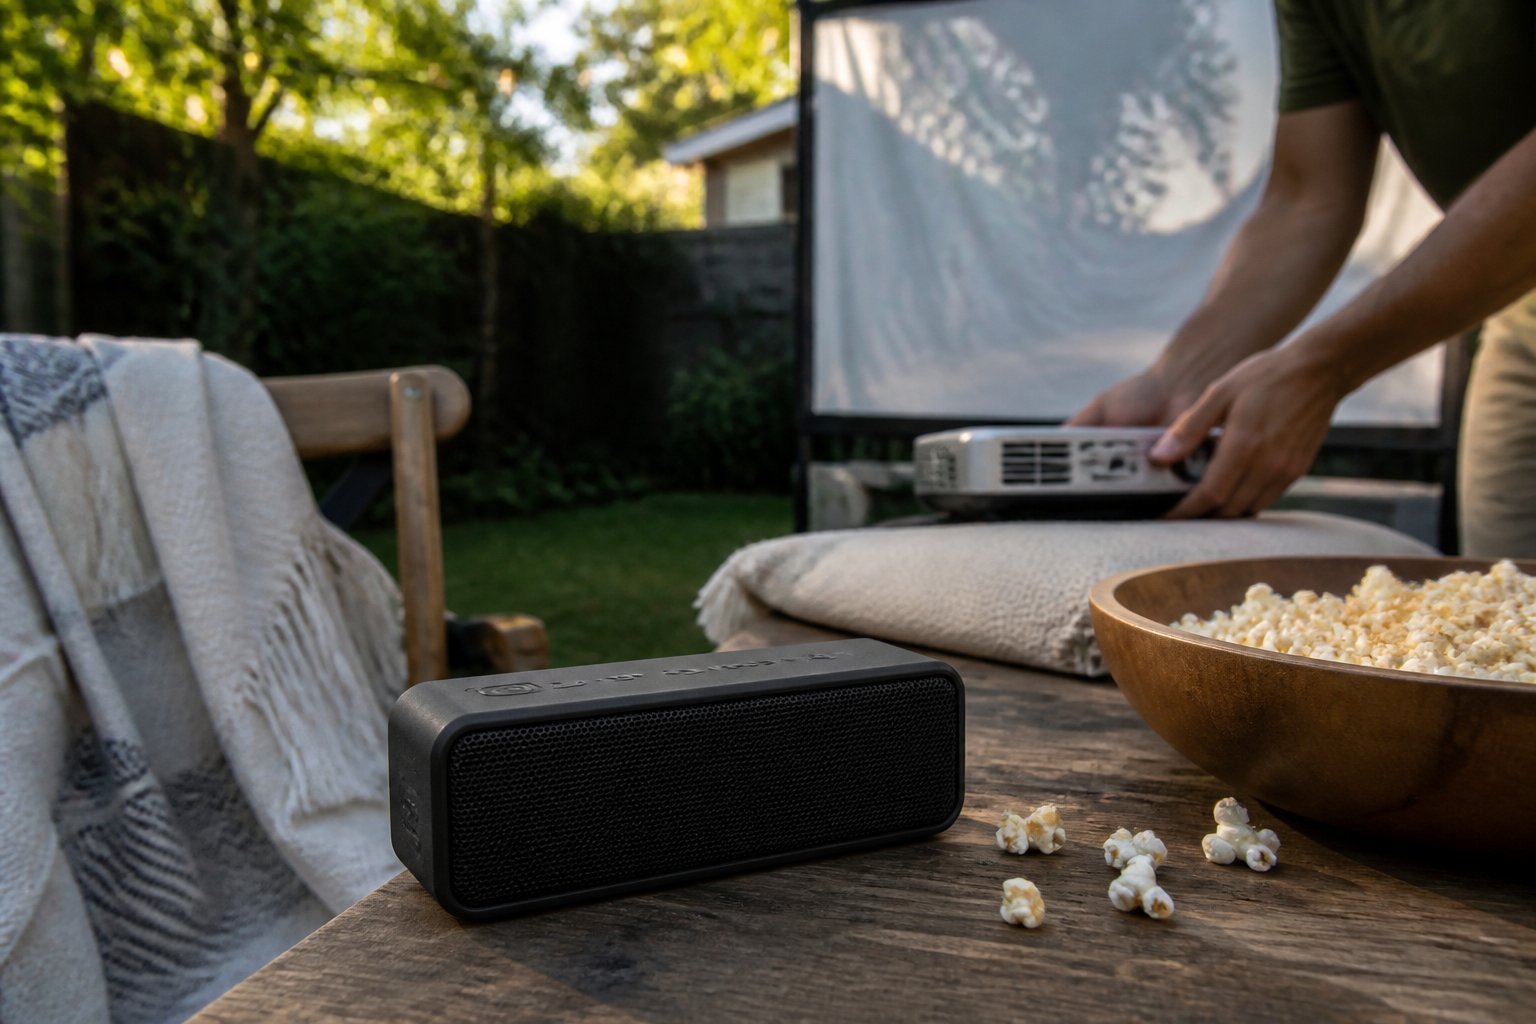
This guide shows how to add clear, loud sound on a tight budget using the Anker Soundcore 2. You want a speaker that lasts through a movie and won’t clip at high volumes.
The Soundcore 2 gives about 24 hours of playtime and IPX7 water resistance, so you can place it near snacks or a kiddie pool without worry. Pair two for wider stereo sound if you plan on seating people across a yard.
Place the speaker on a raised surface or tuck it under a blanket to boost bass subtly. Avoid blocking the drivers or jamming it into tight spaces, which mutes mids and highs.
You can buy the Soundcore 2 cheaply online; compare deals to stay under $100. Try it during a test run before guests arrive and adjust placement until dialogue and effects are clear.
7) String fairy lights (warm white) for ambient lighting
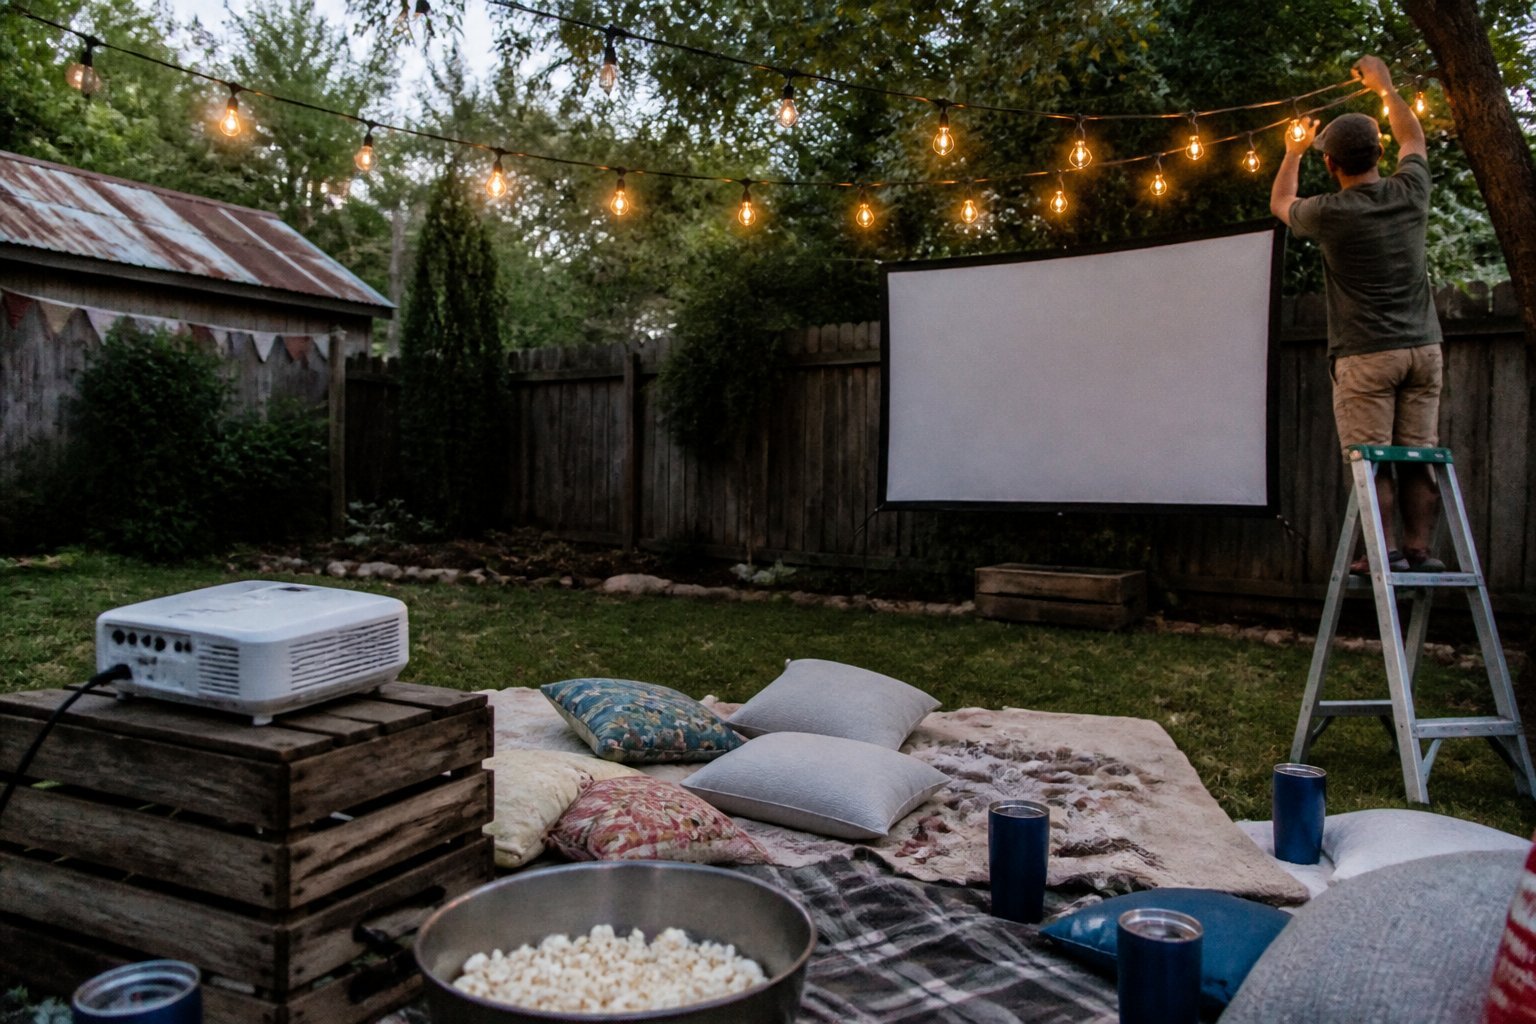
Intent: tutorial. Use warm white fairy lights to create soft, even light that keeps the screen visible and guests comfortable.
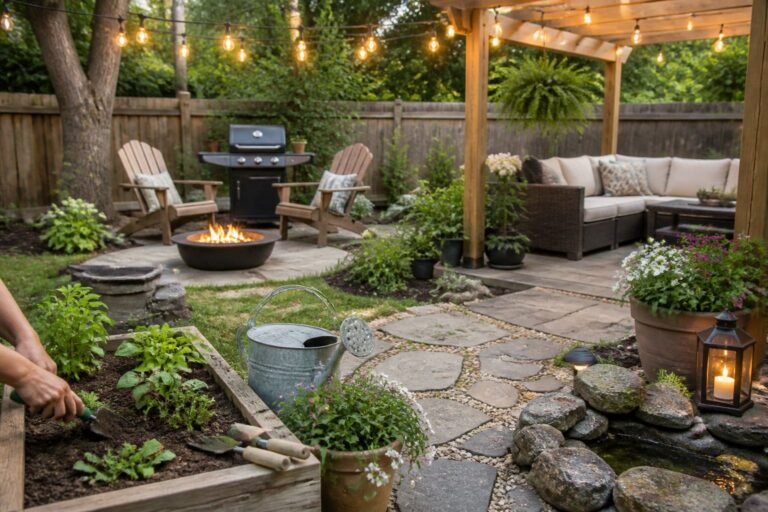
String lights work best when you hang them above eye level. Run strands along a fence, across a pergola, or drape them in trees so the bulbs glow down, not into faces. Battery or solar options avoid long extension cords.
Choose warm white LEDs for a cozy color that won’t wash out the movie picture. Try copper-wire 36–72 ft strands for flexibility; retailers like Target’s warm white fairy lights sell weatherproof options.
Avoid common mistakes: don’t cluster lights near the screen and don’t use bright cool-white bulbs. Test placement at dusk before guests arrive. Swap a strand or two if a section blinks; loose connections cause most problems.
For an easy upgrade, add dimmable plugs or a timer so lights fade out when the film starts. Give it a quick test run to lock in the mood.
8) Popcorn station with a Presto PopLite popcorn maker
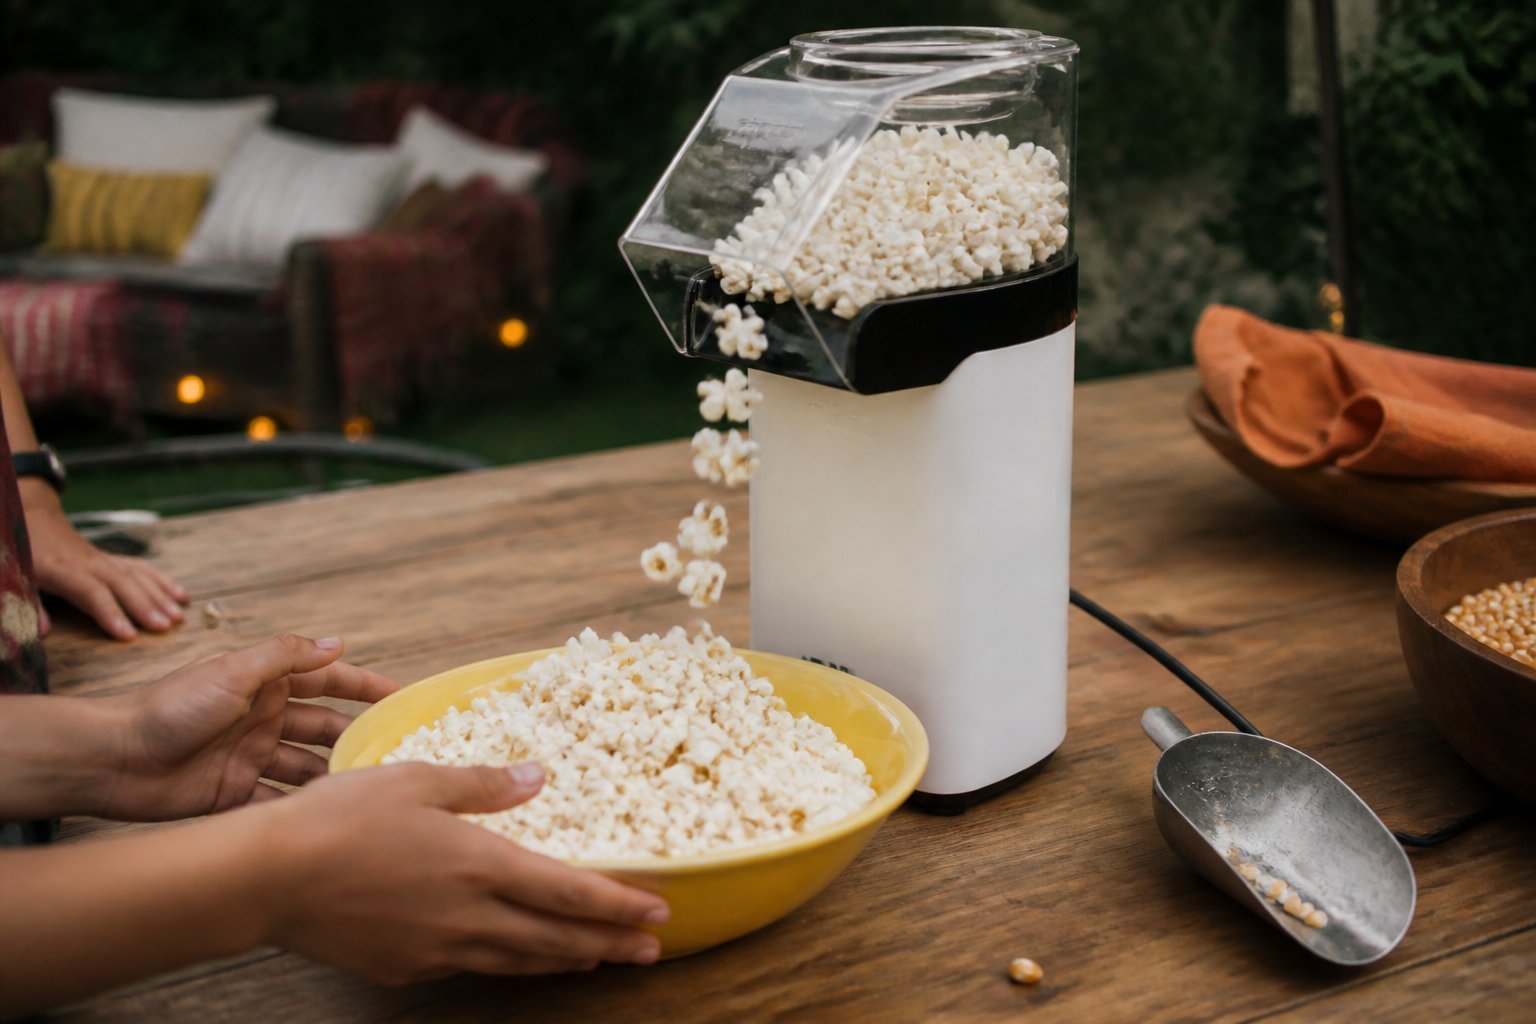
Set up a simple popcorn station to give your backyard movie night a cozy, concession-stand feel. This is a how-to idea you can build fast and keep under $100.
Place a Presto PopLite hot air popper on a small table for fresh, oil-free popcorn in minutes. The popper makes up to 18 cups quickly, so time it near showtime to avoid soggy kernels. (See Presto product details for capacity and specs.)
Offer mix-ins in labeled jars: melted butter, salt, cheddar powder, cinnamon sugar, and a sweet drizzle. A common mistake is overcrowding the table—leave space for bowls and tongs so guests serve themselves cleanly.
Use a galvanized tray or basket for bowls and napkins to keep things tidy outdoors. You’ll create a warm, low-cost focal point that guests will keep coming back to.
9) Battery-powered citronella lanterns (thermostable)
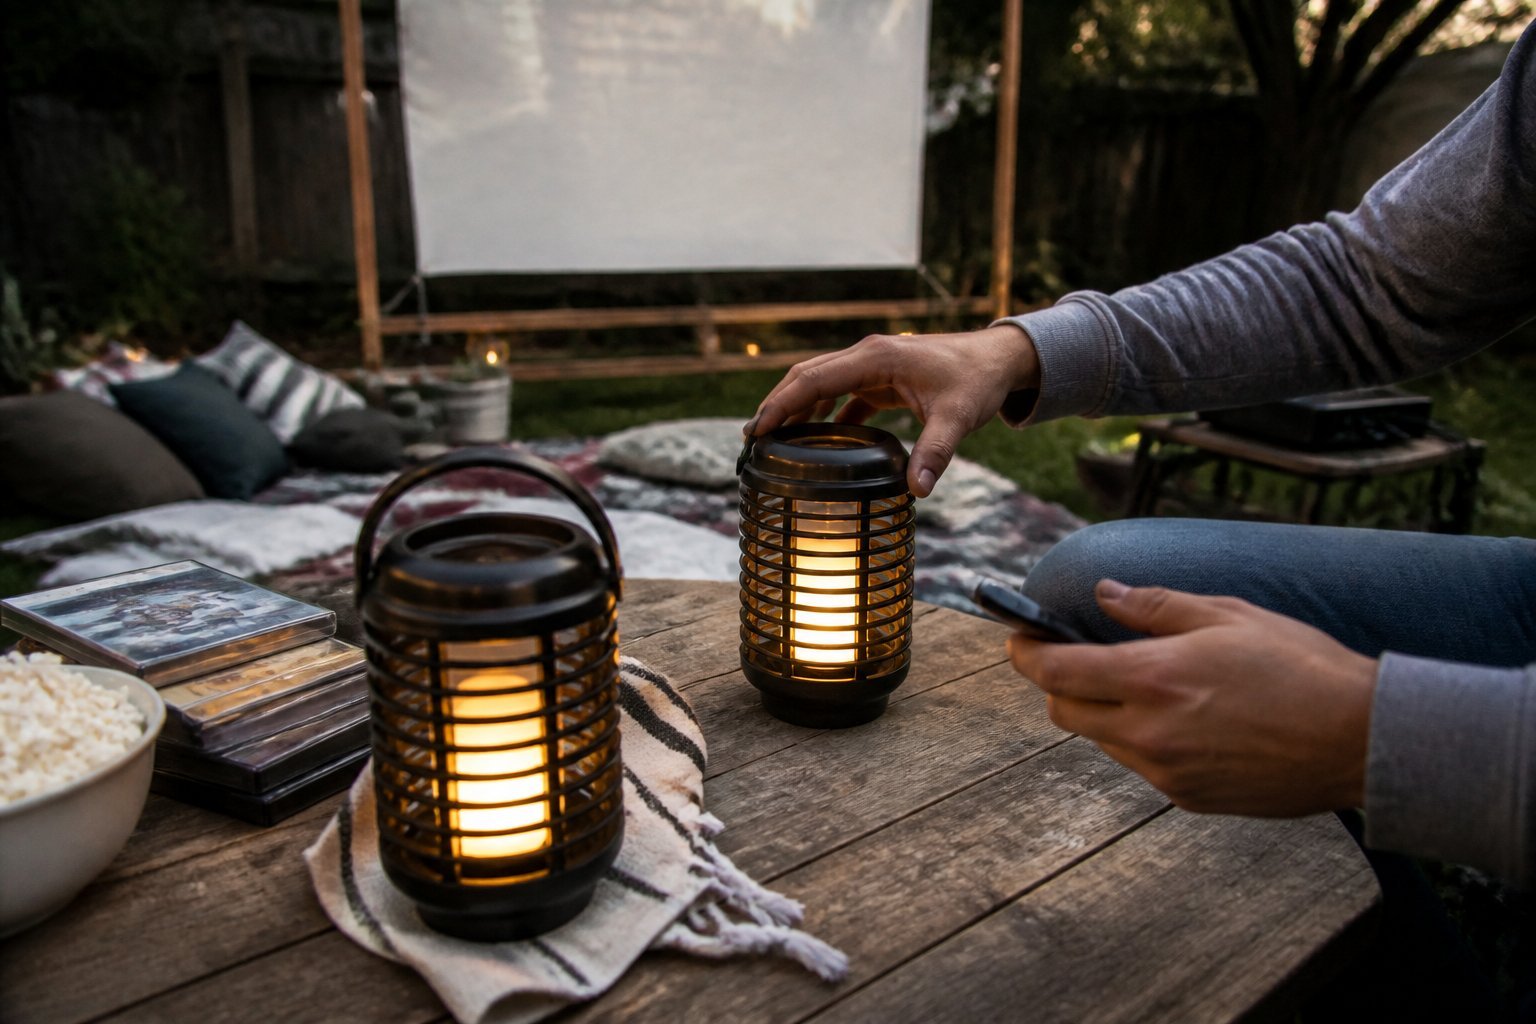
Guide: pick battery citronella lanterns to repel bugs without open flames. You get safe, steady light that works around kids and fabric screens.
Choose models labeled thermostable or windproof so batteries and plastic parts won’t warp in heat. A common mistake is buying cheap lanterns that melt or leak near hot bulbs; look for reviews that mention heat resistance.
Place lanterns around seating edges and near food to create a bug-free perimeter. Use two or three small lanterns instead of one bright light to avoid screen glare. For example, hang a pair at chair level and set one on the snack table.
Expect 20–80 hours per set of rechargeable batteries depending on brightness. Test run them before guests arrive and keep spare batteries handy. Try options like the Coleman-style citronella lantern for familiar reliability (find similar options on Amazon).
10) Cordless projector remote + power bank combo
Guide: set up a truly cordless backyard movie night with a projector remote and a high-capacity power bank.
Pick a projector that runs on USB-C power and a power bank with 65W PD or higher. This lets you run a full movie without trailing extension cords. Test runtime at home so you know if a 20,000mAh pack will last your two-hour film.
Use the projector’s remote to control playback, volume, and focus from your seat. A common mistake is placing the power bank under soft cushions where it can overheat; put it on a hard surface, tucked behind the screen or inside a short stand.
If you need examples, look for battery-ready models and read reviews from backyard tests to confirm real-world battery life, like those showing two-hour endurance on a single charge. Try one test night before guests arrive and adjust seating, sound, and cable routing for a clean, cordless look.
Choosing the Best Location for Outdoor Movie Nights
Pick a flat, open spot that gives you a clear sightline from seating to screen, room for speakers and a snack area, and easy access to power or extension cords.
Backyard Layout Considerations
Guide: set up a viewing area that fits your guest count and keeps walkways clear.
Measure first. Place the screen so the furthest seat sits about 1.5–3 times the screen width away for good image size. If you use a bedsheet or DIY PVC screen, choose a wall or fence for backing to stop light bleed and add stability. Arrange seating in staggered rows—lawn chairs on risers or blankets on cushions—to keep heads from blocking views.
Plan cable runs before nightfall. Run extension cords along edges, taped or covered, and keep a small table near the projector for snacks and remotes. Common mistake: crowding the screen against shrubs or tall plants—this creates shadows and uneven focus.
Weather and Lighting Factors
Guide: protect equipment and control light so the picture stays bright and the audience stays comfortable.
Check the forecast for wind and rain; a budget tarp or pop-up canopy behind the screen can block gusts and protect your projector. Position the screen where setting sun won’t hit the lens—west-facing screens need blackout curtains or timing after dusk. Use warm string lights at low brightness around pathways to keep sprinklers and cords visible without washing out the picture.
Bring blankets and a thermometer if nights get cool. Small battery fans or clip-on heaters work for microclimates. A key tip: test the setup 30–60 minutes before guests arrive so you can tweak projector angle, focus, and ambient light.
Privacy and Noise
Guide: choose a spot that keeps sound inside your yard and reduces interruptions from neighbors or street traffic.
Place speakers facing inward and closer to the center of the viewing area to lower how much sound escapes. If you must aim speakers toward a neighbor, lower bass and use higher frequencies that carry less. Use existing fences, hedges, or a row of potted plants as sound buffers and visual screens.
Avoid locations near noisy HVAC units, alleyways, or evening street traffic. If privacy is an issue, hang a heavy curtain or bedsheet on a rope between posts to block sightlines. Always check local noise rules and tell neighbors the start time—this simple courtesy avoids complaints and keeps your night running smoothly.
Creative Ambient Lighting Solutions
Set the mood with layered lighting that guides guests, brightens the screen area, and adds soft accents. Focus on warm color temperature, placement that avoids screen glare, and low-cost fixtures that last through the season.
String Lights and Lanterns
Guide: idea — hang warm LED string lights and battery lanterns to make seating cozy without washing out the screen.
Wrap a 25–50 ft strand of 3000K warm LEDs along fence lines or between trees. Hang bulbs 6–8 ft high to keep lights above viewers’ sightlines. Use clips or zip ties for a neat run and dimmers or plugs with timers so lights fade when the movie starts. Add 4–6 battery lanterns on side tables or hung from shepherd hooks to create pockets of light for drinks and snack trays.
Common mistake: placing strings too close to the screen; this creates glare. Fix it by angling strings away or lowering bulb brightness. For budget buys, check yardsale apps or pick solar/battery combos under $30.
Solar-Powered Pathway Lights
Guide: tutorial — install inexpensive solar path lights to mark walkways and steps so people move safely without bright overhead lights.
Place solar stakes every 6–8 feet along routes from the house to seating. Choose warm-white LEDs (2700–3000K) and test each light in full sun for a day to confirm run time. Use rechargeable NiMH batteries in each light for better night performance. Mount a few lights close to steps and hard-to-see edges to prevent trips.
Watch out for shade from trees or overhangs; even small shade cuts output. Move panels or trim branches. Most good sets cost $20–$40 for 8–12 stakes.
DIY Projection Screen Backlighting
Guide: guide — add soft backlight to the screen to reduce eye strain and improve perceived contrast without buying pro gear.
Attach a thin LED strip (addressable or plain warm-white) behind the top and sides of your DIY sheet or screen frame. Leave 2–4 inches gap so light creates an even halo rather than hot spots. Use a dimmable USB-powered strip and plug into a power bank or outlet with a timer. Set brightness low—just enough to separate screen from darkness.
Common tip: avoid placing strips in front of the screen. Mounting on cloth can be done with fabric tape or clips. A basic LED strip kit runs $10–$25 and makes a big visual difference.