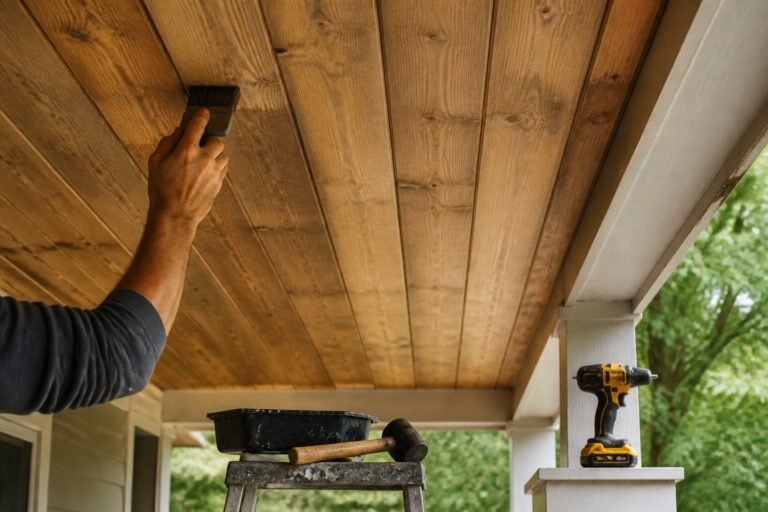
How to Add a Front Porch to Existing House: Transform Curb Appeal in Days
You want a front porch that feels like part of your home, not an afterthought. Many homeowners picture a pretty entrance but then hit headaches with permits, roof ties, and proper footing; this article shows you how to avoid those traps and get a porch that lasts.
You’ll learn what decisions matter most — from code and structure to style and materials — so you can plan a porch that looks right and stands up to weather and wear.
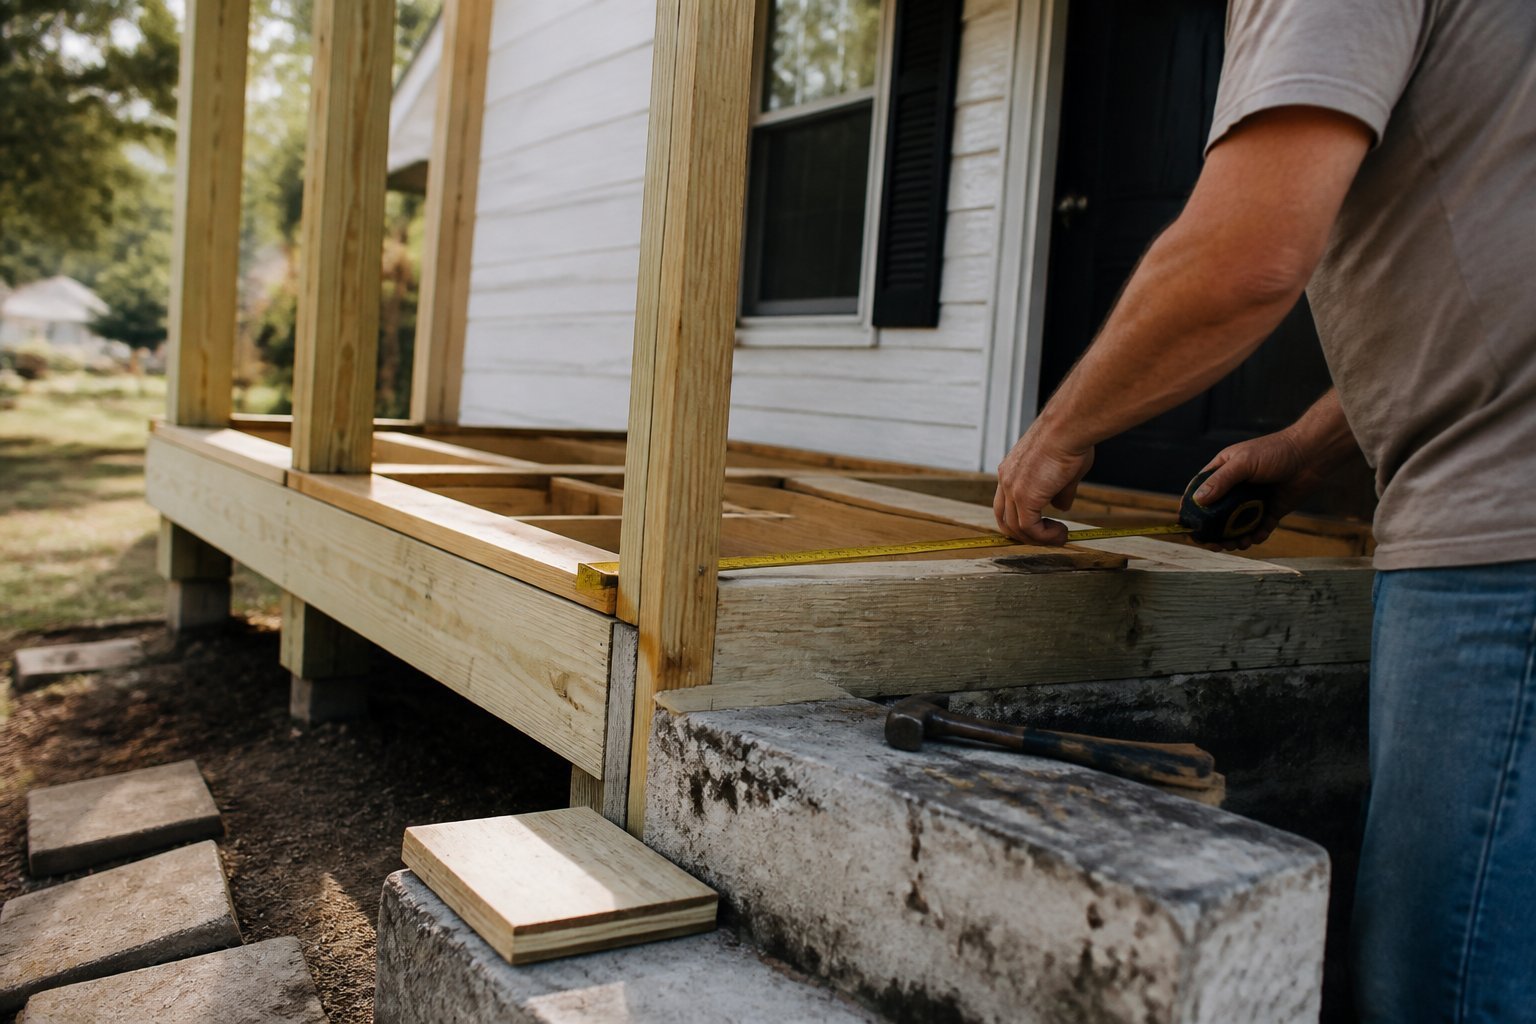
Think like a pro as you move through planning, design, and construction steps. You’ll see common mistakes to watch for, practical examples of porch styles that match different homes, and clear next steps for hiring help or doing it yourself with confidence.
1) Assess property setbacks, easements, and local permitting requirements
Guide: start by checking setbacks and easements so your porch plan won’t be rejected. Find your property plat or survey and measure the distance from the house to the lot lines. Local rules often set front, side, and rear setback distances you must meet.
Talk to the building department early. Ask about permit types, required site plans, and whether a variance is possible. A neighbor once built too close and faced costly rework; don’t let that be you.
Watch for hidden easements for utilities or drainage. They can block foundations or roof overhangs. If you need help, use an online zoning checker or hire a surveyor to confirm lines before you order materials.
2) Hire a structural engineer to evaluate load-bearing walls and roof tie-in options
Guide: get a clear, safe plan before you cut anything.
You need an engineer to check which walls carry weight and how the new porch will tie into the roof. They will show where beams or posts must go and whether you can remove an internal wall.
Bring plans and photos to your meeting. A good engineer will spot hidden problems, like rotted lintels or undersized rafters, and suggest fixes you might miss.
Common mistake: assuming a wall is non-load-bearing. That can lead to sagging or costly emergency repairs. Expect a written report and drawings for permits and contractors.
Ask for local code notes and a cost estimate for required steel or timber. Book the engineer before demolition so your project runs smoothly.
3) Choose a porch style to match your house (covered, open, wraparound, or portico)
Guide: pick the style that fits your home’s look and daily use.
Decide how you’ll use the porch first. A covered porch protects from rain and adds usable outdoor space year-round, while an open porch keeps costs lower and feels airy.
Match the roofline and materials to the house. For a classic look, match columns and trim; for a modern home, keep lines clean and simple. A common mistake is mixing styles that clash with your facade.
Think about scale and sightlines. A wraparound porch can boost curb appeal but may overwhelm a small house. A portico gives a formal entry without a big build.
See examples and planning tips for how each option connects to your home and foundation on this step-by-step guide to adding a front porch to an existing house (https://dearworld.me/add-a-front-porch-to-existing-house/).
4) Install a pressure-treated ledger board with flashing to attach the porch to the house
This guide helps you attach the porch roof safely and keep water out. You’ll fasten a pressure-treated ledger to the house rim joist using lag bolts or structural screws set into studs.
Remove siding where the ledger sits and fit a continuous metal or membrane flashing above it. Flashing prevents rot by directing water over the siding, not behind the ledger.
Drill pilot holes every 12–16 inches through the ledger into solid framing, then stagger bolts. A common mistake is anchoring into sheathing only—always hit framing for real strength.
Check level and shim where needed before final tightening. If you want detailed steps on ledger layout and flashing techniques, see this practical guide on how to tie a porch roof into a house (https://roofhousepedia.com/how-to-tie-a-porch-roof-into-a-house/).
5) Excavate and pour concrete footings sized to frost depth and local code
Guide: tutorial.
You must dig footings down to the local frost line so the porch won’t heave. Check your city’s frost depth and the IRC footing rules before you start; many online lookups list frost depth by zip code.
Make the footing wider than the post base and set forms square and level. Pour concrete with rebar or wire mesh as required. A common mistake is skimping on depth at low spots—step the footing if grade changes.
If soil is soft, dig to firmer strata or increase footing size. Call your inspector before covering work; they’ll verify depth and reinforcement. When the concrete cures, you’ll have a stable base to attach the porch posts and framing.
6) Set pressure-treated or galvanized support posts anchored to footings
This is a step-by-step guide. You set posts after the footings cure, then check plumb and spacing against your beam layout.
Use pressure-treated lumber or galvanized steel posts to resist rot and rust. Drop posts into concrete footings or use anchor bolts or sleeves for metal posts; both give strong connections. For more on anchoring options, see how to anchor a post to concrete (https://atimprovements.com/how-to-anchor-a-post-to-concrete/).
Drive a temporary brace while you fasten the post to the beam so wind won’t shift it. Common mistakes are setting posts too low or not checking for plumb—measure twice, trim once. If soil settles later, retrofit footings can stop sinking; learn retrofit tips here (https://reneerenovates.com/how-to-retrofit-concrete-footings/).
If you spot cracks or rot at the base, replace or sister the post before continuing. When posts are solid and plumb, bolt the beams and recheck dimensions.
7) Frame the perimeter with treated rim joists and appropriately spaced floor joists
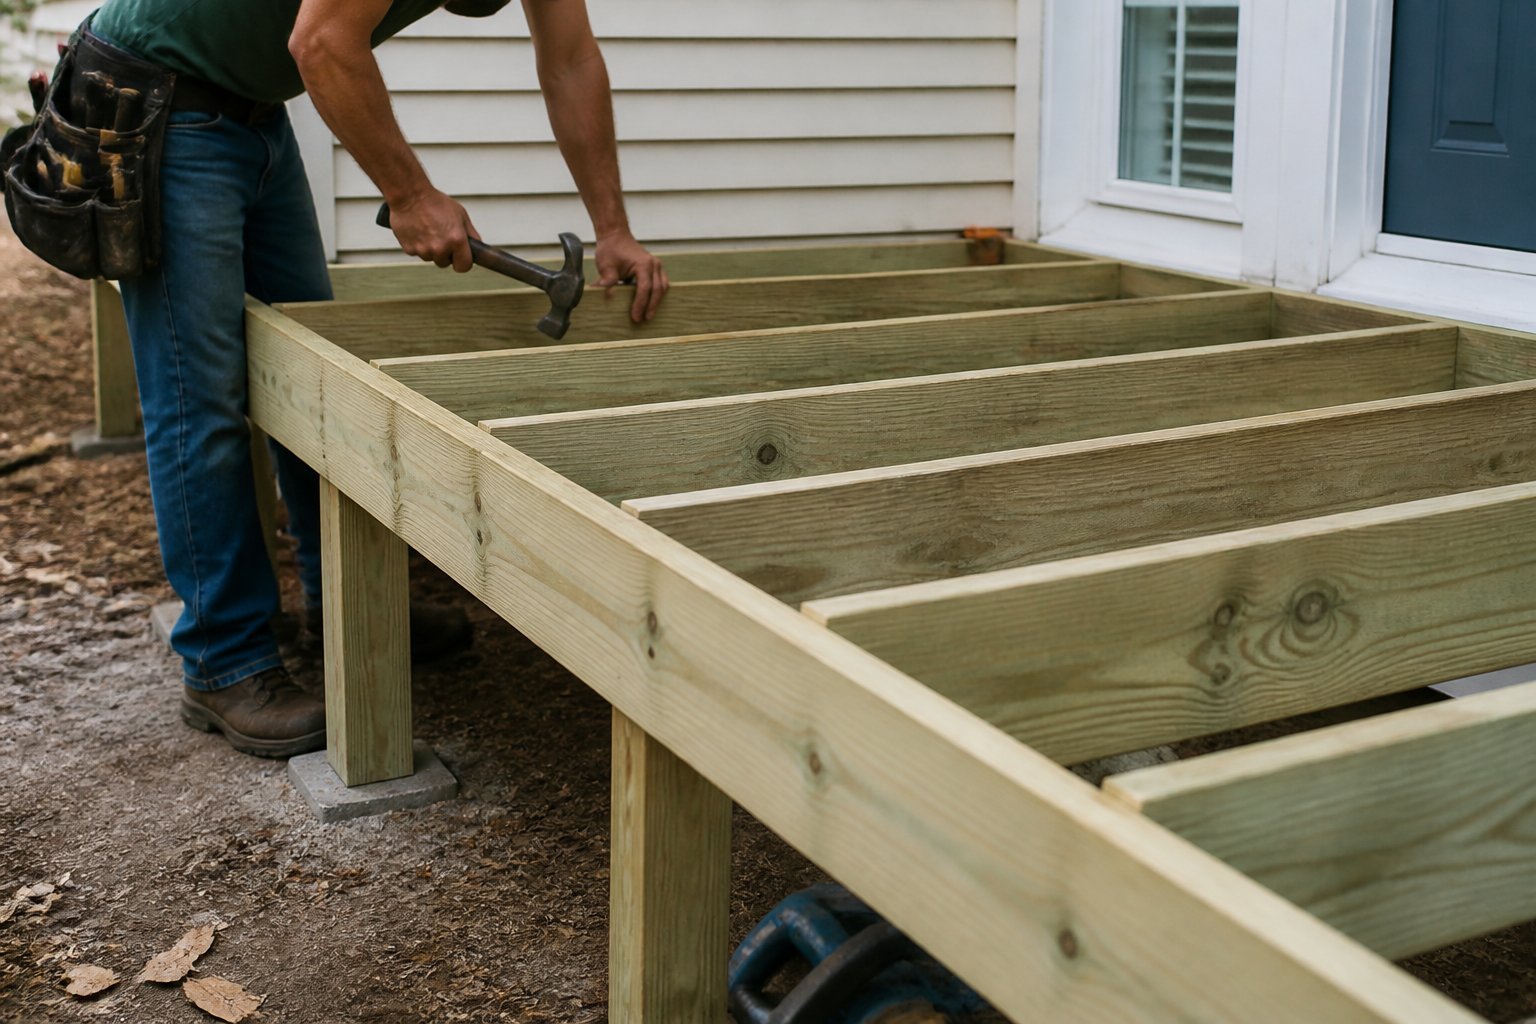
Intent: practical guide. Begin by fitting pressure-treated rim joists around the porch perimeter to close the joist bays and carry the outer load. Use the same thickness as your floor joists and fasten with galvanized screws or structural brackets for long life.
Lay out joist spacing at 16 inches on center for standard decking or 12 inches for thinner boards. Mark locations on the rim and ledger, then set joist hangers. A common mistake is skipping blocking; add blocking every 4–6 feet to prevent twisting.
Cut rim ends square and check for a level run before final fastening. If your joists run perpendicular to house framing, double the rim where stairs or heavy rails attach. If unsure, review how to attach a ledger board and rim details at this porch framing guide (https://crystelmontenegrohome.com/simple-diy-white-front-porch/).
8) Install durable decking (composite like Trex or pressure-treated pine) and proper ventilation
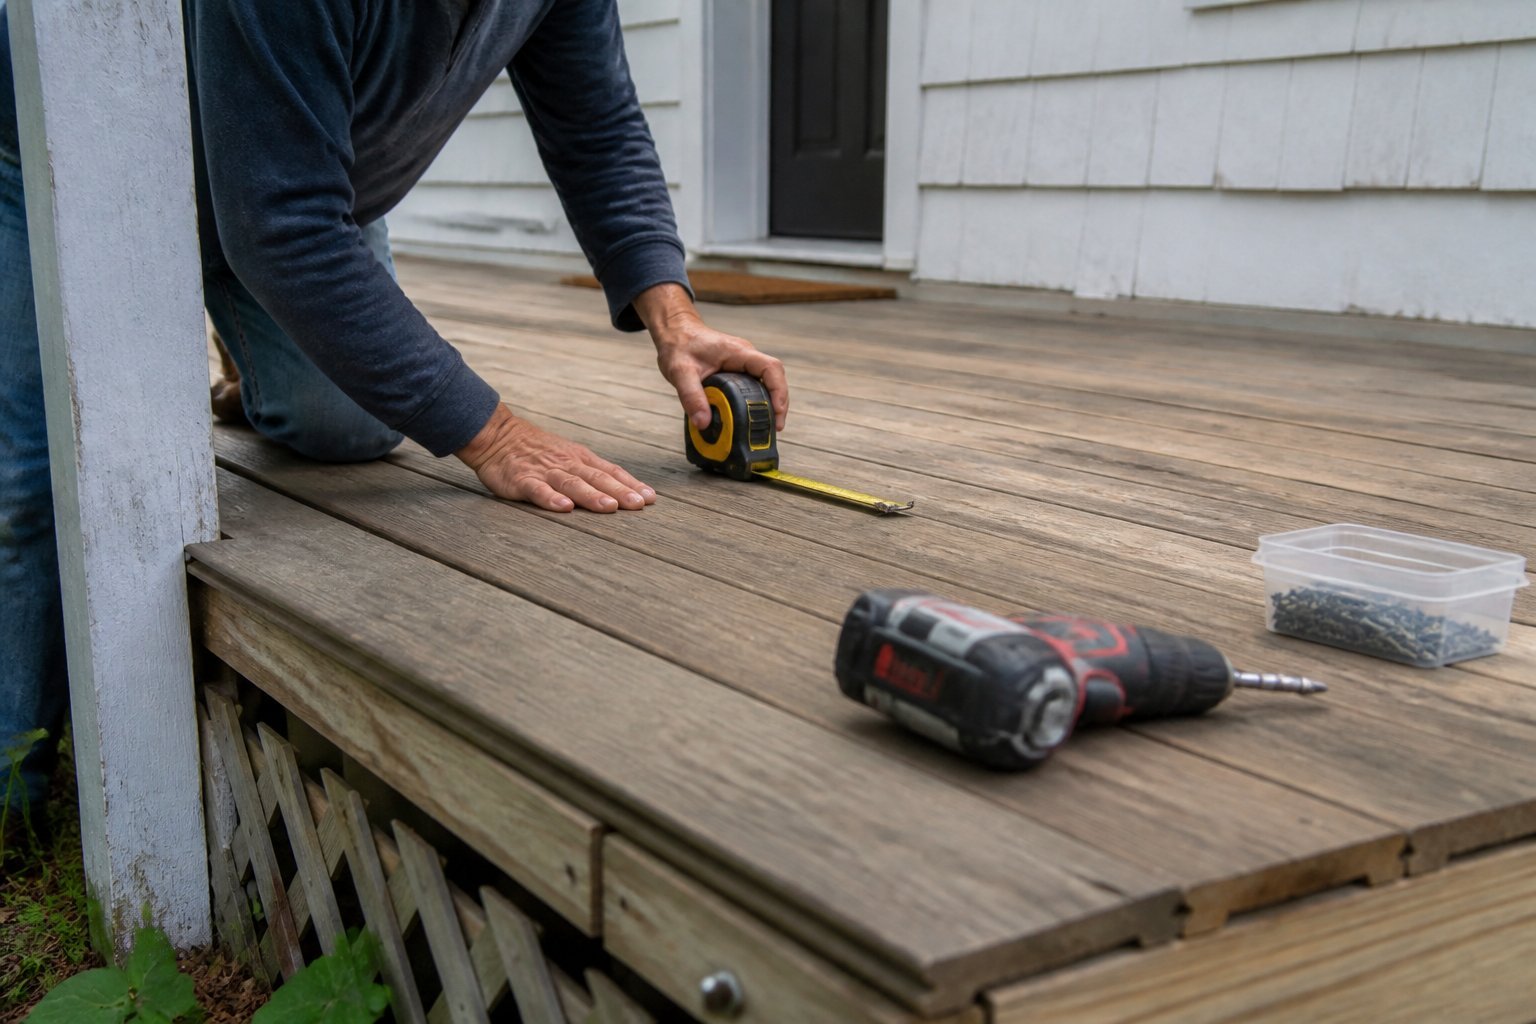
Guide: tutorial.
Choose decking that fits your climate and budget. Composite boards such as Trex resist rot and need less upkeep, while pressure-treated pine costs less but will need sealing and periodic replacement.
Lay joists with correct spacing—many composites want 12–16 inches on center. Leave expansion gaps at board ends; failing to do this causes buckling on hot days.
Provide air flow under the porch. Raise the deck slightly above the concrete or ground and add vents or gaps so moisture can escape. Poor ventilation leads to mold and fast wood decay.
Common mistake: screwing boards too tight. Use recommended fasteners and follow the manufacturer guide like Trex’s installation tips for spacing and clips (https://www.trex.com/build-your-deck/diy/how-to/). Inspect annually and replace damaged boards to protect your porch long term.
9) Tie new porch roof into existing roofline with matching pitch, underlayment, and flashing
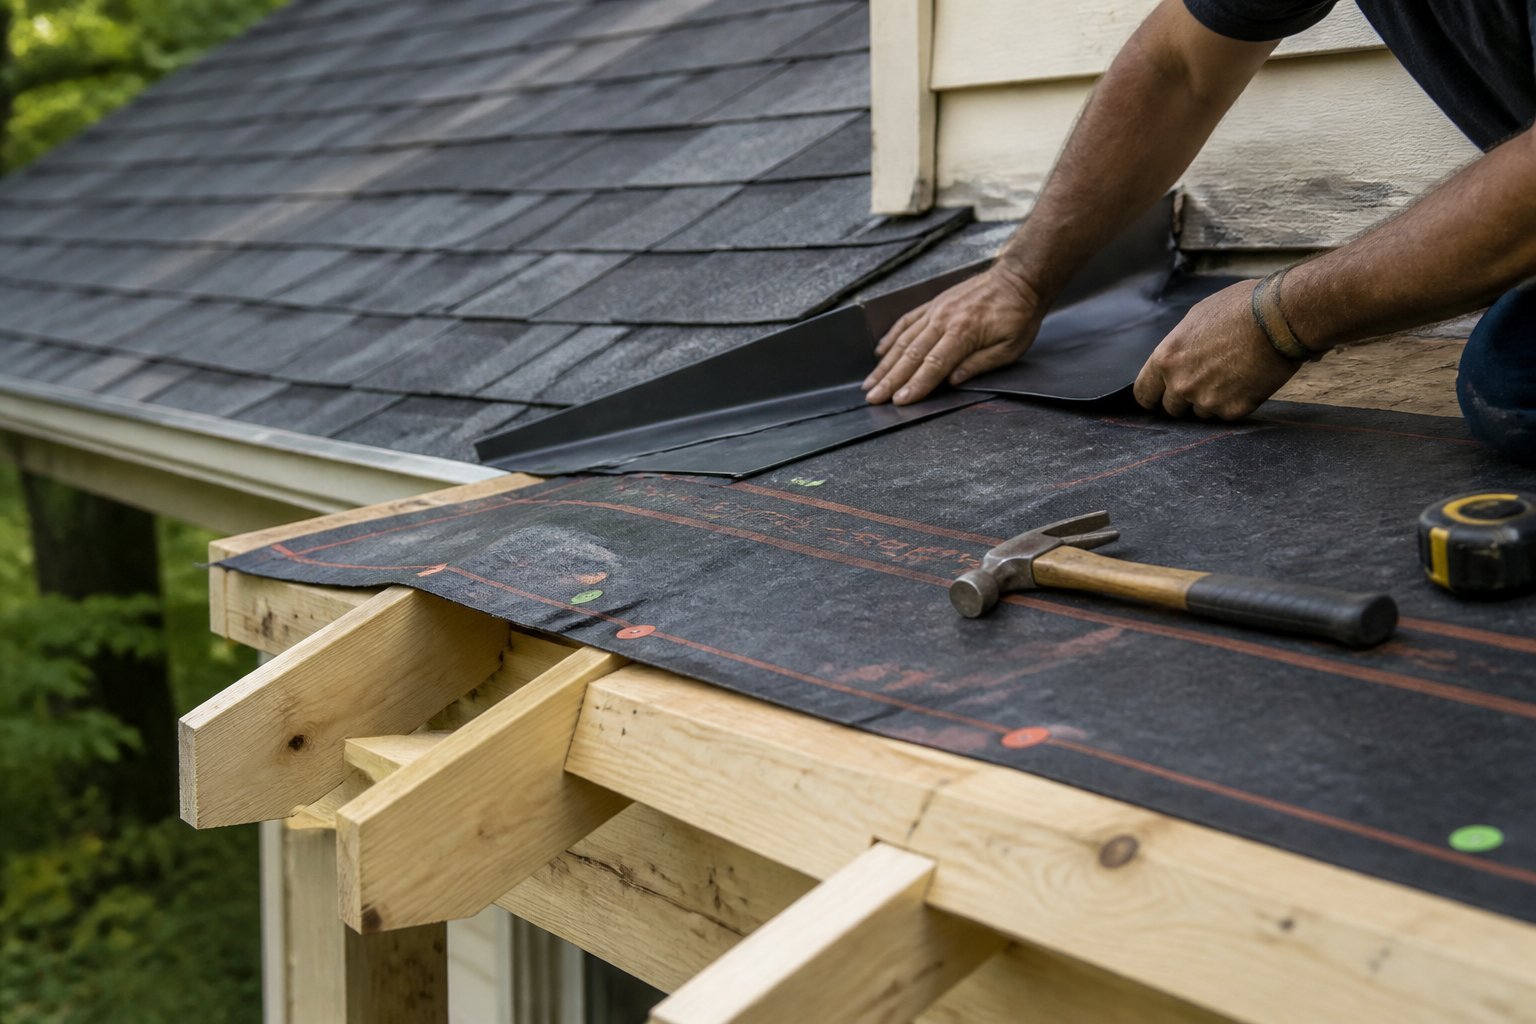
Guide — this shows you how to make a watertight, matched connection. Match the pitch so water sheds the same way; a mismatched slope invites leaks and awkward sightlines. Measure the existing rise/run before cutting any rafters.
Install underlayment overlap onto the existing roof under the shingles to create a continuous weather barrier. Use ice-and-water shield at the junction if you live where ice dams form; it’s a small extra step that prevents big damage.
Flash the ledger and step-flash where the new roof meets the wall. A common mistake is running flashing too short — bend it tight and tuck it behind house shingles. If you want a detailed how-to, the step-by-step porch-tie guide covers techniques and photos.
10) Add columns, railings, and trim that complement the home’s architectural style
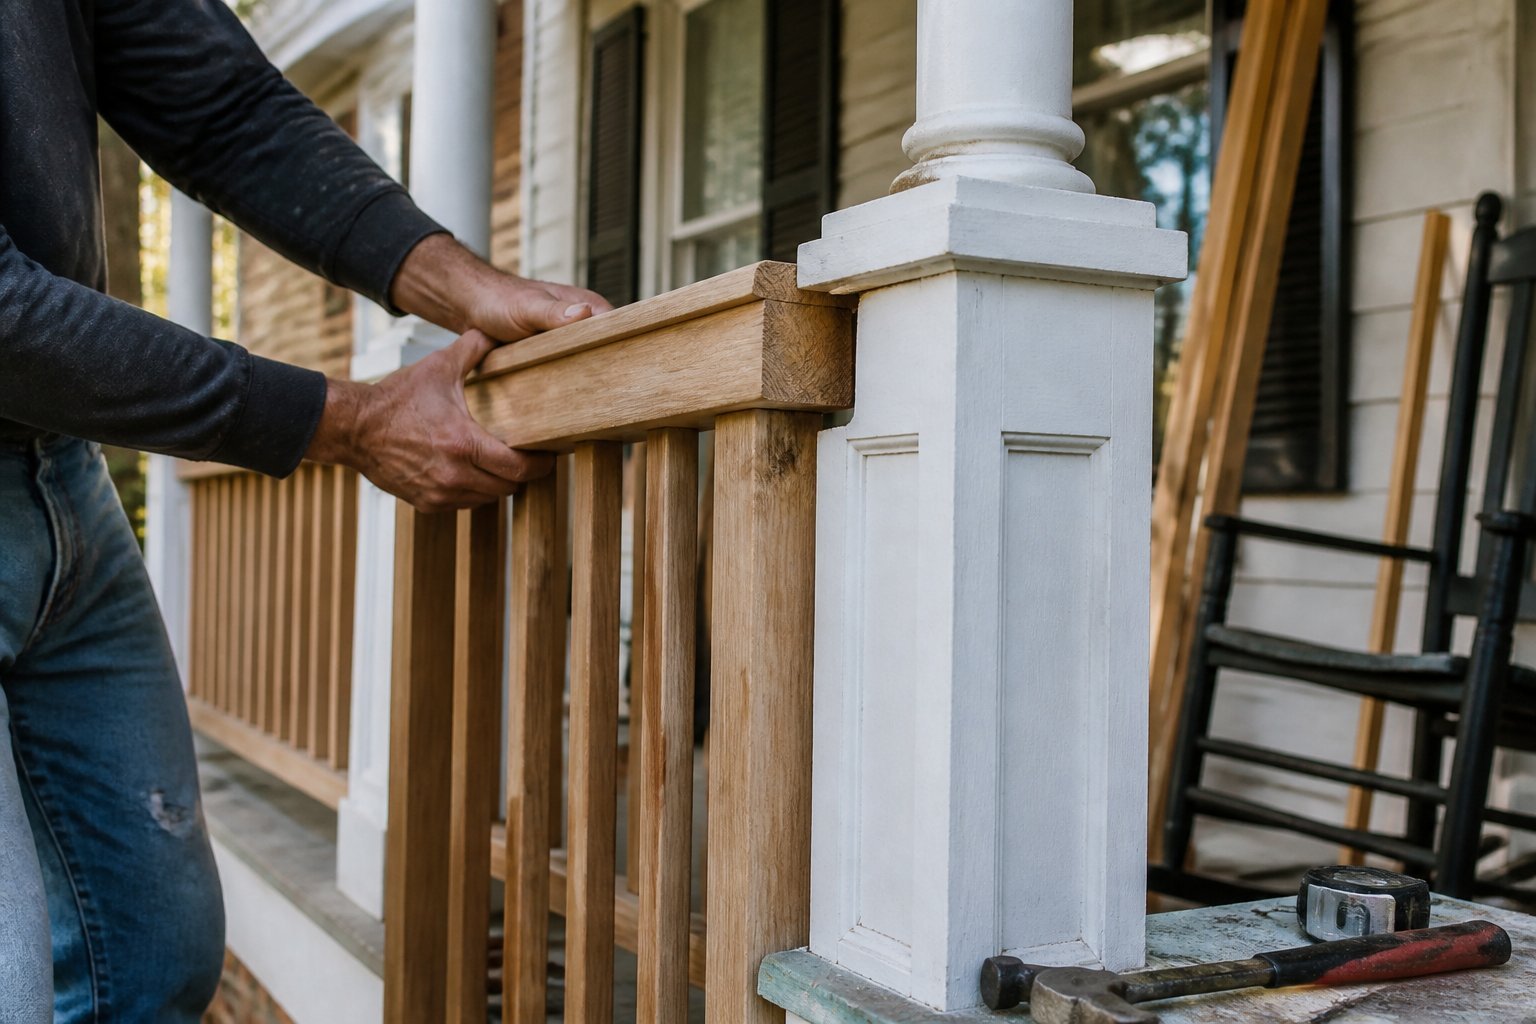
Guide: this is a practical design and installation tip to match structure and curb appeal.
Pick columns that match your house scale and era—slim tapered posts suit Craftsman homes; square, simple posts fit modern designs. Avoid oversized or too-fussy columns that look out of place and strain the porch roof.
Choose railings for safety and sightlines. Simple horizontal rails keep a modern look, while balusters with a top rail suit traditional homes. A common mistake is using delicate balusters on a high-traffic porch; pick sturdy materials instead.
Match trim details to existing moldings and paint lines. Run a test board to confirm profiles and colors before committing. If you’re unsure, consult a carpenter who has worked on similar styles; their eye can save you money and mistakes.
Understanding Building Codes and Permits
You need to know which rules apply to your property, what paperwork the city wants, and how inspections fit into the schedule. Get this right early to avoid delays, fines, or rework.
Local Regulations Overview
Intent: guide you through city and county rules that affect porch projects.
Start by checking your city’s planning department for setback, lot coverage, and historic-district rules. These rules tell you how far the porch must sit from property lines, how much of your lot can be built on, and whether certain materials or styles are restricted. For example, many Ohio towns require a variance if your porch extends into a required front setback; other cities deny additions in protected historic districts without design review.
Talk with the zoning official and bring a simple site plan showing property lines, the proposed porch footprint, and roof overhang. Common mistakes include assuming neighbors’ porches set a precedent and skipping design review. If you hire a contractor, confirm they will pull permits and handle plan submissions for you.
Common Permit Requirements
Intent: show the typical permit steps and inspection points you must satisfy.
Most jurisdictions require a building permit and stamped plans for structural changes that add a roof or alter foundations. Expect to provide foundation details (footing depth—often below frost line), ledger attachment to the house, and roof tie-in methods. Electrical or plumbing work on the porch (lights, outlets) usually needs separate permits.
Typical inspections occur at footing excavation, rough framing/ledger, and final sign-off. Pay attention to load transfer details; a failed ledger inspection or improper flashing can lead to costly repairs. Keep copies of approved plans on site and note inspection windows so you’re ready when the inspector arrives. If unsure about code citations, ask your building department for the specific IRC or local amendment that applies, or consult a licensed engineer.
Design Considerations for Seamless Integration
Focus on proportions, rooflines, and material transitions so the new porch feels like it was always part of the house. Prioritize structural ties, weatherproofing at the wall connection, and clear sightlines from the street.
Matching Architectural Styles
You want the porch to read as part of the house, not an add-on. Study the roof pitch, eave depth, window trim, and foundation height of your home. Match the roofline angle and align the porch roof gutter with the house gutters to avoid awkward shadows and water issues. Use column shapes and baluster spacing that mirror existing details—square tapered columns for Craftsman homes, turned posts for Victorian styles.
Common mistake: copying only paint color but ignoring scale. A narrow porch with chunky columns looks unbalanced. Measure existing cornice and baseboard heights and use those dimensions for porch trim. Take photos from the curb and test temporary mockups with cardboard or plywood to check proportions before building.
Selecting Complementary Materials
Pick materials that resist local weather and match visible textures on the house. If your siding is clapboard, use horizontal porch skirt boards; if stone veneer anchors the facade, bring a matching knee wall or piers. Match paint sheen and mortar color so transitions read as one surface.
Think about long-term maintenance. Pressure-treated or cedar decking works in wet climates; composite can reduce upkeep in high-sun areas. For roof surfaces, match shingles or use a contrasting metal roof only if it repeats elsewhere on the house. Create a short materials checklist: foundation type, siding profile, column finish, deck material, roof covering, and fastener color—use it when shopping or talking with your contractor.