10 Stunning Manufactured Home Remodel Ideas That Transform Spaces Instantly
You want a home that feels bigger, smarter, and more like your style without wasting time or money on changes that don’t matter. This article shows practical remodel moves that lift curb appeal, boost comfort, and add lasting value so you can plan upgrades that pay off.
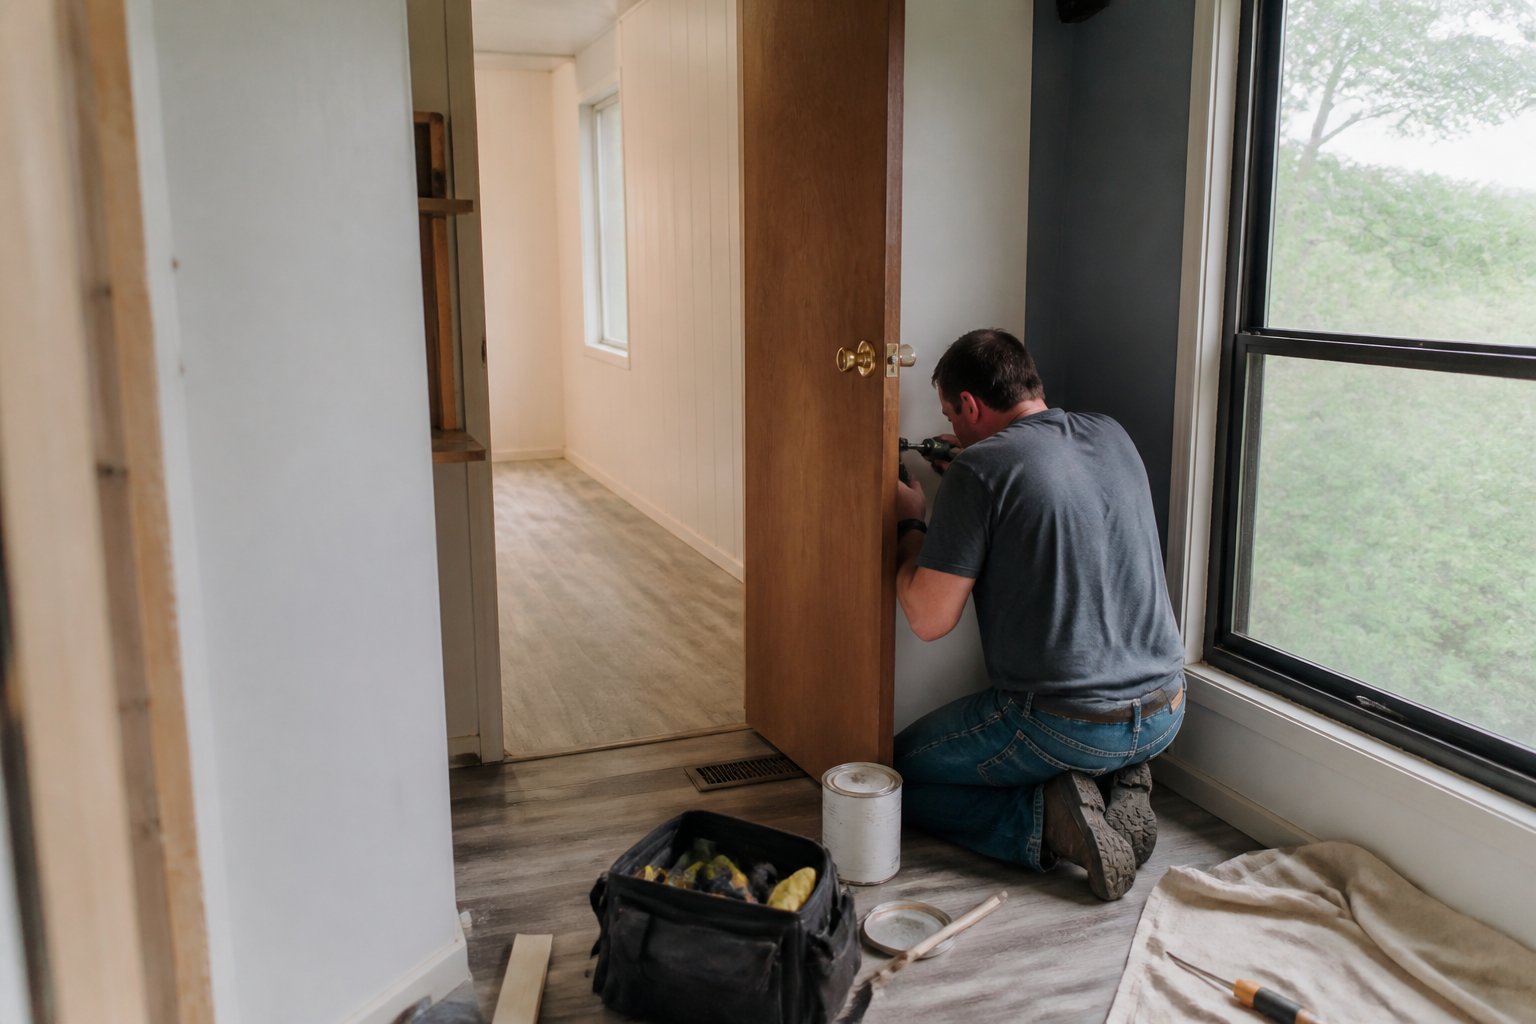
You’ll learn clear, doable ideas—from porch and siding choices to energy upgrades and space-saving built-ins—that help you make smart decisions and avoid common remodeling mistakes. Expect straightforward tips, real-world examples, and the planning steps that keep projects on budget and on schedule.
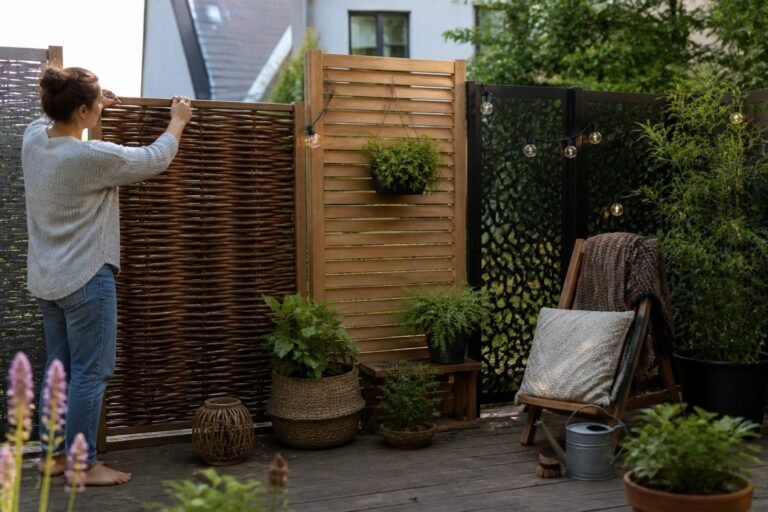
1) Add a full-width covered porch with composite decking and railings
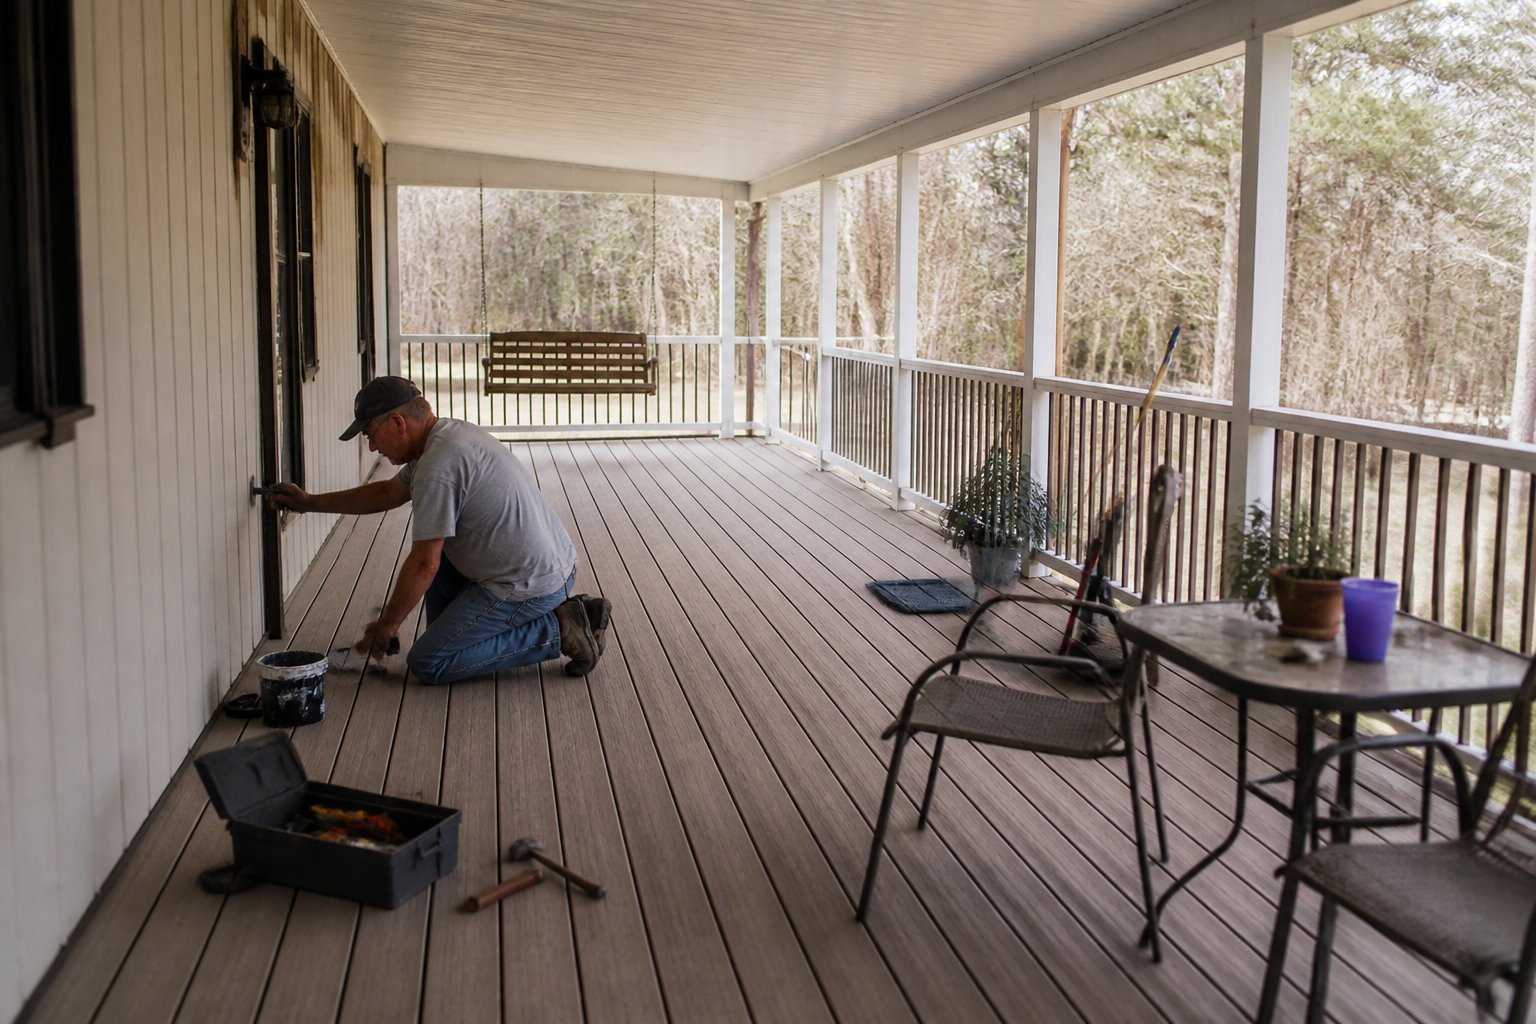
This is a how-to idea: build a full-width covered porch to expand living space and protect your entry. Start by checking local permit rules and measuring the span to match your home’s trim lines.
Choose composite decking for low maintenance and consistent color. Pair it with aluminum or composite railings to keep things weatherproof and code-compliant. A common mistake is skimping on footings; set them deep enough for frost and load.
Add a simple gable or shed roof tied into the existing eaves to avoid water issues. Flashing detail where the roof meets the home matters—seal it well to prevent leaks. For style, use warm-toned decking and vertical rail balusters; add two steps centered on the door for better flow.
If you want durability and curb appeal with minimal upkeep, this project delivers. Get a local pro to review plans before you buy materials.
2) Replace vinyl skirting with insulated rain-screen wood skirt and lattice accents
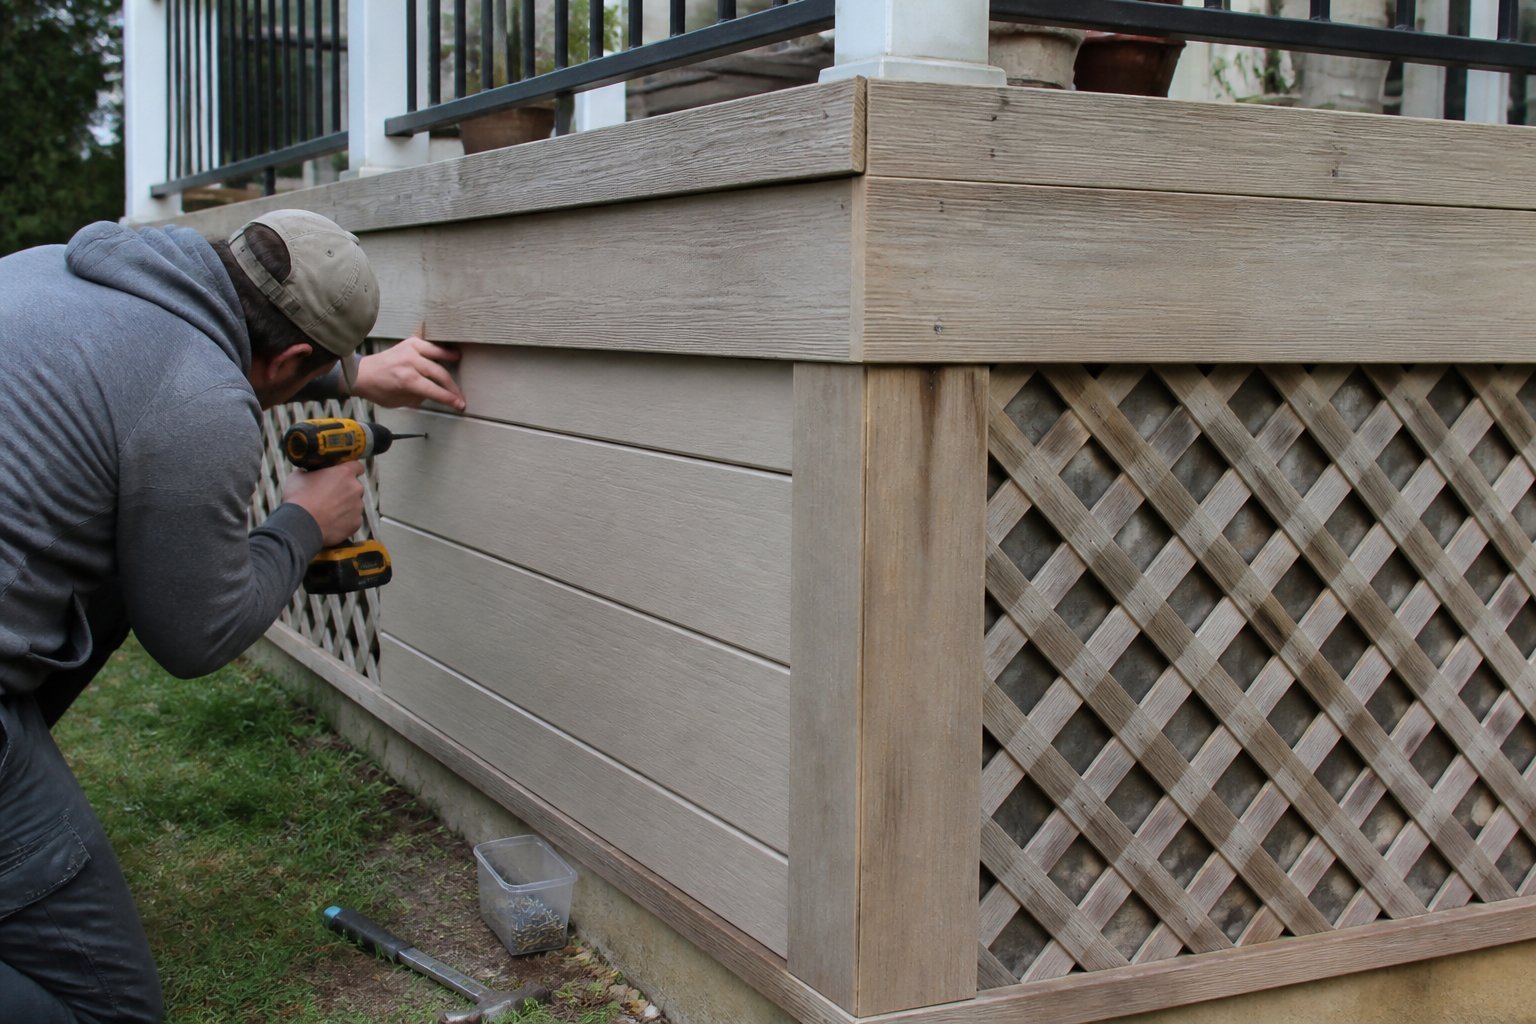
Guide: swap plain vinyl for a rain-screen wood skirt to gain insulation and a cleaner look. You’ll cut energy loss and stop trapped moisture by installing a ventilated gap behind the wood panels.
Start with pressure-treated or cedar boards and a breathable house wrap. Fasten vertical furring strips to create the air gap, then attach horizontal wood planks or board-and-batten over them. Add a painted lattice band near the top for airflow and a finished appearance.
Common mistakes: skipping the moisture gap, using untreated wood, or placing vents too high. These lead to rot and poor performance. For a modern touch, stain the skirt and paint the lattice a contrasting trim color.
See a range of styles and materials for skirting options at this practical mobile home skirting ideas page.
3) Install James Hardie lap siding and contrasting trim for a house-like exterior
Intent: tutorial and idea.
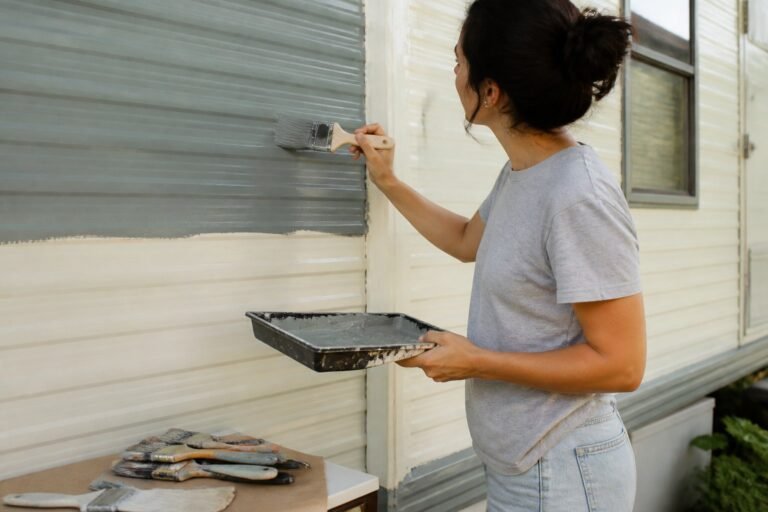
Give your home a real-house look by installing James Hardie lap siding and painting trim a contrasting color. Start with weather barrier and a straight starter course; crooked boards are the most common mistake and ruin the final look.
Use proper blades and dust-control when cutting fiber cement to stay safe and keep edges clean. Fit trim around windows and corners for crisp lines—white or dark trim against a mid-tone plank makes a clear, upscale contrast.
If you’re DIYing, practice cuts on scrap and nail to studs with corrosion-resistant fasteners. Hire a pro for complex rooflines or to keep the warranty intact. Measure twice, caulk once, and pick a finish that complements your roof.
4) Swap out old windows for triple-pane vinyl windows with faux-divided lights
Guide: install energy-saving triple-pane vinyl windows that mimic classic grids.
You’ll cut heating and cooling bills and reduce outside noise with triple-pane glass. Choose vinyl frames for low upkeep and a tight fit; get exact measurements to avoid gaps and drafts.
Pick faux-divided lights (simulated divided lites) when you want a traditional look without losing efficiency. Many installers place a grille between panes so the interior stays easy to clean—ask about that to avoid trapped dirt later.
Common mistake: ordering wrong sightlines or cheap trim that looks off. Bring photos of your existing style when shopping and inspect the mockup before final install. Consider professional installation for a tight seal; it pays off in comfort and fewer callbacks.
See a practical triple-pane example and design options at Marvin’s divided lites page: Marvin divided lites (https://www.marvin.com/products/design-options/divided-lites).
5) Open-plan kitchen conversion with peninsula, soft-close drawers, and quartz countertops
Intent: guide. Turn a cramped kitchen into an open, usable space with a peninsula that adds seating and storage. Start by removing non-structural walls to connect the kitchen to living areas; check for wiring and plumbing first.
Choose a peninsula layout that keeps work zones tight. Place the sink or cooktop near the bend so you don’t cross the room while cooking. Use soft-close drawers for heavy pots and spices to prevent slamming and extend hardware life.
Pick quartz counters for low maintenance and a clean look; choose a light tone to make the space feel larger. Add under-counter lighting and outlets for charging and small appliances. Avoid common mistakes like losing prep space for seating or crowding the traffic path.
Measure clearances: keep at least 36 inches for walkways. If you want examples and layout tips, see peninsula ideas for smart layouts and style.
6) Add built-in storage benches and boot cubbies in an entry mudroom
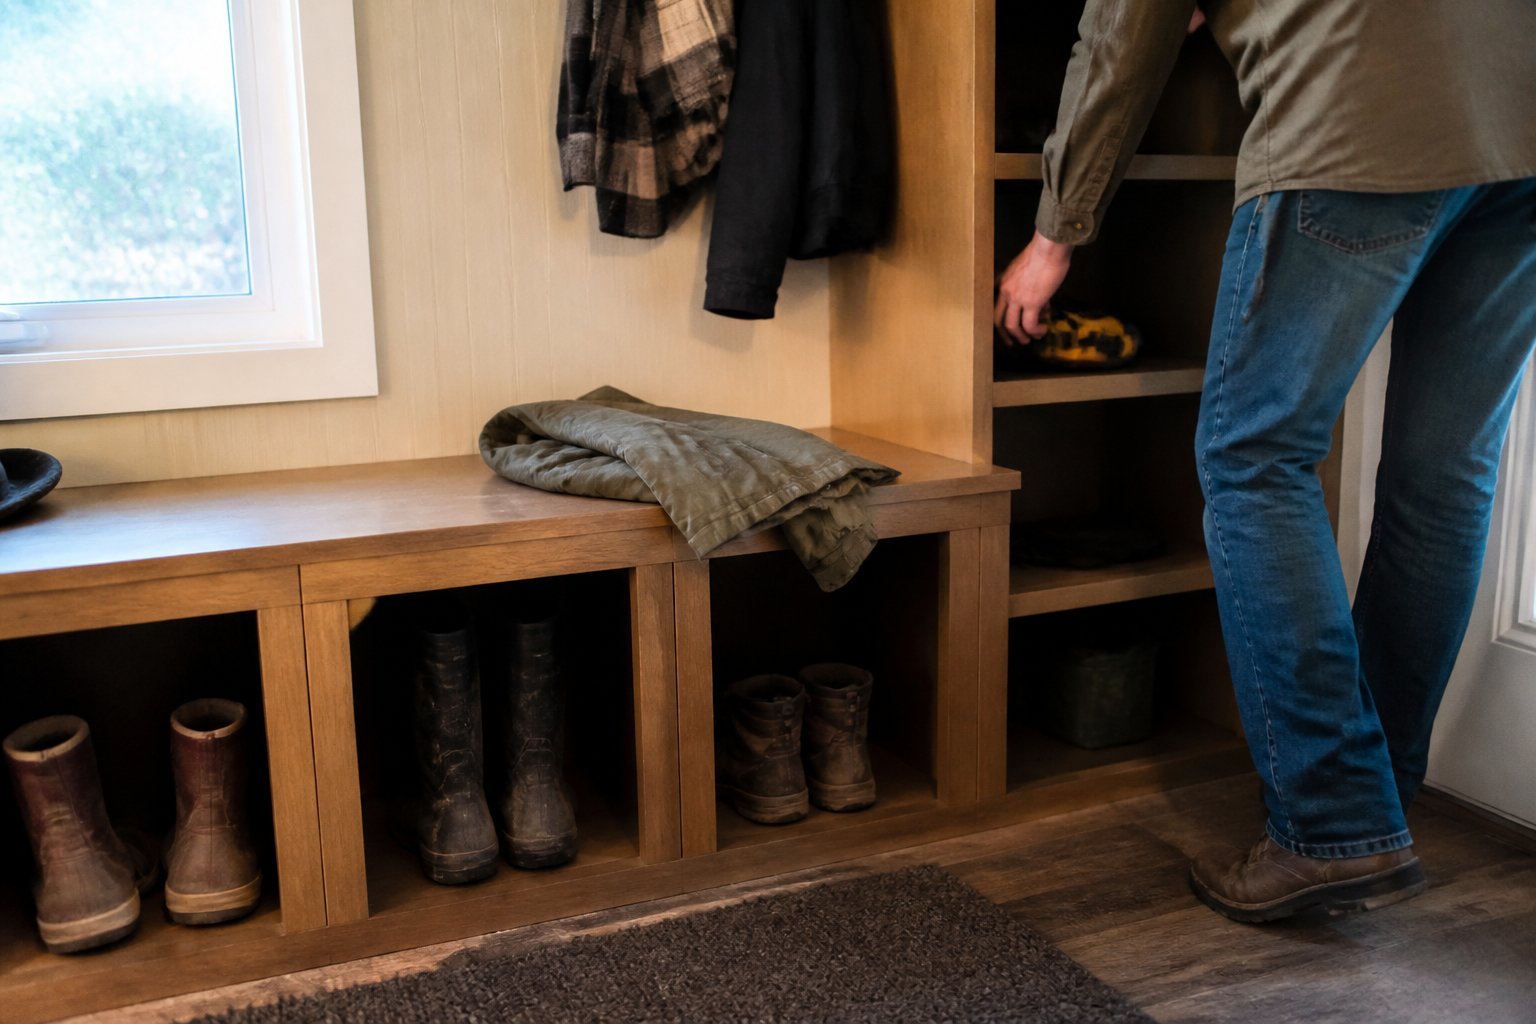
Intent: practical guide for adding seating and organized storage.
A built-in bench gives you a place to sit while you pull on shoes and keeps clutter off floors. Add deep drawers under the seat for winter boots and a top cubby for daily shoes to keep traffic moving.
Use open cubbies for quick access and closed drawers for seasonal gear. Try a mix of hooks above for coats and a shelf for baskets. A common mistake is shallow cubbies that can’t hold boots; measure your tallest footwear before building.
Paint the bench to match trim for a unified look. Test the bench height for comfort, then install durable flooring where shoes land. Choose storage that fits your routine and try it for a week to tweak.
7) Upgrade to tankless hot water heater and high-efficiency HVAC with smart thermostat
Guide: swap old systems for on-demand water heat and a smart HVAC to cut bills and boost comfort.
You save space and avoid standby heat loss with a tankless water heater. Pick a unit sized for your peak shower and laundry needs, and watch installers check gas lines or electrical load — a common mistake is undersizing the unit.
A high-efficiency heat pump or condensing furnace paired with a smart thermostat gives steady comfort and smarter scheduling. Set temps by time of day and use geofencing to avoid heating an empty home.
Expect a higher upfront cost but lower monthly bills. Ask contractors for energy estimates and rebates; ENERGY STAR standards can guide choices. Try one change first — like the thermostat — then add the tankless unit to spread cost and learn system behavior.
8) Create a spa-style bathroom with a walk-in tile shower, floating vanity, and heated floors
Intent: guide. Turn a cramped bathroom into a calm spa without overspending.
Choose a curbless walk-in tile shower for easy access and a clean look. Pick large-format tiles to reduce grout lines and a built-in bench for comfort; avoid tiny mosaics that need constant cleaning.
Mount a floating vanity to free floor space and add open storage below. Use water-resistant materials and a wall-mounted faucet to keep the area tidy.
Install electric heated floors under tile for steady warmth. Hire a pro for wiring and a thermostat to avoid cold spots or electrical issues.
Common mistake: skimping on waterproofing. Proper membrane work prevents leaks. If you want design ideas, see walk-in shower inspirations at HGTV for layout and tile choices.
9) Transform a tiny bedroom with a Murphy bed and floor-to-ceiling built-in wardrobes
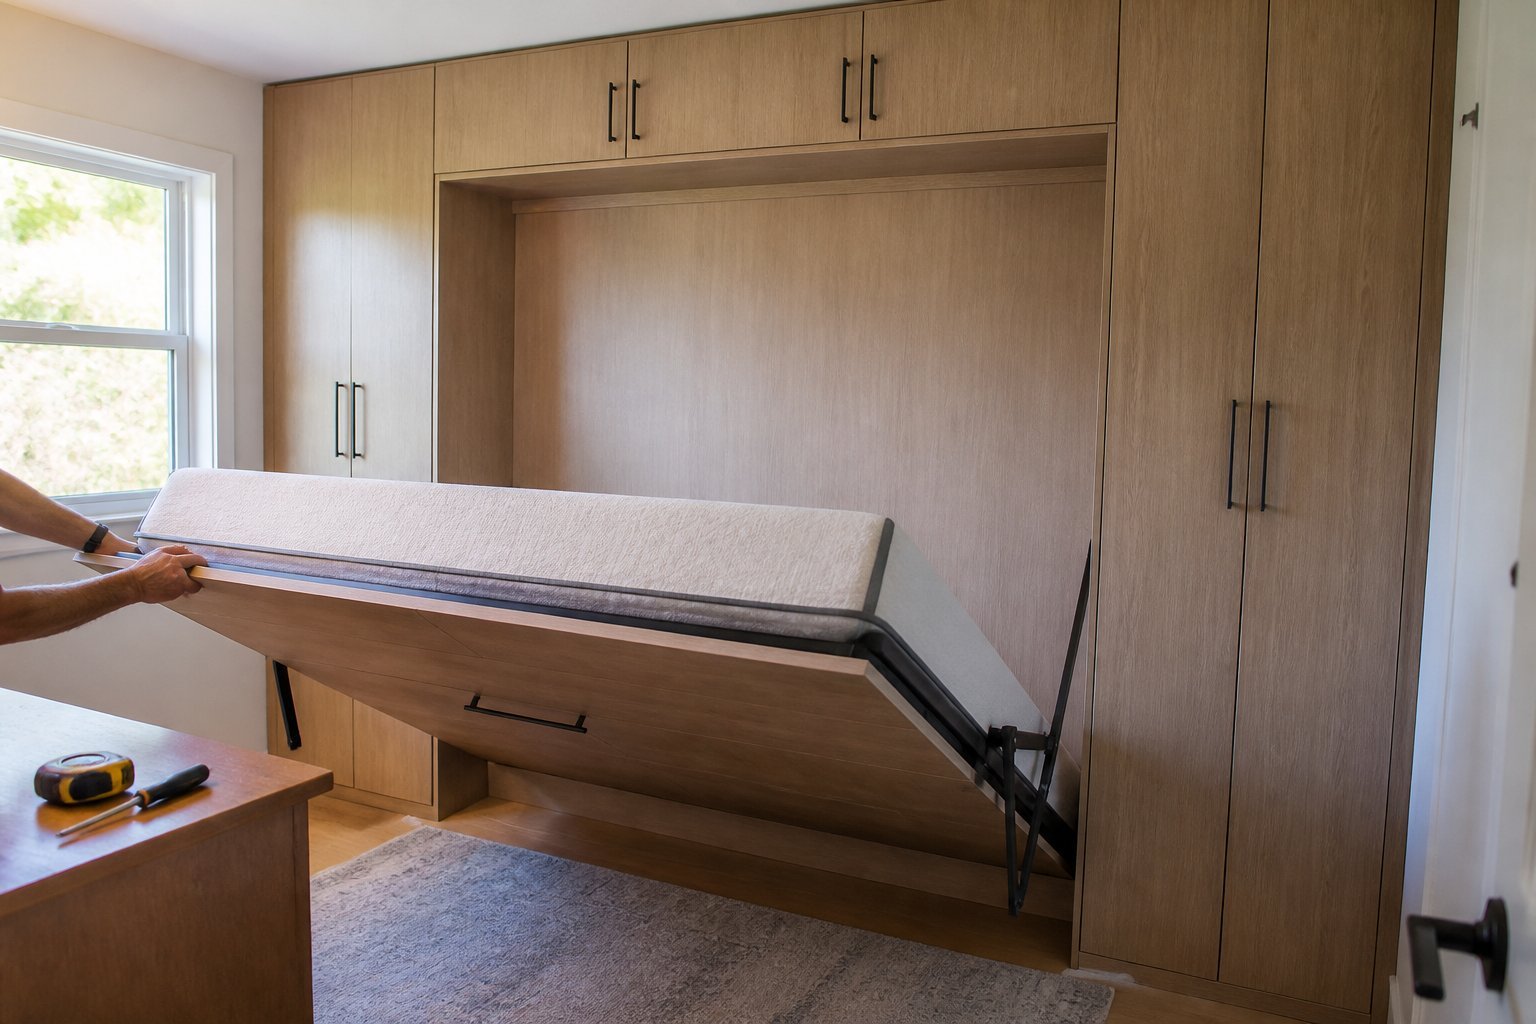
Intent: idea and guide. Turn a cramped bedroom into a calm, useful space by installing a Murphy bed paired with floor-to-ceiling built-ins. This frees floor area for a desk or seating during the day and adds huge, organized storage.
Choose a cabinet-style Murphy bed with a simple face that matches your wardrobes. Run the cabinets overhead and down each side to create a cozy alcove and maximize vertical storage. A common mistake is leaving the top shelves too deep—use pull-out drawers or labeled bins so things don’t get lost.
Keep the finish light and add integrated lighting above the bed for reading. If you want inspiration, check clever Murphy bed setups and wardrobe ideas from design sites like this Murphy bed gallery (https://cozy-vibes.com/murphy-bed-bedroom/). Try one small change today: plan a storage zone for linens, clothes, and a charging drawer.
10) Install recessed LED lighting, dimmers, and layered lighting design throughout
Intent: guide. You’ll get even light, save energy, and gain mood control when you plan recessed LEDs with dimmers and layered lighting.
Start by mapping tasks and traffic paths. Place cans over work zones like kitchen counters and near reading chairs; follow spacing rules by ceiling height to avoid dark spots. Consider IC-rated housings in insulated ceilings to meet safety codes.
Use dimmers that match LED drivers to prevent flicker. Test a sample fixture before you buy a lot. A common mistake is over-lighting — aim for layered zones: ambient, task, and accent.
Choose warm 2700–3000K for living spaces and brighter 3000–4000K for kitchens. Try adjustable trims for wall washing or highlighting art. If you’re unsure, bring your layout to a lighting showroom for hands-on help.
Planning Your Remodeling Project
Set clear goals, a firm timeline, and priorities before you buy materials or hire labor. Know what you’ll change, what must stay, and which upgrades will give you the biggest comfort or resale payoff.
Establishing a Realistic Budget
Guide: make a budget that covers materials, labor, permits, and a contingency of at least 10–15%.
Start by listing each room and its planned changes: cabinets, flooring, fixtures, paint, and windows. Get two or three local quotes for contractor work and compare the cost of buying new versus refinishing. Use a simple table to track estimates:
- Item — Low — High
- Cabinets — $1,200 — $4,000
- Flooring — $800 — $2,500
- Labor — $1,000 — $4,000
Factor in permit fees and utility upgrades if you’re changing plumbing or electrical. Set aside an extra fund for surprises like rotten subfloor or mold—those often double small jobs into big ones. If you need to trim costs, prioritize structural fixes and kitchen/bath upgrades: they add the most value and comfort. Decide which tasks you’ll DIY and which require pros.
Assessing Structural Requirements
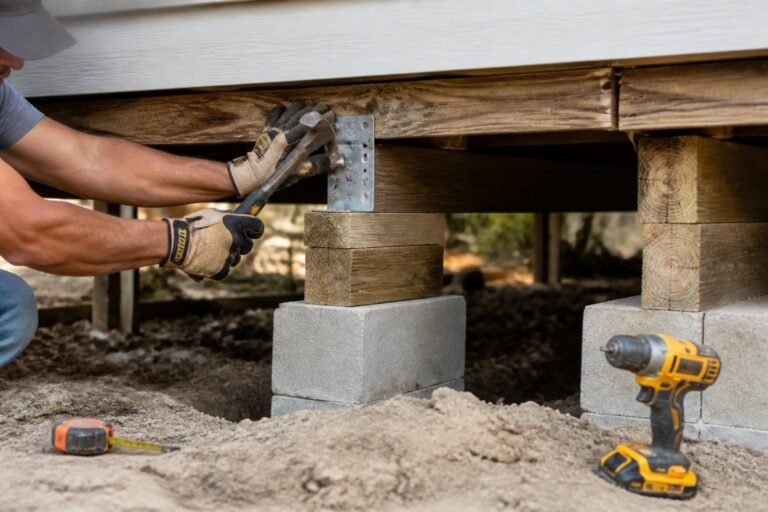
Guide: inspect the frame, roof, skirting, and tie-downs to avoid costly failures later.
Begin with a full walkaround and interior check. Look for sagging floors, uneven doors, water stains on ceilings, and soft spots in subflooring. Check roof seams, vent flashing, and exterior sealants; small leaks escalate quickly in manufactured homes. Measure ceiling heights and load-bearing walls before planning open-concept changes—removing a wall may need engineered supports.
Hire a structural inspector or a contractor experienced with manufactured homes when you see rot, rusted chassis, or corroded tie-downs. Document findings and get written repair scopes and quotes. Common mistake: buyers skip chassis and underbelly checks; that leads to hidden costs. Keep photos and notes so you can compare bids and avoid overpaying.
Selecting High-Impact Upgrades
Guide: choose upgrades that improve daily life and resale value first—kitchen, bathrooms, insulation, and windows.
Start with the kitchen: replacing cabinet fronts, swapping hardware, and adding a durable countertop can transform the space without full replacement. In bathrooms, focus on water-tight surrounds, new vanities, and efficient fixtures to cut future maintenance. Improve comfort and energy bills by adding insulation in the roof and skirting, and upgrade to double-pane windows where you notice drafts.
Make a ranked list of changes by impact and cost-per-benefit. Example prioritization:
- Insulation & windows (comfort + energy savings)
- Kitchen cabinets & counters (visual impact)
- Bathroom waterproofing & fixtures (function + resale)
Avoid spending heavily on trendy finishes if the shell still needs work. Choose materials that stand up to temperature swings and slight movement typical in manufactured homes. When ready, ask contractors for phased plans so you can spread costs and see progress.
Maximizing Value and Comfort
Focus on upgrades that cut bills, add resale value, and make daily life easier. Target insulation, heating, and smart storage so your home feels warmer, more usable, and worth more on the market.
Improving Energy Efficiency
Guide: retrofit steps to lower bills and raise home value.
Start with the shell. Add R-13 or better insulation in exposed floors and R-19 in roof cavities where possible; this reduces heat loss and makes heating systems cycle less. Replace single-pane windows with double-pane low-E units or add storm windows; you’ll see smaller heating bills and fewer drafts.
Upgrade the HVAC. Swap an old furnace or wall heater for an ENERGY STAR mini-split or high-efficiency heat pump sized to your home. Install a smart thermostat to cut wasted runtime—set night setbacks and remote control.
Seal air leaks around skirting, vents, and pipe penetrations with foam or caulk. Replace door sweeps and insulate the skirting with rigid foam to stop cold infiltration under the floor.
Small wins: LED lighting, low-flow showerheads, and smart power strips all shave energy use. For more ideas on practical remodels that add value, see this list of mobile home remodel ideas.
Enhancing Storage Solutions
Idea: reshape closets and built-ins so every inch serves a job.
Start by measuring and mapping unused nooks. Add floor-to-ceiling shelving in the hallway using 12–14″ deep units for linens and pantry items. Convert bedroom closets with a combination of drawers, double hanging rods, and shoe cubbies to double storage capacity.
Use multifunctional furniture: lift-top beds with drawers, benches with hidden storage, and kitchen islands with open shelving. In the kitchen, replace a blind corner with a pull-out carousel or drawered base to access pots easily.
Don’t forget vertical space. Install pegboards in utility areas, narrow floating shelves in bathrooms, and overhead racks in the laundry room for seasonal gear. Common mistake: overbuilding fixed cabinets that block light. Keep units modular so you can reconfigure for resale or changing needs.