How to Build a Simple Stairway Gate: From Zero Woodworking Skills to Baby-Safe
You want a safe, sturdy stairway gate but don’t want to pay for a poor-fitting commercial model or wrestle with complex joinery. You’ll learn how to turn basic pine boards and simple tools into a baby-safe top-of-stairs gate that looks like it belongs in your home and holds up to daily use.
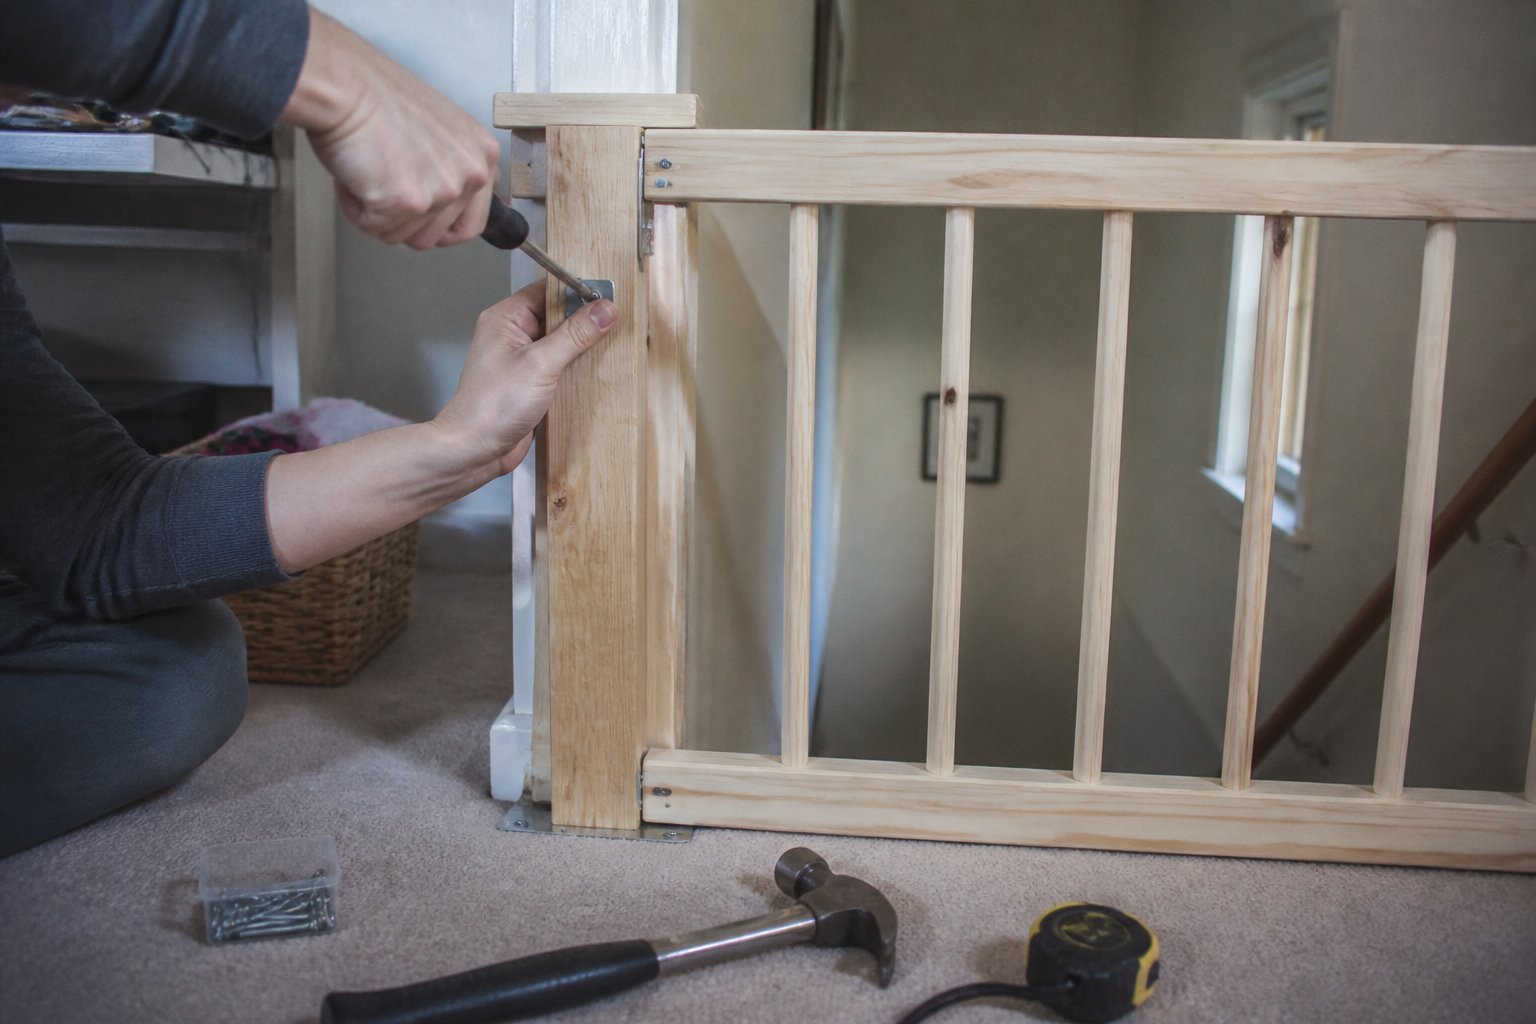
I guide you through clear, step-by-step work so you avoid common mistakes like sloppy hinge placement or uneven picket spacing. Expect practical tips on measuring, cutting, fitting, and finishing, plus tool and material notes that save time and keep your child safe.
1) Essential tools checklist: tape measure, circular saw, drill, chisels, clamps, screwdriver set
Intent: guide. Start by gathering tools that make the gate safe and square. A 25-foot tape measure and combination square keep your cuts exact; wrong measurements cause sticky doors and gaps that sneak hazards.
Use a circular saw for straight cuts and a drill to insert screws cleanly. If you skim a little when cutting, clamp a scrap guide board to the rail to stop tear-out.
Chisels clean mortises and lap joints; sharpen them before work. Clamps hold parts tight while glue dries — buy several sizes so you can apply even pressure.
A basic screwdriver set finishes by adjusting hinges and hardware. Common mistake: rushing with the wrong bit size and stripping screws. Check fit as you assemble and stop to correct alignment.
2) Materials list: 1×6 and 1×3 pine boards, 3/4″ plywood, wood glue, 2″ screws
Intent: guide — list what you need and why, so you buy the right stuff.
You need straight, knot-free 1×6 pine for the gate face and 1×3 pine for trim or slats. Choose boards that sit flat; warped pieces make a gate that binds.
Use 3/4″ plywood for the frame or panels where strength matters. It keeps the gate rigid and resists sagging over time.
Buy waterproof wood glue and plenty of 2″ self-drilling screws. Glue plus screws makes joints that hold up to kids opening and closing the gate.
Common mistake: grabbing cheap, bowed boards. Lay each board flat at the store and reject any twist. If unsure, bring a straightedge or measure across corners before cutting.
3) Top-of-stairs gate design blueprint: single-swing framed gate with mortise hinge
This guide teaches you how to build a single-swing framed gate that sits safely at the top of stairs. You’ll use a sturdy frame, diagonal brace, and mortise hinges set into the post for a clean, secure fit.
Cut the rails and stiles so the gate fits the opening with 1/4″ clearance all around. Fit a diagonal brace from top hinge side to bottom latch side to stop sag; clamp and check square before fastening.
Mortise hinges require careful layout—mark, chisel shallow pockets, and test the hinge fit. A common mistake is mortising too deep; that causes wobble. Mount the hinge leaves to the gate first, then to the post with the gate supported to avoid stress.
Choose weather-resistant wood and a latch that can be latched from the stair side but locked for child safety. Try a test swing for smooth operation and adjust hinge screws slightly if the gate drags.
4) Measure and mark method: how to measure opening width, plumb line and hinge placement
Tutorial: start by measuring the clear opening width. Measure between the finished faces of the posts or walls at three heights — top, middle, bottom — and use the smallest number. This avoids a gate that binds or rubs.
Use a plumb line to find true vertical for hinge placement. Tie a weight to a string, hold at top of post, and mark the plumb line where hinges will sit. If the post leans, you’ll spot it now and can shim or re-cut.
Decide hinge offset and gap. Typical gap is 3–10 mm; wider for exterior gates. Mark hinge screw positions on both gate and post, then pre-drill to avoid splitting.
Common mistake: measuring only once. Double-check each mark and measure again before cutting or drilling. If unsure, snap a photo of your marks to review.
5) Cutting and fitting rails and stiles: step-by-step straight-cut layout
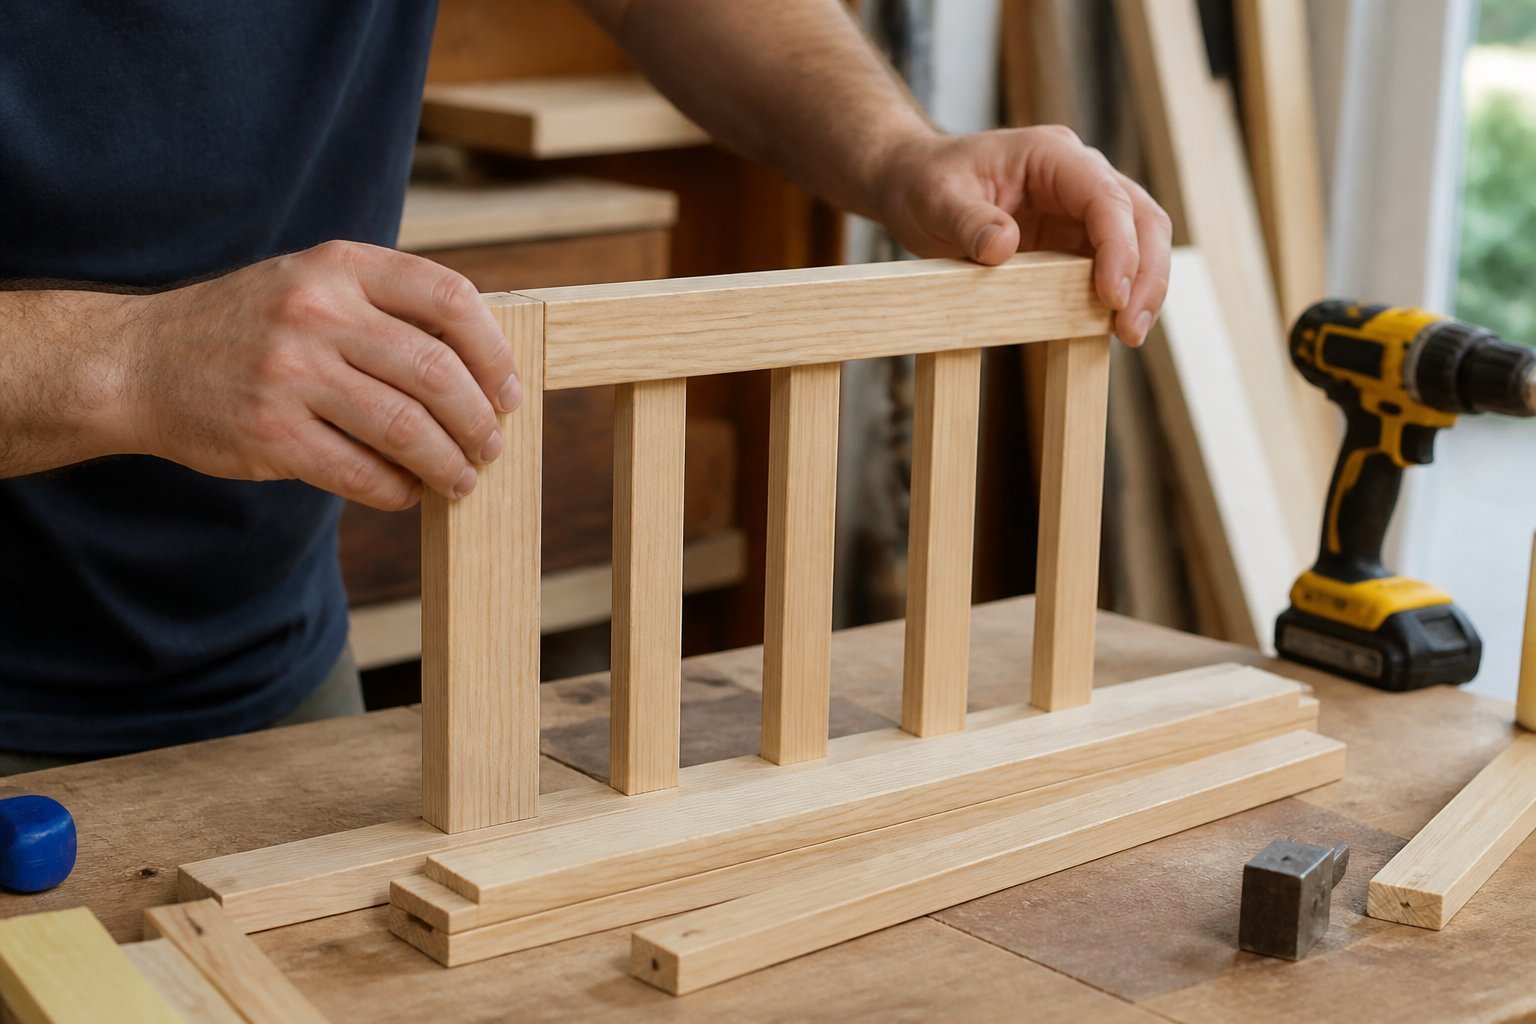
This is a hands-on tutorial that shows you how to lay out and cut straight rails and stiles for a safe stairway gate. Begin by marking overall gate height and stile thickness on both rails; measure twice and mark clearly.
Cut rails to length, then lay them against the stiles on a flat table to mark joint locations. Use a square for crisp 90° lines; a common mistake is skimping on squareness, which makes the gate twist.
Make test cuts on scrap wood to check fit before trimming the actual pieces. If a rail is tight, shave small amounts and re-test; if loose, add a thin shim or refit the joint.
Dry-assemble the frame with clamps to check alignment and reveal gaps. When satisfied, glue and clamp, wipe excess glue, and let set; your gate will be square and ready for final sanding and finish.
6) Creating pickets/spindles: spacing, drilling pocket holes and edge smoothing
Intent: tutorial. Lay out your pickets evenly before drilling. Measure from each end and use a spacer board to keep gaps uniform; a common mistake is relying on eyeing it and ending with uneven spacing.
Set your pocket-hole jig for the picket thickness and clamp each piece. Drill pockets on the back face so screws hide; test one first to confirm depth and screw length. If pieces are different thicknesses, set the jig for the thinner board and use shorter screws when needed.
Smooth all edges with a block plane or 120-grit sandpaper to remove splinters. Round the top corners slightly for the baby’s safety and to cut visual harshness. Check one assembled picket for fit before doing the whole run.
7) Assembling the gate frame: glue-up, clamp sequence, and screw reinforcement
This is a hands-on tutorial. You’ll dry-fit all parts first to check gaps and alignment.
Apply a thin, even bead of wood glue to joints, then press parts together. Use clamps in a cross pattern so pressure sits evenly; tight but not crushing is the goal.
Start with two corner clamps, then add a third across the diagonal to stop racking. If your frame wobbles, loosen clamps and insert a temporary diagonal brace until glue sets.
Reinforce with screws after the glue cures for strength. Countersink screws and plug or fill holes for a smooth finish. Avoid over-tightening—wood can split.
Common mistake: skipping dry-fit. Take the extra five minutes; it saves hours of sanding and recutting. Now grab your clamps and tighten evenly.
8) Hinge and latch selection: self-closing spring hinge and childproof magnetic latch
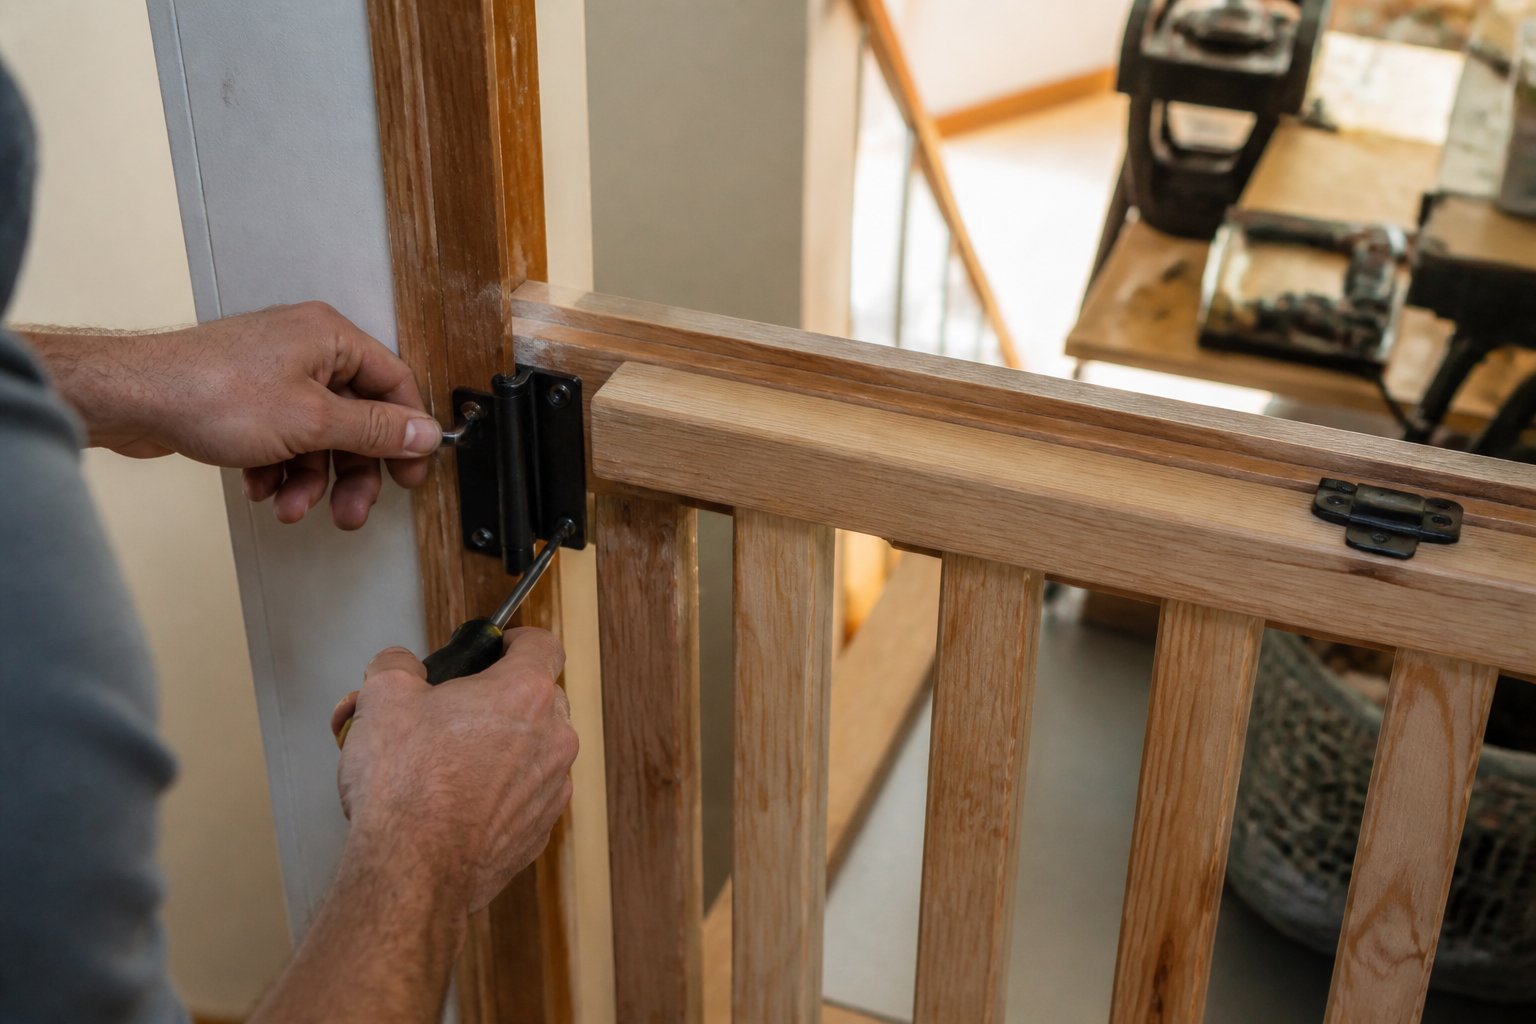
Choose a self-closing spring hinge to keep the gate shut without you chasing it. These hinges use springs or polymers to return the gate to closed; TruClose-style polymer hinges resist rust and sagging, which matters on stairs.
Pair the hinge with a childproof magnetic latch for easy adult use and safe childproofing. A magnetic top-pull latch lets you open the gate with one hand while keeping it out of a toddler’s reach.
Watch common mistakes: installing hinge tension too strong can slam the gate; too weak and it won’t close. Mount the latch high enough for adults, and test the closing action several times after adjustments.
9) Mounting to wall/banister: installing solid 2x blocking and using lag bolts
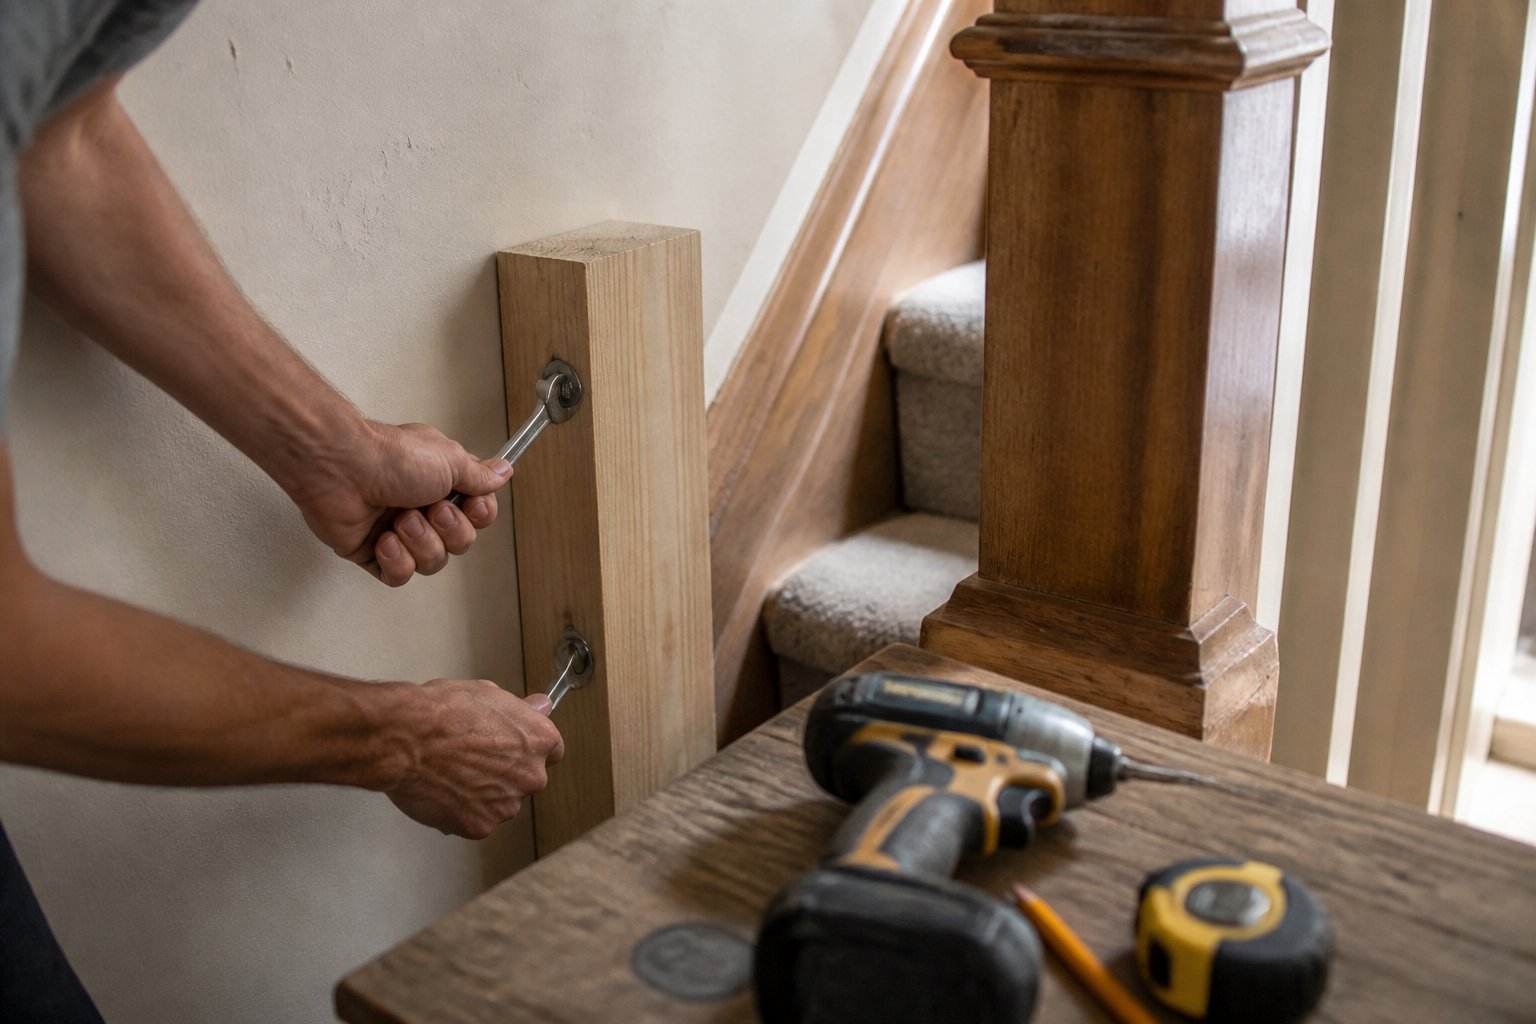
This guide shows you how to add solid 2x blocking behind drywall so your gate fastens to real wood, not just sheetrock. Plan where the gate bracket will sit, then mark studs above and below the mount point.
Cut a 2x block to fit between studs or across the banister post. Slide it in through a small access hole, then screw it in from the stud faces so it sits tight. A common mistake is using short screws—use #10 or #12 screws long enough to bite both the blocking and studs.
Use lag bolts to secure the gate bracket into the blocking. Pre-drill a pilot hole, then drive the lag bolt until snug; don’t over-tighten and crush the wood. If you can’t reach a stud, consider a mounting plate or a banister kit designed to clamp without drilling, like the Stair Barrier wall-to-banister method.
10) Finishing for safety: sand to 220 grit, water-based finish, and non-toxic sealant
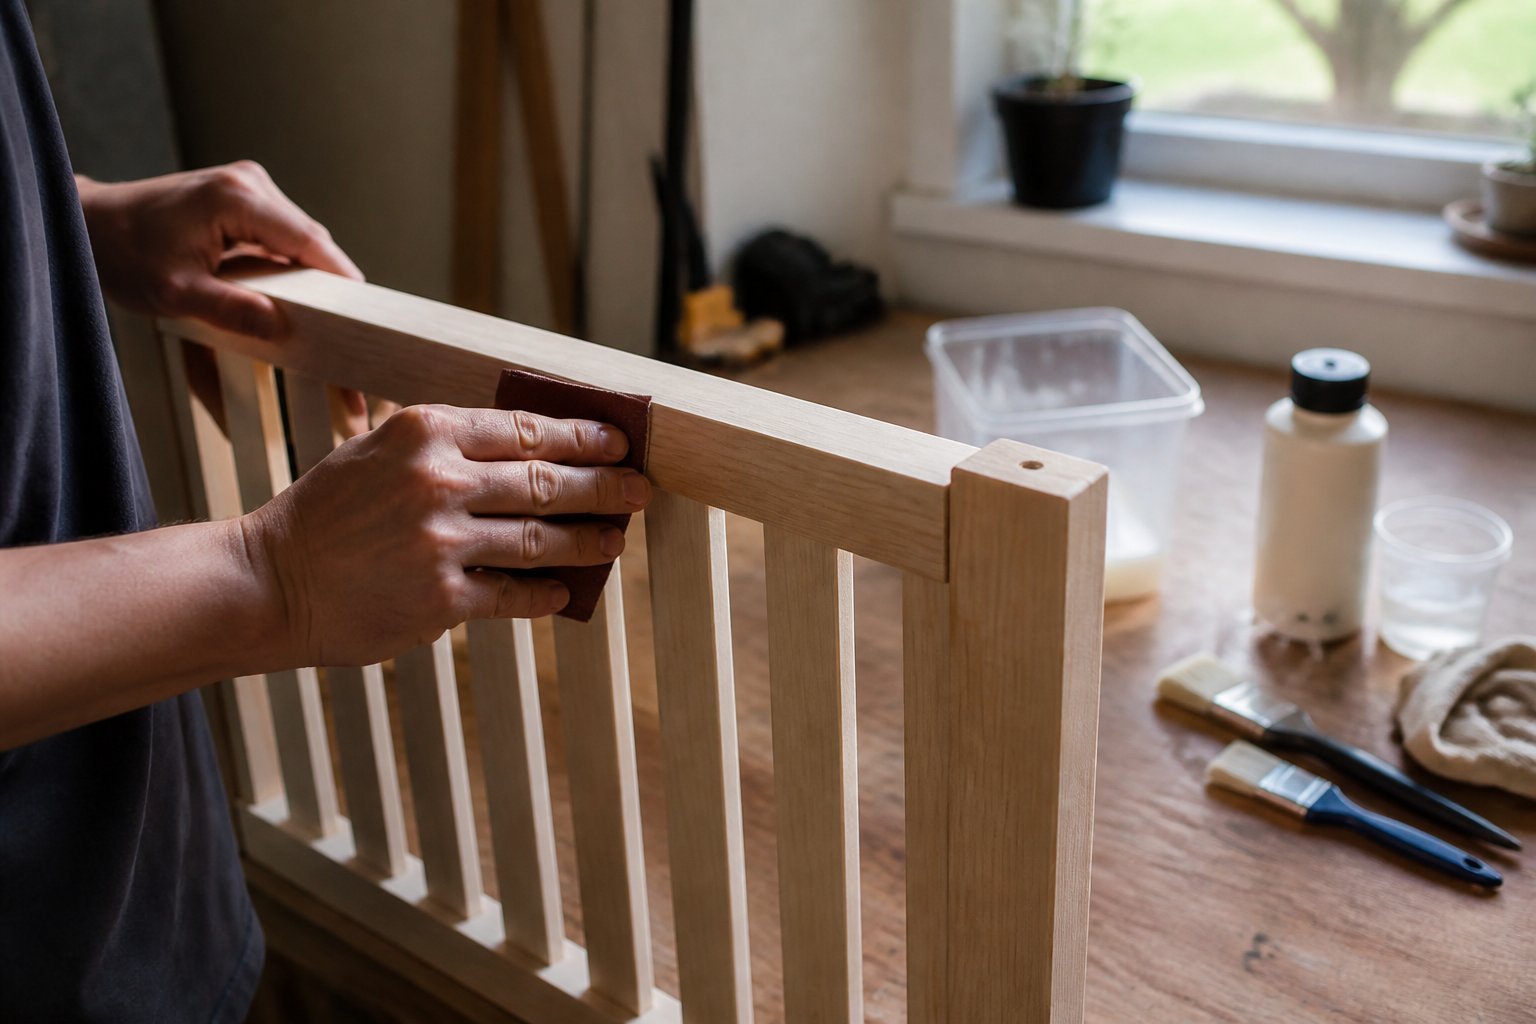
This is a hands-on guide to make the gate smooth and safe for baby use. Start by sanding the whole gate to 220 grit; that removes splinters and prepares wood for finish.
Wipe dust with a tack cloth and test a small area of your chosen water-based finish. Water-based topcoats dry fast and keep fumes low, which helps indoor projects and sensitive noses.
Apply thin, even coats and sand lightly between coats with 320 grit to keep edges smooth. Use a non-toxic sealant rated for furniture or food contact to reduce VOCs; Rubio Monocoat is a trusted plant-based option many pros recommend.
Watch for raised grain after the first coat—sand and recoat if needed. If you spot drips or tackiness, wait longer to cure; patience keeps the latch and hinges from sticking.
Understanding Safety Requirements
You need clear dimensions and practical childproofing choices so the gate keeps a child from falling or squeezing through. Focus on height, bar spacing, latch reliability, and nearby hazards when you plan and build.
Height and Spacing Guidelines
Aim for a gate height of 30–36 inches measured from the stair tread or floor to the top rail. That height stops most toddlers from climbing over while still keeping the gate manageable for adults. If your child is particularly tall for their age, add a few inches.
Set vertical slats or pickets so gaps are no more than 1.75 inches (44 mm). This prevents a child’s head from fitting through. For horizontal rails, avoid wide flat surfaces that can act as a step. Use round or narrow rails and keep the bottom clearance under 2 inches so toes can’t get trapped.
Common mistake: assuming a store-bought height works for your stairs. Measure at the actual installation point, not at a doorway. If you cut or alter rails, recheck spacing and edges to remove splinters.
Childproofing Considerations
Choose a latch that requires two distinct actions to open — for example, lift and slide or press-and-rotate — so you reduce accidental openings. Position the latch where a curious child can’t reach but an adult can operate easily with one hand. Test it dozens of times before trusting it.
Anchor the gate to solid framing when possible. If you must mount to drywall, use heavy-duty anchors and add a backing block behind the drywall to spread load. Inspect hardware monthly for loose screws, warped wood, or worn springs.
Watch for nearby hazards: keep furniture and objects at least 24 inches away so a child can’t climb onto them and over the gate. If your stairs are narrow or steep, add a top-mounted gate or extra reinforcement. Take one step now: mark measurements and pick a childproof latch before cutting any wood.
Basic Tools and Materials Explained
You’ll pick wood that holds screws and finish well, and you’ll gather a few reliable hand tools that make cuts and fittings clean and safe. Focus on durability, smooth edges, and a latch that can’t be opened by a toddler.
Choosing the Right Type of Wood
Choose hardwoods like oak or maple for a top-of-stairs gate if you want toughness and a fine finish. These woods resist dents and hold screws firmly, so the gate stays square after repeated use. If budget or weight matters, use pine or poplar; they sand and paint easily but need a bit more care to avoid dents.
Look for straight boards with minimal knots. Knots can split when you screw near them. Buy 1×3 or 1×4 lumber for rails and pick a 1×2 for trim. Plan for 10–15% extra material to allow for mistakes and cutting test pieces.
Common mistake: using warped boards. Lay boards flat in the store and check edges for twist. If you plan to stain, test on a scrap to judge color. If you prefer a ready plan, see a simple build example that lists materials and costs for stair gates.
Essential Hand Tools
Start with a circular saw or handsaw for straight cuts. A miter saw speeds up angled cuts and gives consistent, square ends. If you don’t own power tools, a good-quality handsaw and a miter box will do the job safely.
You’ll also need a drill/driver with a countersink bit, a tape measure, a combination square, and wood clamps. Use 1-1/4″ and 2″ wood screws, plus a few wood glue bottles for glued joints. Sanding tools: a palm sander and 120–220 grit sandpaper make edges smooth and child-safe.
Safety tools matter: safety glasses, hearing protection for power tools, and a dust mask. A simple latch assembly and two butt hinges finish the hardware list. If you want visual examples or step-by-step parts lists to match your stair opening, check a detailed DIY plan to match your measurements and materials.