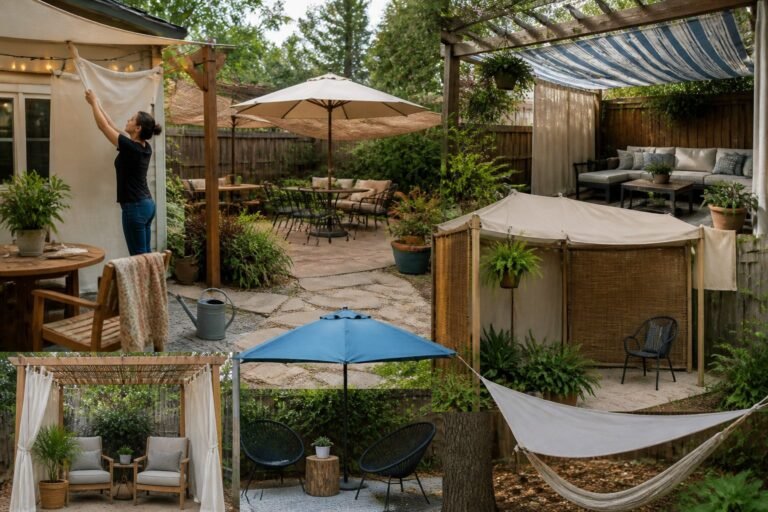
10 Cheap Ways To Cover Dirt In Backyard That Transform Your Space Fast
You stare at bare dirt and imagine a cleaner, more usable backyard without spending a small fortune. You want solutions that look good, stand up to weather and foot traffic, and don’t take weeks or a contractor to install.
You’ll learn ten practical, low-cost ways to cover dirt—options from mulch and groundcovers to simple patios and turf—plus tips to avoid common mistakes like poor drainage or choosing the wrong material for pets and play areas. This guide gives clear pros and cons, cost-minded choices, and quick steps so you can pick the right fix and get started this weekend.
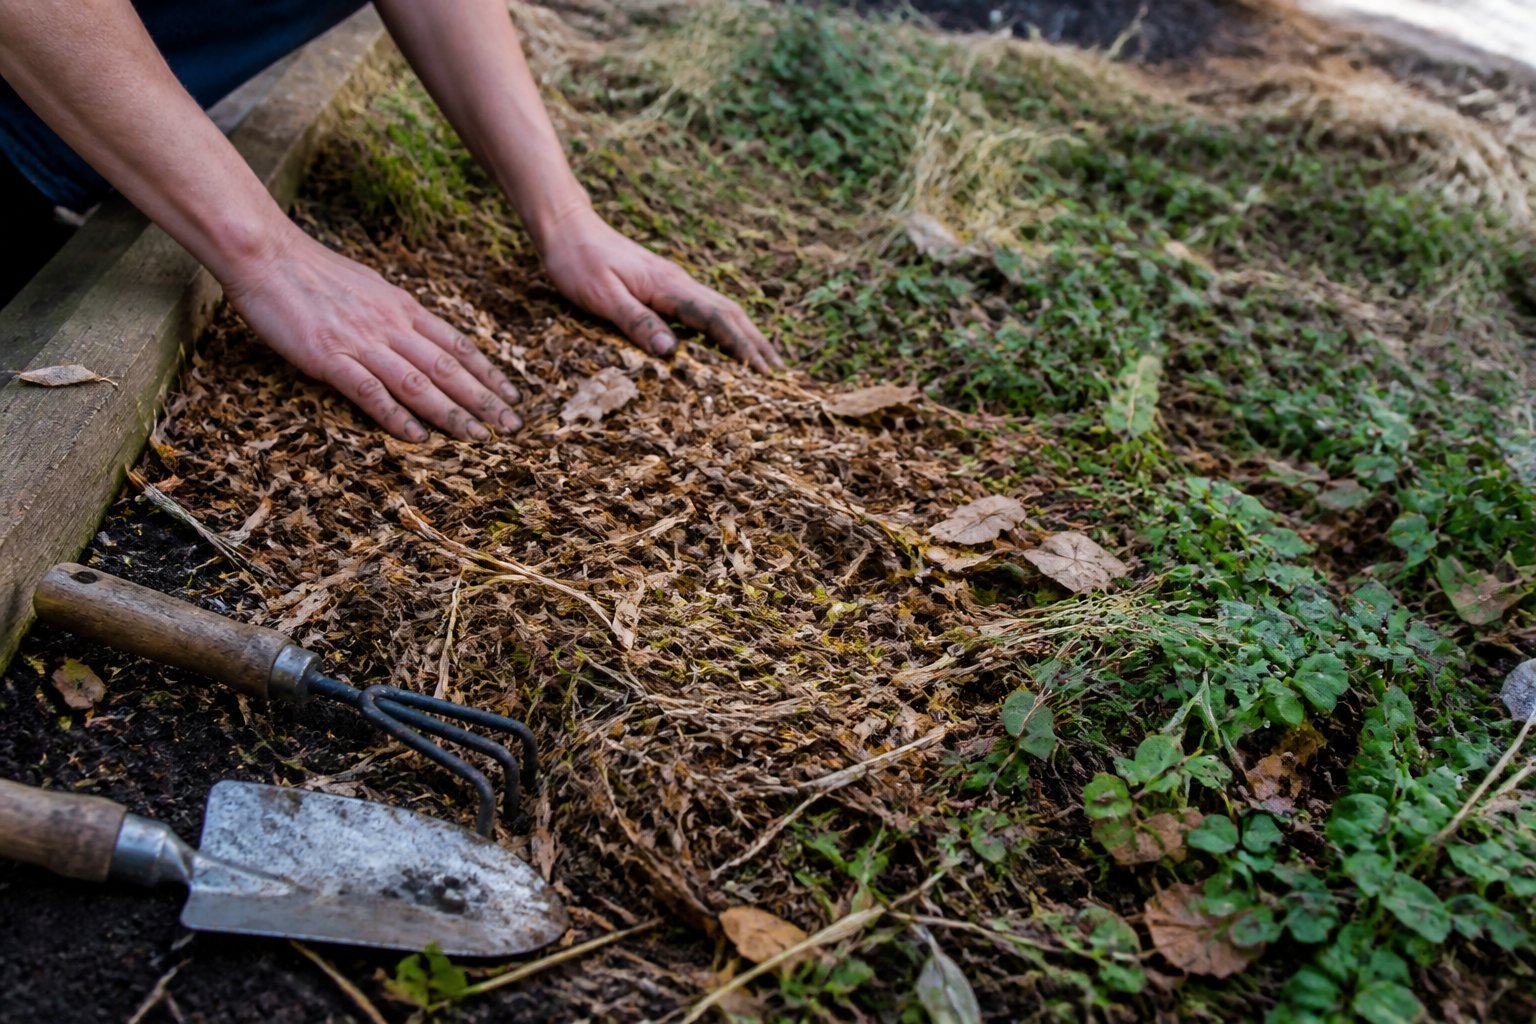
1) Organic shredded bark mulch
Use this as a how-to: spread a 2–3 inch layer of organic shredded bark to cover bare dirt quickly and cheaply. It locks in moisture, cuts weeds, and gives a neat, finished look.
Lay a landscape fabric if weeds are a big problem, but don’t rely on fabric alone; roots still need air and water. Pull mulch a few inches away from trunks and stems to avoid rot.
Buy in bulk or ask a local tree service for wood-chip drop-offs to save money. A common mistake is piling mulch too deep — that can suffocate soil and attract pests.
Check every season and top up where it thins. Try a small test area first so you learn how it settles before treating the whole yard.
2) Pea gravel pathway
This is a how-to guide to lay a cheap, low-maintenance path with pea gravel. Decide on width and route first; a 2–3 foot path suits most yards and keeps costs down.
Prep the ground by removing sod and roots, then level and compact the soil. Add landscape fabric to block weeds, and edge with pavers or timber so gravel stays put.
Buy pea gravel by the bag or ton depending on size. Spread 2–3 inches for walking; add more for driveable areas. Rake smooth and tamp with a plate compactor or hand tamper.
Common mistakes include skipping edging or using too little depth; both lead to shifting and bare spots. If kids or pets use the path, choose rounded pea gravel for comfort.
Try pairing the path with stepping stones or plants to soften edges and guide traffic. Give it a test walk and adjust the depth where you need firmer footing.
3) Artificial turf (short-pile landscape turf)
Intent: practical guide to install and maintain short-pile turf on a budget.
Short-pile artificial turf gives a neat, low-maintenance look that works well for play areas and paths. You can DIY this to save money, but plan the base properly so it drains and stays flat.
Start by removing sod and roots, then lay a crushed rock base and compact it. Use landscape fabric to block weeds and secure the turf with landscape staples or adhesive at seams. A common mistake is skipping compaction—soft spots appear fast.
Choose short-pile turf for durability and easier cleanup. Brush it occasionally and rinse pet areas to keep it fresh. If you want fast results, short-pile turf looks like grass without mowing; measure carefully and cut slowly for tidy edges.
4) Cascading groundcover plants (Creeping Thyme)
Intent: guide. Plant creeping thyme where you want low, fragrant coverage that fights erosion and weeds.
Choose a sunny, well-drained spot and plant plugs 6–12 inches apart. It fills gaps fast and tolerates light foot traffic, so try it between pavers or on a slope.
Water well until established, then cut back after flowering to keep it dense. Common mistake: overwatering or heavy shade—thyme thins and weeds move in when conditions are wrong.
You can mix varieties for color and scent. I once replanted a steep bank with mixed creeping thyme and it stopped sliding soil within a season.
For more planting ideas and care tips, see creeping thyme ground cover examples at Garden & Land.
5) Recycled brick paver patio
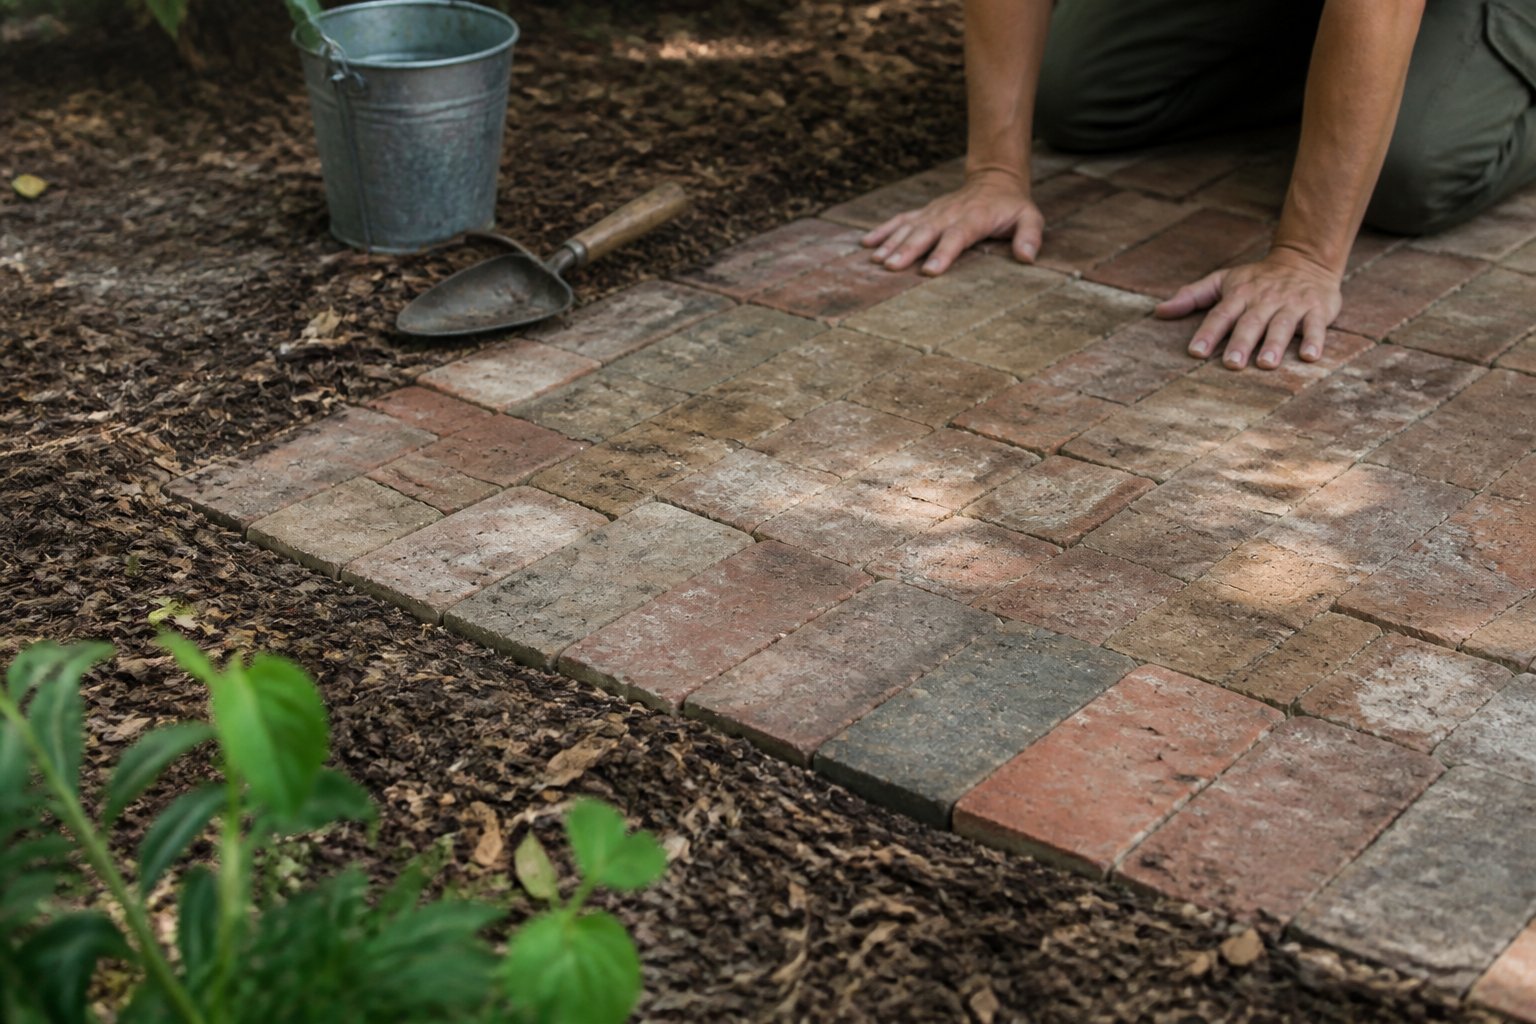
Intent: practical guide to building a low-cost patio from reclaimed bricks.
You can make a sturdy patio using reclaimed bricks from demolitions or old walkways. Lay them on a compacted base of gravel and sand for good drainage; this keeps bricks from sinking.
Mix different brick colors for a worn, cottage look. A common mistake is skipping edge restraints — without them, the pattern will spread and look sloppy after a season.
If a brick is chipped, use it on the patio edge or cut it to fit. Rent a plate compactor for a day to set the bricks evenly; hand-tamping leaves gaps.
For step-by-step help and design ideas, read cheap patio options like these recycled-brick examples (https://softlyoutdoor.com/cheap-patio-floor-ideas/). Try a small test area first to check slope and water run-off, then expand as you gain confidence.
6) Wooden deck using pressure-treated boards
Build a simple deck with pressure-treated boards to cover bare dirt and create usable outdoor space. This guide shows you how to lay a basic platform that lasts and stays affordable.
Start by leveling the spot and placing concrete piers or deck blocks for support. Screw treated 2×6 boards to a sturdy frame, leaving small gaps for water drainage; a common mistake is skipping joist reinforcement, which causes sagging later.
Pressure-treated wood resists rot and is cheaper than cedar. Expect some greenish color at first; it fades with time and a coat of stain improves appearance. Wear gloves and a mask when cutting to avoid sawdust.
If you need inspiration, look at simple square or rectangular layouts—easy to expand later. Give it a try this weekend and test one small section first.
7) Rubber garden mulch (recycled tires)
Guide: Learn how to lay rubber mulch from recycled tires to cover dirt cheaply and last for years. You get durable, low-maintenance ground cover that won’t wash away like bark.
Start by clearing weeds and adding a weed barrier. Spread 2–3 inches of rubber mulch and rake it level. For play areas, choose pieces with rounded edges to avoid sharp bits.
Watch for common mistakes: don’t pile mulch against plant stems, and avoid using it where you’ll want to plant later. Rubber can warm soil more than organic mulch, so keep heat-sensitive plants in mind.
Buy from a reputable supplier and check for contaminants. If you prefer reading about creative tire uses first, see this guide on turning tires into mulch and other projects (https://guidedreview.com/how-to-turn-tires-into-mulch/).
8) Stepping-stone layout with flagstone
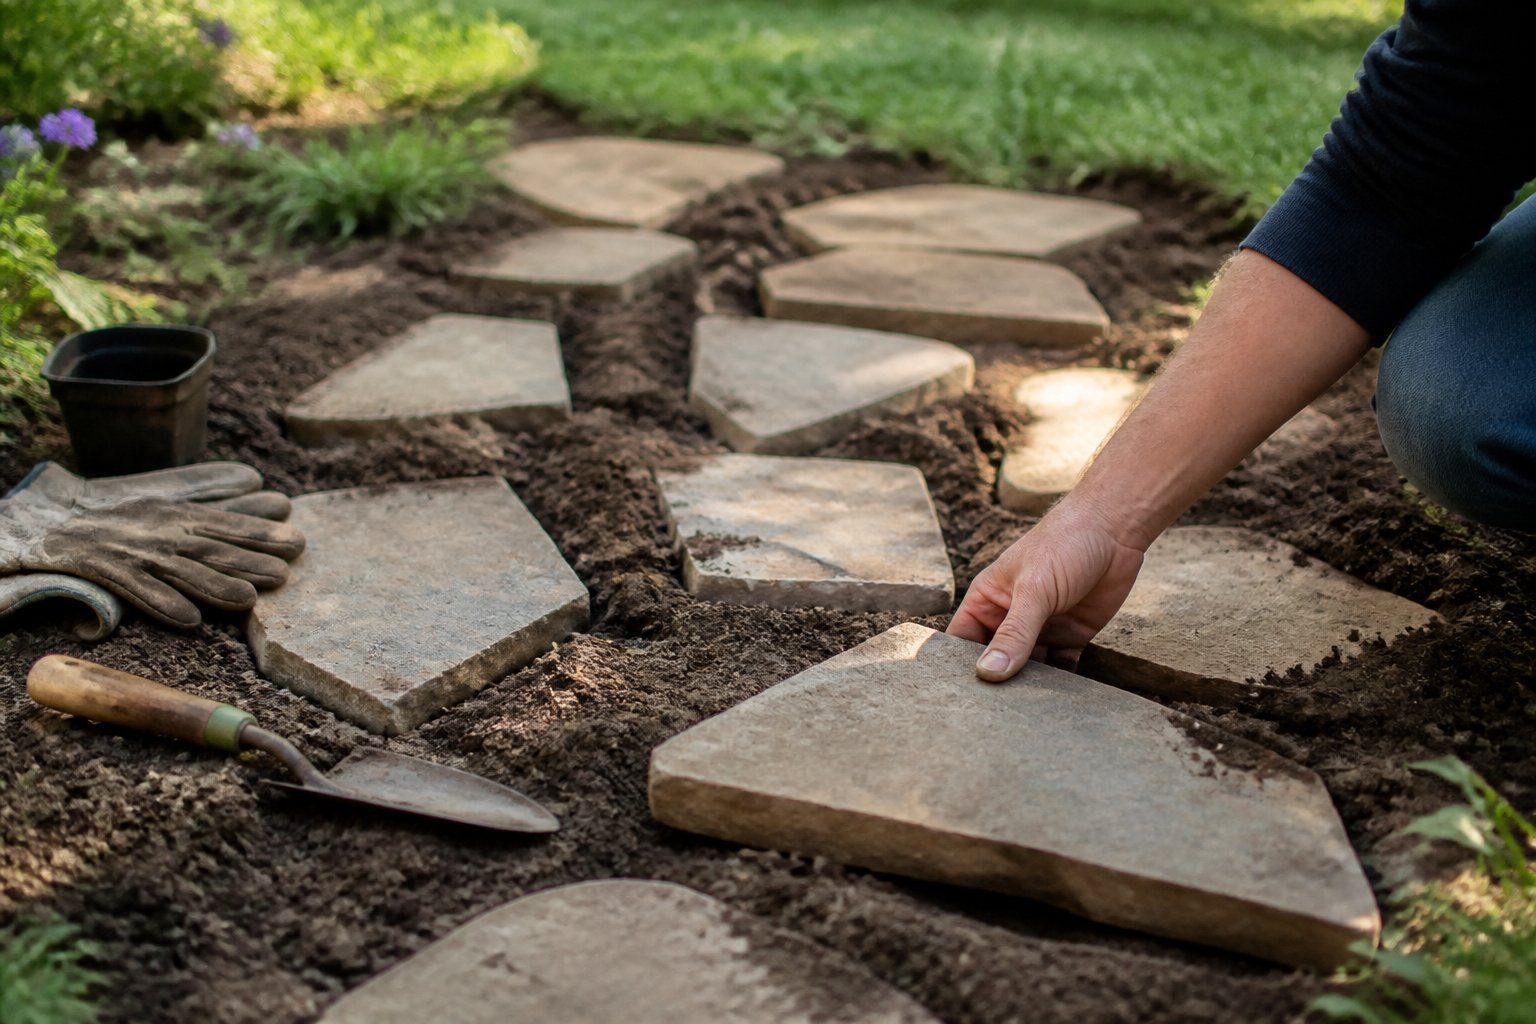
Guide: a simple tutorial to lay flagstone stepping stones that look natural and last.
Choose irregular flagstones for a cottage look or cut pavers for clean lines. Lay them several inches apart and fill gaps with pea gravel or low groundcover to prevent weeds. Start by marking a curved path with a hose; curves look deliberate and slow foot traffic.
Dig shallow holes so each stone sits firm and level. Tamp a 1–2 inch sand base under each stone to stop rocking. Check with a level and adjust; uneven stones are the most common mistake and cause trips.
Mix sizes for visual interest and move stones by sliding, not dropping, to avoid chipping. For more detail on patterns and materials, see this flagstone walkway guide (https://artsyprettyplants.com/flagstone-walkway-diy). Try a small test run before you lay the full path.
9) Native ornamental grasses (Little Bluestem)
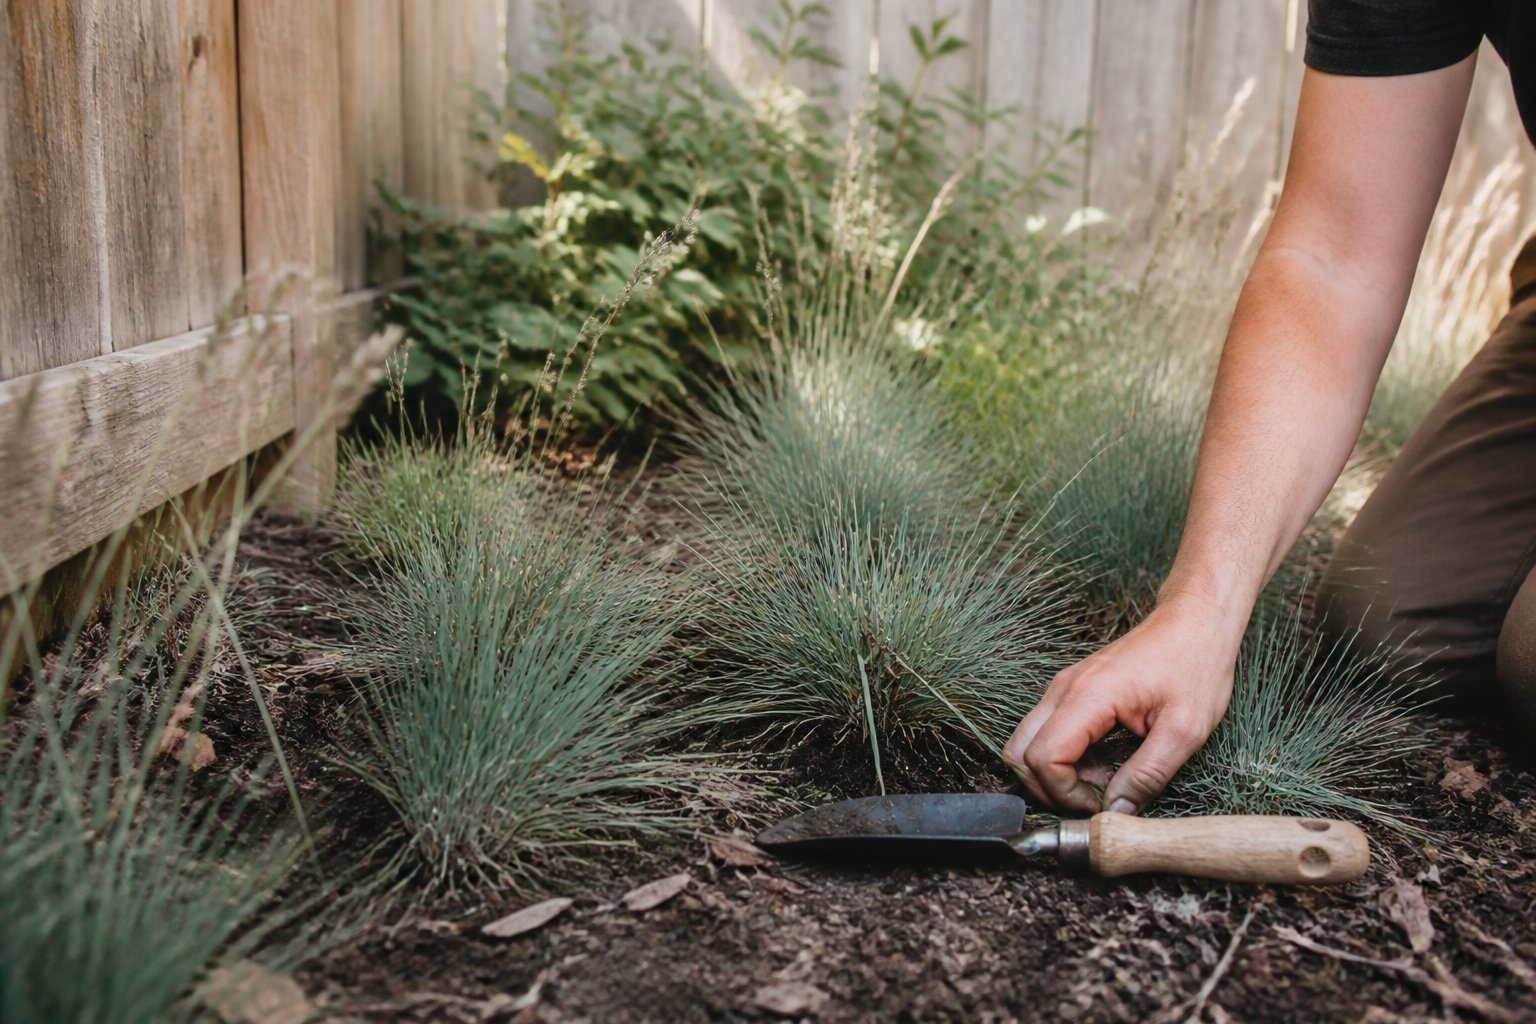
Guide: use Little Bluestem to cover bare dirt with low cost and low work.
Plant clusters 1–3 feet apart to form a living mat that holds soil and looks natural. Little Bluestem tolerates dry, poor soils and needs little feeding, so you save money on amendments. A common mistake is planting too densely; that invites disease and hides the grass’s airy seedheads.
Place it where you want year-round texture—prairie-style swaths, borders, or around paths. It turns bluish-green in summer and coppery in fall, giving color without extra care. If you need erosion control, mix with deeper-rooted natives like big bluestem for better hold.
You can divide older clumps in spring to fill gaps cheaply. Try small test patches first to see how it fits your yard, then expand from there.
10) Landscape fabric topped with river rock
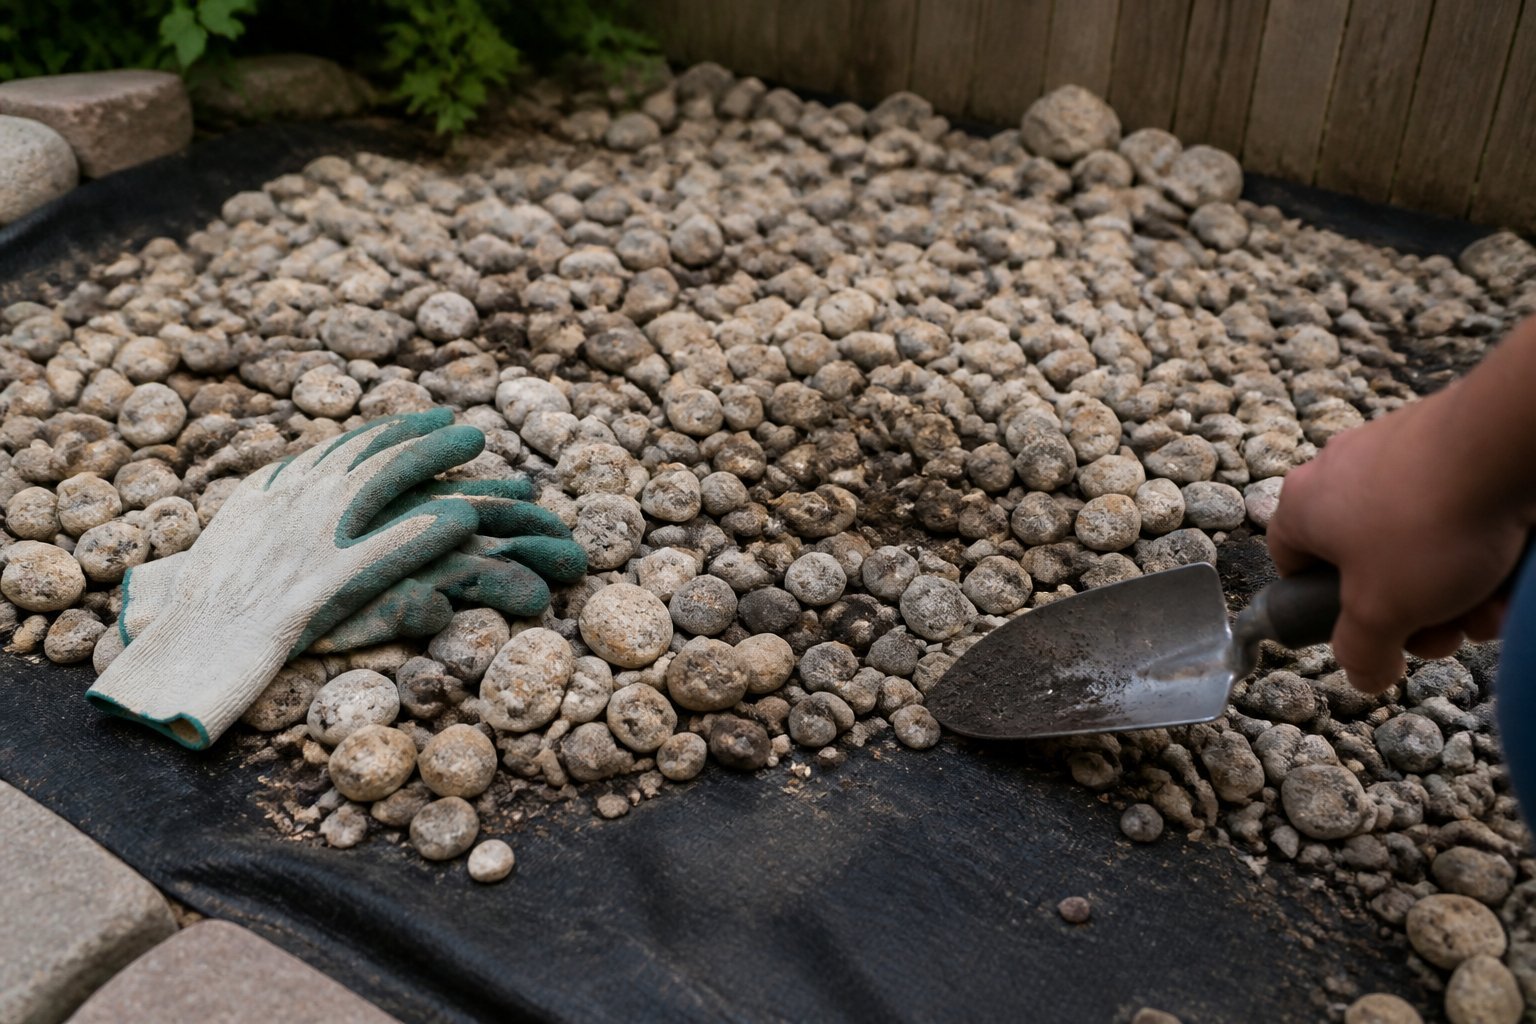
Intent: tutorial — show how to cover dirt with fabric and river rock.
Lay landscape fabric over graded soil to block weeds and stop rocks from sinking. Cut the fabric to fit, overlap seams by 6–8 inches, and secure edges with landscape staples so it won’t shift when you add rock.
Spread 2–3 inches of washed river rock for paths and 3–4 inches for beds. Use a plate compactor on the fabric before rock if the soil is loose; this keeps the surface firm and reduces settling.
A common mistake is skipping edging—without it, rock wanders into lawns. Also avoid thin fabric that rips; choose a durable, permeable geotextile. For help on installation steps and fabric types, see this guide on installing landscape fabric under rocks.
Factors Affecting Affordable Backyard Coverings
Choose options that match your soil, climate, and how much time or money you’ll spend on upkeep. These three factors decide whether mulch, gravel, groundcover plants, or a simple patio will save you money and headaches.
Soil Composition and Preparation
Guide — you’ll test and amend soil before placing any covering. Clay holds water and compacts, so add coarse sand and organic matter or build a raised bed before planting groundcovers. Sandy soil drains fast and benefits from compost to hold moisture for new plants.
If you plan gravel, lay landscape fabric over graded soil to stop weeds and prevent stones from sinking. For sod or seed, loosen the top 4–6 inches, remove rocks, and add topsoil to get a smooth, even surface. A common mistake is skipping soil prep to save time — you’ll pay later with poor plant growth or shifting surfaces.
Quick checklist:
- pH test and adjust for plants.
- Add 2–3 inches compost for planting.
- Compact and grade for hard surfaces.
Local Climate Considerations
Guide — match covering to your rain, sun, and freeze patterns. In wet regions, avoid fine mulches that mat; use coarse bark or gravel to keep paths usable. In hot, dry climates, choose drought-tolerant groundcovers like sedum or decomposed granite that won’t need irrigation.
Think seasonal freeze-thaw cycles: porous pavers or crushed stone tolerate frost better than rigid patios that can crack. Shade from trees limits grass and many groundcovers; opt for ferns, hostas, or mulch. Track microclimates in your yard — a south-facing slope dries faster than a low, shaded corner — and plan materials accordingly.
Long-Term Maintenance Needs
Guide — estimate weekly and yearly time before you choose material. Mulch needs topping every 1–2 years and occasional weed pulling. Gravel settles and grazes, needing raking or adding stone every few years. Groundcover plants may spread and require trimming or thinning once a season.
Hardscapes like pavers cost more up front but need less frequent care — occasional weed control and joint refilling. Factor in tool costs: a blower, pruner, or small tiller adds ongoing expense. Pick the option that fits your schedule: low-maintenance if you want hands-off, or living covers if you enjoy seasonal gardening.
Enhancing Aesthetics on a Budget
You’ll focus on fitting low-cost coverings into the shape, sightlines, and use zones of your yard. Practical choices—where people walk, where plants get shade, and where water drains—matter more than matching every color.
Blending Coverings With Landscape Design
Intent: practical tutorial for placement and flow.
Start by mapping high-use paths and seating areas. Lay gravel or stepping stones where people walk to prevent mud and protect turf. Use mulch or groundcover plants in beds to hide dirt and keep moisture in. Place heavier materials—pavers, flagstone—near entrances and patios so they don’t shift on slopes.
Match material scale to yard size. Large pavers overpower small yards; pea gravel looks busy in large open spaces. Watch drainage: slope hard surfaces away from the house and add a narrow trench drain if runoff pools. A common mistake is placing dark mulch in full sun; it heats soil and stresses plants. Try trial layouts with cardboard or spare boards before committing.
Choosing Color and Texture Pairings
Intent: design guide for cohesive, low-cost palettes.
Pick two dominant textures (soft: plants, mulch; hard: gravel, pavers) and one accent (river rock, decorative tiles). That keeps the look intentional without costly materials. For color, pick a neutral base—gray gravel, brown mulch—and one pop color from containers or flowers to guide the eye.
Match textures to function: fine gravel for walkways, coarse stone for drain areas. Use contrast to hide dirt edges: dark mulch next to light pavers looks sharp and low-maintenance. Avoid too many bright colors; three or fewer keeps your yard calm and easier to refresh over time.