How to Hang String Lights: 10 Easy DIY Methods & Budget Hacks for Instant Curb Wow
You want your porch or yard to look welcoming without spending a lot or hiring help. This guide shows simple, safe ways to hang string lights so your home looks brighter and more inviting, whether you have wood trim, brick, vinyl, trees, or no anchors at all. You’ll learn ten easy DIY methods and budget hacks to get beautiful curb appeal using common tools and renter-friendly options.
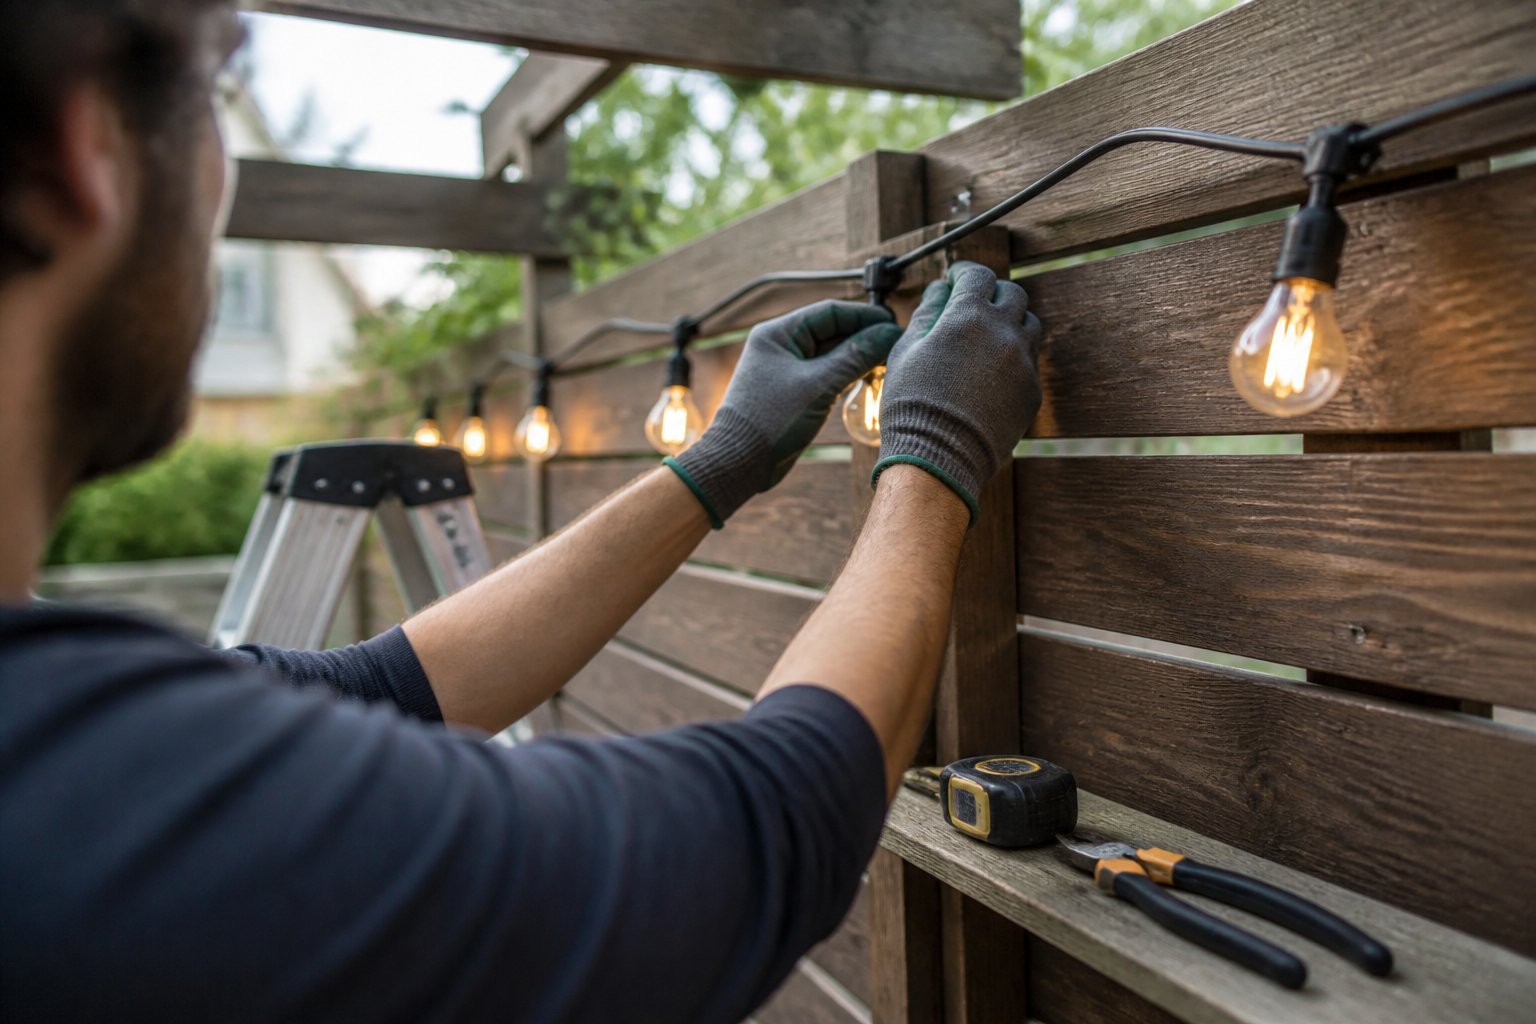
I’ll point out common mistakes to avoid, like using the wrong anchors or overloading a single hook, and give quick setup ideas you can finish in an afternoon. Expect clear how-to steps, cost-smart choices, and tips for planning and maintenance so your lights stay secure and look great all season.
1) Use vinyl-coated steel eye hooks into fascia or wood beams
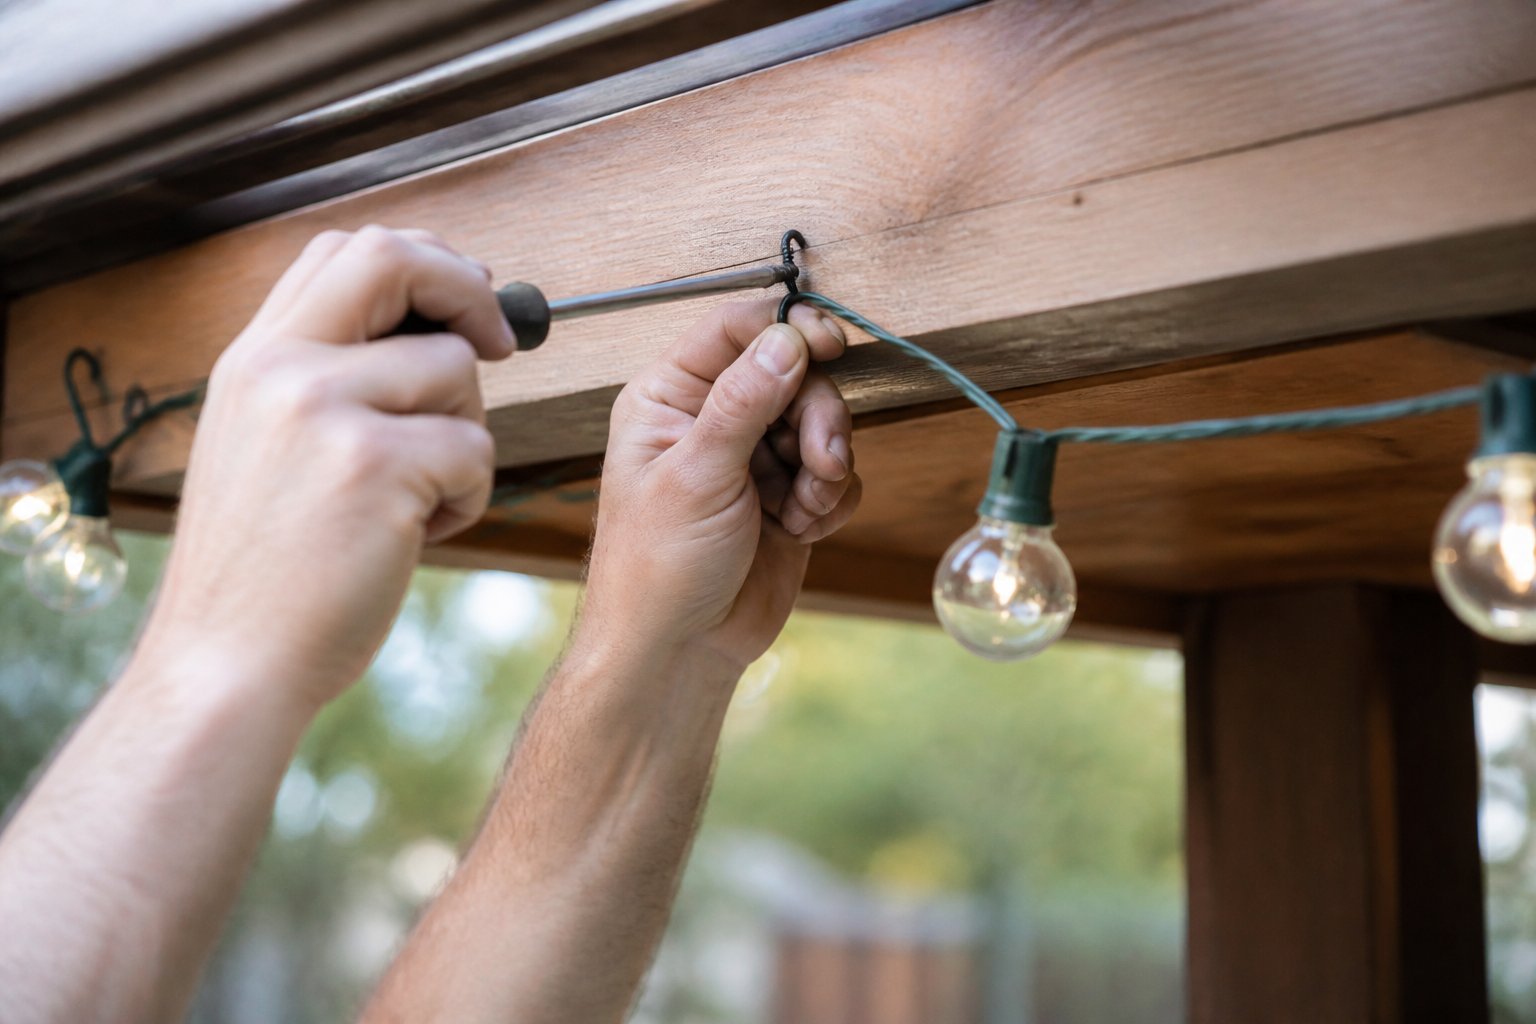
Guide: this is a step-by-step method to hang lights that holds well and resists rust. Pick vinyl-coated stainless or galvanized eye hooks sized for the load and weather.
Mark spacing every 4–6 feet along the fascia or beam. Drill pilot holes smaller than the hook shaft to avoid splitting the wood. Screw hooks in by hand or with a driver until snug.
Thread lights or a support cable through the eyes. For long runs, add a middle support to prevent sagging. If your lights weigh about 9 lbs per strand, use heavier hooks and consider turnbuckles for tension.
Common mistake: forcing large hooks into tiny pilot holes — that splits wood. If you lack wood to screw into, use a cable system instead. Test each hook by tugging before the first use and replace any corroded hardware.
2) Mount Command Outdoor Adhesive Hooks for drill-free attachment
Tutorial: use Command outdoor adhesive hooks to hang lights without drilling. Clean the surface with rubbing alcohol, press the strip for 30 seconds, then wait one hour before hanging to reach full hold.
Choose hooks rated for outdoor use and for the weight of your light strand. For heavy commercial strands, clip every 2–3 feet; for lightweight bistro bulbs, 4–6 feet works fine.
Avoid common mistakes: don’t stick to rough or damp siding and don’t skip the wait time after application. I once saw a row of lights fall because someone removed the backing too quickly—slow prep prevents that.
If a hook fails, peel the strip gently upward to remove without damage, then replace the strip and reposition. Try gutter clips or fence ties if you need extra support.
3) Install 4×4 pressure-treated wood posts with ground sleeves
Guide: this method gives a sturdy, removable anchor for string lights. Dig holes where you want posts, spacing them to keep lights taut without sagging. Use 4×4 pressure-treated lumber for rot resistance and slide each post into a metal ground sleeve for easy removal.
Set sleeves in compacted gravel or concrete for stability. A common mistake is setting sleeves too shallow — aim for at least 18 inches deep in loose soil. Tap the sleeve level, then insert the post and secure with screws or a pin.
Run lights between posts and attach with hooks or O-rings near the top. If wind or guests will brush past, raise posts a few feet higher for clearance. For a visual guide and materials list, see this practical post project example: How to Hang String Lights in Backyard Without Trees (https://backyardscape.com/how-to-hang-string-lights-in-backyard-without-trees/).
4) String lights between mature trees using S-hooks and zip ties
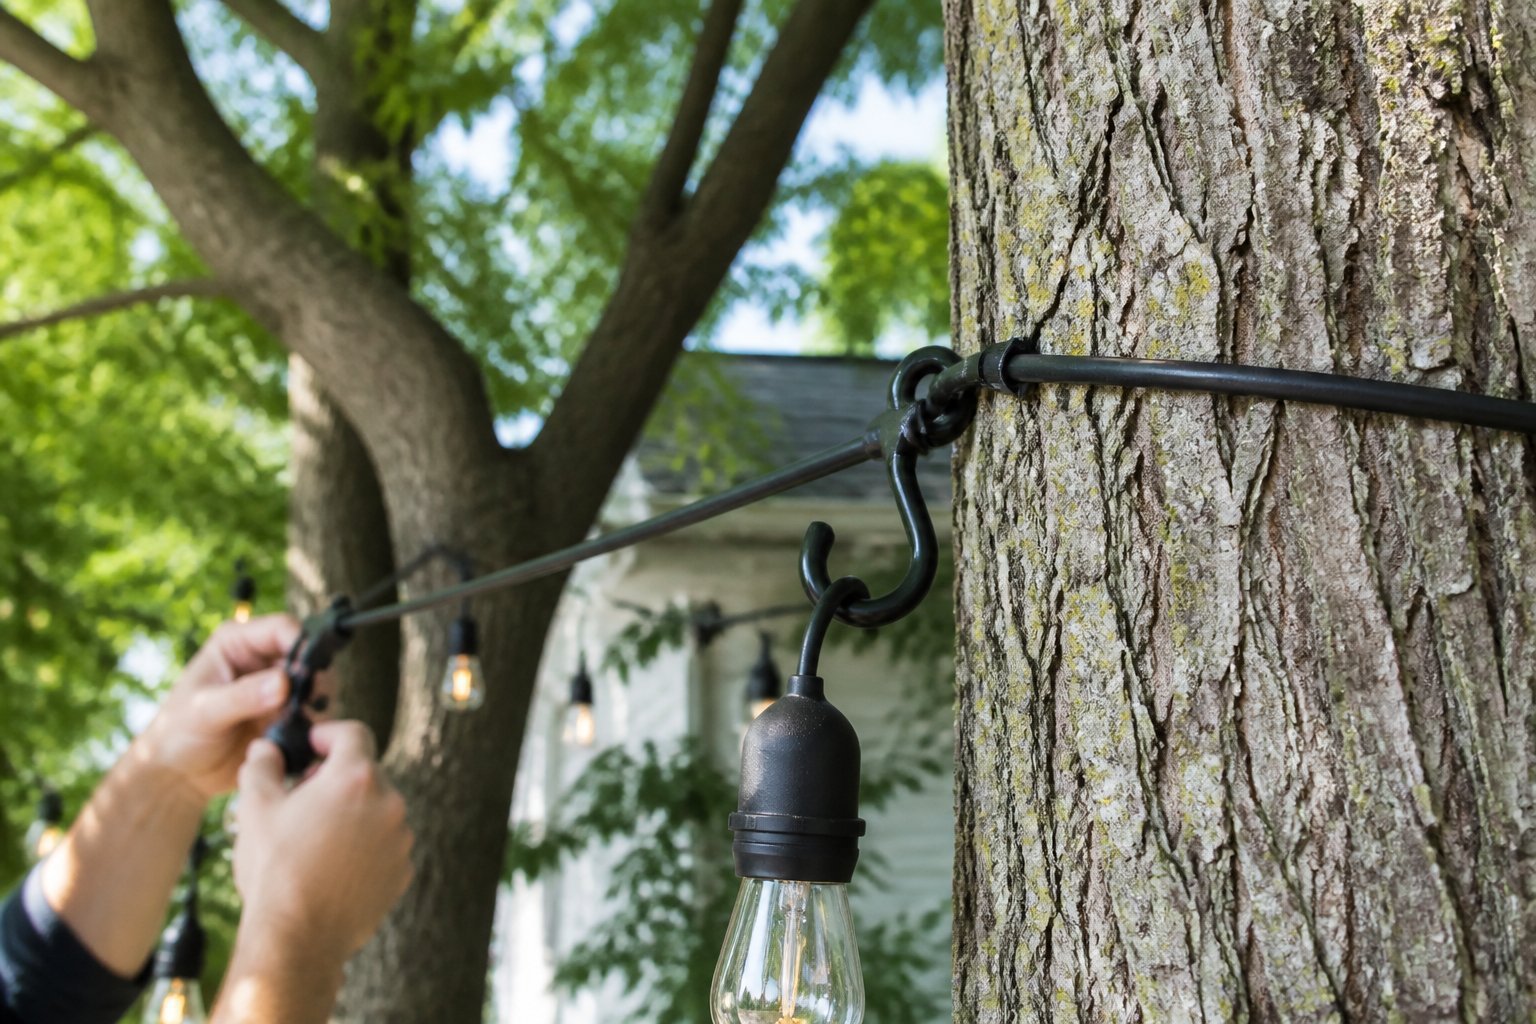
This is a practical guide so you can hang lights without hurting the trees. Pick a clear path between trunks and test the sag by draping one strand first.
Use weather-resistant S-hooks on a shallow limb or a trunk-mounted eye bolt. Secure the light strand to the S-hook, then add a zip tie around the hook or branch wrap for backup. Don’t overtighten ties against bark; leave room for growth.
Space S-hooks every 4–6 feet for even drape. If wind is strong, add a thin guide wire and clip lights to it with S-hooks to reduce strain on the bulbs. A common mistake is tying directly to small branches—those can snap.
If a branch is fragile, loop a soft tree strap or foam pad under the tie to protect bark. Try one side first, walk the run, then adjust tension before locking all zip ties.
5) Attach lights to a vinyl railing with railing clips (e.g., Sunbeam clips)
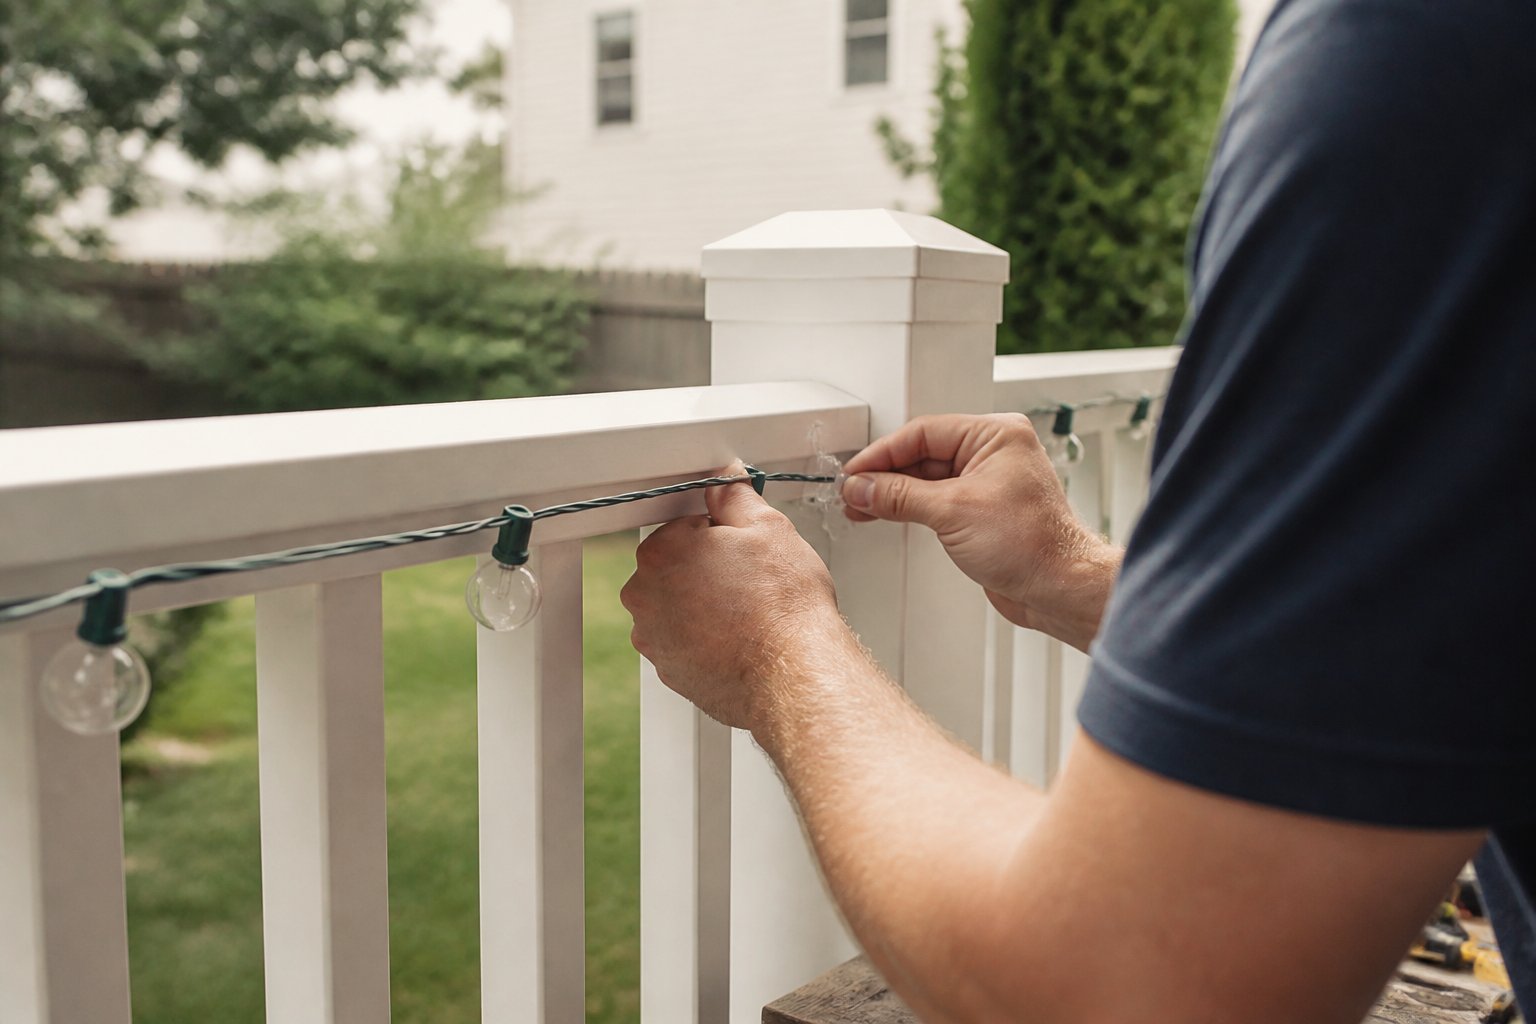
Tutorial: use weather-resistant railing clips made for vinyl to avoid drilling and to protect the railing finish. Start by measuring and marking clip spacing to keep bulbs even.
Snap clips over the top or side of the vinyl rail. Thread the light cord into each clip, pressing until it clicks. Sunbeam-style clips fit many rail profiles, but test one first to ensure a snug hold.
Avoid over-tightening or forcing clips on warped rails. I once had clips pop off after a windy night because they were spaced too far apart; tighter spacing fixed it. Check the cord path to keep plugs near the power source.
If clips sit loose, try a different clip model or add an adhesive-backed clip as backup. Hang a short test run before doing the whole deck to save time and frustration.
6) Use masonry anchors and stainless-steel eye bolts for brick or stucco
Guide: use masonry anchors with stainless-steel eye bolts to make a weatherproof, strong anchor for string lights. Pick anchors rated for outdoor use and match the bolt size to the light’s weight.
Drill into mortar when possible; it’s easier to repair than brick. Use a hammer drill and a carbide bit, then tap in a masonry anchor and screw the eye bolt until snug. Don’t over-tighten — you can crack stucco or strip the anchor.
A common mistake is using ordinary screws or drywall anchors; those will fail outdoors. I once rewired lights after a summer storm because the wrong anchors corroded. For lighter runs, consider adhesive hooks, but stick with masonry anchors for long spans and wind exposure.
Learn more about suitable anchors and techniques at this guide on attaching lights to brick.
7) Build PVC pipe poles capped and anchored with concrete pavers
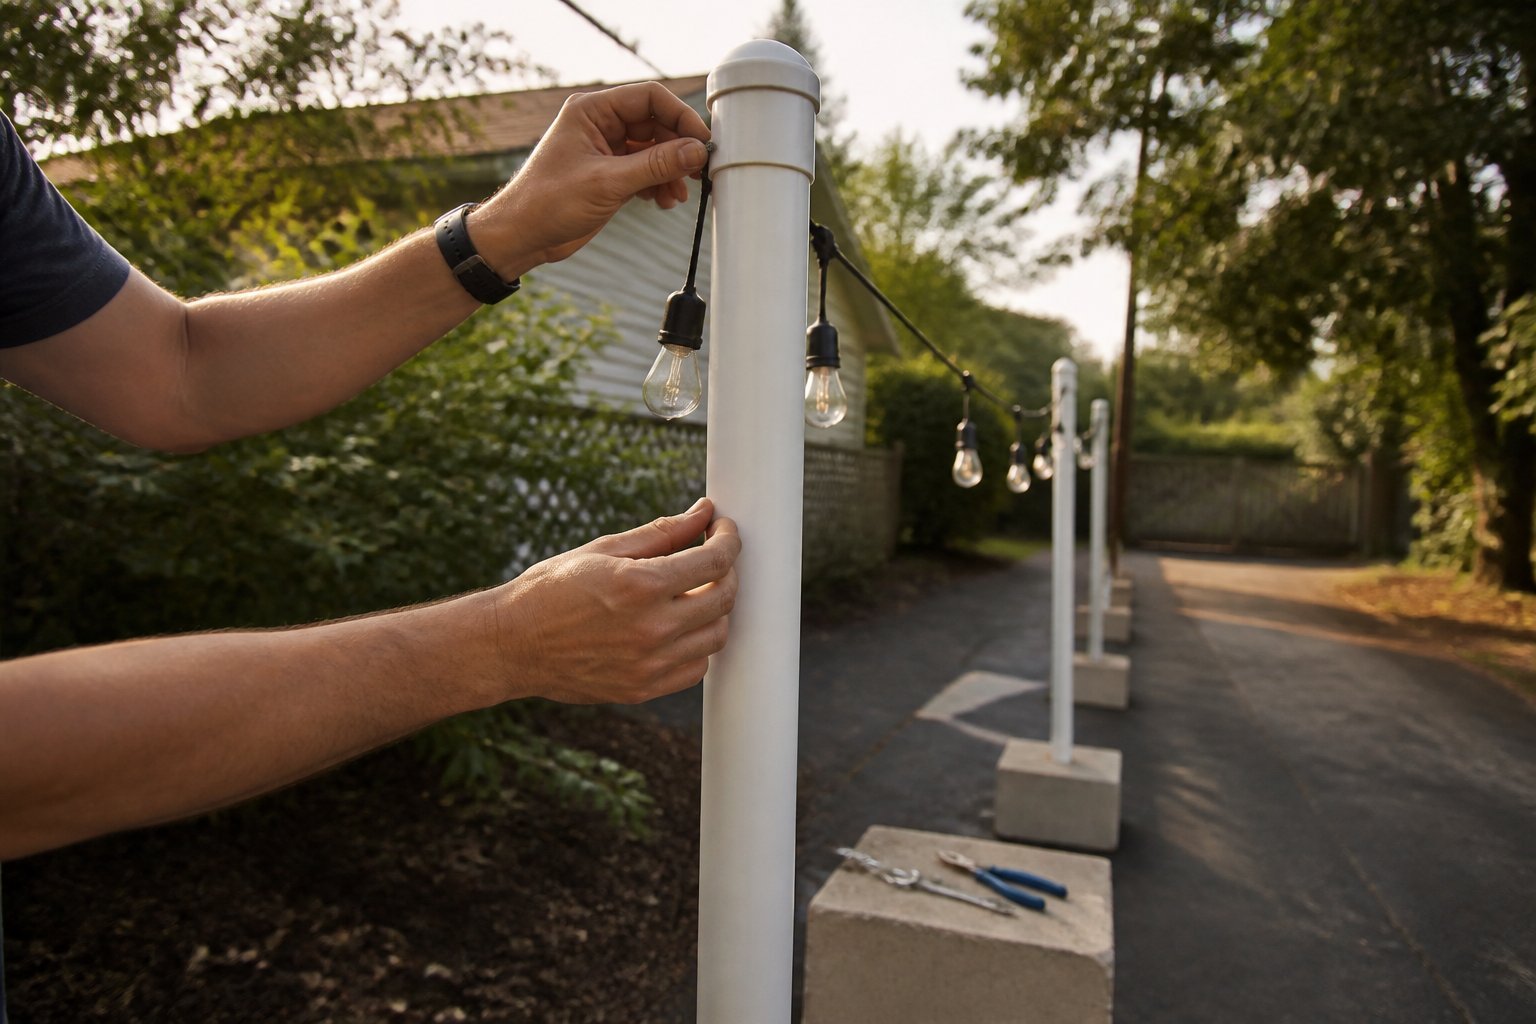
Guide: tutorial. You can make cheap, movable light poles using 1½–2″ PVC cut to height and capped to keep water out. Slip the pipe over a short metal conduit or rebar for stiffness, then secure it in a heavy concrete paver with quick-set cement.
Mix small batches of concrete in a bucket and pour into a planter or mold around the pipe to lock it in place. Use a level and temporary braces until the cement cures. Common mistake: using thin PVC without internal support—this makes poles bend in wind.
Drill an eye hook through the cap or use a flange to hang lights. If you need portability, leave the paver base loose so you can swap poles seasonally. Try one pole first to test height and tension before building a full set.
8) Run lights along eaves with gutter clips (e.g., Lofrans clips)
Guide: a practical how-to for neat, damage-free mounting along eaves. Use gutter clips made for your gutter shape so clips grip without drilling.
Start by testing clip fit on one section; mismatched clips slip or stress seams. Space clips every 12–18 inches to prevent sagging, and face bulbs outward for even light.
Common mistake: forcing heavy strings into flimsy clips. Swap to heavy-duty clips for C9 bulbs or wind-prone spots. If your gutters have guards, clip placement may need tweaking so lights clear obstructions.
When you climb the ladder, have a partner hold the base. Run power runs along the roofline, keep plugs off the ground, and use outdoor-rated extension cords. Try one short run first to confirm spacing and look before doing the whole house.
9) Create a tensioned run with turnbuckles and steel cable
Guide: tutorial. Use a stainless steel cable and turnbuckles to make a straight, sag-free line for your lights. Measure the span, add 10–15% for drape, and pick eye bolts or wall anchors rated for outdoor use.
Start by attaching eye bolts at each end into studs or masonry. Feed the cable through a turnbuckle on one end and secure with a swage sleeve or clamp. Tighten the turnbuckle gradually; stop when the cable is firm but not over-tensioned.
Clip or zip-tie the light strand to the cable every 12–24 inches. A common mistake is overtightening, which can stress anchor points. If wind is strong, leave a tiny give to absorb gusts.
If you’ve used this method before, you’ll notice the lights stay level and last longer. Try one short run first to practice tensioning, then expand across your yard.
10) Suspend lights from pergola beams with cup hooks and chain
Guide: a simple, sturdy install that keeps bulbs tidy and adjustable. Pick weatherproof cup hooks sized for your beam and match chain links to the light strand weight.
Start by marking where each hook goes; space hooks 2–4 feet apart. Screw hooks into the center of beams so they bite into wood cleanly. If you hit knots or thin wood, move a few inches to avoid splitting.
Thread chain through the light strand loops or S-hooks, then hang the chain on the cup hooks. This lets you adjust droop and prevents sagging over long spans. A common mistake is overtightening hooks — you’ll crack wood or strip threads.
Test each section after hanging and tie small zip ties to secure bulbs in wind. If wiring reaches an outlet, use an outdoor-rated extension and keep connections off the ground. Try one span first to confirm height and look, then finish the rest.
Planning Your Lighting Layout
Decide where lights must go for even coverage and safe attachment. Think about power access, sightlines from the street, and how the lights will look from key angles like the porch, driveway, and sidewalk.
Choosing Safe Anchor Points
You need anchors that hold weight, resist weather, and won’t damage structure. Use exterior-grade hooks into studs or masonry anchors for brick/stone. For wood siding, screw-in cup hooks into a rafter or joist; for stucco, drill and use toggle or sleeve anchors. Avoid relying on gutters or thin trim—those can pull away and cause sagging or injury.
If you plan to hang between trees, pick trunks at least 8–10 inches wide and use tree straps or nylon webbing to prevent bark damage. For freestanding options, set a 4×4 post in concrete at least 18 inches deep. Always check local codes for setbacks from power lines and keep bulbs at least 10 feet from any open flame. Common mistake: using cheap plastic hooks outdoors—replace them with brass or stainless-steel hardware to prevent rust and failure.
Measuring Distances and Estimating Materials
Measure the full run using a tape or string along the exact path the lights will follow. Add 10–15% extra length for draping, slack, and future adjustments. Count attachment points roughly every 4–6 feet for a straight run, or every 3–4 feet for heavy globe bulbs or windy sites.
Estimate bulbs and extra cord by converting total feet to the string length of the sets you’ll buy (for example, two 25-foot strings = 50 feet). Include one inline outdoor extension cord and one GFCI outlet adaptor if your outlet is far. Make a short checklist: total run, number of strings, number of anchors, type of bulbs, and weatherproof connectors. Mistake to avoid: buying exact length with zero spare—always keep at least one extra string and extra hooks on hand.
Long-Term Maintenance Tips
Keep connections dry, check bulbs and cords often, and plan a seasonal inspection routine to catch wear before it becomes a hazard.
Weatherproofing Connections
Guide: protect every plug, splice, and socket so water and pests can’t enter.
Use outdoor-rated silicone-filled covers for any exposed plug or outlet. Push the plug fully into the outdoor GFCI and then seat the cover so water runs off the faceplate. For inline splices, wrap the joint with self-fusing silicone tape, then overwrap with UV-resistant electrical tape. Avoid ordinary duct or masking tape; it fails in sun and rain.
Elevate connections off the ground with a short length of PVC pipe or a plastic junction box mounted 6–12 inches above grade. Add a small drip loop in each line so water drips off the loop, not into the connection. Check seals yearly after winter and reapply silicone if you see cracks or exposed wire.
Common mistake: relying on the string-light plug alone as weatherproofing. That leaves vulnerabilities at bulbs and sockets, too—inspect each socket and replace any with corrosion or loose fit.
Preventing Common Electrical Issues
Guide: spot heat, overloads, and loose wiring early to avoid outages and fire risk.
Match total wattage to the string’s rating. Add up bulb wattage and keep the run under the manufacturer’s maximum. If needed, split long runs across two circuits or use LED bulbs to cut load. Use a plug-in circuit tester to confirm the outlet wiring is correct before hanging lights.
Watch for hot bulbs or sockets—heat means a poor connection or overload. Tighten loose bulbs and replace cracked sockets immediately. Use GFCI-protected outlets for all outdoor runs and test the GFCI monthly. Inspect cords for cuts, nicks, or brittle insulation; replace any strand with damaged insulation rather than trying to repair it in the field.
Tip: label each strand with its location and install date. That makes seasonal checks faster and helps you retire older wiring before failure.