10 Stunning Retaining Wall Ideas for Jaw-Dropping Curb Appeal: Genius DIY Before & After Hacks
You want a yard that works and looks great without wasting time or money. You’ll see practical ideas that fix slopes, stop erosion, and add curb appeal so your property feels more usable and attractive. Expect clear, doable solutions that show how different materials and designs change both function and style.
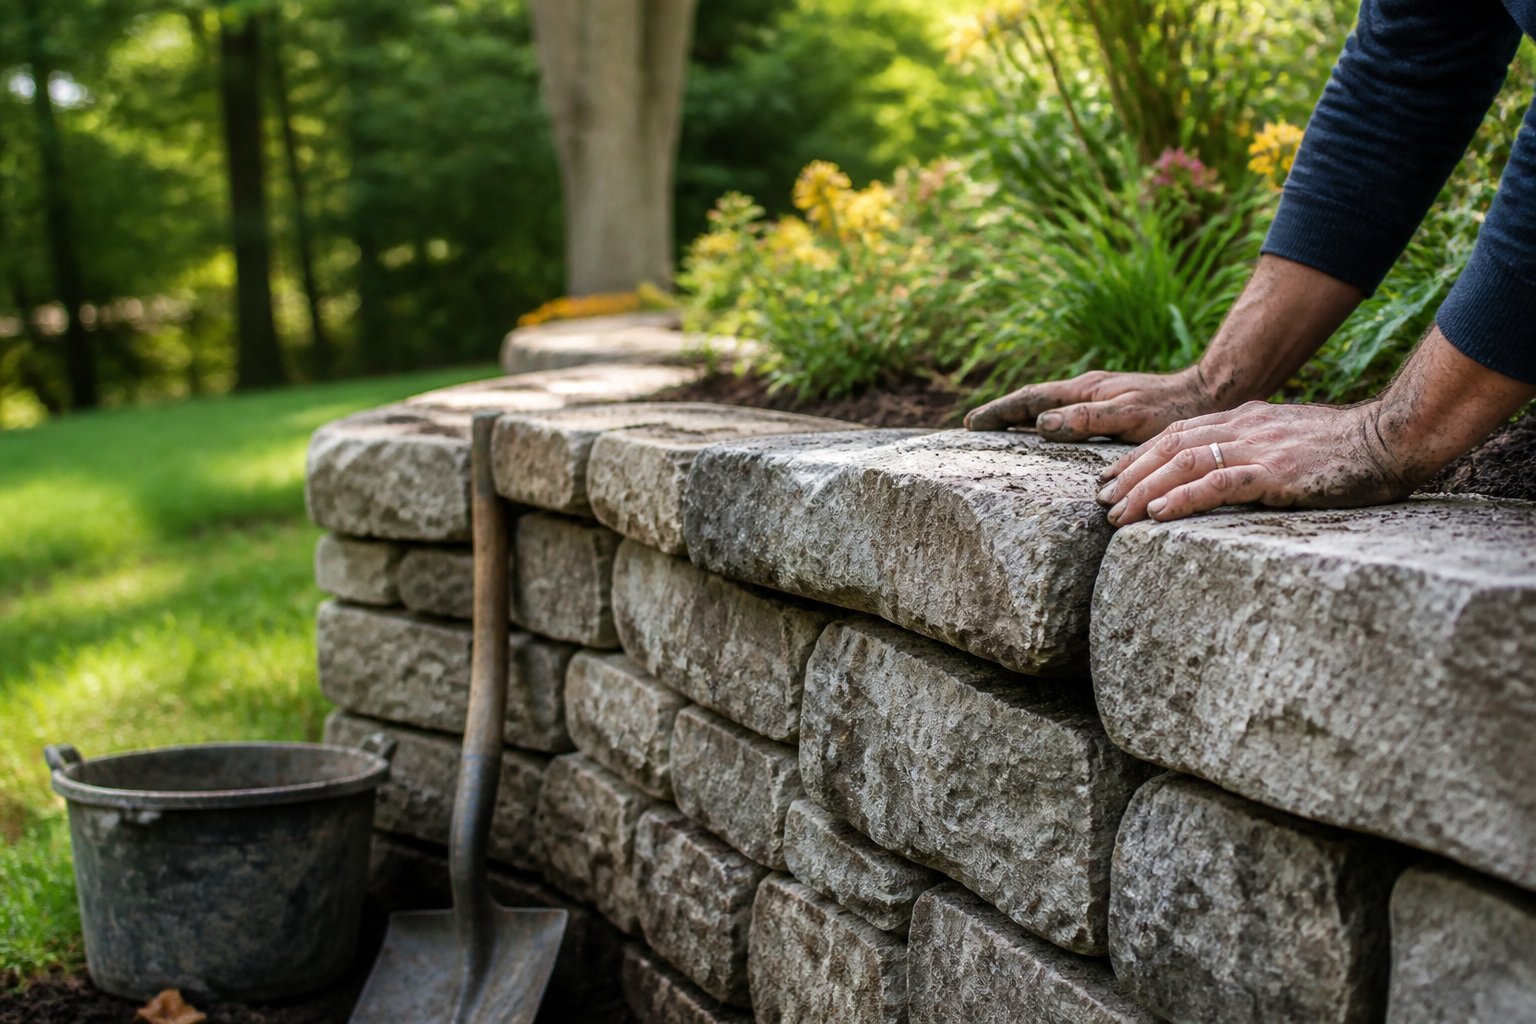
You’ll get tips, common mistakes to avoid, and quick DIY hacks that help you plan or talk with a pro. The article covers tiered stone terraces, concrete and timber options, gabion and Corten steel designs, drainage and structural musts, plus lighting and planting ideas to make projects last and look polished.
1) Tiered Natural Stone Terrace with Native Plantings
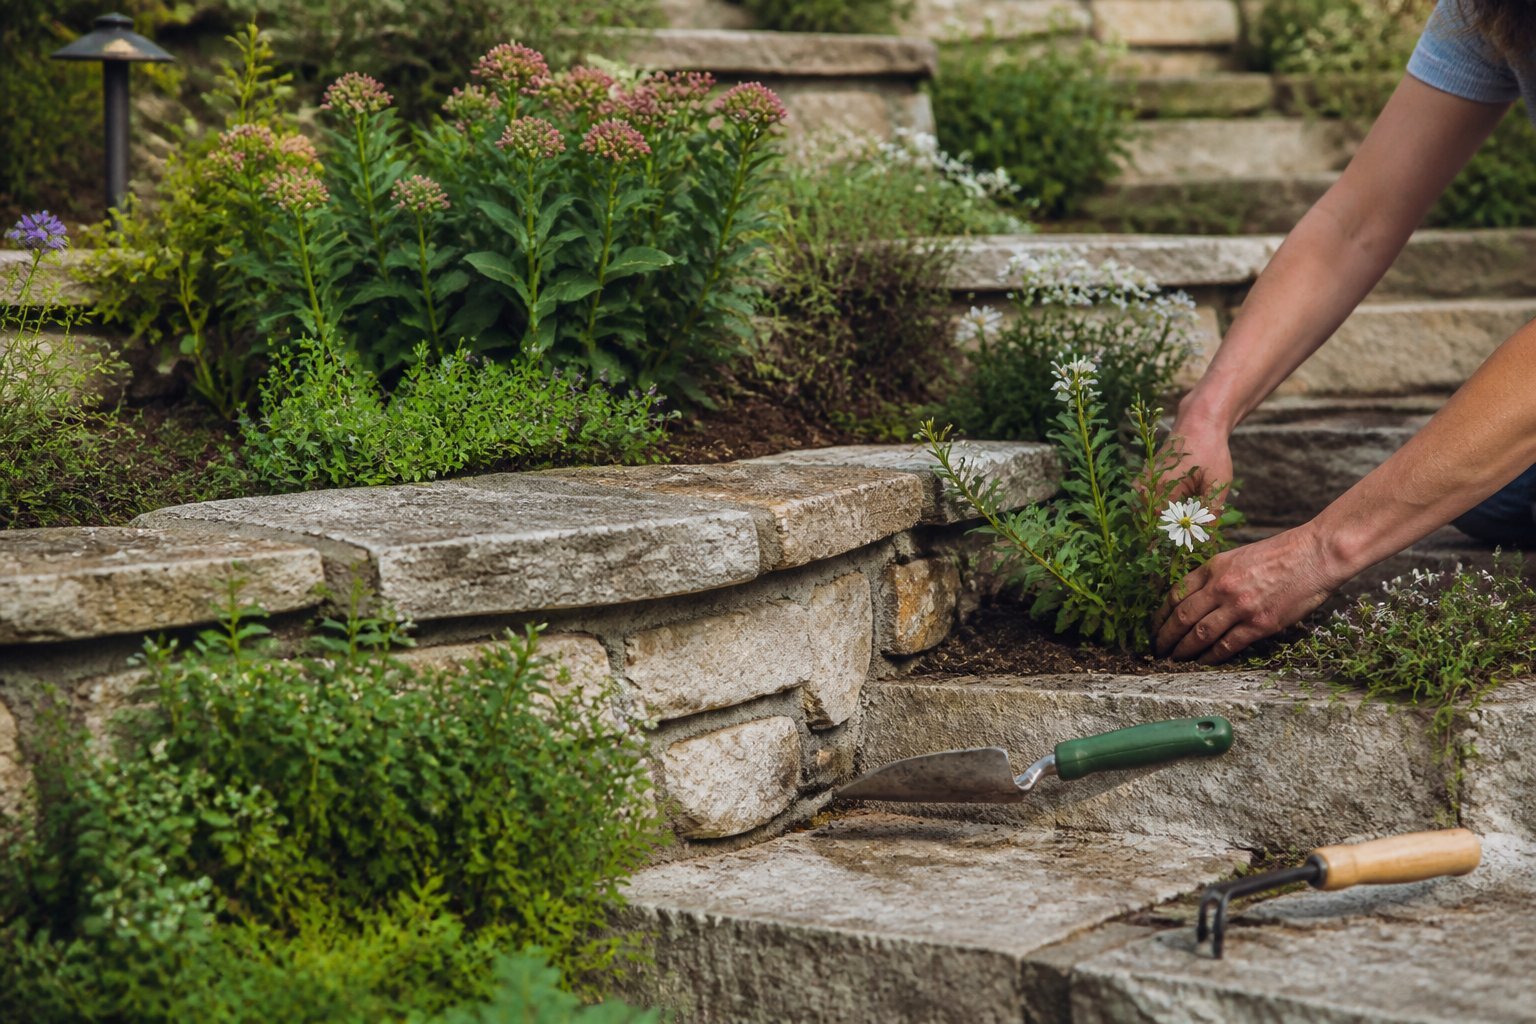
Intent: idea and guide. Build tiered natural stone terraces to tame slopes and add curb appeal. You’ll create stable, low-maintenance levels that look like they belong to the land.
Start with local stone for durability and color match. Lay a gravel base and compact well; a common mistake is skipping compaction, which leads to shifting walls later. Stack stones with a slight batter (tilt backward) and cap each tier for a finished look.
Plant native grasses, sedges, and flowering perennials between tiers to reduce erosion and cut watering needs. Choose plants that fit your sun and soil—this keeps maintenance simple and supports local wildlife.
If you DIY, work one short wall at a time and check level frequently. Want help picking stone or plants? Try a local nursery or landscaper for quick, practical advice.
2) Board-Formed Concrete Wall with Integrated Benches
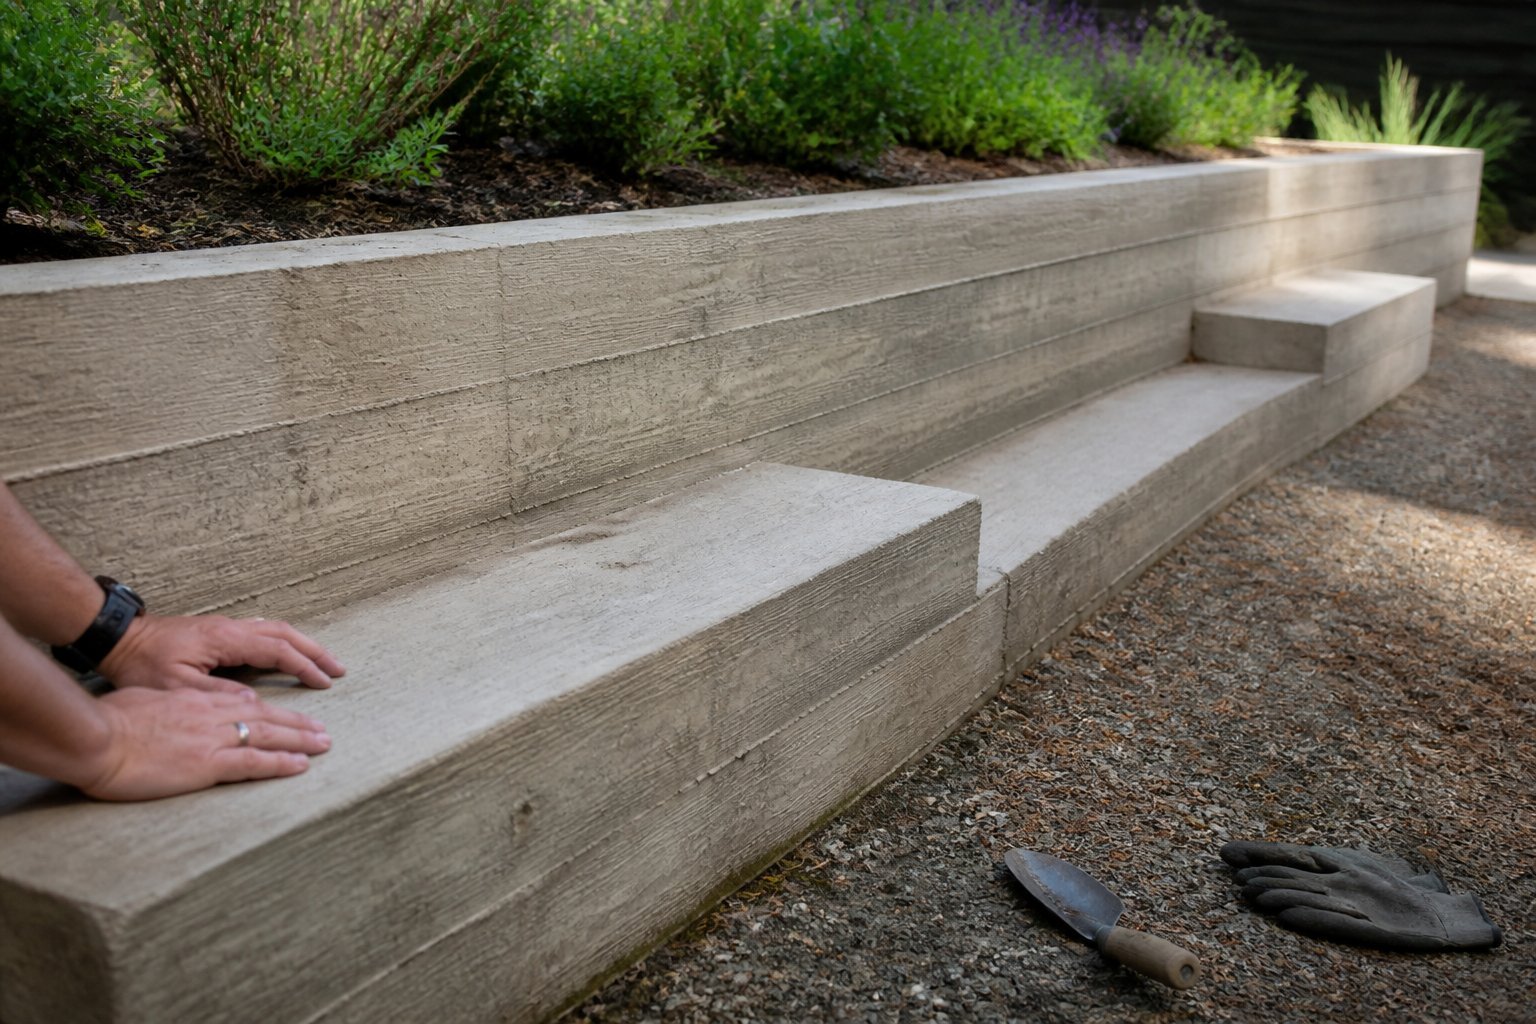
Idea: build a textured concrete wall that doubles as seating and a durable landscape edge. Use board-formed concrete for a warm wood-grain look that reads like built-in furniture, not plain concrete.
This is a how-to and design guide. Plan footing depth and reinforcement with an engineer if the wall holds significant soil. A common mistake is using thin caps for seating—aim for at least 16–18 inches deep for comfort and strength.
For style, stain or seal the concrete to match your house trim. You can soften the edge with cushions, or tuck planters into low niches to break the mass and add color.
See board-formed concrete examples and texture tips at this idea gallery for inspiration: board-formed concrete retaining wall.
3) Stacked Slate Low-Profile Accent Wall
Intent: idea and quick tutorial for a sleek, low wall that boosts curb appeal.
A stacked slate accent wall frames a garden bed or walkway without blocking views. Use thin, uniform slate pieces and keep the height under 2 feet for a modern, low-profile look.
Lay a compacted gravel base and a shallow concrete footing to prevent shifting. Stack dry for a rustic, drain-friendly finish or use thin-set mortar for a cleaner seam; don’t skip drainage or the wall will bow in freeze-thaw weather.
Mix slate sizes for texture, but keep horizontal lines consistent. A common mistake is making courses uneven — step back often to check level and sight lines.
Try adding a row of low LED uplights behind the top course to highlight texture at night. If you want one, test a small section first and adjust stone selection before you build the full run.
4) Gabion Basket Retaining Wall with Mixed River Rock
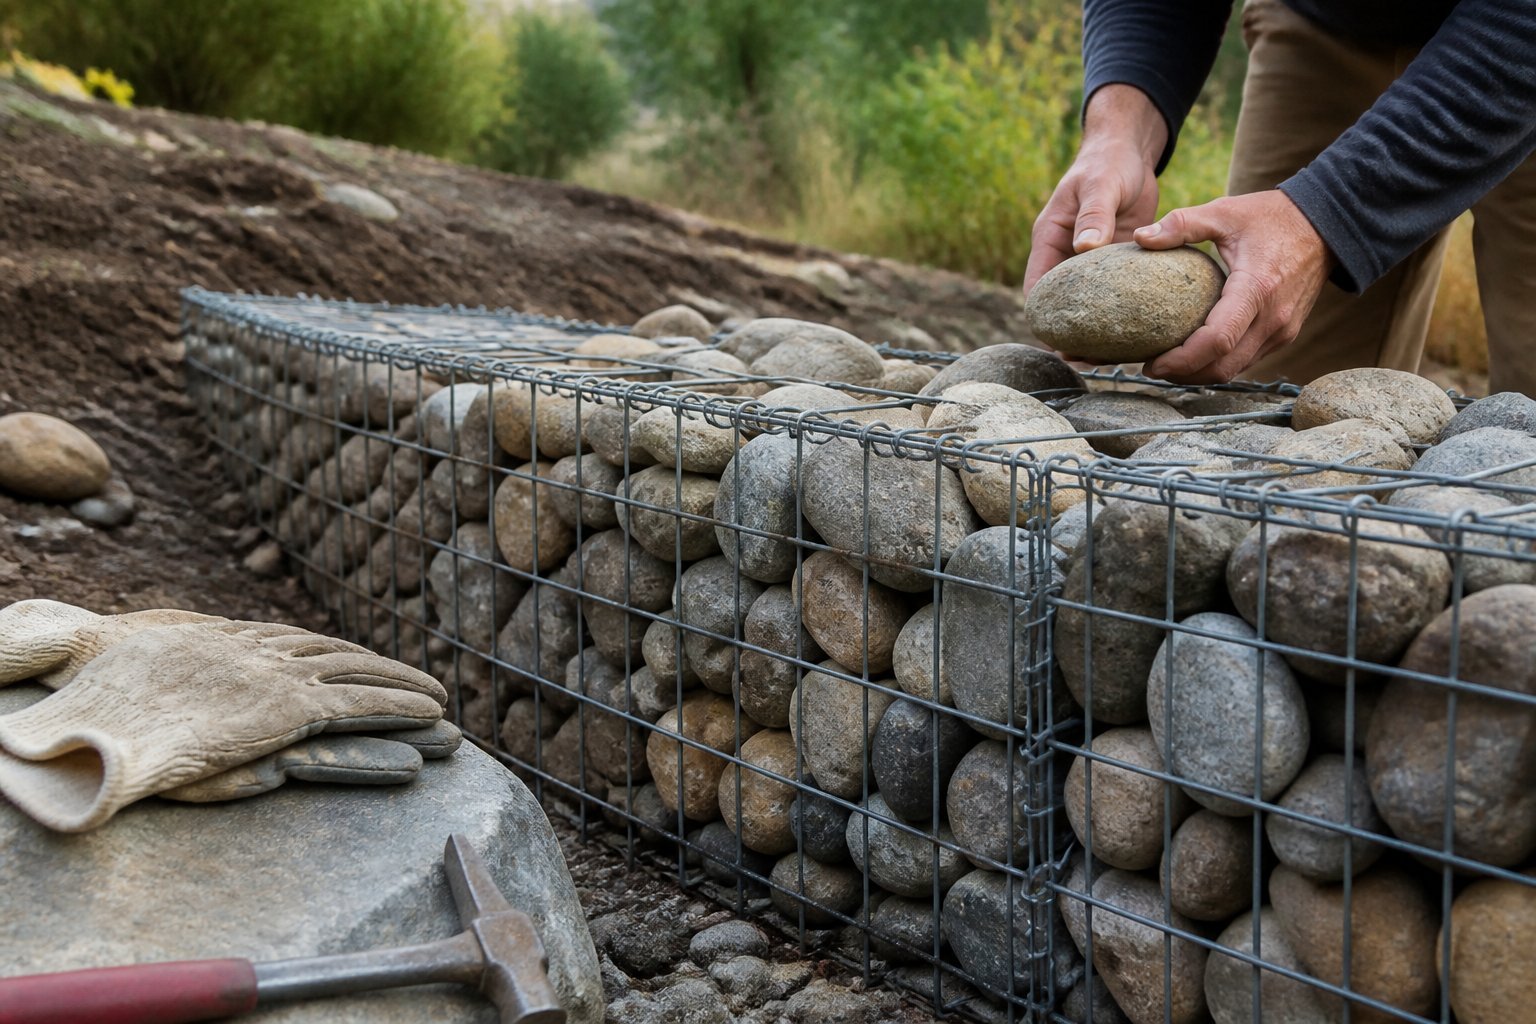
This idea is a practical guide for a durable, textured wall that drains naturally. You’ll fill wire baskets with mixed river rock to build a sturdy, low-maintenance barrier that looks custom.
Start level and square—uneven baskets lead to a wobbly wall. Use larger rocks at the visible face and smaller infill behind for a layered look; it reads like a planned pattern, not random rubble.
Common mistake: skipping geotextile behind the cages. That can let soil wash through and clog the rocks. You can light the top row for night drama and to hide gaps.
See fuller design examples and fill options in this gabion wall ideas collection. Try a small test section first to nail your stone mix and basket spacing.
5) Curved Brick Wall with Creeping Thyme Joints
Intent: idea + quick how-to.
A curved brick wall softens a slope and adds old‑world charm. Lay bricks on a compacted gravel base and use flexible mortar so the curve stays true; cutting a few bricks helps keep the arc smooth.
Plant creeping thyme in the joints to soften edges and add scent when you step by. Choose low‑growing thyme and stagger plant spacing for fuller coverage over time. Water gently the first season so roots establish.
Common mistake: using rigid mortar or a narrow base—this leads to cracking. Also avoid deep, shaded joints; thyme needs sun to thrive. For a finishing touch, sweep fine gravel into joints before planting to stabilize bricks and retain moisture for the thyme.
Try one short curved run first to test proportions and plant response, then expand once you like the look.
6) Timber Sleeper Steps and Raised Garden Beds
Intent: practical tutorial and design idea.
Use timber sleepers to build steps and raised beds that look neat and last. Start by measuring rise and run for steps; cut sleepers to fit and secure with galvanised spikes to stop shifting. A common mistake is skipping a compacted base — your steps will sag without it.
Raised beds made from sleepers give instant structure and warm wood tones. Line them with weed membrane, fill with quality soil, and plant in layers: roots, then flowers or veg. Reclaimed sleepers add character, but check for creosote or rot before using.
Try alternating sleeper heights for a tiered effect on slopes. If you want detailed how-to pictures, see ideas for using timber sleepers in gardens (https://www.jacksons-fencing.co.uk/the-edit/ideas-to-use-timber-sleepers). Give this a try on a small corner first to learn join techniques.
7) Color-Stamped Concrete with Built-In LED Lighting
Intent: design-and-install guide.
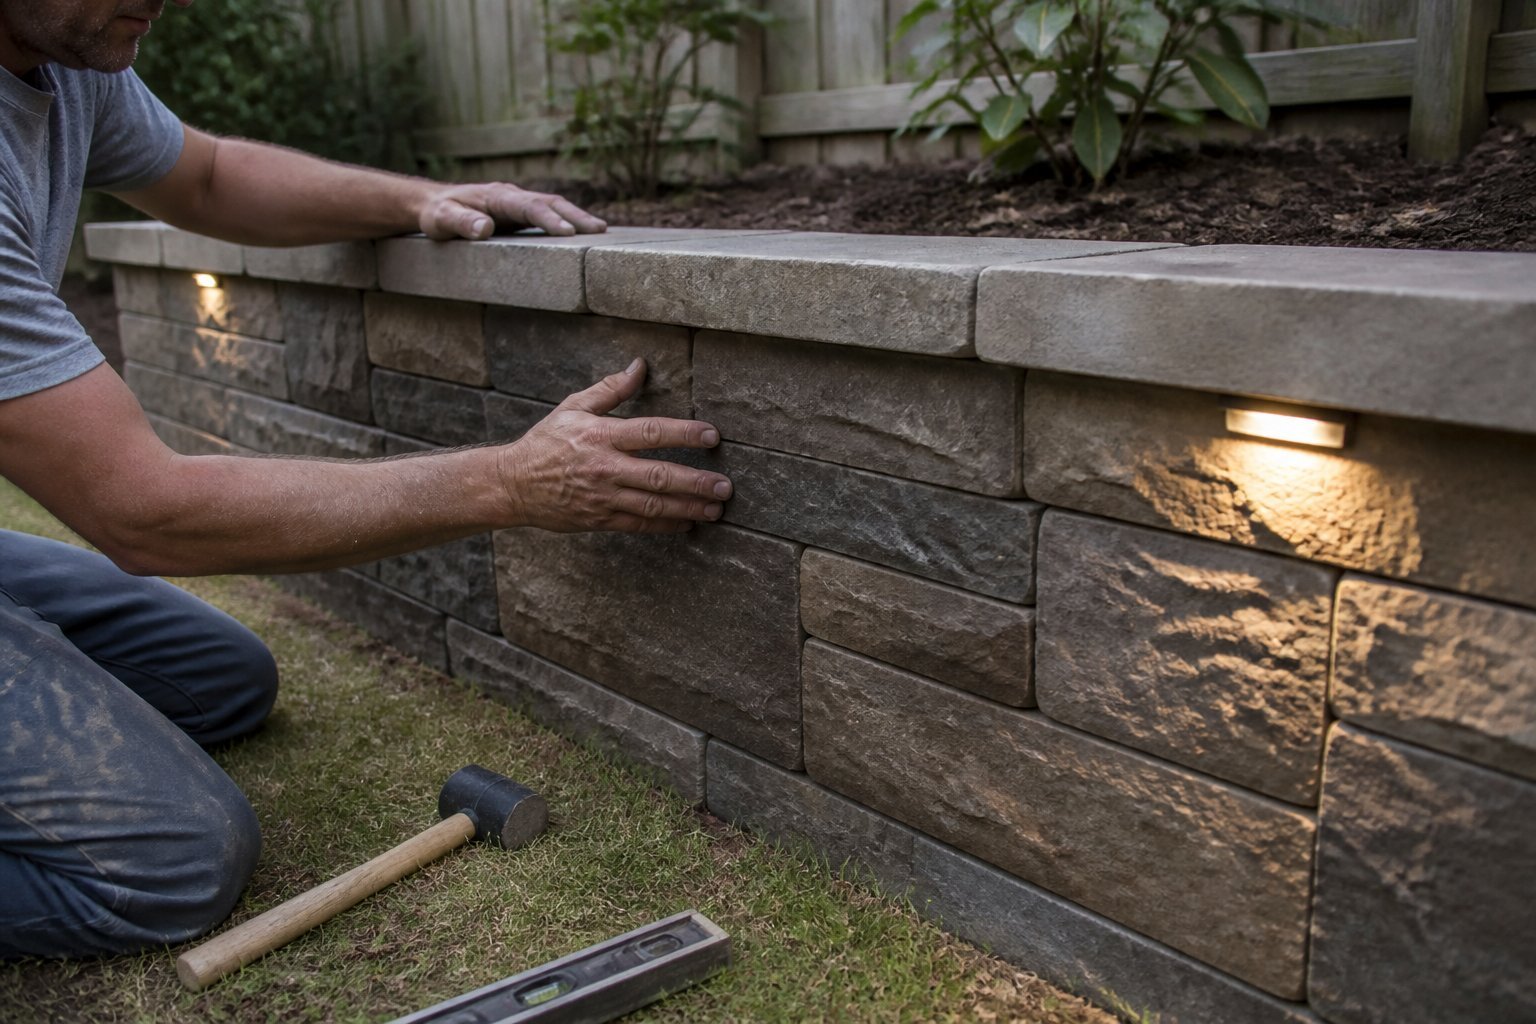
Color-stamped concrete gives your retaining wall a high-end look without costly stone. You can stamp textures like slate or wood and add pigments that match your home’s palette.
Embed low-profile LED channels along the cap to highlight texture at night. Use warm white LEDs for a natural glow; avoid harsh blue tones that can wash out stamped detail.
A common mistake is skipping a drainage plan—water buildup can crack concrete and ruin LEDs. Seal the surface and use watertight fixtures rated for outdoors to protect lights and color.
If you DIY, practice stamping on a small slab first to get timing right. For a polished result, consider hiring a pro for the electrical work and final sealant application.
8) Modular Concrete Block Wall with Hidden Drainage
Intent: tutorial. Build a clean, low-maintenance wall that hides drainage while staying sturdy.
Use modular concrete blocks that interlock for fast, stable stacking. Add a perforated drainpipe behind the base and backfill with gravel so water moves away from the wall without showing on the face.
Avoid packing clay too close to blocks; it causes pressure and leaks. I once fixed a DIY wall where the owner forgot geotextile fabric — roots and fines clogged the gravel in two seasons. Install fabric, gravel, pipe, and compact in layers.
For style, mix textured blocks and narrow planting pockets to soften the look. A common mistake is skipping a proper footing; even short walls need a crushed-rock base to prevent settling.
Try a staggered pattern and tuck small evergreens into pockets for year-round curb appeal.
9) Dry-Stacked Fieldstone Wall for Rustic Curb Appeal
Intent: idea and how-to. A dry-stacked fieldstone wall gives your yard a natural, timeless edge. You build it without mortar, so stones must fit tightly for strength.
Start by laying a solid gravel base and setting the largest stones at the bottom. Test-fit each layer, tapping stones into place. A common mistake is skipping drainage; add a perforated pipe behind the wall and backfill with crushed stone to prevent pressure and bulging.
Use a variety of stone sizes and face the best-looking sides outward. Tight joints and slight inward batter make the wall steadier. If a stone wobbles, swap it for a better-fitting one rather than forcing grout.
For inspiration and design tips, see dry-stack ideas and step-by-step guides at BackyardBoss and TopsourceStone. Try a short test section first to learn how the stones interlock, then expand the wall as you gain confidence.
10) Terraced Corten Steel Planter Walls
Intent: idea and guide.
Use corten steel to build terraced planter walls that step down a slope and give strong, modern lines. You can plant drought-tolerant grasses on the upper tiers and showy perennials below for layered color.
Buy panels thick enough for soil pressure and add drainage behind each tier to avoid bulging. A common mistake is skipping a gravel drain and filter fabric; that leads to trapped water and early corrosion in the wrong places.
Think about staggered heights and mixed plant heights for a lived-in look. I once helped a homeowner who staggered 18″, 12″, 8″ tiers — the scale fit their small front yard and reduced mowing.
For design inspiration, see practical corten retaining wall ideas and technical notes on Corten steel garden retaining wall design. Measure, plan drainage, and anchor panels well before filling soil.
Retaining Wall Materials: Pros, Cons, and Visual Impact
Choose materials that match your slope, budget, and style. Think about lifespan, maintenance, and how each material will look day-to-day and after years of weather.
Natural Stone Varieties for Lasting Beauty
Guide: idea — choose stone for long-term curb appeal and low maintenance.
Natural stone gives a timeless look and rarely needs replacement. Granite and bluestone resist frost and hold heavy loads, so they work on steep slopes. Fieldstone and limestone offer a rustic vibe but may require cut faces for a tighter fit.
Expect higher upfront cost and more skilled labor. Dry-stacked walls drain well but can shift if you don’t set a proper footing and compact backfill. A common mistake is skipping geotextile fabric and good drainage; that invites soil pressure and bulging.
Visual tip: vary stone sizes and colors for a custom look. Use contrasting capstones to define the top and prevent water penetration.
Concrete Options for Modern Designs
Guide: tutorial — pick concrete when you need strength, repeatability, and clean lines.
Segmental concrete blocks give precise curves and fast installation. Poured concrete suits very tall walls and allows embedded anchors or tiebacks for heavy loads. Concrete can mimic stone with textured faces or be left smooth for a minimalist look.
Watch for cracking from poor drainage or freeze-thaw cycles. Use drainage pipe, gravel backfill, and control joints in poured sections. Segmental units often include interlocking features and require less mortar, speeding DIY builds.
Cost varies: blocks are midrange; poured concrete is pricier because of formwork and labor. Color integrators or stains let you match existing hardscapes.
Eco-Friendly Materials and Their Benefits
Guide: guide — select greener options to reduce impact and improve water management.
Gabion walls (stone-filled wire baskets) use local rock and allow water to pass through, cutting erosion risk. Reclaimed timber gives a warm look but needs pressure-treated or naturally rot-resistant species and good drainage to avoid early decay.
Green walls that include planted tiers add habitat and soften heavy retaining lines. A frequent oversight is underestimating root systems; choose plants that won’t pry stones apart. For best results, pair permeable backfill and native plants to reduce runoff and maintenance.
If you want sustainability with strength, combine methods: a gabion toe with planted upper tiers blends durability and ecological benefit.
Essential Structural Considerations
You need strong basics: move water away, respect height limits, and plan lighting that won’t stress the wall. These three choices protect your build, keep soil stable, and make the wall usable at night.
Drainage Solutions to Prevent Failure
Guide: this is a how-to for reliable drainage.
Poor drainage is the most common cause of retaining wall failure. Install a perforated drain pipe (4-inch PVC or corrugated pipe) at the base, wrapped in landscape fabric to stop silt clogging. Backfill around the pipe with clean crushed rock (3/4-inch) and compact in 6-inch lifts to reduce settlement. Add a free-draining aggregate layer (6–12 inches) directly behind the wall face to relieve hydrostatic pressure.
Include a vertical geotextile filter between fine soil and aggregate if you have silty clay. Slope the drain to an approved outlet—storm sewer, dry well, or daylight—at a minimum 1% grade. Check drains yearly; look for wet spots or bulging. A small design tweak now saves a full rebuild later.
Height and Slope Guidelines for Safety
Guide: this is a rules-and-examples section to keep your wall legal and stable.
Most local codes let you build up to 3–4 feet without engineering, but you must confirm with your municipality. For walls over 4 feet, or with surcharges (driveway, structure) behind them, hire an engineer for reinforced design. Use a batter (setback) of 1 inch for every 12 inches of height for segmental block walls when possible to improve stability.
If the slope above the wall is steep, add a positive berm or tie-in geogrid layers every 12–24 inches of height to anchor the backfill. Common mistake: underestimating soil type—cohesive clay needs different compaction than sandy fill. Document height, loads, and soil reports before you dig.
Integrating Lighting for Enhanced Appeal
Guide: this is a design-and-install guide to make your wall safer and more attractive.
Place low-voltage LED fixtures into the wall cap or on short bollards to wash the face and highlight steps. Use spot or grazing lights at 30–45 degrees from the wall to show texture without creating glare. Route wiring through conduit inside cavities or behind stone to avoid cutting into structural elements.
Power planning matters: size transformers for total wattage plus 20% spare, and keep fixtures on timers or photocells to prevent overheating. Avoid driving screws or anchors through drainage layers. A good lighting plan improves usability and reveals craftsmanship—test placement after dusk and adjust angles before final grouting or backfill.